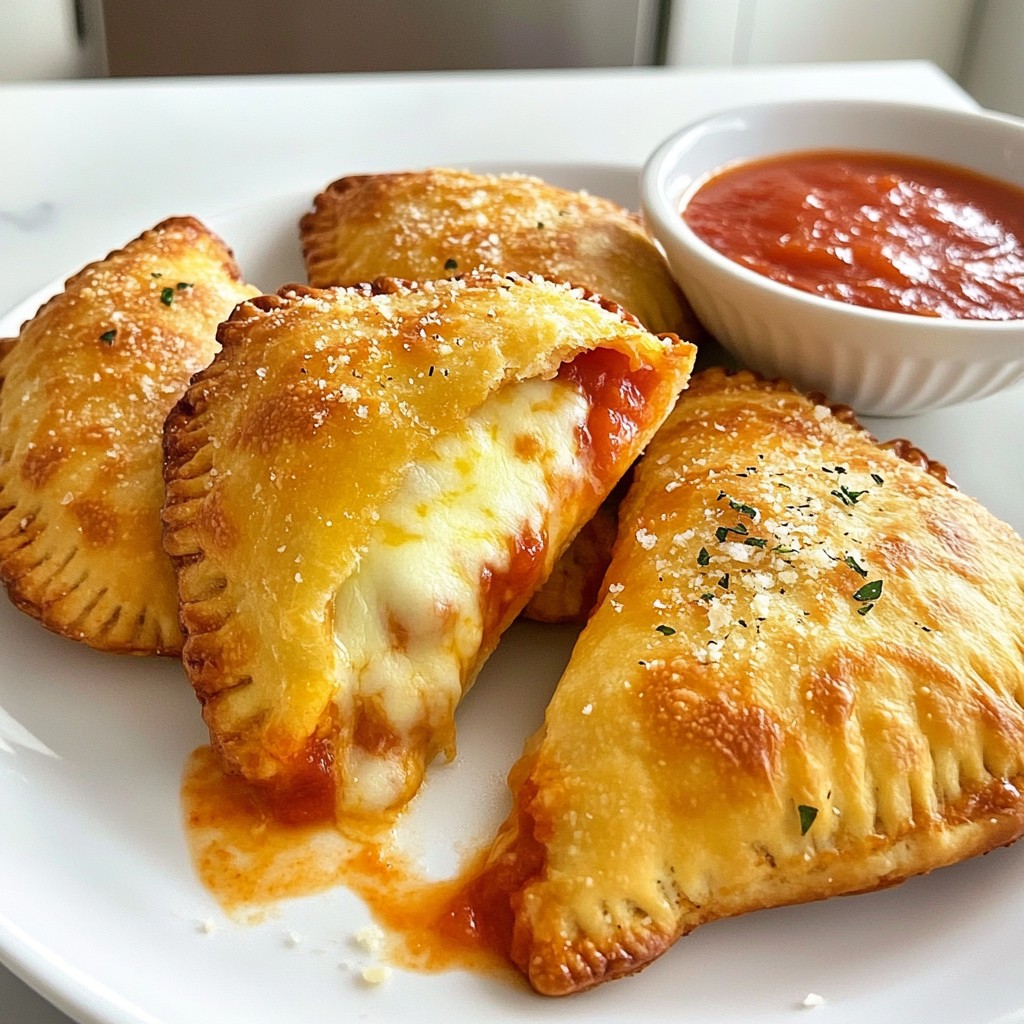
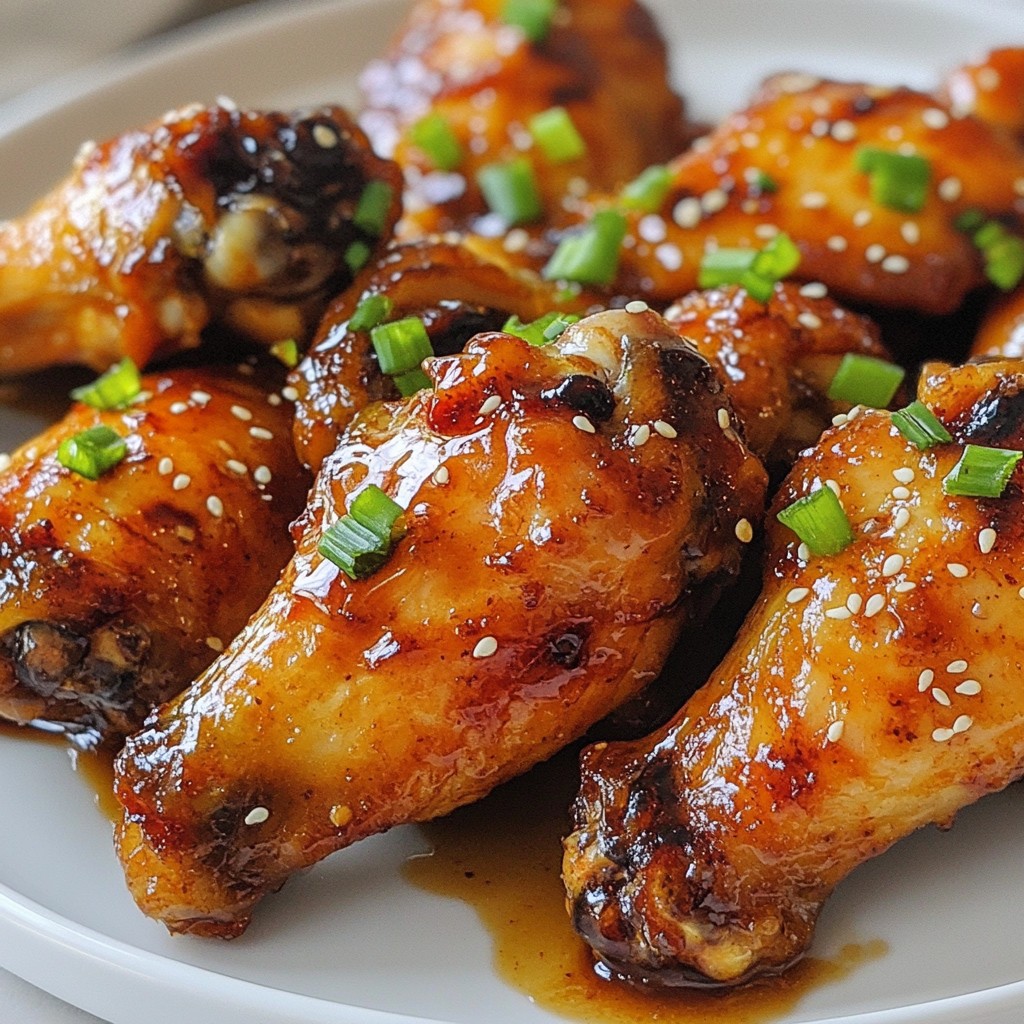
Are you ready to spice up your meal times? These Cheesy Dynamite Chicken Buns are packed with flavor and super easy to make! With just a few key ingredients like cooked chicken, cream cheese, and Sriracha, you can whip up a tasty treat that’s perfect for any occasion. Whether you’re hosting a party or looking for a quick dinner, these buns won’t disappoint. Let’s dive into the fun and flavorful recipe!
Why I Love This Recipe
- Flavor Explosion: These buns are packed with a delicious blend of creamy, cheesy, and spicy flavors that are sure to satisfy your taste buds.
- Easy to Make: This recipe comes together quickly, making it perfect for busy weeknights or last-minute gatherings.
- Perfect for Sharing: These slider buns are ideal for parties or game day, allowing everyone to enjoy a bite-sized portion of this cheesy goodness.
- Customizable: You can easily adjust the spice level by adding more or less Sriracha, making it suitable for all spice tolerances.
Ingredients
Key Ingredients
– 2 cups cooked chicken, shredded
– 1 cup cream cheese, softened
– 1 cup shredded cheddar cheese
– ¼ cup Sriracha sauce
The key ingredients make these buns tasty and fun. The cooked chicken adds protein. It also gives a nice texture. Cream cheese makes the filling rich and creamy. Shredded cheddar cheese adds a sharp flavor. Sriracha sauce brings heat and spice. This mix creates an explosion of flavors.
Optional Ingredients
– Fresh cilantro, chopped (for garnish)
– 1 tablespoon olive oil for brushing
– Additional spices (e.g., paprika, garlic powder)
Optional ingredients can enhance the dish. Fresh cilantro adds a pop of color and freshness. Olive oil helps with flavor and keeps the buns from getting soggy. Extra spices like paprika or garlic powder can boost flavor. You can mix and match to make it your own.

Step-by-Step Instructions
Preparing the Chicken Mixture
1. In a large mixing bowl, combine the cooked chicken and creamy ingredients.
2. Add the cream cheese, shredded cheddar cheese, and mayonnaise.
3. Pour in the Sriracha sauce for heat.
4. Sprinkle garlic powder, onion powder, paprika, salt, and pepper.
5. Mix thoroughly until all ingredients are well combined.
Preparing the Buns
1. Preheat your oven to 350°F (175°C).
2. Carefully slice the slider buns in half without separating them completely.
3. Brush the inside of each bun with olive oil to add flavor.
Baking the Chicken Buns
1. Spoon a generous amount of the chicken mixture into each bun.
2. Spread the mixture evenly inside the buns.
3. Place the filled buns on a baking sheet lined with parchment paper.
4. Bake in the preheated oven for 15-20 minutes.
5. Look for the cheese to melt and the buns to turn golden brown.
Pro Tips
- Use Leftover Chicken: This recipe is perfect for utilizing leftover rotisserie chicken, making it a quick and easy meal option.
- Adjust the Spice Level: If you prefer a milder flavor, reduce the amount of Sriracha or substitute it with a mild hot sauce.
- Experiment with Cheeses: Feel free to mix in other cheeses like mozzarella or pepper jack for an extra cheesy and flavorful filling.
- Make Ahead: You can prepare the chicken mixture ahead of time and store it in the fridge for a few hours before filling the buns.
Tips & Tricks
Perfecting the Recipe
To make Cheesy Dynamite Chicken Buns, you want the filling just right. The mix should be creamy but not runny. Start with 1 cup of cream cheese and ½ cup of mayonnaise. This combo gives a smooth texture that holds well in the bun.
For cheese, I love shredded cheddar. It melts perfectly and adds a rich taste. You can also try pepper jack for a spicy kick. Mozzarella is a great option too, giving a gooey melt. Mix and match your favorites for fun flavors!
Baking Tips
Baking these buns at the right temperature is key. Preheat your oven to 350°F (175°C). This heat allows the cheese to melt and the buns to get golden. If it’s too hot, the buns can burn before the filling warms through.
To avoid soggy buns, brush the insides with olive oil. This step creates a barrier between the filling and the bread. You can also toast the buns lightly before filling them. This adds a nice crunch and keeps them from getting soggy during baking.
Variations
Flavor Modifications
You can switch up the sauce in this recipe. If Sriracha feels too spicy, try BBQ sauce or ranch dressing. Both add a nice twist without the heat. You can even mix different sauces for a unique flavor.
When it comes to cheese, cheddar is a star, but you can explore more. Pepper jack gives a spicy kick, while mozzarella adds a creamy stretch. Try gouda for a rich, smoky flavor. Each cheese option changes the taste, so feel free to experiment!
Dietary Variations
If you need gluten-free buns, look for gluten-free slider options. Many stores have tasty choices that hold up well in this recipe. Just check the label to make sure they are safe for your diet.
For a vegetarian twist, use jackfruit or mushrooms. Shredded jackfruit mimics chicken’s texture well. Cook it with spices for rich flavor. Chopped mushrooms also work great. They add a nice, earthy taste that pairs perfectly with the cheese!
Storage Info
Storing Leftovers
To keep your Cheesy Dynamite Chicken Buns fresh, place leftovers in an airtight container. Make sure they cool down before sealing. Store them in the fridge for up to three days. If you want to keep them longer, freezing is your best friend. Wrap each bun tightly in plastic wrap, then place them in a freezer bag. They can last up to three months in the freezer.
Reheating Instructions
When you’re ready to enjoy your leftovers, reheating is key. Preheat your oven to 350°F (175°C). Place the buns on a baking sheet. Cover them with foil to keep moisture in. Heat for about 10-15 minutes, or until warmed through. This method helps keep the buns soft and the cheese gooey. Avoid the microwave, as it can make the buns soggy. Enjoy the same great taste!
FAQs
Can I use canned chicken for this recipe?
Yes, you can use canned chicken. Just make sure to drain it well. Canned chicken saves time and is easy to use. It still gives you a tasty filling for your buns. If you use canned chicken, shred it with a fork for better texture.
How spicy are Cheesy Dynamite Chicken Buns?
The spice level depends on how much Sriracha you add. The recipe calls for ¼ cup of Sriracha. This gives a nice kick without being too hot. If you want more heat, add more Sriracha. For less spice, reduce the amount or use a milder sauce.
Can I prepare the chicken mixture ahead of time?
Yes, you can prep the chicken mix ahead. It saves time on busy days. Just mix all the ingredients and store in the fridge. Use a sealed container to keep it fresh.
– Tips for meal prepping:
– Make the chicken mix the night before.
– Let it sit in the fridge for a few hours.
– Best practices for storing prepped filling:
– Use an airtight container for storage.
– Keep it in the fridge for up to 3 days.
– For longer storage, freeze it for up to a month.
This blog post covered how to make Cheesy Dynamite Chicken Buns. We looked at key ingredients like chicken, cream cheese, and Sriracha. You learned step-by-step how to prepare, bake, and perfect your buns. I shared tips on variations and storage for leftovers.
Enjoy experimenting with flavors and making this dish your own. With a few simple tweaks, you can create a meal that everyone will love. Happy cooking!


