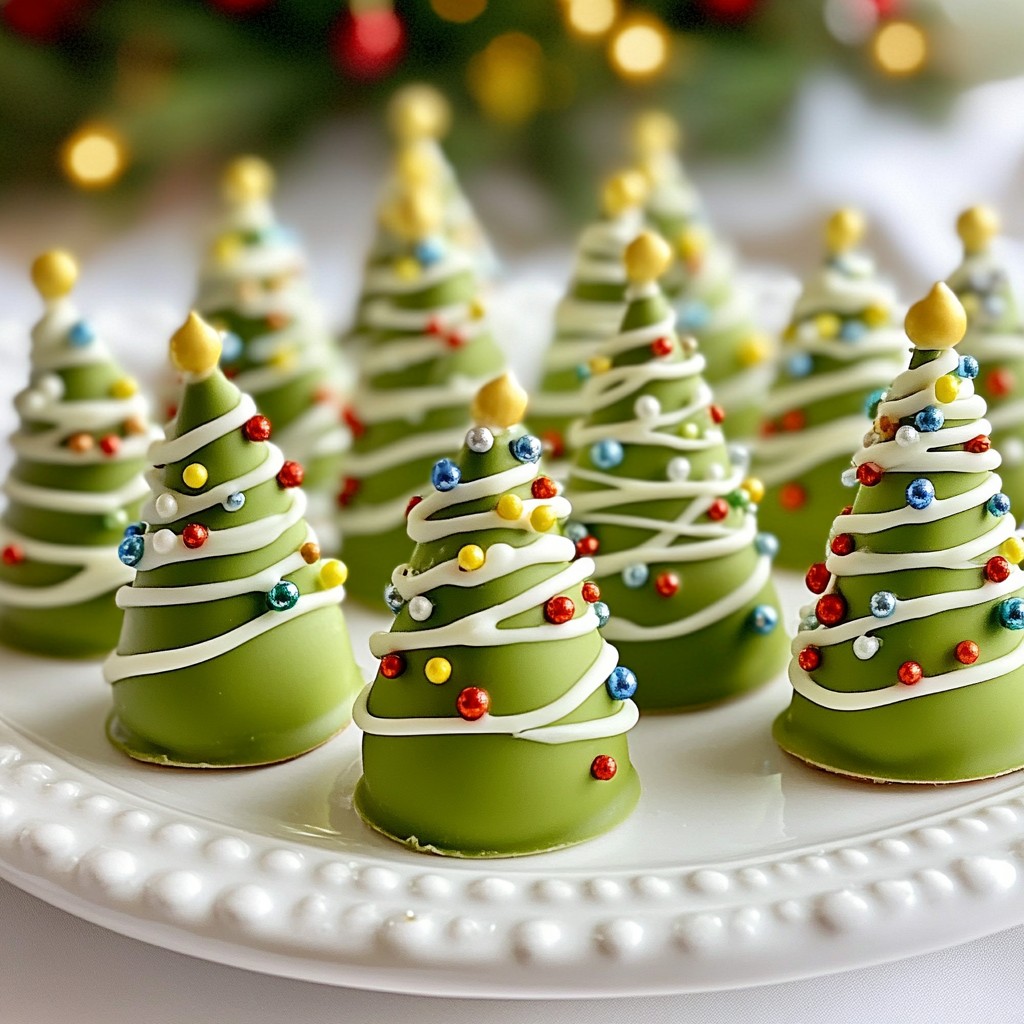
Get ready to add a festive touch to your holiday treats with my Christmas Tree Cake Pops! These adorable, edible trees are perfect for parties, gifts, or a fun family activity. Made from simple ingredients and easy steps, you can create these delightful pops in no time. Join me as we dive into the fun of baking and decorating, and make this season a little sweeter!
Why I Love This Recipe
- Festive Fun: These Christmas Tree Cake Pops are not only delicious but also bring a fun, festive spirit to your holiday gatherings!
- Customizable Decorations: With assorted sprinkles and the option to drizzle white chocolate, you can personalize each tree to your liking.
- Great for Gifting: Package these adorable treats in a festive box for a lovely homemade gift that friends and family will adore.
- Easy to Make: With simple steps and readily available ingredients, these cake pops are perfect for bakers of all skill levels!
Ingredients
List of Ingredients
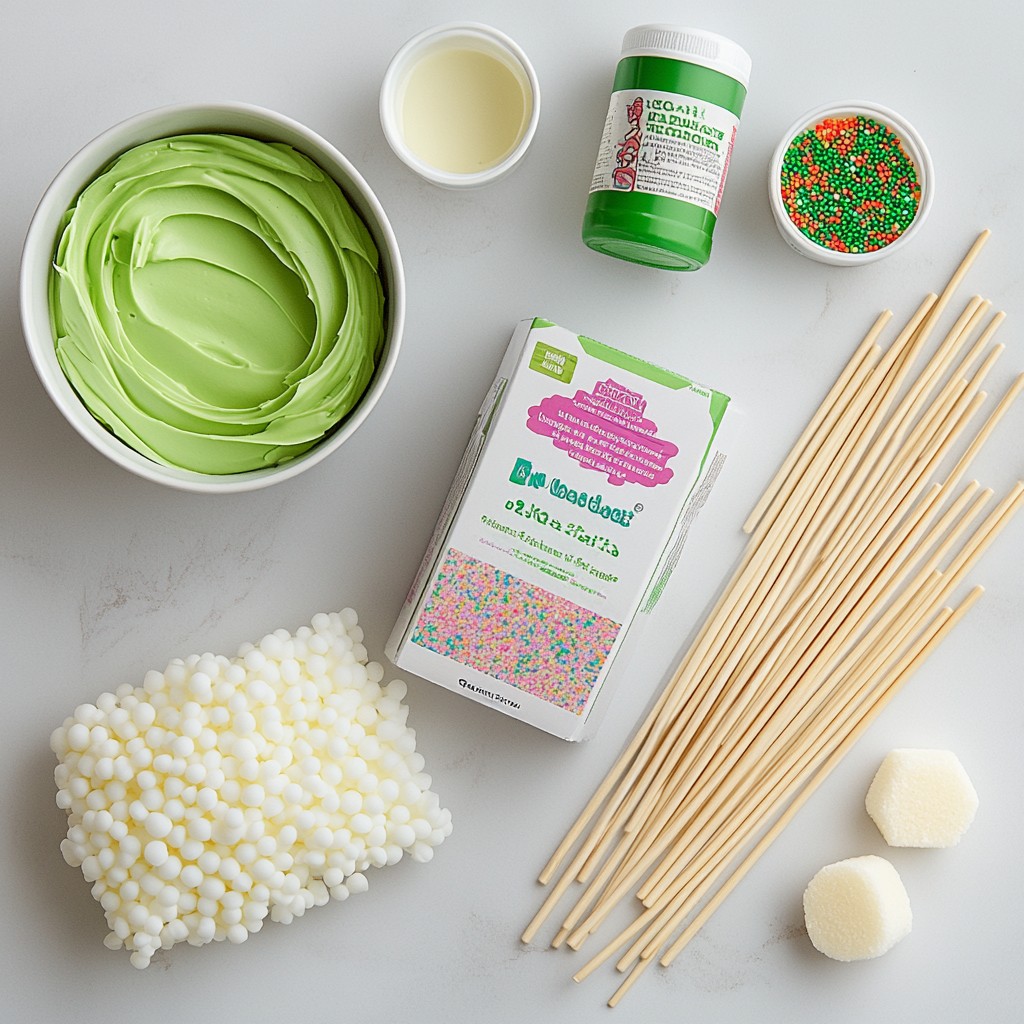
- 1 box of vanilla cake mix and ingredients required on the box
- 1 cup of frosting (vanilla or cream cheese)
- 1 teaspoon peppermint extract
- Green food coloring
- 1 cup of chocolate candy melts (green)
- 1 cup of white chocolate candy melts
- Assorted sprinkles for decoration
- Lollipop sticks
- Styrofoam block or cake pop stand
When making Christmas tree cake pops, gather all the ingredients first. This helps you stay organized and makes the process smoother. Start with a box of vanilla cake mix. Follow the instructions on the box for the perfect base. You can choose vanilla or cream cheese frosting. Both options taste great and add a nice creaminess.
The peppermint extract gives a holiday twist to your cake pops. A teaspoon is enough to add flavor without overpowering the cake. Next, grab some green food coloring. This will help you achieve that festive tree color.
For the coating, you will need green and white chocolate candy melts. These melts create a smooth coating that looks stunning. Don't forget your assorted sprinkles! They add fun and style to your cake pops.
Lastly, lollipop sticks are essential for handling your pops. A Styrofoam block or a cake pop stand keeps them upright while they set. This is a simple list, but each item plays a key role in making your cake pops a festive delight.
Step-by-Step Instructions
Baking the Cake
First, prepare the vanilla cake mix. Follow the instructions on the box. Usually, this means mixing the dry cake mix with eggs, water, and oil. Pour the mixture into a 9x13-inch pan and bake it. The baking time is often around 25-30 minutes. When the cake is golden brown, take it out and let it cool completely.
Crumbling the Cake
Once the cake is cool, it’s time to crumble it. Use your fingers to break the cake into small pieces in a large mixing bowl. You want the pieces to be fine, resembling crumbs. This step helps the cake pops hold their shape later.
Mixing with Frosting
Now, add the frosting to the cake crumbs. You can use vanilla or cream cheese frosting. Mix in one cup of frosting and one teaspoon of peppermint extract. Stir until it’s well combined. The mixture should hold together but not be too wet. If it's too dry, add a bit more frosting.
Shaping the Christmas Trees
With clean hands, take some of the mixture and form it into small cone shapes. These will look like Christmas trees. Make them about 2-3 inches tall. Place each shaped tree on a baking sheet lined with parchment paper.
Chilling the Tree Pops
Chill the shaped tree pops in the fridge. Insert a lollipop stick into the base of each tree. Let them chill for at least 30 minutes. This step is important as it helps the trees keep their shape.
Coating the Cake Pops
Next, melt the green candy melts. Use a microwave-safe bowl and heat them in short bursts, stirring until smooth. Dip each tree pop into the melted chocolate. Let any excess chocolate drip off before returning them to the baking sheet.
Decorating the Cake Pops
While the coating is still wet, add sprinkles on top. You can use any festive sprinkles you like. For extra fun, melt white chocolate and drizzle it over some trees. This creates a beautiful snowy effect!
Setting the Cake Pops
Finally, let the decorated cake pops set. Place them in a Styrofoam block or a cake pop stand. Allow them to set for about 15-20 minutes. This ensures they harden properly and look great for your holiday party.
Tips & Tricks
Best Practices for Baking
To get a great cake, follow the box directions carefully. Use fresh ingredients for the best taste. Make sure your oven is preheated. This helps the cake bake evenly. Let the cake cool completely before crumbling. If the cake is warm, it will not mix well with the frosting.
Achieving Smooth Coating
For perfect candy melts, chop them into small pieces. This helps them melt evenly. Use a microwave-safe bowl and heat in short bursts. Stir often to avoid burning. When coating, dip quickly to keep the pops from falling apart. Let the excess chocolate drip off for a smooth finish.
Creative Decoration Ideas
You can use many fun toppings! Try crushed candy canes for a minty crunch. Add colored sprinkles for a holiday look. For a snowy effect, drizzle melted white chocolate on top. Use edible glitter for sparkle. Let your creativity shine with different designs!
Pro Tips
- Chill Before Coating: Ensure the shaped cake pops are well chilled before dipping in the chocolate to help maintain their shape.
- Use Quality Candy Melts: Opt for high-quality candy melts for a smoother coating and better flavor. Consider using a brand with a good reputation.
- Add Extra Flavor: Experiment with different extracts like almond or vanilla in addition to peppermint for a unique taste profile.
- Creative Decorations: Get creative with your sprinkles and decorations! Use edible glitter or colored sugar for a festive look.
Variations
Flavor Variations
You can use different cake flavors for your cake pops. Try chocolate, red velvet, or lemon. Each flavor adds a unique twist. For frosting, use cream cheese, chocolate, or even a fruit-flavored option. These choices can change the taste and feel of your pops.
Design Variations
For decorations, keep it simple or go all out! You can just coat them in green chocolate and add sprinkles. Or you can create a winter wonderland. Use themed sprinkles like snowflakes, stars, or candy canes for fun. For a snowy touch, drizzle melted white chocolate over the top.
Dietary Adjustments
You can make cake pops gluten-free by using a gluten-free cake mix. For a dairy-free version, choose dairy-free frosting and chocolate. These adjustments make cake pops fun for everyone, no matter their food needs. Enjoy making your treats fit for all your guests!
Storage Info
How to Store Cake Pops
To keep your Christmas tree cake pops fresh, store them in an airtight container. Place a layer of parchment paper between the pops to prevent sticking. Keep them in a cool, dry place. If your home is warm, the fridge is a better choice. Avoid freezing them if you plan to eat them soon.
Shelf Life
When stored well, cake pops can last up to one week. If you keep them in the fridge, they may stay fresh a little longer. Check for any changes in texture or smell before serving. This ensures you enjoy the best flavors.
Freezing Instructions
Want to save some cake pops for later? Follow these steps to freeze them:
1. Set the Pops: Let your decorated cake pops set completely at room temperature.
2. Wrap Them: Individually wrap each cake pop in plastic wrap.
3. Place in a Bag: Put the wrapped pops in a freezer-safe bag or container.
4. Label and Date: Write the date on the bag so you remember when you froze them.
5. Freeze: Store them in the freezer for up to three months.
When you’re ready to enjoy, move them to the fridge to thaw overnight. Enjoy your festive treat!
FAQs
What is the best way to melt candy melts?
To melt candy melts, use a microwave-safe bowl. Start by adding the candy melts to the bowl. Heat them in short bursts of 30 seconds. Stir between each round. This keeps the melts from burning. You want a smooth and thick consistency. If it's too thick, add a teaspoon of vegetable oil. This helps it coat better.
Can I use other colors for the cake pops?
Yes, you can use many colors for your cake pops. For Christmas, red and white are great options. You could also use blue and silver for a winter theme. Use colored candy melts or add food coloring to white melts. This lets you create fun and festive designs based on your theme.
How long do the cake pops last?
Cake pops can last about 1 week at room temperature. Store them in an airtight container. If you keep them in the fridge, they can stay fresh for about 2 weeks. For longer storage, you can freeze them. Just wrap each pop in plastic wrap before freezing. They can last up to 3 months in the freezer.
How do I transport cake pops safely?
To transport cake pops, use a sturdy box or container. Place them upright in a Styrofoam block or cake pop stand. This keeps them from tipping over. If you don’t have a stand, use a flat box with a towel for padding. Make sure there is space between each pop to prevent them from touching.
This blog post shared how to make fun Christmas tree cake pops. We covered ingredients, baking, and decorating to create tasty treats. You learned about different flavors and how to store them. Remember to chill your cake shapes for the best results. Don’t hesitate to explore new decorations or flavors for variety. With practice, you will master these delightful cake pops and impress your friends and family. Enjoy your baking journey and share these yummy creations with others!


