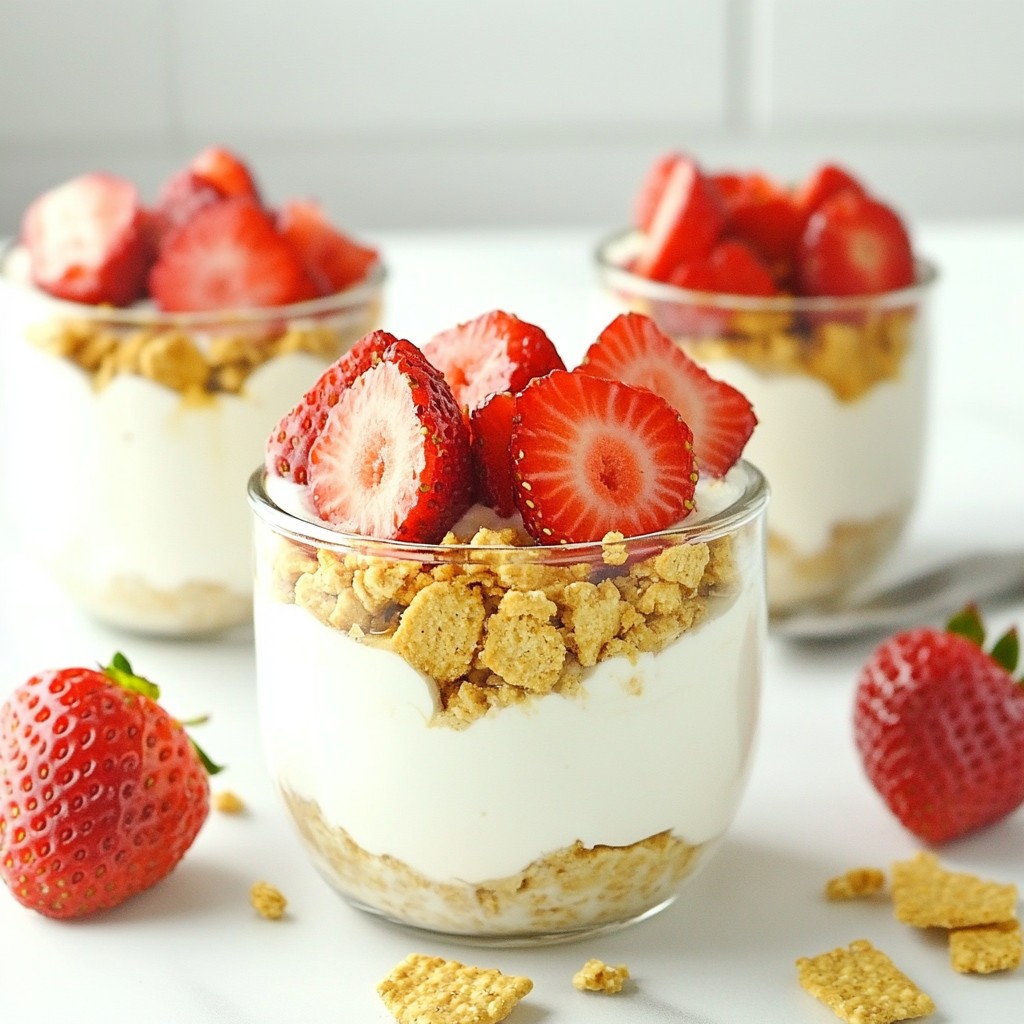
If you love cookies and cream, you’re in for a treat! These Cookies and Cream Cheesecake Cups are easy to make and perfect for any gathering. With a creamy filling and a crunchy base, each bite is pure bliss. I’ll guide you through the simple steps to create this delightful dessert. Plus, I’ll share tips for making them even better. Let’s dive in and whip up this tasty treat together!
Why I Love This Recipe
- Deliciously Creamy: The combination of cream cheese and whipped cream creates a rich and luxurious texture that melts in your mouth.
- Oreo Goodness: Crushed Oreos mixed into the cheesecake provide a delightful crunch and familiar flavor that everyone loves.
- Easy to Prepare: With minimal effort and time, you can whip up these delightful cheesecake cups, making them perfect for last-minute gatherings.
- Customizable Toppings: Feel free to add your favorite toppings like chocolate chips or extra crushed Oreos to personalize each cup!
Ingredients
Main Ingredients List
– 8 oz cream cheese, softened
– ½ cup powdered sugar
– ½ teaspoon vanilla extract
– 1 cup whipped cream (store-bought or homemade)
– 10 Oreo cookies, crushed (plus extra for topping)
– ½ cup sour cream
– ¼ cup milk
Optional Ingredients for Enhanced Flavor
– 1 tablespoon unsweetened cocoa powder (for extra chocolate flavor)
Suggested Garnishes
– Mini chocolate chips (for extra sweetness)
– Extra crushed Oreo cookies (for a crunchy finish)
In this recipe, I focus on simple, tasty ingredients. Cream cheese gives a rich base. Powdered sugar adds sweetness, while vanilla extract lifts the flavor. Whipped cream brings a light, airy texture. Crushed Oreos add a delicious crunch. Sour cream makes the mixture creamy, and milk helps achieve the right consistency.
For those who love chocolate, adding cocoa powder is a great choice. It boosts the chocolate taste and makes these cups even more decadent.
When it comes to garnishes, mini chocolate chips offer an extra treat on top. Crushed Oreos not only look great but also add texture. These toppings make each bite fun and exciting.
Gather these ingredients, and you’re ready to create a dessert that impresses everyone!

Step-by-Step Instructions
Preparing the Cheesecake Mixture
Start by taking 8 oz of softened cream cheese. Place it in a large mixing bowl. Beat it with an electric mixer until smooth and creamy. This step is key for a fluffy texture. Next, add ½ cup of powdered sugar and ½ teaspoon of vanilla extract. Mix until everything is well blended. Now, gently fold in 1 cup of whipped cream. Be careful not to deflate it. The whipped cream adds a lightness that makes the cheesecake delicious.
Mixing the Oreo Cookie Base
In a separate bowl, take 10 crushed Oreo cookies. Combine them with ½ cup of sour cream and ¼ cup of milk. Mix until the cookies are fully coated. This will give your base a rich, creamy flavor. If you want a chocolate kick, add 1 tablespoon of unsweetened cocoa powder. Mix again until it’s smooth. This step makes the flavor pop and adds depth to your dessert.
Assembling the Cheesecake Cups
Now, it’s time to layer your dessert. Take small cups or mini jars and spoon the cheesecake mixture into them. Fill each cup about ¾ full. This gives enough space for garnishes and keeps it from overflowing. Next, take some crushed Oreo cookies and sprinkle them on top of each cup. This adds a crunchy texture and a nice look. You can also add mini chocolate chips for an extra treat if you like.
Setting Time and Final Touches
Once assembled, refrigerate the cheesecake cups for at least 2 hours. This time allows the flavors to meld and the cheesecake to set. Before serving, feel free to add more crushed Oreos or chocolate chips on top. For a special touch, drizzle some chocolate syrup around the base of the cups. This makes the dessert even more appealing. Enjoy the process, and get ready for smiles when you serve these delicious treats!
Pro Tips
- Use Room Temperature Cream Cheese: Let your cream cheese sit out for about 30 minutes before mixing. This helps achieve a smoother consistency and prevents lumps in your cheesecake mixture.
- Crush Oreos Properly: For the best texture, crush the Oreo cookies into fine crumbs using a food processor or a ziplock bag with a rolling pin. This ensures an even distribution in your cheesecake cups.
- Chill to Set: Be sure to refrigerate the cheesecake cups for at least 2 hours. This allows the flavors to meld and the mixture to firm up, making it easier to serve.
- Garnish Creatively: Elevate your presentation by adding whipped cream dollops or a drizzle of chocolate syrup on top before serving. It adds visual appeal and extra flavor!
Tips & Tricks
Achieving the Perfect Texture
To get the best texture, use softened cream cheese. This makes it easy to mix. Beat it until smooth and creamy. When you add the whipped cream, fold it in gently. This keeps the mixture light and fluffy. If you want a richer taste, use full-fat cream cheese. It adds more creaminess.
Common Mistakes to Avoid
One common mistake is over-mixing the whipped cream. This can make your cheesecake dense. Be careful when folding it into the cream cheese mix. Another mistake is not chilling the cups long enough. They need at least 2 hours to set. If you skip this step, they may not hold their shape.
Serving and Presentation Ideas
Serve your cheesecake cups chilled for the best taste. You can place them on a nice tray. Drizzle some chocolate syrup around the base for a fancy touch. For added flair, sprinkle mini chocolate chips or crushed Oreos on top. This makes your dessert look as good as it tastes!
Variations
Different Flavor Profiles
You can mix things up with different flavors. Try using peanut butter cookies instead of Oreos. This gives a rich nutty taste. You could also use chocolate sandwich cookies for an extra chocolatey treat. Imagine using mint cookies for a fresh twist! Vanilla wafers can make a delightful change too. Each cookie adds a unique flavor to your cheesecake cups.
Dietary Modifications (Gluten-Free, Vegan)
To make these cheesecake cups gluten-free, swap Oreos for gluten-free cookies. Many brands offer great options. For a vegan version, use dairy-free cream cheese and whipped cream. Make sure to check labels for hidden dairy. You can also use coconut cream as a tasty alternative. These swaps keep the dessert tasty and friendly for everyone.
Alternative Serving Techniques
You can serve these cups in many fun ways. Use small mason jars for a cute twist. They look great and are easy to grab. If you want a more elegant look, use clear glass cups. Layer the cheesecake and cookie mix for a beautiful effect. You can also create mini parfaits by adding fruit between the layers. This adds freshness and color to your dessert!
Storage Info
Best Practices for Refrigeration
To keep your cookies and cream cheesecake cups fresh, store them in the fridge. Use an airtight container. This helps prevent any unwanted smells from getting in. Make sure to keep them covered, so they stay moist. You can also place plastic wrap directly on top of each cup. This extra step helps maintain their texture and flavor.
Freezing Cheesecake Cups
If you want to save some for later, you can freeze these cheesecake cups. First, let them cool completely in the fridge. Then, place them in a freezer-safe container. You can also wrap each cup in plastic wrap before placing them in a container. When you’re ready to enjoy them, let them thaw in the fridge overnight. Avoid thawing them at room temperature, as this can make them too soft.
Shelf Life and Quality Tips
The cheesecake cups last about 4-5 days in the fridge. After this time, they can lose their creamy texture. If frozen, they can last for about 2-3 months. However, for the best taste, eat them within a month. Always check for any changes in smell or texture before eating. If they seem off, it’s best to throw them away.
FAQs
Can I make these cheesecake cups ahead of time?
Yes, you can make these cheesecake cups a day in advance. Just store them in the fridge. They taste even better after chilling overnight. This gives the flavors time to blend.
What can I use instead of cream cheese?
If you want a dairy-free option, use cashew cream or silken tofu. They create a smooth texture. For a lighter taste, consider ricotta cheese. Just blend it well.
How to prevent the cheesecake from cracking?
To avoid cracks, mix gently and don’t overbeat the cream cheese. Chilling the cups slowly helps, too. Also, don’t open the fridge while they set. This keeps the temperature steady.
What are the best serving suggestions for cheesecake cups?
Serve them chilled for the best taste. Add a drizzle of chocolate syrup or fresh berries on top. For extra flair, use a decorative tray. It makes your dessert look fancy.
Can I substitute Oreos with other cookies?
Absolutely! You can use any chocolate cookie, like chocolate wafers or even graham crackers. Just crush them well. This gives you a fun twist on the flavor.
We explored how to make delicious cheesecake cups and enhance their flavor. I shared key ingredients and easy steps for the perfect treat. Remember to avoid common pitfalls and consider fun variations. Store them right to keep them fresh. Enjoy your cheesecake cups, and let your creativity shine with them. Happy baking!


