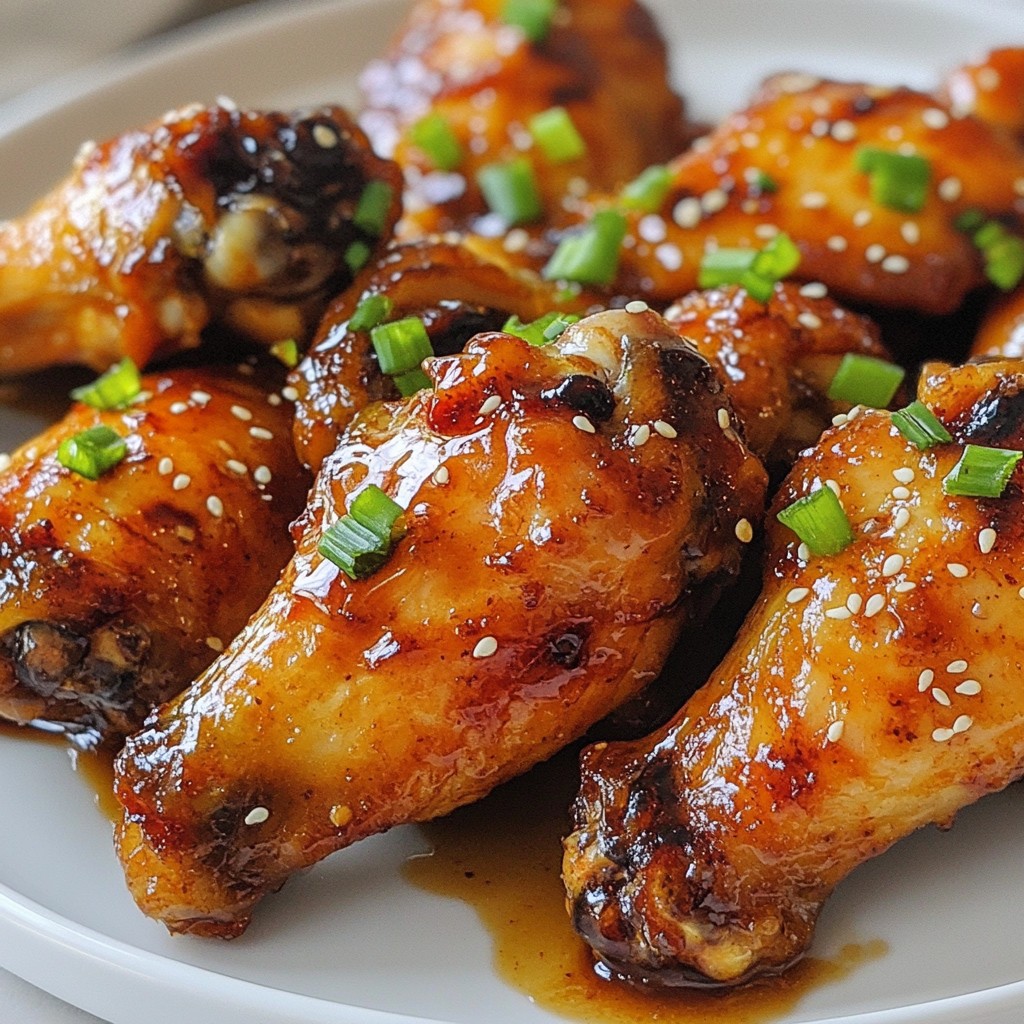
Are you ready to elevate your snack game? My Garlic Butter Cheeseburger Rollups are quick, easy, and packed with flavor! These tasty treats combine juicy beef, melty cheese, and buttery garlic flavor, all wrapped in soft crescent dough. Perfect for parties or a cozy night in, I’ll guide you through every step to make these mouthwatering rollups. Dive in and discover how simple it is to impress your family and friends!
Why I Love This Recipe
- Easy to Make: This recipe is simple and quick, perfect for busy weeknights or last-minute gatherings.
- Delicious Flavor: The combination of garlic butter and savory beef creates a mouthwatering taste that everyone will love.
- Cheesy Goodness: With melted cheddar cheese inside, these rollups are gooey and satisfying, making them a hit with kids and adults alike.
- Versatile Snack: These rollups can be served as an appetizer, snack, or even a main dish, making them a versatile addition to any meal.
Ingredients
Main Ingredients
– 1 pound ground beef
– 1 tablespoon Worcestershire sauce
– 1 teaspoon garlic powder
– 1 teaspoon onion powder
– Salt and pepper, to taste
– 1 cup shredded cheddar cheese
Additional Ingredients
– 1 package refrigerated crescent roll dough
– 4 tablespoons unsalted butter, melted
– 3 cloves garlic, minced
– Fresh parsley, chopped (for garnish)
For these Garlic Butter Cheeseburger Rollups, I focus on using simple yet flavorful ingredients. Ground beef is the star of the dish, providing a hearty base. I add Worcestershire sauce for umami and depth. The garlic powder and onion powder bring in a savory touch, while salt and pepper enhance the overall taste.
Cheddar cheese makes each bite creamy and rich. It melts perfectly, creating a delicious filling.
Next, I use crescent roll dough for the outer layer. It gives a flaky texture that contrasts nicely with the beef. Unsalted butter mixed with fresh garlic is brushed on top, adding flavor and a shiny finish. Finally, the chopped parsley not only looks good but adds a fresh taste to the rollups.
These ingredients work together to create a tasty treat that is easy to make and fun to eat.

Step-by-Step Instructions
Preparation Steps
1. First, preheat your oven to 375°F (190°C). This step gets your oven ready for baking.
2. Next, line a baking sheet with parchment paper. This keeps the rollups from sticking.
3. In a large skillet, cook 1 pound of ground beef over medium heat. Use a spatula to break it apart. Cook until it turns brown.
4. Drain any excess fat from the beef.
5. Stir in 1 tablespoon of Worcestershire sauce, 1 teaspoon of garlic powder, 1 teaspoon of onion powder, and add salt and pepper to taste. Mix well.
6. Remove the skillet from heat and let the beef mixture cool for a few minutes.
Rolling and Baking
1. Roll out 1 package of refrigerated crescent roll dough on a lightly floured surface. Make sure to pinch the seams together to form a solid sheet.
2. Cut the dough into rectangles that are roughly 4 inches by 6 inches. This gives you enough space for filling.
3. Place a spoonful of the beef mixture on the wider end of each rectangle. Don’t forget to sprinkle some shredded cheddar cheese on top!
4. Roll the dough up tightly from the wider end. Place each roll seam-side down on the prepared baking sheet.
5. In a small bowl, mix 4 tablespoons of melted unsalted butter with 3 cloves of minced garlic. Brush this garlic butter generously over each rollup.
6. Bake the rollups in the preheated oven for 12 to 15 minutes. They should be golden brown and the cheese melted.
Cooling and Serving
1. Once baked, remove the rollups from the oven. Let them cool slightly before serving.
2. For a touch of color, garnish with chopped fresh parsley. This adds both flavor and a nice look to your dish.
Pro Tips
- Use Lean Beef: Opt for lean ground beef to reduce excess grease and create a healthier rollup.
- Customize the Cheese: Experiment with different types of cheese, such as pepper jack or mozzarella, for a unique flavor.
- Make Ahead: Prepare the rollups in advance and refrigerate them. Bake just before serving for a fresh out-of-the-oven taste.
- Garnish for Flavor: Fresh herbs like chives or cilantro can enhance the flavor and presentation of your rollups.
Tips & Tricks
Cooking Tips
To get perfectly browned beef, cook it over medium heat. Break it apart with a spatula as it cooks. This helps the meat brown evenly. Drain any extra fat to keep it from being greasy.
When sealing the dough, roll it tightly. Start from the wider end and keep the filling inside. Pinch seams together to avoid leaks. This ensures a nice, neat rollup.
Baking Tips
For even baking, space the rollups on the baking sheet. Leave some room between each rollup. This helps hot air circulate around them.
Check for doneness after 12 minutes. Look for a golden brown color. The cheese should be melted. If they need more time, bake them for a few more minutes.
Flavor Enhancement
You can try different cheeses for extra taste. Mozzarella or pepper jack can work well. Each cheese brings a unique flavor to the rollups.
Adding spices can boost flavor, too. Consider paprika or Italian seasoning. You can also add a drizzle of your favorite sauce, like barbecue or hot sauce, for extra zing.
Variations
Ingredient Swaps
You can easily swap out the ground beef. Try using ground turkey or chicken instead. These meats are leaner but still tasty. They will make your rollups lighter and healthier.
You can also change the cheese. Cheddar is great, but mozzarella or pepper jack can add a nice twist. Each cheese brings its own flavor, so feel free to experiment.
Flavor Twist Ideas
Adding veggies can really boost the taste. Dice up some bell peppers and mix them into the beef. They add crunch and color to your rollups.
You can also use fresh or dried herbs for more flavor. Basil or oregano can work well. These herbs make each bite taste fresh and aromatic.
Serving Suggestions
Pair these rollups with dips for extra fun. A ranch dip or spicy ketchup works great. You can also try a creamy cheese sauce.
For side dishes, think about fries or a fresh salad. Both options complement the rollups well. You can create a full meal with these simple sides.
Storage Info
Storing Leftovers
To keep your Garlic Butter Cheeseburger Rollups fresh, store them in an airtight container. Always let them cool to room temperature before sealing. This way, they won’t steam and get soggy. You can keep the rollups in the fridge for about three days. Make sure to check for any signs of spoilage before eating.
Freezing Tips
If you want to save some for later, freezing is a great option. Wrap each rollup tightly in plastic wrap. Then, place them in a freezer-safe bag or container. They can last up to three months in the freezer. When you’re ready to eat, thaw them in the fridge overnight. Reheat in the oven at 350°F (175°C) for about 10-15 minutes until warm.
Serving Suggestions for Leftovers
If you have some rollups left, don’t worry! You can turn them into a fun meal. Slice them into bite-sized pieces and serve with dipping sauces like ranch or BBQ. You can also chop them up and toss them into a salad for extra flavor. They make a great topping for nachos too! Just get creative and enjoy your leftovers in new ways.
FAQs
How do I customize Garlic Butter Cheeseburger Rollups?
You can add many tasty twists to these rollups. Here are some ideas:
– Use ground turkey or chicken instead of beef.
– Mix in diced bell peppers or onions for extra crunch.
– Swap cheddar for mozzarella or pepper jack cheese.
– Drizzle with your favorite sauce like BBQ or hot sauce.
– Add spices like paprika or cayenne for a kick.
Can I make these rollups ahead of time?
Yes, you can prep these rollups in advance. To do this:
1. Prepare the beef mixture and let it cool.
2. Roll the dough and fill it with the beef mix.
3. Place the rollups on the baking sheet.
4. Cover and refrigerate for up to 24 hours.
5. Bake them when you’re ready to eat.
What can I serve with Garlic Butter Cheeseburger Rollups?
These rollups pair well with many sides. Here are some popular choices:
– Crispy french fries or sweet potato fries.
– A fresh garden salad with a simple dressing.
– Crunchy vegetable sticks with ranch dip.
– Homemade coleslaw for a tangy contrast.
– Baked beans for a hearty touch.
How long do Garlic Butter Cheeseburger Rollups last in the fridge?
These rollups stay good in the fridge for about 3-4 days. To keep them fresh:
– Store them in an airtight container.
– Reheat in the oven or microwave before serving.
Are there vegetarian alternatives for this recipe?
Yes, you can make these rollups meatless. Here are some ideas:
– Use cooked lentils or black beans as the filling.
– Add sautéed mushrooms for a hearty texture.
– Use plant-based cheese for a dairy-free option.
– Mix in spinach or kale for extra nutrients.
You now have a complete guide to making Garlic Butter Cheeseburger Rollups. We covered the main ingredients like ground beef, Worcestershire sauce, and cheddar cheese. You learned step-by-step how to prepare, roll, and bake these tasty treats.
Feel free to get creative with swaps and flavor twists. Don’t forget about storage tips for leftovers—they can be just as delicious the next day. With this knowledge, you can impress friends with a fun dish. Enjoy every bite!


