Are you ready to bake a gluten-free bread that tastes amazing and is easy to make? In this guide, I'll share my favorite recipe for a gluten-free bread machine loaf. We’ll cover everything from key ingredients to step-by-step instructions. Plus, I’ll give you tips for the perfect texture and common troubleshooting advice. Let’s dive into baking a delicious loaf that everyone will love!
Why I Love This Recipe
- Simple and Convenient: This recipe utilizes a bread machine, making the process effortless and perfect for busy days.
- Delicious Flavor: The combination of almond flour and olive oil gives this bread a rich, nutty flavor that everyone will love.
- Gluten-Free Goodness: Enjoy a delightful bread experience without gluten, suitable for those with dietary restrictions.
- Versatile Usage: This bread is perfect on its own, with spreads, or as a side dish for soups and salads.
Ingredients for Gluten Free Bread Machine Loaf
Key Ingredients List
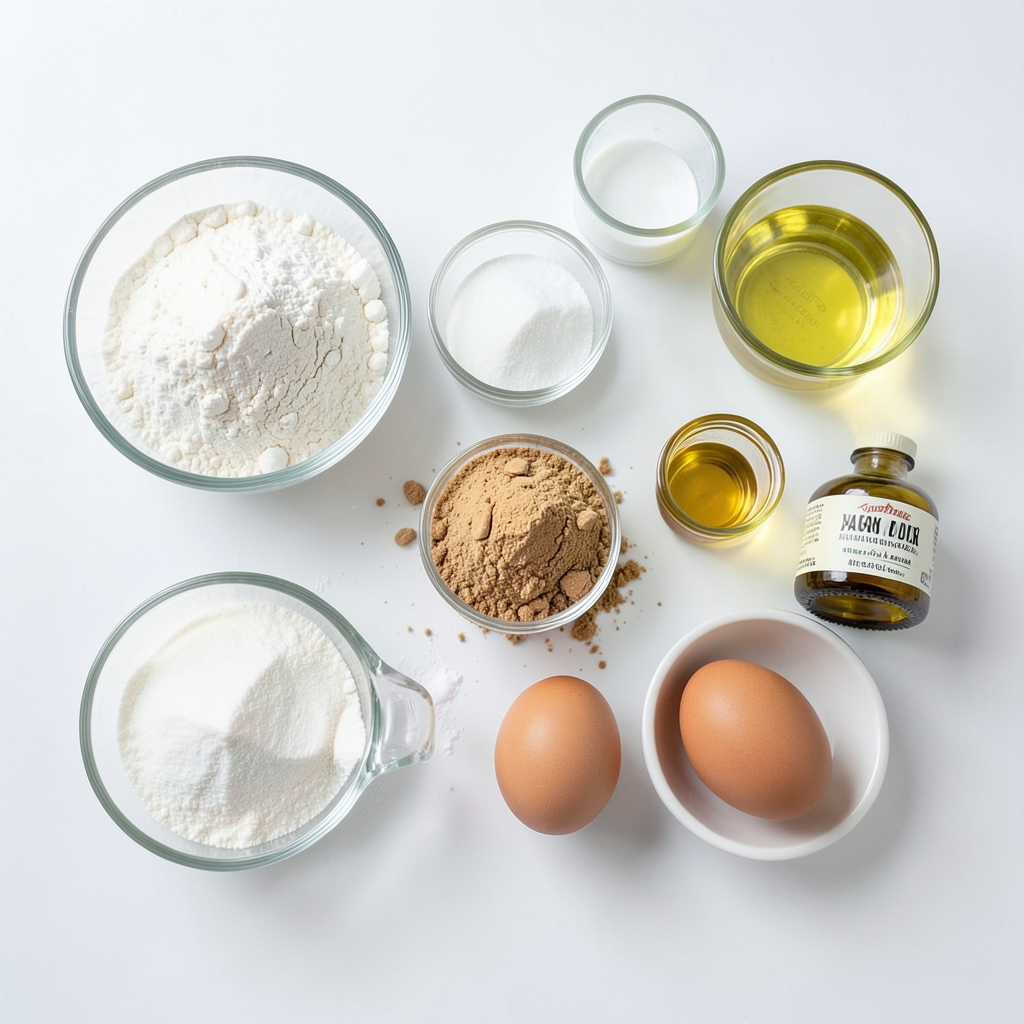
To make a gluten-free bread machine loaf, gather the following ingredients:
- 2 cups gluten-free all-purpose flour
- 1/2 cup tapioca flour
- 1/4 cup almond flour
- 1/4 cup sugar
- 1 teaspoon salt
- 1 tablespoon baking powder
- 1/2 teaspoon xanthan gum
- 1 cup warm water (about 110°F)
- 1/3 cup olive oil
- 3 large eggs
- 1 teaspoon apple cider vinegar
Gluten-Free Flours Explained
Gluten-free flours are key to your loaf. Each flour adds unique traits.
- Gluten-free all-purpose flour serves as the main base. It mimics regular flour's texture.
- Tapioca flour adds chewiness and helps with the rise.
- Almond flour gives a nutty flavor and moistness.
Using a mix of these flours creates a better texture and flavor in your bread.
Importance of Additives
Additives are crucial for gluten-free baking. They help mimic gluten's effects.
- Xanthan gum acts as a binder. It keeps the bread from crumbling.
- Baking powder helps the bread rise. It gives your loaf a light, airy feel.
These additives make your loaf both easy to slice and pleasant to eat. Using them ensures your gluten-free bread tastes great and has a good texture.
Step-by-Step Instructions
Preparing Your Bread Machine
Start by cleaning your bread machine. Make sure it is ready for use. Set it to the gluten-free setting. This setting helps make a perfect loaf that rises well.
Mixing Dry Ingredients
In a large bowl, gather your dry ingredients. Combine these items:
- 2 cups gluten-free all-purpose flour
- 1/2 cup tapioca flour
- 1/4 cup almond flour
- 1/4 cup sugar
- 1 teaspoon salt
- 1 tablespoon baking powder
- 1/2 teaspoon xanthan gum
Mix these well until there are no lumps. This step is vital for even flavor.
Adding Wet Ingredients and Combining
In another bowl, whisk together your wet ingredients. Use:
- 1 cup warm water (about 110°F)
- 1/3 cup olive oil
- 3 large eggs
- 1 teaspoon apple cider vinegar
Make sure this mixture is smooth and well combined. Pour it into the bread machine pan. Then, add the mixed dry ingredients on top.
Selecting the Right Setting
Close the lid of your bread machine. Choose the gluten-free bread setting. This setting is designed to handle the unique needs of gluten-free dough. After selecting, start the machine.
Monitoring Dough Consistency
After a few minutes, check how the dough looks. The dough should be thick but smooth. If it seems too dry, add a teaspoon of water. If it looks too wet, add a tablespoon of flour. This step helps get the right texture.
Baking and Cooling Process
Let the bread machine do its job. The baking cycle takes about 2-3 hours. Once done, carefully take the bread pan out. Let it cool in the pan for about 10 minutes. Then move the bread to a wire rack to cool completely. This cooling helps improve the texture. After it cools, slice it with a serrated knife. Enjoy it fresh with your favorite spread!
Tips & Tricks for Perfect Gluten Free Bread
Achieving the Right Dough Consistency
To get a great loaf, the dough must feel just right. It should be thick but smooth. After mixing, check the dough. If it feels too dry, add a teaspoon of warm water. If it feels too wet, add a tablespoon of gluten-free flour. This small change can make a big difference. Aim for a dough that holds its shape but can still spread a bit.
Best Practices for Kneading and Mixing
Most bread machines do the kneading for you, which is a huge help. Still, you can check the dough after a few minutes. Use a spatula to push down the sides of the pan. This ensures all ingredients mix well. If you see dry spots, give it a little stir with a spoon. This way, every part of the dough gets mixed evenly.
How to Store Gluten-Free Bread for Freshness
Once your bread cools, store it correctly to keep it fresh. Wrap it in plastic wrap or use an airtight container. You can also slice the bread and freeze it. This makes it easy to grab a slice whenever you want. Just toast it straight from the freezer, and it will taste fresh! Remember, gluten-free bread can dry out faster, so keep it sealed tight for the best flavor.
Pro Tips
- Use Room Temperature Ingredients: For the best texture and rise, ensure your eggs and water are at room temperature before mixing.
- Check Dough Consistency: Always monitor the dough during the mixing phase; it should be thick and smooth. Adjust with water or flour as needed.
- Experiment with Flavors: Feel free to add herbs, spices, or seeds to the dough for added flavor and texture!
- Store Properly: To keep your bread fresh, store it in an airtight container at room temperature or freeze for longer storage.
Variations of Gluten Free Bread Machine Loaf
Adding Seeds and Nuts for Texture
You can make your gluten-free bread more interesting by adding seeds and nuts. Sunflower seeds, pumpkin seeds, and chia seeds add a nice crunch. For nuts, try walnuts or almonds. These not only give a great texture but also boost the nutrition. Just remember to chop nuts finely before adding them. Use about 1/2 cup of seeds or nuts for a lovely mix.
Flavor Enhancements (Herbs, Spices, Sweeteners)
You can elevate the flavor of your bread with herbs and spices. Try adding dried rosemary or thyme for a savory twist. Cinnamon and nutmeg work well for a sweet loaf. If you prefer a sweeter bread, you can add up to 1/4 cup of honey or maple syrup. Adjust the sugar in the recipe if you do. These flavors will make each slice special.
Alternative Gluten-Free Flour Mixes
If you want to try different textures, use other gluten-free flours. Coconut flour adds a mild flavor but absorb a lot of moisture. You can mix it with almond flour to balance it out. Brown rice flour or oat flour also works great. Just keep the total flour amount the same. Experimenting with different blends can lead to exciting taste and texture.
Troubleshooting Common Gluten-Free Bread Issues
Common Problems and Solutions
Baking gluten-free bread can be tricky. Here are some common issues and quick fixes.
- Bread Falls Flat: This often happens when the dough lacks structure. Check if your xanthan gum is fresh. This helps hold the bread together.
- Dense Texture: If your bread feels heavy, you might have added too much flour. Measure carefully to get the right balance.
- Crust is Too Hard: A hard crust can occur from baking too long. Try a shorter baking time next time.
Adjusting Ingredients for Desired Texture
You can tweak your ingredients to change the texture. Here’s how:
- Add More Liquid: If your bread is crumbly, try adding a bit more warm water. This can help create a softer loaf.
- Use Different Flours: Mixing in different gluten-free flours can change the bread’s feel. For example, try adding a bit of coconut flour for a lighter texture.
- Eggs Matter: Eggs add moisture and help with rise. If your bread is too dense, consider adding an extra egg.
Key Tips for First-Time Bakers
Starting out can feel overwhelming, but these tips will help:
- Follow the Recipe: Stick closely to the recipe for best results. Each ingredient plays a key role.
- Check Dough Consistency: After mixing, look at your dough. It should be thick but smooth. Adjust with water or flour if needed.
- Use the Right Setting: Always use the gluten-free setting on your bread machine. This setting adjusts time and temperature for gluten-free needs.
These tips should guide you to bake a perfect gluten-free bread machine loaf. Enjoy the process and have fun experimenting!
FAQs about Gluten Free Bread Machine Loaf
Can I use regular flour instead of gluten-free flour?
No, you cannot use regular flour. Gluten-free bread needs special flours. These flours do not have gluten. Gluten helps bread rise and stay soft. You need to use gluten-free all-purpose flour for the best results. This flour mix is made for gluten-free recipes. It gives your bread a good texture and taste.
How do I know when gluten-free bread is done?
Check the color and feel of the bread. Gluten-free bread will be golden brown on top. It should feel firm but not hard. If you tap the bottom, it should sound hollow. For best results, use a toothpick. Insert it into the center. If it comes out clean, the bread is done.
Can I freeze gluten-free bread, and how should I do it?
Yes, you can freeze gluten-free bread. This keeps it fresh. First, let the bread cool completely. Then slice it into pieces. Wrap each slice in plastic wrap. Place the wrapped slices into a freezer bag. You can also freeze the whole loaf. Just wrap it well. When you need it, thaw in the fridge or at room temperature.
What are the best bread machines for gluten-free baking?
Look for machines with a gluten-free setting. These machines mix the dough well. Some great options include the Zojirushi BB-PDC20BA, Cuisinart CBK-200, and Panasonic SD-YD250. Read reviews to find the best one for you. A good machine will help you bake perfect gluten-free bread every time.
You learned about the key ingredients and steps for making gluten-free bread in a machine. Understanding flours and additives is essential for great results. I shared tips for perfect texture and flavor. Variations can make your bread unique, while troubleshooting common issues helps new bakers succeed. Lastly, FAQs answer your most pressing questions. Remember, with practice and the right techniques, you can enjoy delicious gluten-free bread at home. Happy baking!