Do you love the sweet, chewy taste of Samoas cookies? You're in the right place! I’m excited to share my homemade recipe that captures all the flavors you crave. With simple ingredients and easy steps, you can bake a delightful treat that rivals your favorite store-bought cookies. Join me as we dive into making these deliciously chewy Samoas cookies that will impress your friends and family! Let’s get started!
Why I Love This Recipe
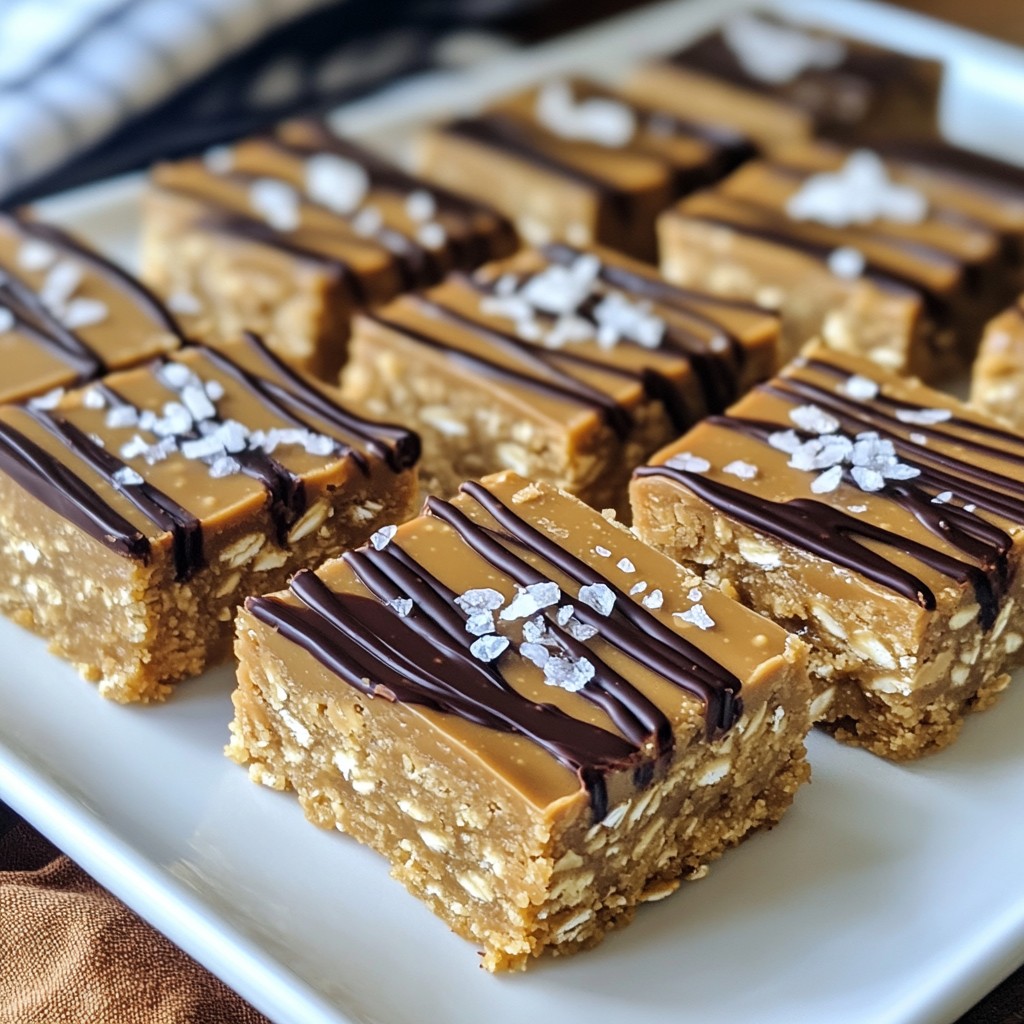
- Irresistible Combination: The blend of buttery cookie, rich caramel, and toasted coconut creates a flavor explosion that’s hard to resist.
- Homemade Goodness: Making these cookies from scratch allows you to control the ingredients and ensure freshness, making each bite even more special.
- Perfect for Sharing: With 24 cookies in this recipe, they are perfect for gatherings, parties, or simply sharing with friends and family.
- Fun to Make: The process of shaping the cookies and drizzling chocolate is not only enjoyable but also a great activity to do with kids or friends.
Ingredients
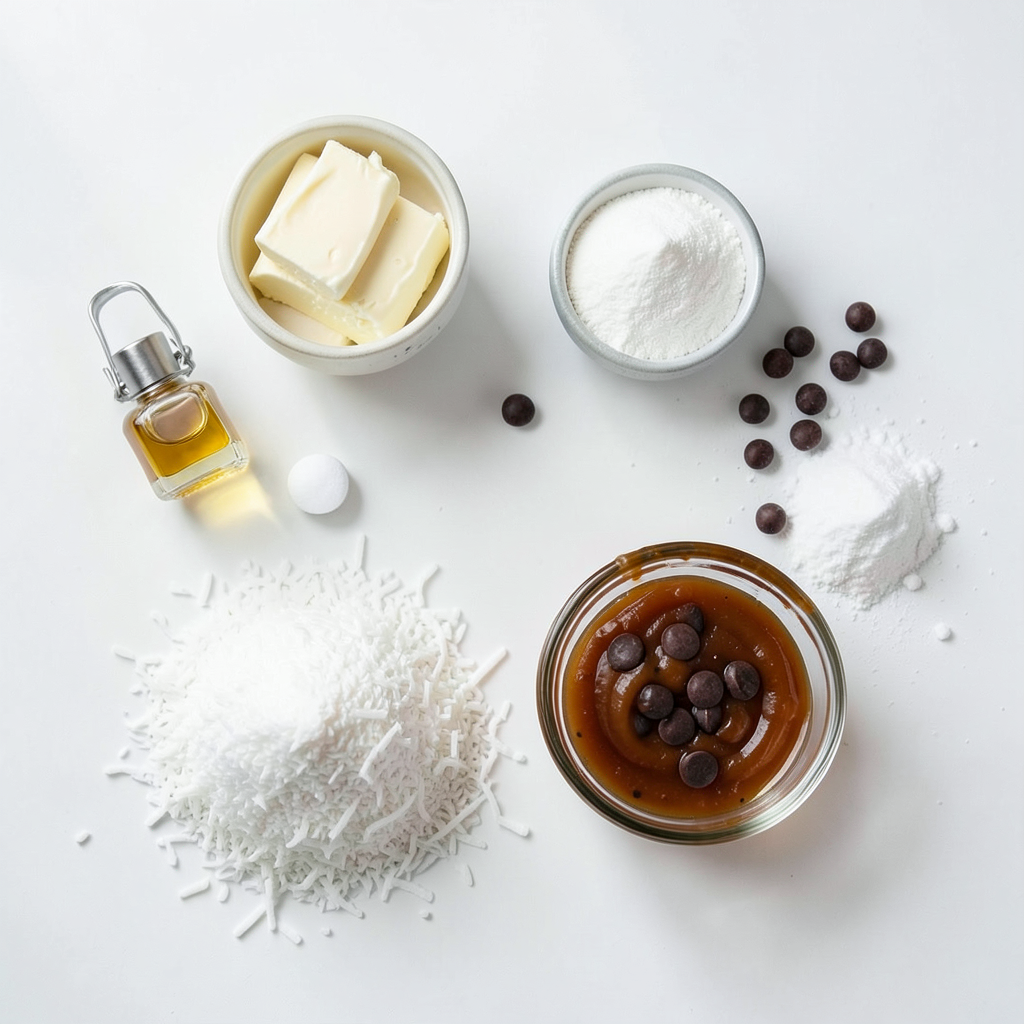
List of Ingredients
- 1 cup unsalted butter, softened
- 1 cup granulated sugar
- 2 teaspoons vanilla extract
- 2 cups all-purpose flour
- 1/2 teaspoon salt
- 1/4 teaspoon baking powder
- 1 cup unsweetened shredded coconut
- 1 cup caramel sauce (homemade or store-bought)
- 1 cup semi-sweet chocolate chips
- 1 tablespoon coconut oil
To make homemade Samoas cookies, you need simple ingredients. Start with unsalted butter. Softening it first makes mixing easier. Granulated sugar adds sweetness. Vanilla extract gives a nice flavor. All-purpose flour forms the base. Salt and baking powder balance the taste and help cookies rise.
Shredded coconut is key for that chewy texture. You can use either homemade or store-bought caramel sauce for topping. Semi-sweet chocolate chips make the cookies rich and sweet. Coconut oil helps the chocolate melt smoothly for dipping.
Gather these ingredients before you start. It makes the process smooth and fun. Each item plays a vital role in creating delicious Samoas cookies.
Step-by-Step Instructions
Preparing the Dough
First, I cream the softened butter and sugar in a large bowl. I mix them until the mixture looks light and fluffy. This step helps the cookies rise well. Next, I add two teaspoons of vanilla extract. The vanilla gives a rich flavor to the dough.
Dry Ingredients Combination
In another bowl, I whisk together two cups of all-purpose flour, half a teaspoon of salt, and a quarter teaspoon of baking powder. This mix is key to making the cookies rise. I then gradually add this dry mix to the butter mixture. I blend them until just combined, being careful not to overmix.
Baking Process
Once the dough is ready, I shape it into a disc. I cover it with plastic wrap and refrigerate it for about 30 minutes. Chilling the dough helps it hold its shape while baking. After chilling, I preheat the oven to 350°F (175°C). I roll out the dough on a floured surface until it is about a quarter inch thick. Using a round cookie cutter, I cut out cookies and make a smaller hole in the center of each one.
I place the cookies on a parchment-lined baking sheet and bake for 10 to 12 minutes. I watch for the edges to become lightly golden. Once baked, I let them cool on a wire rack.
Preparing Toppings
While the cookies cool, I prepare the toppings. I spread one cup of shredded coconut on a baking sheet. I toast it in the oven for about 5 to 7 minutes. I keep an eye on it to ensure it turns golden brown. Then, I mix the toasted coconut with half of the caramel sauce in a bowl. I stir until the coconut is well coated.
Final Assembly
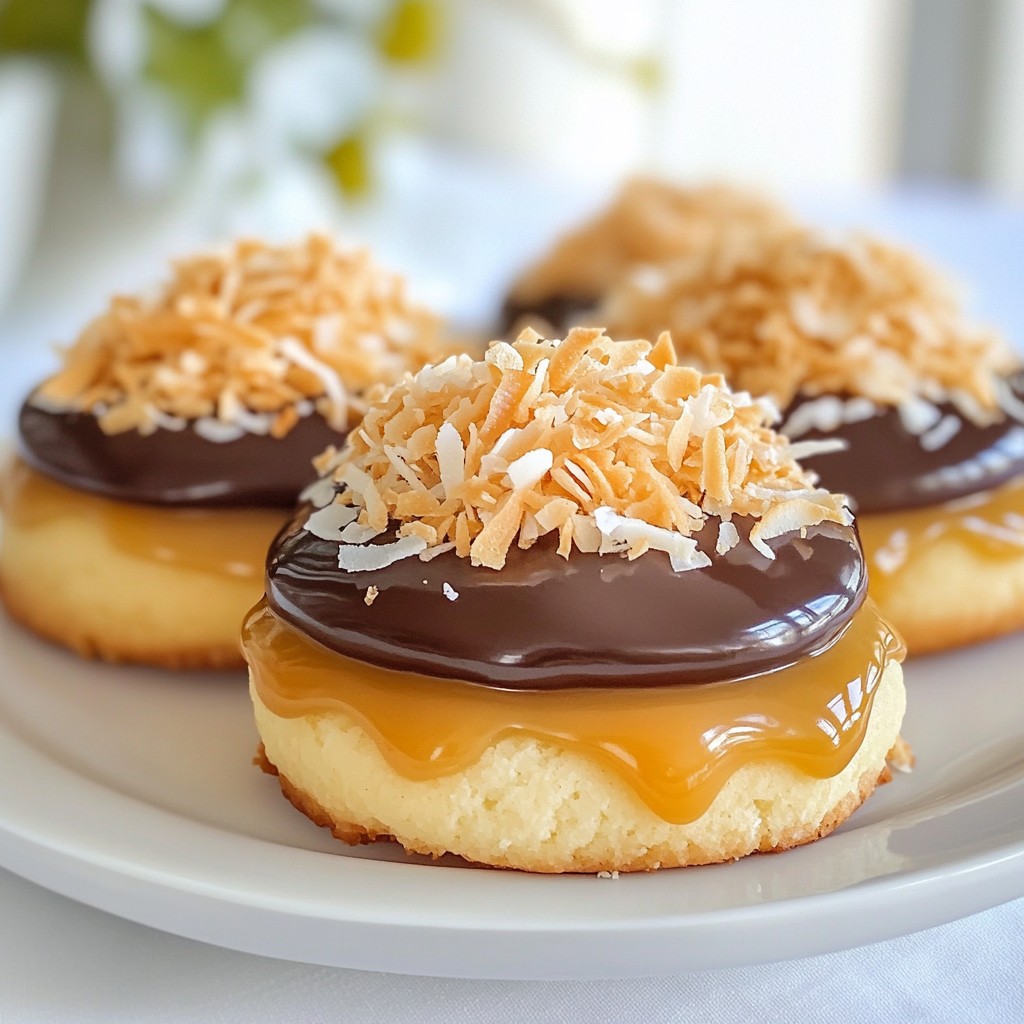
When the cookies are cool, I top each one with a spoonful of the remaining caramel sauce. Then, I add the coconut mixture on top, pressing down gently to make it stick.
For the final touch, I melt one cup of semi-sweet chocolate chips with one tablespoon of coconut oil in a microwave-safe bowl. I microwave in 30-second intervals, stirring each time until smooth. I dip the bottom of each cookie into the melted chocolate. I let the excess chocolate drip off and place them back on the wire rack. Finally, I drizzle the remaining chocolate over the top of each cookie. I chill the cookies in the refrigerator for about 30 minutes to set the chocolate.
Tips & Tricks
Achieving the Perfect Dough
To get the right dough for your Samoas, start by creaming the butter and sugar until light and fluffy. This step adds air and makes the dough tender. Next, when you mix in the dry ingredients, do it slowly. This helps blend everything well without overworking the dough.
Chilling the dough is crucial. Wrap it in plastic and refrigerate for 30 minutes. This step firms it up, making it easier to roll out and cut. Plus, it helps the cookies keep their shape while baking.
Melting Chocolate
For smooth melting, use a microwave-safe bowl. Combine the chocolate chips and coconut oil before heating. Heat in 30-second bursts, stirring in between. This method helps prevent burning.
To avoid seizing, keep water away from the chocolate. If any water gets in, it will clump. Always dry your bowl and utensils.
Storing Cookies
To keep your cookies fresh, store them in an airtight container. Place parchment paper between layers to avoid sticking. If it's warm, keep them in the fridge.
For long-term storage, you can freeze them. Wrap cookies well in plastic wrap and place them in a freezer bag. They can last up to three months frozen. Always let them thaw at room temperature before enjoying.
Pro Tips
- Chill the Dough: Chilling the dough helps prevent the cookies from spreading too much during baking, ensuring they maintain their shape.
- Use Fresh Coconut: For the best flavor, use fresh shredded coconut if possible. It enhances the overall taste and texture of the cookies.
- Perfect Chocolate Coating: Ensure the chocolate is smooth and fully melted before dipping. Stirring in coconut oil helps achieve a glossy finish.
- Storage Tips: Store cookies in an airtight container at room temperature for up to a week, or refrigerate to extend freshness.
Variations
Different Chocolate Types
You can switch up the chocolate for your Samoas. Dark chocolate adds a rich taste. It balances the sweet caramel and coconut well. White chocolate gives a different flavor. It makes the cookies sweeter and creamier. Try both to find your favorite!
Nut Additions
Adding nuts can boost the flavor of your Samoas. Chopped pecans or almonds work great. They add a lovely crunch and a nutty taste. Just mix them into the coconut and caramel topping. This small change makes your cookies special!
Coconut Alternatives
Not a fan of coconut? You can use other toppings. Try crushed graham crackers for a unique twist. Peanut butter or Nutella can also be fun. They add a different taste and texture. Experiment with flavors you love!
Storage Info
Room Temperature Storage
To store your homemade Samoas cookies at room temperature, use an airtight container. Stack the cookies in a single layer or separate them with parchment paper to avoid sticking. Keep the container in a cool, dry place. This way, the cookies stay fresh and chewy. They can last up to one week this way.
Freezing Instructions
If you want to enjoy your Samoas cookies later, freezing is a great option. First, let the cookies cool completely. Then, place them in a single layer on a baking sheet. Freeze them for about one hour until firm. After that, transfer the cookies to a freezer-safe container or bag. Be sure to remove as much air as possible. They can last in the freezer for up to three months. When you're ready to eat them, let the cookies thaw at room temperature.
Shelf Life
Homemade Samoas cookies can last about one week at room temperature. If you store them properly, they stay fresh and tasty. If you freeze them, they can last for three months. To keep them at their best, avoid exposing them to heat or moisture. Enjoy your cookies at their peak flavor!
FAQs
How do I know when my cookies are done baking?
You can tell when your cookies are done by looking for a few signs. First, the edges should be lightly golden. The center may still look soft, and that is okay. You can also lightly press the cookie with your finger. If it springs back, it is done. Keep an eye on the time. Bake for 10 to 12 minutes for best results.
Can I use margarine instead of butter?
Yes, you can use margarine in place of butter. However, it will change the flavor and texture a bit. Butter gives your cookies a rich taste. Margarine may make them softer and less flavorful. If you choose margarine, look for one with a high-fat content for better results.
What can I substitute for coconut?
If you have a coconut allergy, try using chopped nuts or oats instead. Chopped almonds or pecans will add a nice crunch. You can also use sunflower seeds for a nut-free option. Just remember that the taste will change, but they will still be tasty!
Can these cookies be made ahead of time?
Yes, you can make these cookies ahead of time. Prepare the dough and chill it in the fridge for up to 3 days. You can also bake the cookies and store them in an airtight container. They will stay fresh for about a week. If you want to keep them longer, freeze them for up to three months.
You now have a full guide to making delicious cookies. We covered ingredients, step-by-step instructions, and tips for success. Don't forget to explore variations to make them your own. Store your cookies right to keep them fresh. Remember, baking is fun! You can adjust recipes and personalize flavors. Enjoy the process and share these treats with friends and family. Happy baking!