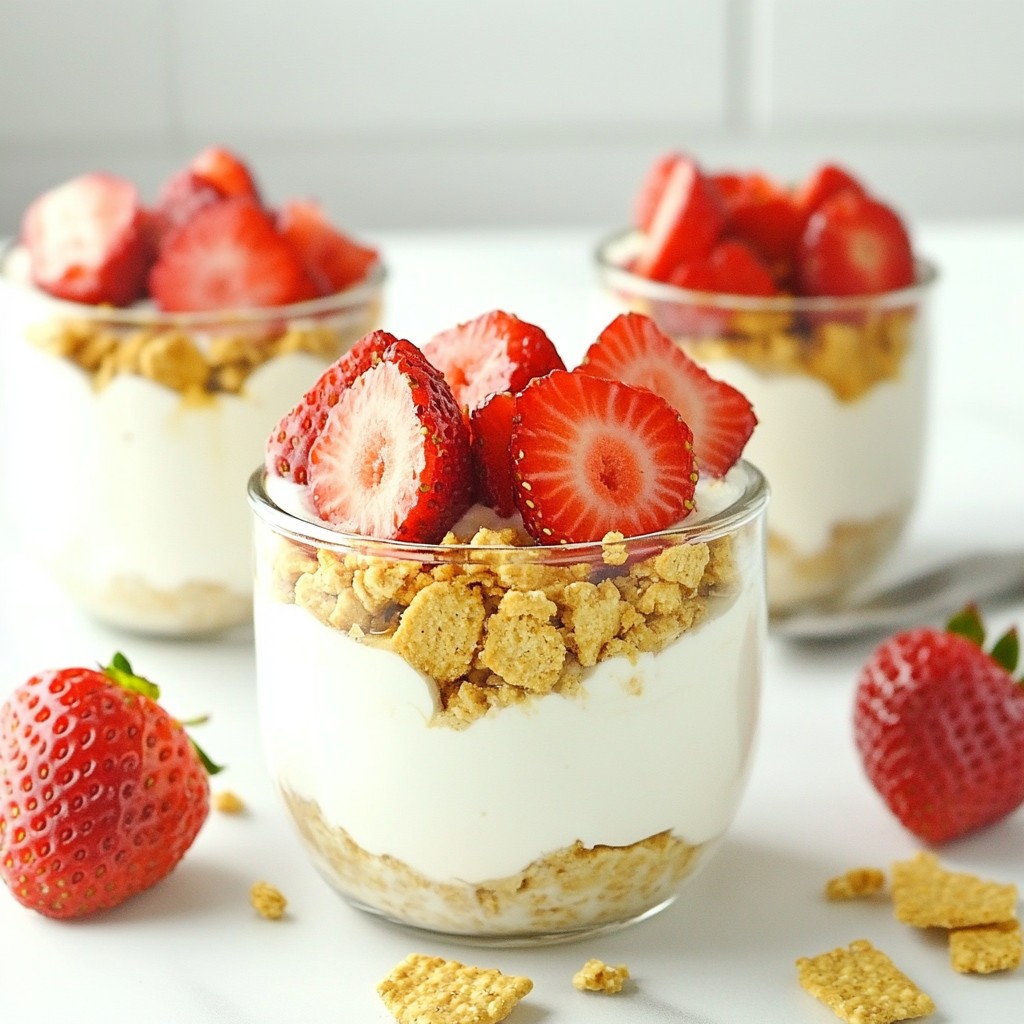
If you love the tart and creamy taste of key lime pie, you’ll adore these No Bake Key Lime Pie Parfaits! This simple dessert captures all the flavors you crave without the fuss of baking. With easy-to-find ingredients and quick steps, you’ll whip up a delightful treat that impresses everyone. Let’s dive into the specifics, and I’ll show you how to make this perfect summer dessert!
Why I Love This Recipe
- Easy to Make: This no-bake recipe requires minimal effort and time, making it perfect for any occasion.
- Refreshing Flavor: The tartness of key lime juice combined with the sweetness of condensed milk creates a delightful balance.
- Stunning Presentation: Layering the ingredients in clear glasses showcases the beautiful colors and textures, making it visually appealing.
- Perfect for Summer: This light and airy dessert is great for hot days, offering a refreshing treat after any meal.
Ingredients
Key Ingredients Overview
For my Key Lime Pie Parfaits, I focus on a few key ingredients. Each one plays a role in creating that creamy delight. Here’s what you need:
– 1 cup key lime juice (freshly squeezed, if possible)
– 1 (8 oz) package cream cheese, softened
– 1 (14 oz) can sweetened condensed milk
– 1 teaspoon vanilla extract
– 1 cup whipped topping (like Cool Whip)
– 1 cup graham cracker crumbs
– 2 tablespoons melted butter
– Zest of 2 limes (for garnish)
– Lime slices (for garnish)
The key lime juice gives that tart flavor we love. The cream cheese and sweetened condensed milk bring creaminess. The whipped topping adds lightness, while the graham cracker crumbs give a crunchy base.
Substitutions for Key Ingredients
You can swap some ingredients if needed. Here are my go-to options:
– Key lime juice: Bottled key lime juice works but may lack freshness.
– Cream cheese: Use mascarpone for a different cream flavor.
– Sweetened condensed milk: Try coconut milk for a dairy-free version.
– Whipped topping: You could use homemade whipped cream instead.
– Graham cracker crumbs: Use crushed cookies or nuts for variety.
These swaps help keep the taste close to the classic while allowing flexibility based on what you have on hand.
Necessary Equipment
To make these parfaits, you’ll need a few simple tools:
– Mixing bowls
– Electric mixer
– Measuring cups and spoons
– Serving glasses or bowls
– Spatula for folding
These tools make the process smooth and easy. You can make these parfaits in just a few steps with the right setup.

Step-by-Step Instructions
Preparing the Crust Layer
To start, take one cup of graham cracker crumbs and two tablespoons of melted butter. In a medium bowl, mix the crumbs and butter until the crumbs are well coated. Grab your serving glasses or bowls for the parfaits. Spoon a layer of the graham cracker mixture into the bottom of each glass. Press it down gently to form a solid crust layer. This crust is the base of your parfait and adds that classic key lime pie crunch.
Making the Key Lime Filling
Now for the creamy, zesty filling! In a large mixing bowl, beat one package of softened cream cheese until it is smooth. This step is key for a creamy texture. Next, add one can of sweetened condensed milk slowly while mixing. Then, pour in one cup of freshly squeezed key lime juice and one teaspoon of vanilla extract. Mix everything together well until it’s all blended into a creamy filling. Finally, gently fold in one cup of whipped topping. This will give the filling a light and fluffy texture that tastes heavenly.
Assembling the Parfaits
It’s time to put everything together! Start with a spoonful of the graham cracker crust in each glass. Then add a layer of the key lime filling on top. Smooth it out with a spatula for a nice finish. Repeat this process: add more graham cracker crust, followed by more key lime filling. Keep layering until the glasses are full, making sure the last layer is the creamy filling. Once you’ve finished layering, place the parfaits in the refrigerator for at least two hours. This chilling time helps the flavors meld and sets the filling. Before serving, add a sprinkle of lime zest and a slice of lime on top for a lovely touch.
Pro Tips
- Use Fresh Limes: For the best flavor, always opt for freshly squeezed key lime juice instead of bottled juice.
- Chill the Filling: Allow the filling to chill slightly before layering it to ensure it holds its shape better in the parfaits.
- Layering Technique: Alternate layers of graham cracker crust and key lime filling to create visually appealing parfaits.
- Garnish Creatively: Use additional lime zest and slices to enhance the presentation and add a burst of flavor on top.
Tips & Tricks
Achieving the Perfect Creamy Texture
To get a smooth and creamy filling, start with soft cream cheese. If it’s too cold, your mixture will be lumpy. Use an electric mixer to beat the cream cheese well before adding other ingredients. Gradually mix in the sweetened condensed milk and key lime juice. This helps to combine everything better. Lastly, gently fold in the whipped topping. This keeps your filling light and fluffy, which is key for parfaits.
Best Practices for Chilling
Chilling is very important for these parfaits. After you layer the filling and crust, place them in the fridge. Let them chill for at least two hours. This helps the flavors blend and the filling to set. If you can wait longer, try to chill overnight. The longer they sit, the better they taste. Just remember to cover them with plastic wrap to keep them fresh.
Serving Suggestions
For a great presentation, use clear glasses. This shows off the pretty layers of crust and filling. You can add a sprinkle of lime zest on top for color. A slice of lime on the edge adds a nice touch too. You may even serve with colorful straws for fun. These parfaits are perfect for parties or as a sweet treat after dinner. Enjoy!
Variations
Mini Parfaits for Parties
Mini parfaits are a fun twist. Use small cups or shot glasses. They look cute and are easy to grab. Layer the graham cracker crumbs and key lime filling just like the larger version. Each guest can enjoy their own little treat. This idea is perfect for parties, picnics, or any gathering. You can even set up a parfait bar with toppings.
Key Lime Pie Parfaits with Different Fruits
You can add fruits for a new taste. Try strawberries, blueberries, or mango. These fruits add color and sweetness. Just chop them up and layer them with the key lime filling. The fresh fruit pairs well with the tart lime. It creates a bright and fruity variation. Mix and match your favorite fruits for a fun twist.
Gluten-Free Version
For a gluten-free option, swap the graham crackers. Use gluten-free cookies instead. You can also use crushed nuts for a nutty flavor. Make sure to check the labels on your ingredients. Ensure all are gluten-free. This version still tastes great and works for those with gluten allergies. Enjoying key lime parfaits is now possible for everyone!
Storage Info
How to Store Leftover Parfaits
To store leftover parfaits, cover them tightly with plastic wrap or a lid. Place them in the fridge. This keeps them fresh for a few days. Try to eat them within three days for the best taste.
Best Practices for Keeping Ingredients Fresh
For the best flavor, store your key lime juice in an airtight container. Keep it in the fridge, where it can last up to one week. If you have extra graham cracker crumbs, seal them in a bag and store them in a cool, dry place. This keeps them crunchy and ready to use.
Tips for Reheating (if applicable)
Since this recipe does not require baking, reheating is not needed. Just enjoy the parfaits cold from the fridge. If you want a warm treat, consider making a key lime pie instead.
FAQs
Can I use bottled key lime juice instead of fresh?
Yes, you can use bottled key lime juice. However, fresh juice gives the best flavor. Fresh limes have a bright taste that enhances the parfait. If you use bottled juice, check for quality. Some brands may have added sugars or preservatives. This can change the overall sweetness and tanginess of your dessert.
How long do Key Lime Pie Parfaits last in the fridge?
Key Lime Pie Parfaits last about 3 to 4 days in the fridge. Store them in airtight containers to keep them fresh. Over time, the graham cracker crust may soften. For the best texture, enjoy them within the first couple of days. If you notice any off smells or changes in texture, it’s best to discard them.
Can I make these parfaits in advance?
Absolutely! You can make these parfaits a day ahead. Just layer and chill them in the fridge. This helps the flavors blend and the filling set perfectly. Keep the garnishes, like lime zest and slices, until just before serving. This keeps them fresh and vibrant for a lovely presentation.
In this blog post, we explored the key ingredients for Key Lime Pie Parfaits, along with substitutes and equipment needed. We provided step-by-step instructions for preparing the crust, filling, and assembling the parfaits. Helpful tips ensured a creamy texture and proper chilling. We also discussed fun variations like mini parfaits and gluten-free options. Finally, I shared storage tips to keep your parfaits fresh. Enjoy creating these treats, and don’t hesitate to experiment with flavors to make them your own!


