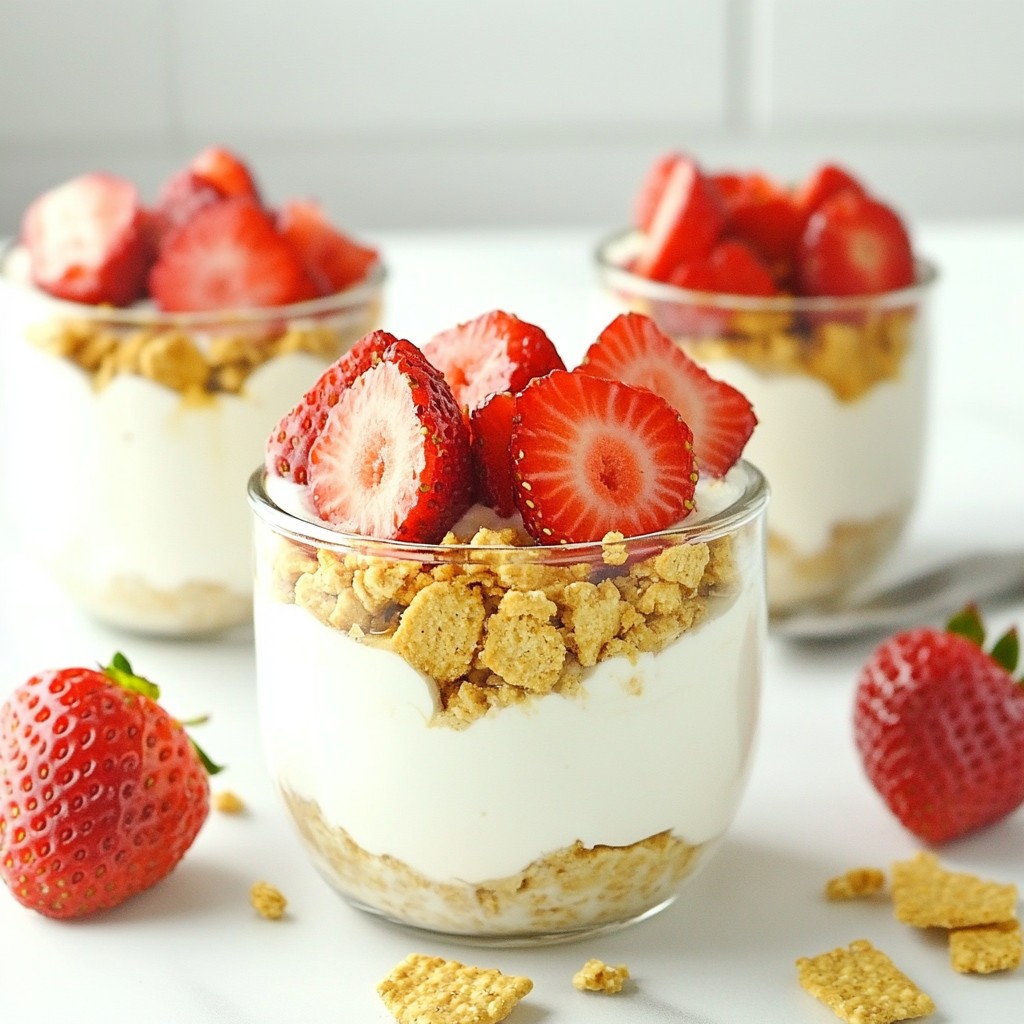
Craving a dessert that’s easy and delicious? Look no further than this No Bake Oreo Cheesecake! With just a few simple ingredients, you can whip up a creamy delight that will impress everyone. Forget the oven! I’ll guide you through each step to make this mouth-watering treat. Perfect for any occasion or just a sweet finish to your day, let’s dive into this cheesecake magic together!
Why I Love This Recipe
- Decadent Flavor: This no-bake cheesecake combines the rich, creamy texture of cream cheese with the delightful crunch of Oreo cookies, creating a dessert that's irresistibly delicious.
- Easy to Make: With straightforward steps and no oven required, this recipe is perfect for bakers of all skill levels, ensuring a stress-free cooking experience.
- Perfect for Any Occasion: Whether it’s a birthday, holiday, or just a casual get-together, this cheesecake is a crowd-pleaser that fits any event.
- Make Ahead Convenience: Because it needs to chill, you can prepare it in advance, allowing you to enjoy more time with your guests rather than in the kitchen.
Ingredients
For a delicious No Bake Oreo Cheesecake, you need these simple ingredients:
– 24 Oreo cookies, crushed
– 5 tablespoons unsalted butter, melted
– 16 oz cream cheese, softened
– 1 cup powdered sugar
– 1 teaspoon vanilla extract
– 1 ½ cups heavy whipping cream
– 12 Oreo cookies, roughly chopped for filling
– Extra Oreo cookies for topping
These ingredients create a rich and creamy cheesecake. The crushed Oreos form the base, while the cream cheese provides a smooth filling. The heavy cream adds fluffiness, making each bite a delight.
Feel free to experiment with the toppings. You can use chocolate sauce or fresh fruit for a fun twist. Remember, the key to the best cheesecake is using high-quality cream cheese and fresh ingredients. Enjoy creating your masterpiece!

Step-by-Step Instructions
Preparing the Crust
To make the crust, start with 24 crushed Oreo cookies. Mix them with 5 tablespoons of melted butter in a bowl. Stir well until it looks like wet sand. This is key for a good base. Next, press this mixture evenly into the bottom of a springform pan. Make sure it is firm and packed tight. Place the pan in the freezer while you prepare the filling. This helps the crust set better.
Mixing the Filling
Now, let’s make the creamy filling. Take 16 oz of softened cream cheese and beat it in a large bowl. Use an electric mixer to get it nice and smooth. Gradually add 1 cup of powdered sugar. Keep beating until everything is mixed well. Then, add in 1 teaspoon of vanilla extract. This adds a lovely flavor to your cheesecake.
Combining Ingredients
Next, it’s time to make it fluffy. In another bowl, whip 1 ½ cups of heavy whipping cream until stiff peaks form. This means it should hold its shape well. Once it’s ready, gently fold the whipped cream into the cream cheese mixture. Be careful not to deflate it. Then, add in 12 roughly chopped Oreo cookies. Fold them in evenly so every bite has some cookie goodness.
Setting the Cheesecake
Finally, pour the creamy filling over your crust. Use a spatula to smooth the top. Cover the cheesecake with plastic wrap and put it in the fridge. Let it chill for at least 4 hours. If you have time, overnight is even better. This will help it set perfectly.
Pro Tips
- Chill the Tools: Keep your mixing bowl and beaters in the refrigerator for 15-20 minutes before whipping the cream. This helps the cream whip up faster and achieve better volume.
- Perfect Crust: Press the Oreo crust firmly into the pan to prevent it from crumbling when cutting the cheesecake. Use the bottom of a measuring cup for even pressure.
- Leave it Overnight: For the best texture and flavor, let the cheesecake chill overnight. This allows the flavors to meld and the cheesecake to set perfectly.
- Garnish with Style: Consider adding chocolate shavings or a drizzle of caramel sauce on top of the cheesecake for an elegant touch and extra flavor.
Tips & Tricks
Perfecting the Cheesecake Texture
Softening the cream cheese is key. It blends smoothly into the mix. Leave it out for about an hour before using it. This lets it reach room temperature.
To achieve stiff peaks in whipped cream, start with cold cream. Use a chilled bowl and beaters for better results. Whip it until you see peaks that stand tall. Don’t stop too early, or it will be too soft.
Presentation Suggestions
Serving your cheesecake can be fun! Drizzle chocolate sauce over each slice for a sweet touch. A dollop of whipped cream adds creaminess and flair.
For a pretty look, garnish with extra Oreos. You can place them whole or roughly chopped on top. This adds a nice crunch and makes it more appealing.
Troubleshooting Common Issues
If your cheesecake hasn’t set properly, don’t panic. You can fix it by chilling it longer. Sometimes, overnight is best for it to firm up.
To minimize cracks on the surface, avoid overmixing. Also, let the cheesecake cool slowly in the fridge. Cover it loosely to prevent condensation from forming on top.
Variations
Flavor Customizations
You can easily change the flavor of your No Bake Oreo Cheesecake. Try adding mint extract for a fresh twist. Just a little can create a cool taste. Peanut butter is another fun choice. It adds a rich, nutty flavor that pairs well with Oreos.
You can also mix in different cookies or candies. Consider crushed mint Oreos or even chocolate chip cookies for a fun texture. Snickers or Reese’s Pieces can add a sweet surprise. Experiment to find your favorite combination!
Alternate Toppings
For toppings, fresh fruit works great. Slices of strawberries or raspberries add color and taste. You can also use chocolate shavings for a rich finish. They look pretty and taste amazing.
Sauces can enhance the flavors too. Caramel or chocolate sauce drizzled on top makes the dessert even more special. You can serve it on the side for guests to add as they like.
Dietary Adjustments
If you need gluten-free options, use gluten-free Oreo cookies. They work just as well and keep the taste the same. You can also lower the sugar content by using less powdered sugar. This way, you can enjoy the cheesecake without guilt.
These variations let you personalize your dessert. No Bake Oreo Cheesecake is fun to make and share, and you can make it your own!
Storage Info
Proper Storage Techniques
To keep your No Bake Oreo Cheesecake fresh, follow these steps:
– Use an airtight container to store the cheesecake. This helps lock in moisture and flavor.
– If you don’t have a container, cover the cheesecake with plastic wrap. Make sure it seals well to prevent air from getting in.
– Keep the cheesecake in the fridge. It will stay fresh and tasty for days.
Freezing Options
You can freeze your cheesecake for longer storage:
– Slice the cheesecake into pieces. This makes it easy to thaw just what you need.
– Wrap each slice tightly in plastic wrap. Then, place them in a freezer-safe bag.
– To thaw, place a slice in the fridge overnight. This helps maintain the creamy texture.
Shelf Life
In the fridge, your cheesecake can last:
– Up to five days if stored properly. Check for freshness before eating.
– Signs that the cheesecake has gone bad include changes in color or a sour smell. If you see these signs, it’s best to throw it away.
FAQs
Can I make No Bake Oreo Cheesecake in advance?
Yes, you can make this cheesecake ahead of time. I recommend making it the day before you plan to serve it. This gives the cheesecake enough time to set. It will taste even better after chilling overnight. Just cover it well to keep it fresh.
How do I know when the cheesecake is set?
To check if the cheesecake is set, gently press the center with your finger. It should feel firm but not hard. You can also lightly jiggle the pan. If it wobbles slightly, it needs more time. Chill for another hour, then check again.
What can I substitute for heavy whipping cream?
If you want a lighter version, you can use half-and-half or coconut cream. These options work well but will change the texture a bit. For a dairy-free choice, try using whipped coconut cream. It adds a nice flavor and keeps it creamy.
In this post, we covered the key ingredients and steps to make a No Bake Oreo Cheesecake. You learned how to prepare the crust, mix the filling, and set the cheesecake properly. We also shared tips to perfect the texture and ideas to customize flavors. Store your cheesecake wisely and follow our FAQs for best results.
With these insights, you can create a delicious dessert that impresses everyone. Enjoy your baking journey!


