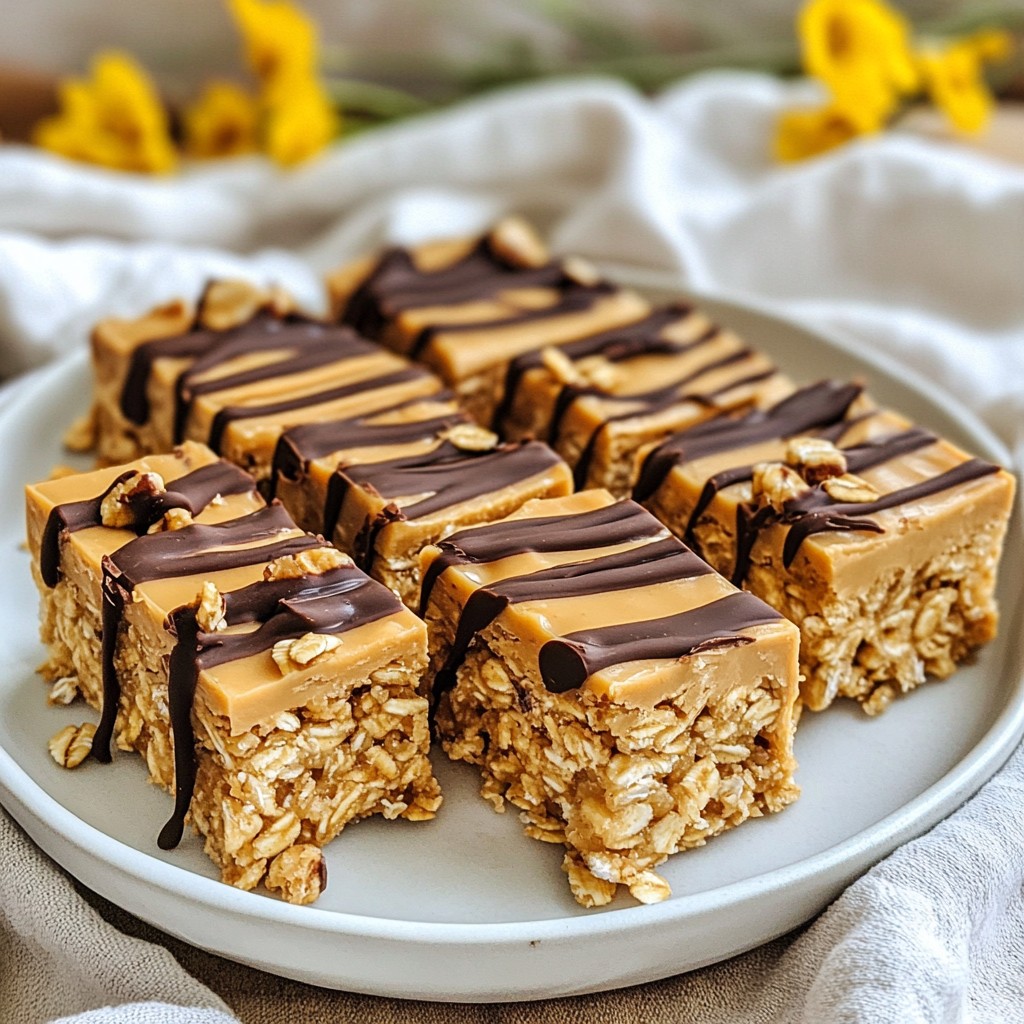
Craving a sweet treat that’s easy to make? Look no further than these No-Bake Peanut Butter Bars! You’ll need just a handful of simple ingredients to whip up this delicious snack. With minimal effort and no oven required, this recipe is perfect for both new cooks and seasoned chefs. Let’s dive into the easy steps for creating your new favorite dessert!
Why I Love This Recipe
- Quick and Easy: This recipe takes only 15 minutes of prep time, making it perfect for a last-minute treat.
- Nutritious Ingredients: Made with wholesome ingredients like oats and peanut butter, these bars offer a great source of energy.
- Customizable: You can easily modify the recipe by adding your favorite mix-ins, such as nuts, seeds, or dried fruits.
- Delicious and Satisfying: The combination of peanut butter and chocolate creates a rich, satisfying flavor that everyone will love.
Ingredients
List of Ingredients
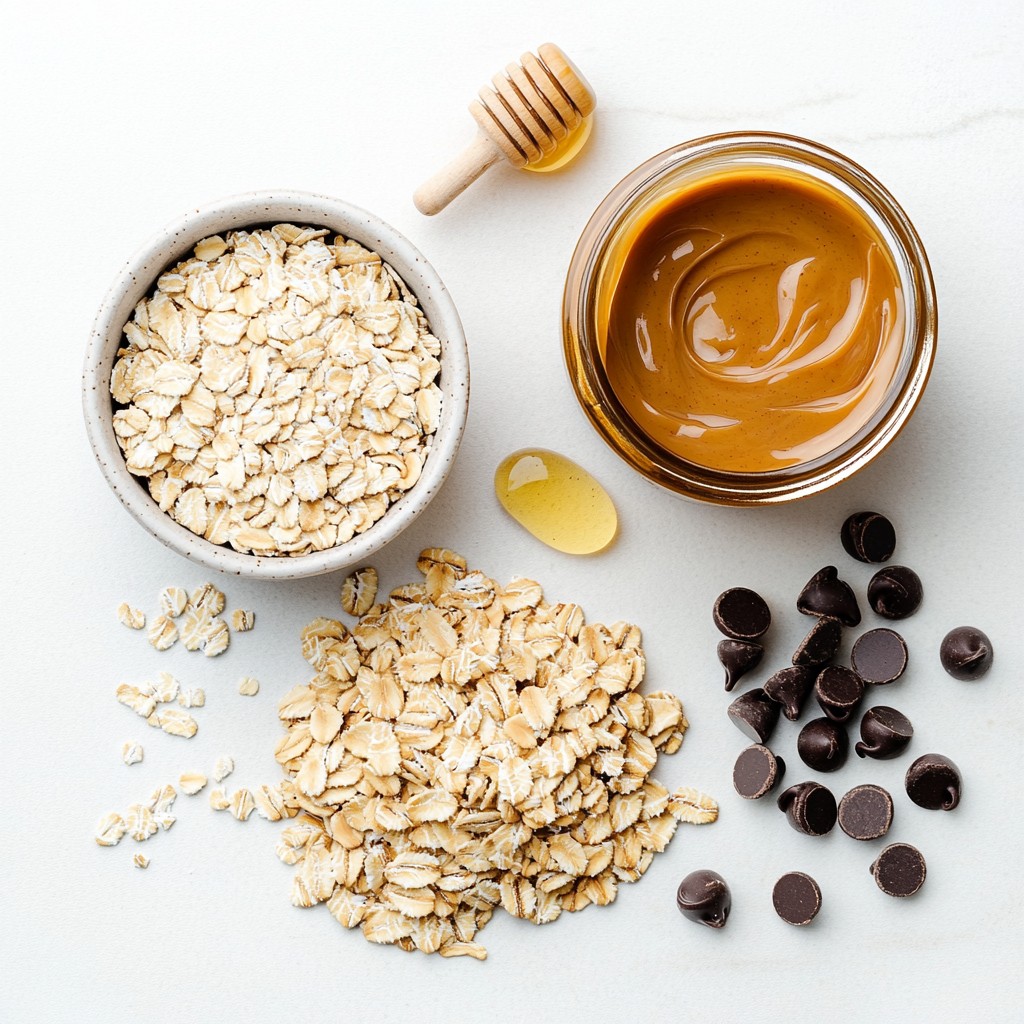
Here are the simple ingredients you need for these no-bake peanut butter bars:
- 1 cup creamy peanut butter
- 1/2 cup honey or maple syrup
- 1 cup rolled oats
- 1/2 cup rice crispy cereal
- 1/4 cup chocolate chips (semi-sweet or dark)
- 1 teaspoon vanilla extract
- A pinch of salt
For those with common allergens, you can make easy substitutions. If you're allergic to peanuts, try almond butter or sunflower seed butter. For a vegan option, use maple syrup instead of honey.
Each serving has about 180 calories. You also get a good amount of protein and healthy fats from the peanut butter. The oats add fiber, making these bars a satisfying snack.
This recipe yields 16 bars, making it easy to share with family or friends. Enjoy the taste while knowing you chose a treat that packs nutrients!
Step-by-Step Instructions
Preparation Guidelines
1. Mixing the base ingredients: Start by grabbing a medium bowl. Add 1 cup of creamy peanut butter and 1/2 cup of honey or maple syrup. Stir well until the mix is smooth. This step is key for a tasty base.
2. Incorporating additional ingredients: Next, add 1 cup of rolled oats, 1/2 cup of rice crispy cereal, and 1 teaspoon of vanilla extract. Don't forget a pinch of salt! Stir until everything is mixed nicely. This will enhance the flavors and texture.
3. Proper techniques for pressing the mixture: Line an 8x8-inch baking dish with parchment paper. Let the edges hang over the sides. This helps with easy removal later. Transfer the peanut butter mix into the dish. Press down firmly and evenly. Make sure it's compact for the best final result.
Setting the Bars
- Importance of refrigeration: Now, it’s time to chill! Place the dish in the fridge for at least 1 hour. This helps the bars set properly.
- How to check for doneness: After an hour, check if the bars are firm. They should hold together when you press on them lightly. If they are still soft, give them more time in the fridge.
Serving Suggestions
- Ideal serving sizes: Once set, lift the bars out using the parchment paper. Cut them into squares or rectangles. Aim for 16 pieces for fun and easy snacking.
- Presentation ideas for special occasions: For a special touch, arrange the bars on a pretty platter. Drizzle melted chocolate on top. You can also sprinkle chopped nuts or sea salt for extra flair! Enjoy these as a delightful snack or a healthy dessert.
Tips & Tricks
Making the Perfect Bars
To make perfect no-bake peanut butter bars, focus on consistency. You want a mix that is thick but not dry. If your mix is too crumbly, add a bit more peanut butter or honey. If it’s too sticky, add more oats or rice cereal.
Common mistakes can ruin your bars. One mistake is not mixing well. Make sure to blend all ingredients until they are fully combined. Another pitfall is not pressing the mixture down firmly. This helps the bars hold together when cut.
Enhancing Flavor
You can easily enhance the flavor of your bars. Try adding a teaspoon of cinnamon or nutmeg for a warm taste. A drop of almond extract can also give a nice twist.
For chocolate and nut pairings, consider using dark chocolate chips or even white chocolate. You can also mix in chopped nuts like almonds or walnuts for added crunch.
Pro Tips
- Use Natural Peanut Butter: Opt for natural peanut butter without added sugars or oils for a healthier option that still provides great flavor.
- Customize Your Sweetener: Feel free to adjust the sweetness by using less honey or maple syrup, or by adding a sugar substitute if desired.
- Add Protein Powder: For an extra protein boost, consider incorporating a scoop of your favorite protein powder into the mixture.
- Experiment with Mix-ins: Get creative by adding other mix-ins such as dried fruits, seeds, or different types of chocolate for unique flavor combinations.
Variations
Flavor Variations
You can switch up the nut butter in this recipe. Try almond butter or cashew butter for a fun twist. Each nut butter adds its own flavor and texture. If you're feeling adventurous, go for sunflower seed butter. It gives a unique taste and is great for nut-free diets.
Instead of rice crispy cereal, you can use puffed quinoa or crushed graham crackers. Both options add crunch and change the taste. Puffed rice also works well if you want a lighter texture. Experiment with different cereals to find your favorite!
Dietary Modifications
If you want gluten-free bars, use certified gluten-free oats. Most oats are safe, but check the label to be sure. You can also swap rice crispy cereal for gluten-free options like corn puffs. These changes keep your bars tasty without gluten.
For a vegan version, replace honey with maple syrup. This keeps the sweetness without animal products. Make sure your chocolate chips are dairy-free too. Many brands offer great vegan chocolate options. These simple swaps make your bars suitable for everyone!
Storage Info
Best Storage Practices
To keep your no-bake peanut butter bars fresh, store them in an airtight container. I like to use a glass or plastic container with a tight lid. This helps maintain their taste and texture. If you stack the bars, add parchment paper between layers. This prevents them from sticking together.
Shelf Life
These bars last about one week in the fridge. Just make sure your container seals well. For long-term storage, you can freeze them. Wrap each bar in plastic wrap, then place them in a freezer-safe bag. They can stay fresh for up to three months in the freezer. When you want to enjoy them, just thaw them in the fridge overnight.
FAQs
Common User Questions
Can I use natural peanut butter? Yes, you can use natural peanut butter. It gives a great flavor. Just make sure it's smooth and runny. If it's too thick, the bars may be hard to mix.
How do I make the bars healthier? You can swap honey for agave syrup or use less sweetener. Add nuts or seeds for extra crunch. You can also use whole grain oats to boost fiber.
What can I substitute if I don’t have oats? If you don’t have oats, try using crushed nuts or seeds. You can also use puffed rice or quinoa flakes. These will give a nice texture too.
Troubleshooting
What to do if the bars are too soft? If the bars feel too soft, they may need more time in the fridge. You can also add more oats or cereal to help firm them up. Press them down more firmly in the pan for better results.
How to fix overly crumbly bars? If your bars are crumbly, they may need more binding. Try adding a bit more peanut butter or honey. Mix it well to get the right texture.
This blog post covered how to make delicious bars from start to finish. We explored ingredient types, prep steps, and tips for perfect results. Remember, you can swap ingredients for allergens, adjust flavors, and customize diets. Storing your bars well keeps them fresh longer. Finally, don't hesitate to experiment until you find your favorite mix. Your tasty creations can impress anyone! Enjoy your cooking journey and make those bars shine!


