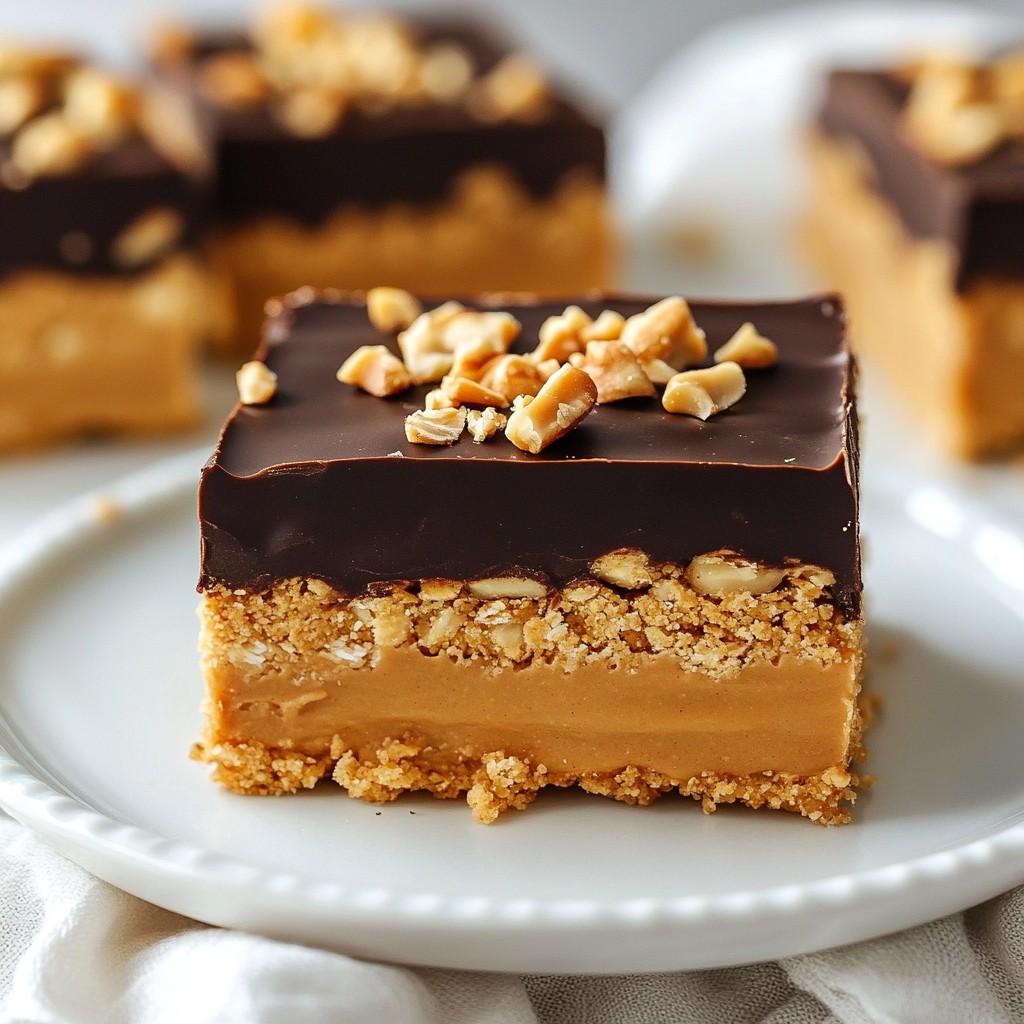
Looking for a quick and tasty treat? These No-Bake Peanut Butter Bars are just what you need! With simple ingredients like creamy peanut butter and dark chocolate, you can whip these up in no time. Perfect for a snack or dessert, they’re easy to make and packed with flavor. Follow my simple steps and enjoy a delicious treat that's sure to impress your friends and family! Let’s dive in!
Why I Love This Recipe
- Easy to Make: This recipe requires no baking, making it simple and quick to prepare.
- Healthy Ingredients: Packed with wholesome ingredients like oats and peanut butter, these bars are nutritious and satisfying.
- Customizable: You can easily modify the recipe by adding different mix-ins or toppings to suit your taste.
- Perfect Snack: These bars make for a great on-the-go snack, providing energy and delicious flavor in every bite.
Ingredients
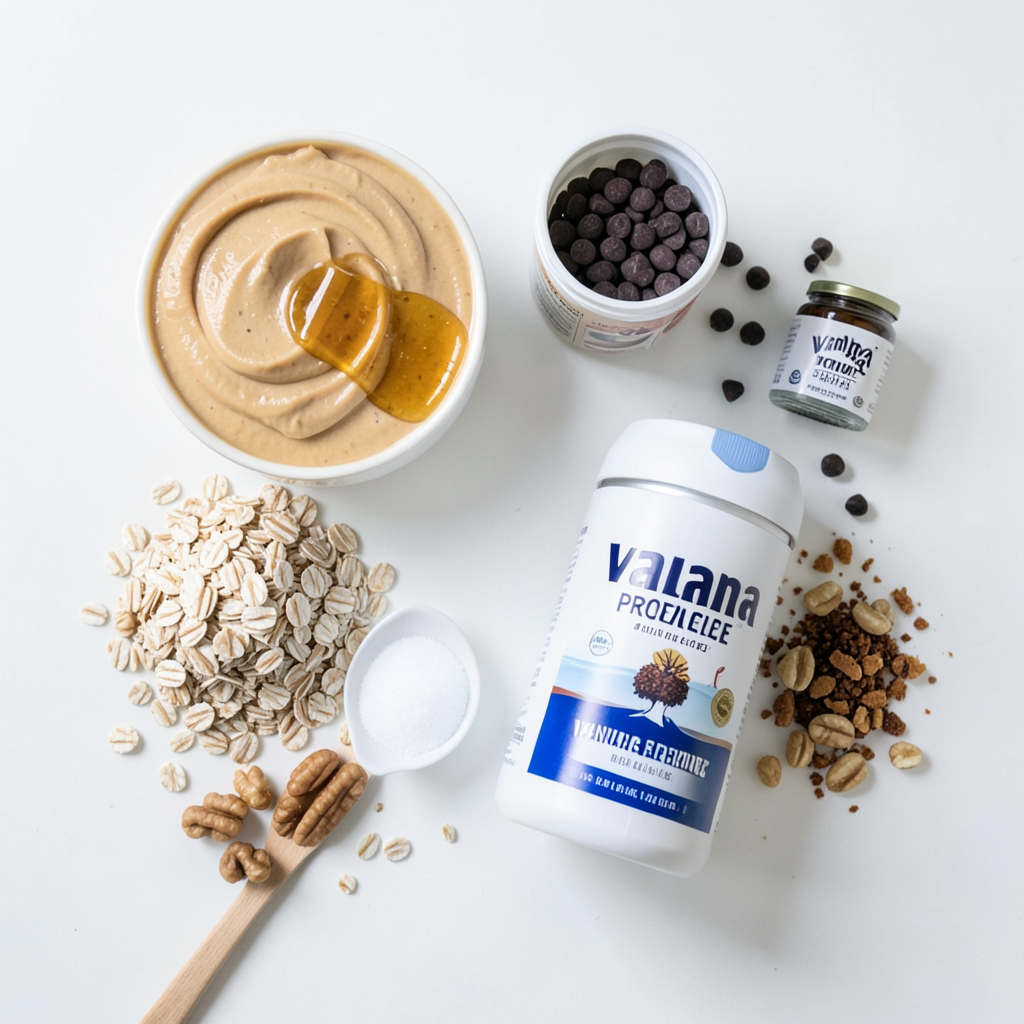
To make no-bake peanut butter bars, gather these ingredients:
- 1 cup creamy peanut butter
- 1/2 cup honey or maple syrup
- 1 1/2 cups rolled oats
- 1/2 cup vanilla protein powder (optional)
- 1/2 cup dark chocolate chips
- 1/4 teaspoon salt
- 1/2 teaspoon vanilla extract
- 1/4 cup crushed nuts (almonds, walnuts, or peanuts for topping)
These ingredients create a tasty and simple treat. The peanut butter gives a rich flavor. Honey or maple syrup adds sweetness and binds the mixture. Rolled oats provide texture and help form the bars. If you want extra protein, add the vanilla protein powder. Dark chocolate chips bring a delightful finish. A pinch of salt enhances the other flavors. Vanilla extract adds depth and roundness. Finally, crushed nuts on top add a nice crunch.
Feel free to swap in your favorite nut or sweetener. This recipe is flexible and allows for personal touches.
Step-by-Step Instructions
Preparation of the Peanut Butter Mixture
1. Combine the creamy peanut butter and honey (or maple syrup) in a large bowl. Mix until smooth.
2. Add the rolled oats, protein powder, salt, and vanilla extract to the bowl. Stir until you have a sticky mixture.
Preparing the Baking Pan
1. Line an 8x8 inch baking pan with parchment paper. Leave some paper hanging over the edges.
2. Transfer the peanut butter mixture into the pan. Press it evenly with a spatula or your hands.
Melting and Adding the Chocolate
1. Melt the dark chocolate chips in a microwave-safe bowl. Heat in 20-second bursts, stirring each time until smooth.
2. Pour the melted chocolate over the pressed peanut butter mixture. Use a spatula to spread it evenly.
Final Steps
1. Top with crushed nuts. Press them gently into the chocolate layer.
2. Refrigerate for at least 2 hours until the bars are firm. Lift them out using the parchment paper and cut into squares.
Tips & Tricks
Storage Recommendations
Store your no-bake peanut butter bars in an airtight container. This keeps them fresh and tasty. They last about one week in the fridge. You can also freeze them for up to three months. Just cut them into squares first. Then wrap each piece in plastic wrap before freezing.
Serving Suggestions
Serve these bars chilled for the best flavor. You can drizzle extra melted chocolate on top for fun. A sprinkle of sea salt adds a nice touch too. Pair them with a cold glass of milk or a smoothie for a yummy snack. They’re perfect for lunchboxes or as an after-school treat.
Troubleshooting Common Issues
If your mixture is crumbly, try adding a bit more peanut butter or honey. This will help it stick together. If your bars stick to the pan, make sure to use enough parchment paper. You can also spray a light coat of cooking spray on the paper to help them lift out easily.
Pro Tips
- Use Natural Peanut Butter: Opt for natural peanut butter without added sugars or oils for a healthier option.
- Chill for Best Texture: Allow the bars to chill for a longer time, up to 4 hours, for a firmer texture that's easier to cut.
- Experiment with Add-ins: Feel free to add ingredients like shredded coconut, dried fruit, or seeds for extra flavor and nutrition.
- Store Properly: Keep the bars in an airtight container in the fridge to maintain freshness and prevent them from becoming too soft.
Variations
Flavor Variations
You can easily change the taste of these bars. Try using different nut butters like almond or cashew. Each nut butter adds its own unique flavor and texture. You can also swap honey for agave or other sweeteners. This can make the bars a bit sweeter or change the taste.
Ingredient Additions
Adding extra ingredients makes these bars even better. You can mix in chocolate chips or dried fruits for a fun twist. Chocolate chips add a rich taste, while dried fruits give a chewy texture. You can also sprinkle in some spices like cinnamon or nutmeg. This can add warmth and depth to the flavor.
Dietary Adjustments
If you need special dietary options, you can easily adapt this recipe. To make it gluten-free, use gluten-free rolled oats. For vegan bars, swap honey with maple syrup and skip the protein powder. These adjustments allow everyone to enjoy these tasty treats without worry.
FAQs
Can I use crunchy peanut butter instead of creamy?
Yes, you can use crunchy peanut butter. The texture will change slightly. Crunchy peanut butter adds a fun, nutty bite. It gives your bars a different crunch. This can add variety to your treat.
How do I make these bars healthier?
To make these bars healthier, swap some ingredients. Use less honey or maple syrup to cut sugar. You can add more oats for fiber. Try using unsweetened cocoa powder instead of chocolate chips. This makes the bars lower in sugar and higher in nutrients.
What can I do if I don’t have protein powder?
If you don’t have protein powder, no worries! You can skip it or use ground nuts instead. Oats can also boost the protein slightly. If you want more flavor, add a scoop of nut butter. This will keep the bars tasty and filling.
Schema Information
Prep Time & Cook Time
The prep time for no-bake peanut butter bars is just 15 minutes. You mix the ingredients quickly. After that, you need to chill the bars for at least 2 hours. This gives you a total time of about 2 hours and 15 minutes.
Servings Information
This recipe makes about 12 bars. Each bar is a nice portion for a snack or dessert. You can cut them into squares or rectangles based on your preference. They are perfect for sharing or enjoying alone.
Nutritional Information
Each bar has about 180 calories. They are packed with protein and healthy fats. Here’s a quick look at the macros per serving:
- Protein: 6g
- Fat: 9g
- Carbohydrates: 20g
These bars are tasty and give you energy. Enjoy!
You can easily make delicious peanut butter bars at home. We covered the key ingredients, from creamy peanut butter to dark chocolate chips. The step-by-step guide ensures every bar turns out great. I shared storage tips and serving ideas to enhance your treats. Remember to have fun with variations to fit your taste. If you follow these steps, your bars will impress family and friends. Enjoy your tasty snacks knowing you made them yourself!


