Are you craving a quick and easy treat that hits the sweet spot? Look no further! These No-Bake Peanut Butter Bars come together in minutes and require no oven. With just a handful of simple ingredients, you can make a delicious snack that satisfies your sweet tooth. Join me as we whip up this delightful no-bake recipe perfect for busy days or anytime you need a sweet boost!
Why I Love This Recipe
- Quick and Easy: This recipe takes only 15 minutes to prep, making it perfect for a fast and delicious treat.
- Healthy Ingredients: With wholesome ingredients like oats and almond flour, these bars are a guilt-free indulgence.
- No-Bake Convenience: No need for an oven; simply mix, press, and chill for a hassle-free dessert.
- Customizable: Feel free to add chocolate chips, nuts, or other mix-ins to suit your taste preferences.
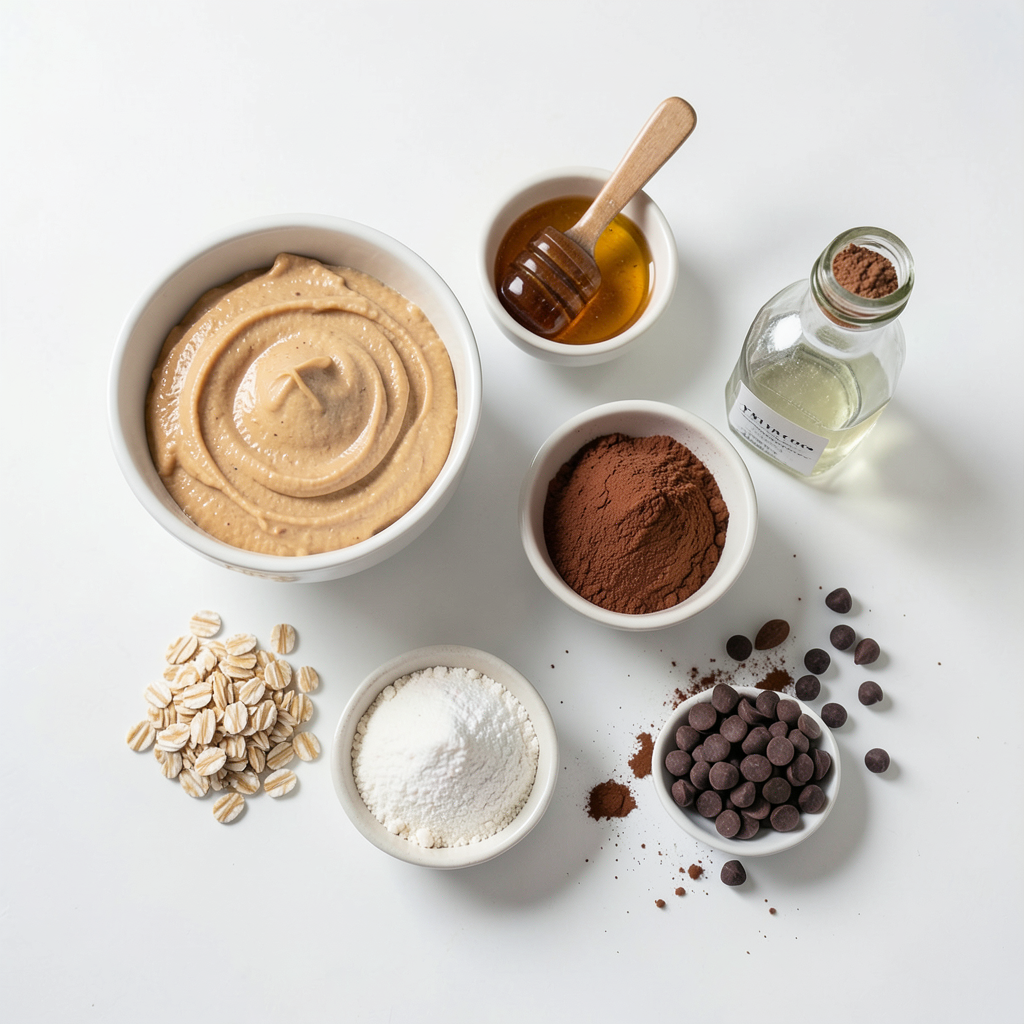
Ingredients
Full List of Ingredients
- 1 cup creamy peanut butter
- 1 cup rolled oats
- 1/2 cup honey or maple syrup
- 1/4 cup cocoa powder
- 1/4 cup almond flour
- 1/2 teaspoon vanilla extract
- 1/4 teaspoon salt
- Optional: 1/3 cup chocolate chips (dairy-free if needed)
These ingredients come together to create a tasty treat. Each one plays a key role in the final flavor and texture.
Creamy peanut butter gives the bars their rich taste and smooth texture. Rolled oats add fiber and help bind everything. You can use honey or maple syrup for sweetness. I often choose honey for its unique flavor, but maple syrup works great too.
The cocoa powder brings in a deep chocolatey flavor. Almond flour adds a nice nutty taste and helps with texture. The vanilla extract adds warmth, while the salt balances the sweetness.
If you want an extra treat, add chocolate chips. They melt a bit and make each bite even more delicious.
Gather all these ingredients, and you’ll be ready to make a quick, tasty snack!
Step-by-Step Instructions
Preparation Steps
- Step 1: In a large bowl, combine 1 cup of creamy peanut butter and 1/2 cup of honey or maple syrup. Mix well until smooth.
- Step 2: Add in 1/4 cup of cocoa powder, 1/4 cup of almond flour, and 1/4 teaspoon of salt. Stir until all the dry ingredients blend with the peanut butter.
- Step 3: Gradually mix in 1 cup of rolled oats. If you want, fold in 1/3 cup of chocolate chips for a richer taste. The mix should be thick and hold together.
- Step 4: Line an 8x8 inch baking dish with parchment paper. Let the paper hang over the sides for easy removal later.
- Step 5: Press the mixture firmly into the bottom of the dish. Use a spatula or your hands to compact it evenly.
- Step 6: Place the dish in the fridge for 1-2 hours. This helps the bars set and firm up.
- Step 7: Once set, lift the bars out using the overhanging parchment paper. Cut them into squares or rectangles and serve.
Tips & Tricks
Best Practices for Success
To make tasty no-bake peanut butter bars, start by getting the right mix. You want a thick and sticky texture. If it’s too dry, add a bit more honey or syrup. If it’s too wet, mix in more oats or almond flour.
Next, compact the mixture well. Use a spatula or your hands to press it into the dish. This step helps the bars hold their shape when you cut them. Make sure you press down hard enough.
Cooling time is key for a great texture. Chill the bars in the fridge for 1 to 2 hours. This helps them set properly. You want them firm but not too hard when you take them out.
Presentation Tips
Serving your peanut butter bars nicely can make a big difference. I like to place them on a wooden cutting board. It adds a rustic touch that looks great.
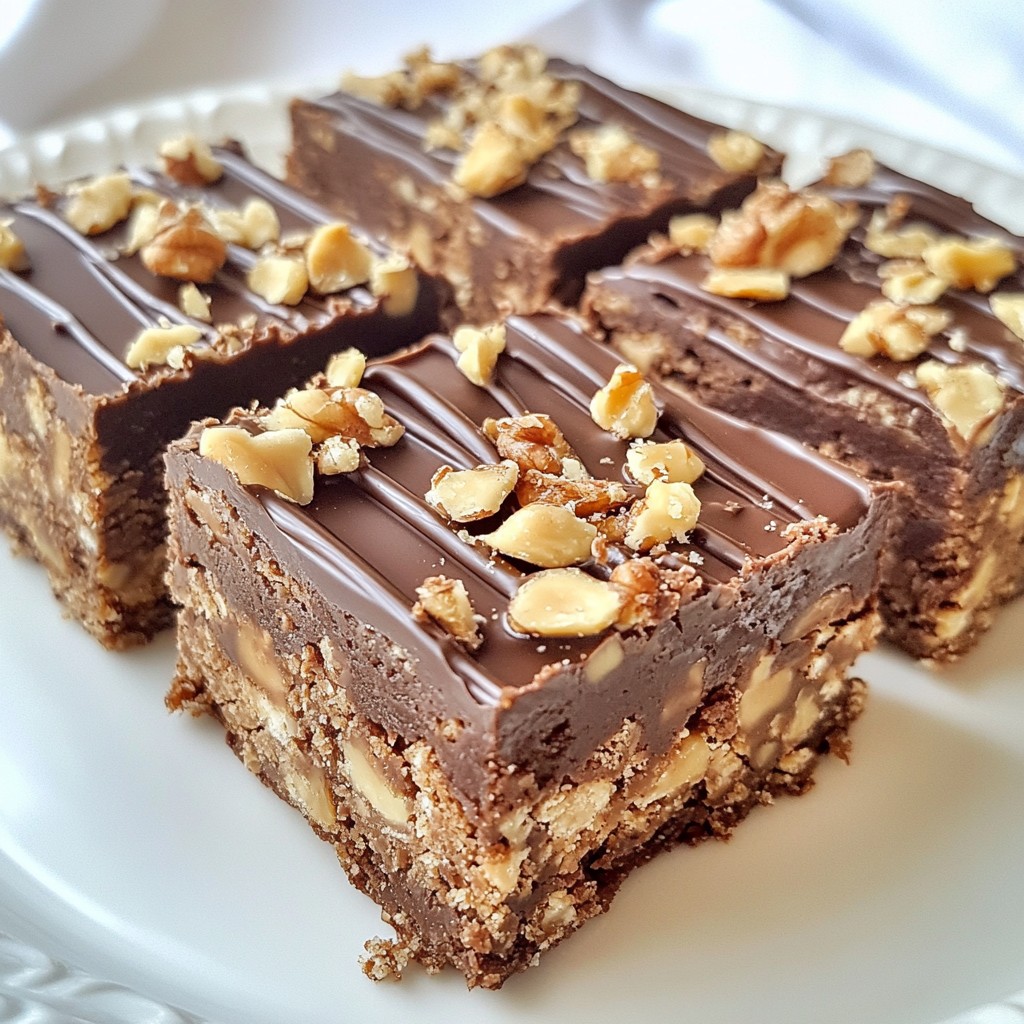
Drizzling melted chocolate on top makes the bars extra special. Just melt some chocolate chips and pour it over. Let it set before serving for a lovely finish.
You can also sprinkle chopped nuts on top. They add crunch and look nice. It’s a simple way to give your bars a fun twist.
Pro Tips
- Use Natural Peanut Butter: For the best flavor and texture, opt for natural peanut butter without added sugars or oils.
- Chill for Optimal Texture: Allowing the bars to chill for a full 2 hours will help them set properly, making them easier to cut.
- Customize Your Sweetness: Adjust the amount of honey or maple syrup to suit your taste; you can also substitute with a sugar-free syrup if desired.
- Experiment with Mix-ins: Feel free to add nuts, seeds, or dried fruits for an extra nutritional boost and varied texture.
Variations
Alternative Ingredients
You can switch up the main ingredients for a fun twist. Try using almond butter instead of peanut butter. Almond butter gives the bars a smooth, nutty flavor.
Another option is to substitute agave syrup for honey. Agave syrup has a mild taste and is great for vegans.
You might also want to add different mix-ins. Dried fruits like cranberries or raisins add sweetness. Seeds, such as chia or sunflower, can add a nice crunch.
Flavor Variations
Adding spices can change the flavor profile of your bars. A pinch of cinnamon or nutmeg can warm things up. These spices pair well with the nutty taste.
You can also experiment with different extracts. Almond extract gives a rich flavor, while coconut extract adds a tropical twist. These small changes make your bars unique and tasty!
Storage Info
How to Store
To keep your no-bake peanut butter bars fresh, use an airtight container. This keeps moisture out and flavor locked in. Place the bars in the fridge for the best results. The cool air helps them stay firm and tasty.
Shelf Life
These bars last up to one week in the fridge. After that, they may lose their flavor or texture. Check for signs of spoilage. If the bars smell off or look dry and crumbly, it is best to toss them. Enjoy your tasty treats while they are fresh!
FAQs
Can I freeze no-bake peanut butter bars?
Yes, you can freeze these bars. Wrap them tightly in plastic wrap and then place them in a freezer bag. They can stay fresh for up to three months. Just thaw them in the fridge before you eat them.
How can I make these bars vegan?
To make these bars vegan, simply use maple syrup instead of honey. Ensure the chocolate chips are dairy-free too. This keeps the bars plant-based and still very tasty.
What can I substitute for almond flour?
If you don’t have almond flour, you can use oat flour or all-purpose flour. Just make sure the texture is similar for best results. You can even grind rolled oats in a blender to make your own oat flour.
Are there nut-free alternatives?
Yes, you can use sun butter or soy nut butter instead of peanut butter. This way, you keep the flavor and texture without nuts. Always check for allergies when serving to others.
In this post, I shared a simple recipe for no-bake peanut butter bars. We covered the ingredients, preparation steps, and tips for success. I also discussed fun variations and storage methods.
These bars are easy to make and taste delicious. Enjoy them as a snack or dessert. With just a few ingredients, you can create a treat that everyone will love. Follow the steps, be creative, and have fun in the kitchen!