Looking for a quick and easy treat that satisfies your sweet tooth? These no-bake peanut butter bars are perfect for you! They require just a few simple ingredients and no oven time. In this article, I'll guide you through each step, share tips for the best results, and give you fun variations to try. Let’s make a delicious snack that you can enjoy anytime!
Why I Love This Recipe
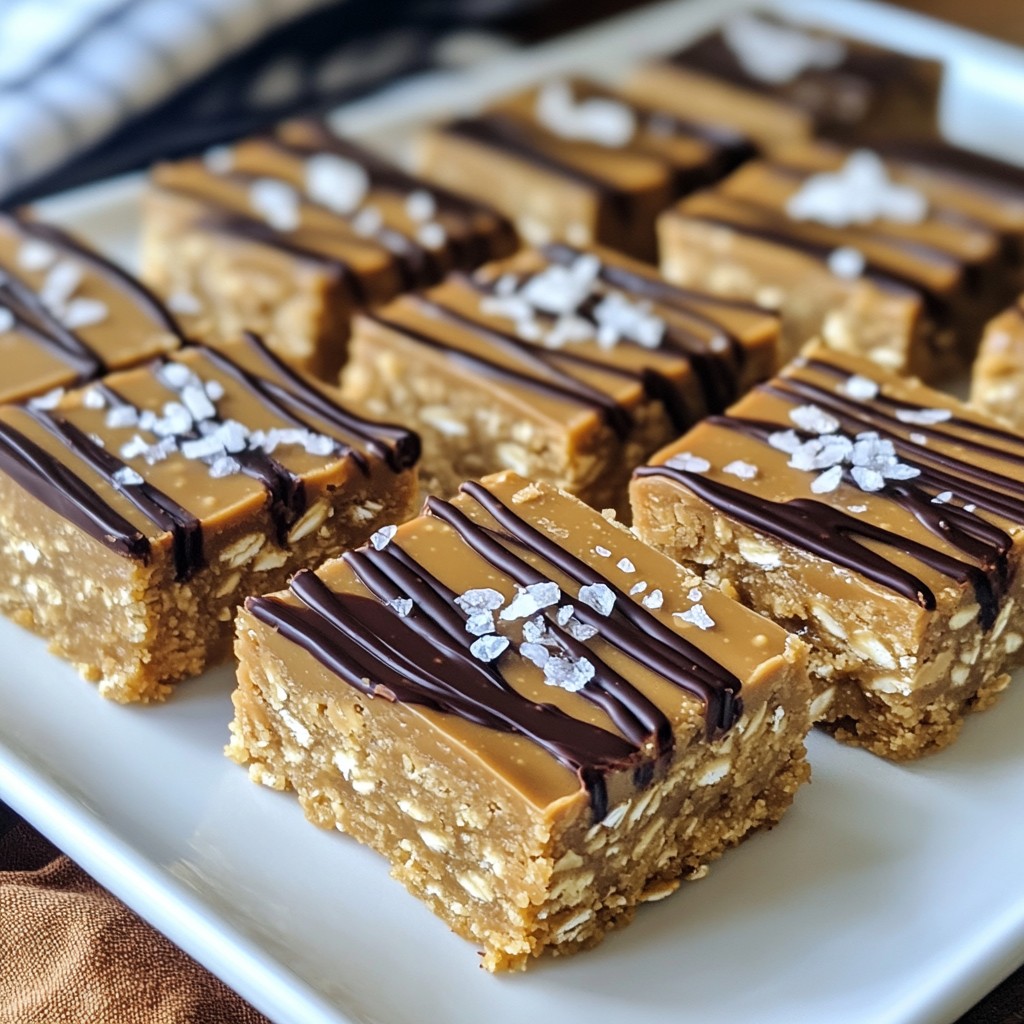
- Deliciously Nutty: The combination of natural peanut butter and dark chocolate creates a rich, indulgent flavor that satisfies cravings.
- Healthy Ingredients: Made with wholesome ingredients like oats and almond flour, these bars are a nutritious treat you can feel good about.
- Quick and Easy: With just 15 minutes of prep time, you can whip up these bars without any fuss, making it perfect for busy days.
- Customizable: Feel free to add your favorite mix-ins, like nuts or dried fruit, to make these bars uniquely yours!
Ingredients
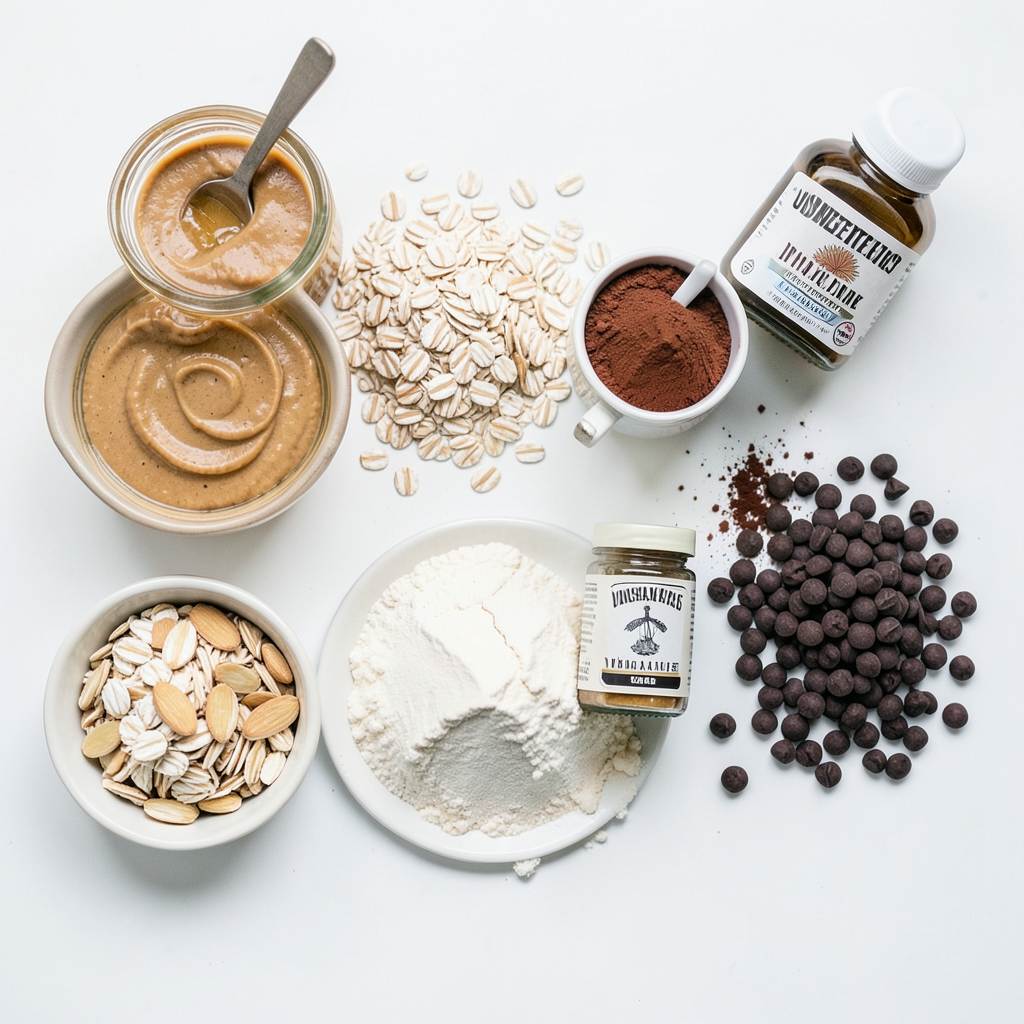
To make no-bake peanut butter bars, gather these simple ingredients:
- 1 cup natural peanut butter
- 1 cup rolled oats
- 1/2 cup honey or maple syrup
- 1/2 cup almond flour
- 1/4 cup unsweetened cocoa powder
- 1/2 teaspoon vanilla extract
- 1/4 teaspoon salt
- 1/2 cup dark chocolate chips (dairy-free if preferred)
These ingredients work well together. The natural peanut butter gives a rich taste. The rolled oats add texture and fiber. You can use honey or maple syrup for sweetness. Almond flour makes the bars nutty and soft. Cocoa powder adds a nice chocolate flavor. Vanilla extract brings warmth to the mix. A pinch of salt enhances all the flavors. Finally, dark chocolate chips provide a fun, sweet bite.
When picking peanut butter, choose one with just peanuts and salt. This keeps the bars healthy and delicious. Make sure to have all your ingredients ready before you start. This way, you will have a smooth and easy cooking process.
Step-by-Step Instructions
Preparation Steps
- Mixing the peanut butter, honey, and vanilla
Start by grabbing a large mixing bowl. Add 1 cup of natural peanut butter, 1/2 cup of honey or maple syrup, and 1/2 teaspoon of vanilla extract. Stir them together well. Keep mixing until the blend is smooth. This smooth mix creates a tasty base for your bars.
- Combining dry ingredients
In another bowl, mix 1 cup of rolled oats, 1/2 cup of almond flour, 1/4 cup of unsweetened cocoa powder, and 1/4 teaspoon of salt. Stir these dry ingredients until they are evenly combined. This mix adds texture and flavor to your bars.
- Incorporating dry mixture into the wet ingredients
Gradually add the dry mixture to your peanut butter mix. Stir continuously as you add it. This step is key to ensure everything blends well. You want a thick, dough-like texture by the end.
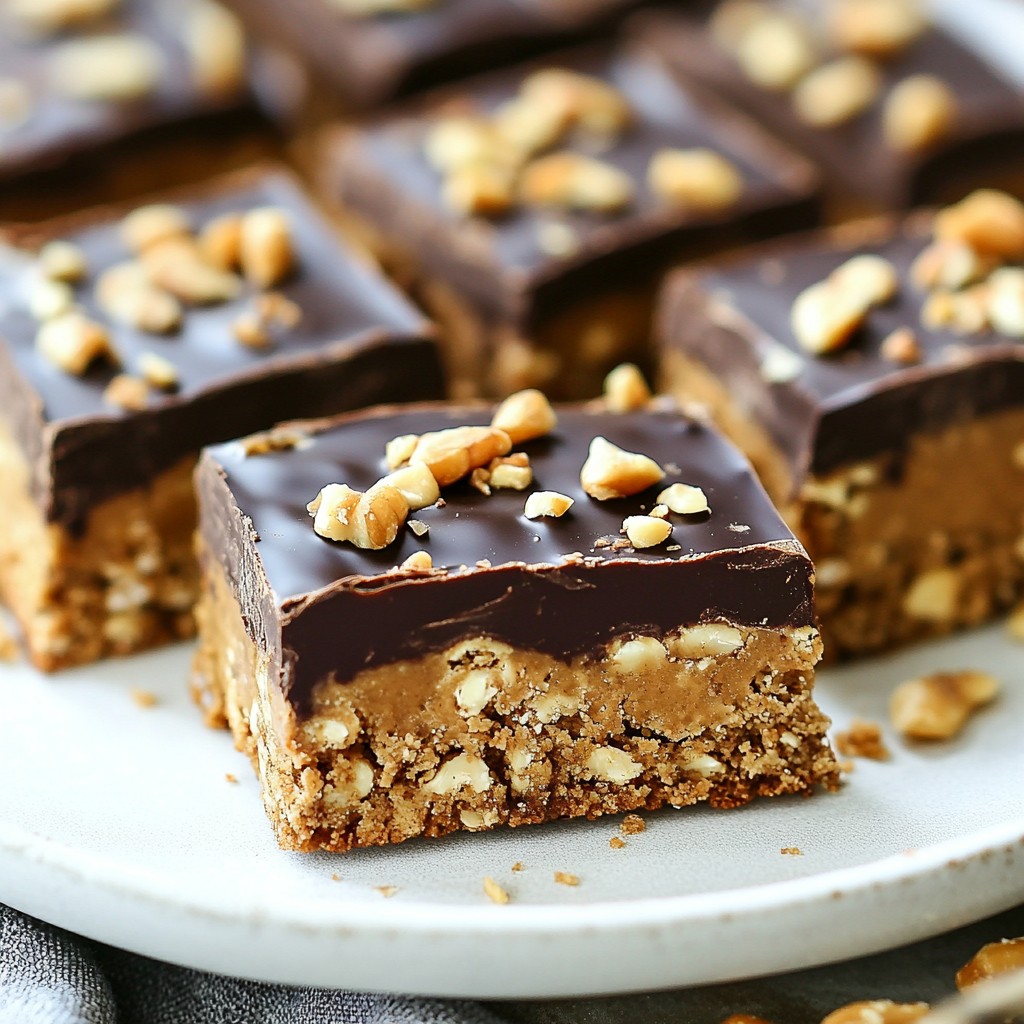
- Adding chocolate chips
Now it’s time to fold in 1/2 cup of dark chocolate chips. This adds a yummy burst of flavor. Use a spatula to mix them gently into the dough. Make sure the chips are evenly spread throughout.
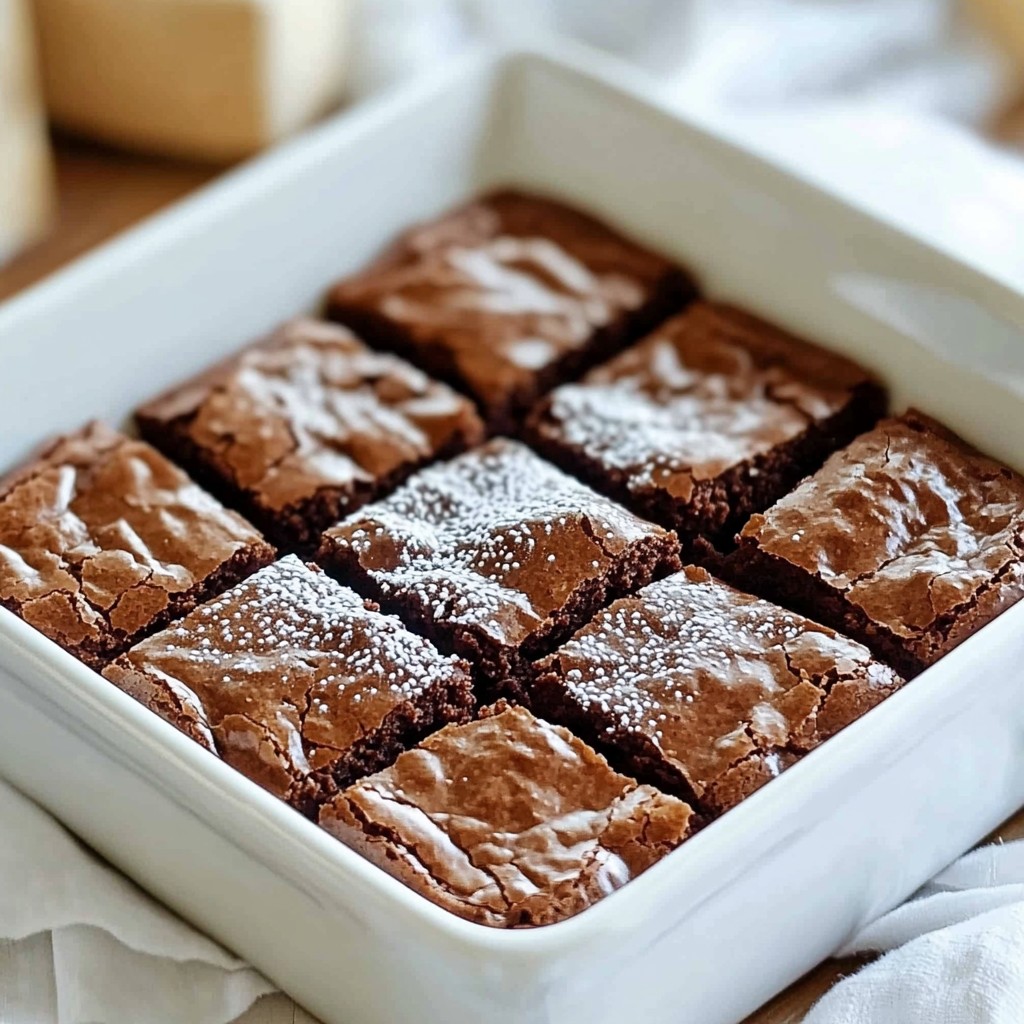
- Preparing the baking dish
Line an 8x8 inch square baking dish with parchment paper. Pour your mixture into this dish. Use a spatula to spread it evenly. Press down firmly to make a compact layer. This helps the bars hold their shape.
By following these steps, you set the stage for a delicious no-bake treat that everyone will love!
Tips & Tricks
Tips for Best Results
- Choosing the right peanut butter: I love using natural peanut butter. It has no added sugar or oils. Look for a brand with just peanuts and salt. This gives the best flavor and texture.
- Ensuring proper mixing techniques: Mix the peanut butter, honey, and vanilla well. It should be smooth and creamy. Use a large bowl to allow for easy stirring. Gradually add the dry mix. This helps avoid lumps.
- How to make the bars firmer: If you want firmer bars, chill them longer. You can also add more almond flour. This will help bind the mixture and create a dense texture.
Presentation Tips
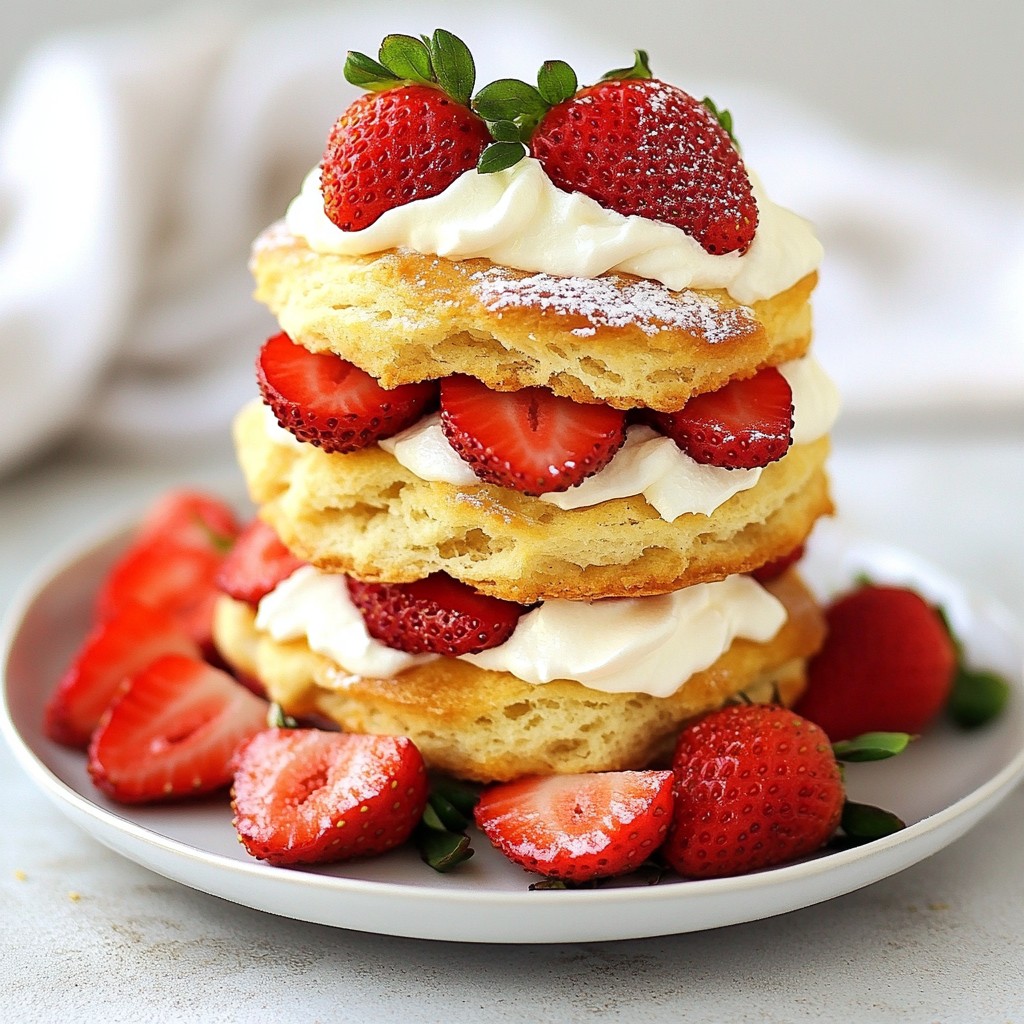
- Serving suggestions: Serve the bars on a colorful platter. They look great cut into squares or rectangles. You can pair them with fresh fruit for a fun touch.
- Garnishing ideas: Drizzle melted chocolate on top for a sweet finish. You can also sprinkle chopped nuts or coconut flakes for added crunch. This makes the bars more appealing and tasty.
Pro Tips
- Chill for Best Results: Letting the bars set in the refrigerator for a longer period can enhance their texture and make them easier to cut.
- Nut Butter Variations: Experiment with different nut butters like almond or cashew for a unique twist on flavor.
- Sweetness Adjustment: Adjust the sweetness by adding more or less honey/maple syrup based on your taste preference.
- Storage Tips: Store the bars in an airtight container in the fridge for up to a week for optimal freshness.
Variations
Ingredient Substitutions
You can easily switch out the nut butter. Try almond butter or cashew butter. Both add unique flavors and textures. If you want a different sweetener, use agave syrup or coconut sugar. These options can change the taste and sweetness level.
Flavor Add-ins
To make your bars even more special, add spices like cinnamon or nutmeg. These spices bring warmth and depth to the bars. You can also mix in dried fruits or seeds. Raisins, cranberries, or sunflower seeds work great. They add chewiness and extra nutrition.
Storage Info
Best Practices for Storage
To keep your no-bake peanut butter bars fresh, store them in the refrigerator. This keeps them cool and tasty. Use a container with a lid. This helps prevent drying out. If you want to keep them longer, consider freezing. They freeze well and last for about three months.
How to Keep Bars Fresh
Use airtight containers to store the bars. This keeps air out and helps maintain texture. Check the bars every few days. They will stay fresh for about a week in the fridge. If you freeze them, remember to label the container with the date. This way, you know when to eat them!
FAQs
How long do no-bake peanut butter bars last?
No-bake peanut butter bars can last about a week in the fridge. Make sure to store them in an airtight container. This keeps them fresh and tasty. If you want to enjoy them longer, you can freeze them. They will stay good for about three months in the freezer. Just remember to wrap them well.
Can I make no-bake bars without chocolate chips?
Yes, you can make no-bake bars without chocolate chips. If you skip them, the bars will still taste great. You might want to add extra flavors like nuts or dried fruit. This will help keep the bars interesting and fun to eat.
Are these bars gluten-free?
Yes, these bars are gluten-free. The main ingredients, like rolled oats and almond flour, do not contain gluten. Just check that your oats are labeled gluten-free. Some brands may mix oats with gluten-containing grains. Always read the label to be sure.
These no-bake peanut butter bars are easy to make and taste great. You mix wholesome ingredients like peanut butter, oats, and dark chocolate chips. You can add your own twists, like different nut butters or spices. Follow the storage tips to keep them fresh.
Enjoy these bars as a tasty snack or dessert. They are healthy and fun to make. You can impress friends with your tasty treats! Have fun creating and experimenting with your recipes!