Get ready to indulge in a creamy treat that requires zero churning! In this post, I’ll guide you through making the most delicious No-Churn Cookies and Cream Ice Cream Delight. With simple ingredients and easy steps, you’ll whip up a rich and satisfying dessert in no time. Grab your mixing bowls, and let’s turn your kitchen into an ice cream paradise! Ready to dig in?
Why I Love This Recipe
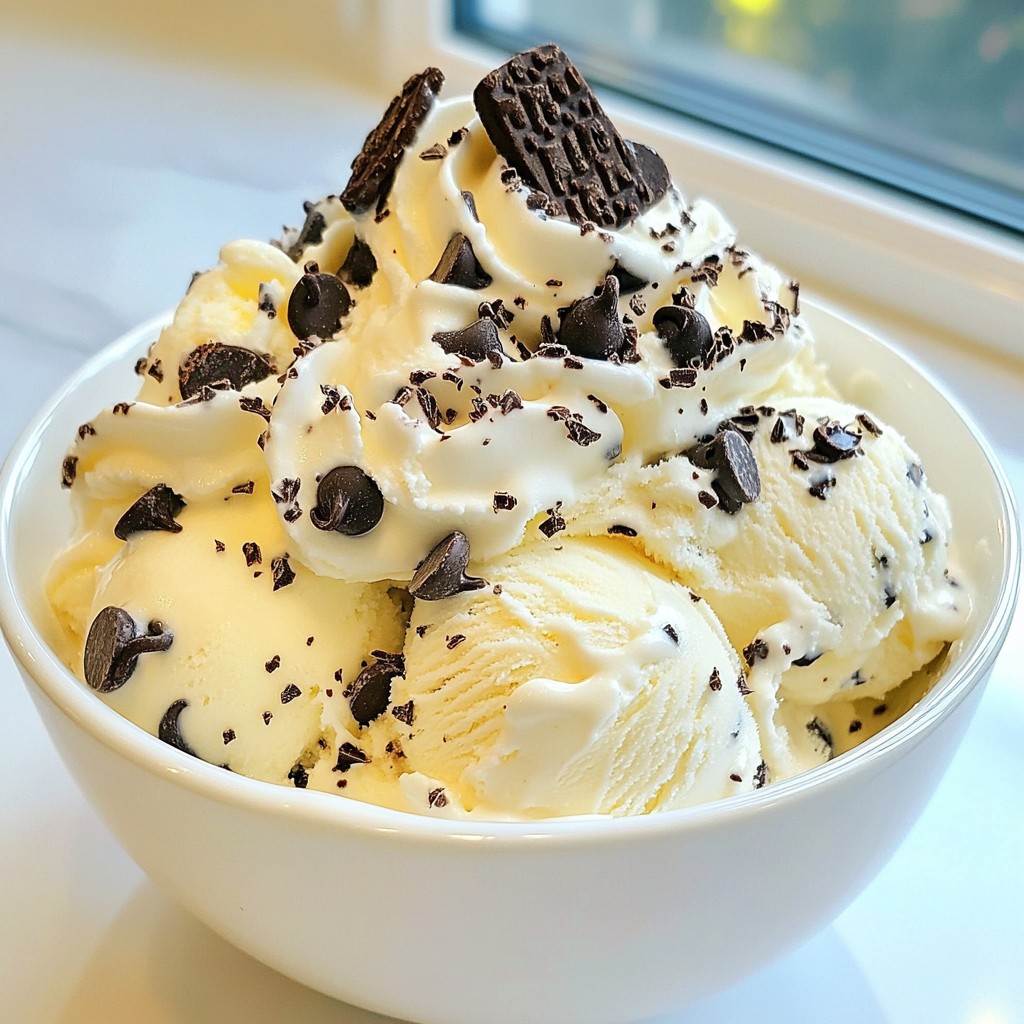
- Decadent Flavor: This Cookies & Cream Dream ice cream is a delightful combination of rich, creamy textures and the classic taste of chocolate sandwich cookies.
- No Churn Delight: With no need for an ice cream maker, this recipe is simple and perfect for anyone looking to whip up a frozen treat at home!
- Customizable Add-Ins: Add in your favorite mix-ins, like mini chocolate chips or additional cookie pieces, to make this dessert uniquely yours.
- Perfect for Any Occasion: Whether it's a summer day or a cozy winter evening, this ice cream is a hit at parties, gatherings, or as a sweet treat just for you.
Ingredients
Main Ingredients Overview
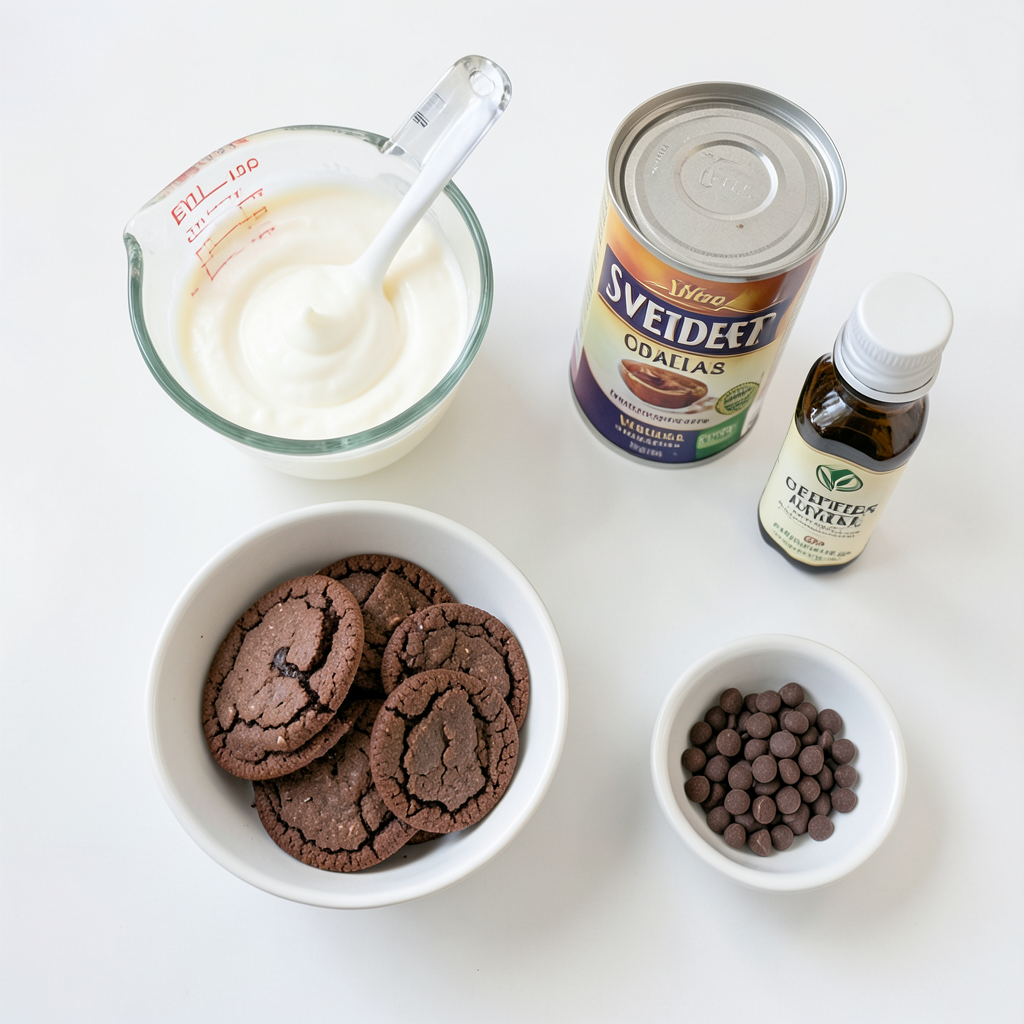
For this easy no-churn cookies and cream ice cream, you need a few key items:
- 2 cups heavy cream
- 1 can (14 ounces) sweetened condensed milk
- 1 teaspoon vanilla extract
- 1 cup crushed chocolate sandwich cookies (like Oreos)
Each ingredient plays a special role. The heavy cream gives a rich and creamy base. Sweetened condensed milk adds sweetness and helps the ice cream stay soft. The vanilla extract brings out all the flavors. Lastly, crushed cookies add crunch and that classic cookies and cream taste.
Optional Ingredients for Extra Flavor
You can make your ice cream even better with some optional extras:
- 1 cup mini chocolate chips
These mini chocolate chips add extra chocolatey bites. You can mix them in when you add the cookies for a fun twist. They can make each scoop even more exciting.
Substitutions for Common Allergens
If you have allergies or dietary needs, don’t worry. There are great swaps you can make:
- Instead of heavy cream, use coconut cream for a dairy-free version.
- Use a nut-free cookie like Graham crackers if you're allergic to gluten.
These substitutions allow you to enjoy this treat without worry. Just keep in mind that the flavor and texture may change slightly.
Step-by-Step Instructions
Preparing the Whipped Cream
Start with a large mixing bowl. Pour in 2 cups of heavy cream. Use a hand mixer on medium-high speed. Whip the cream until stiff peaks form. This takes about 3-5 minutes. The peaks should hold their shape. This step makes the ice cream fluffy.
Combining Condensed Milk and Vanilla
In another bowl, take one can of sweetened condensed milk. Add 1 teaspoon of vanilla extract. Whisk these together until smooth. This mix adds sweetness and flavor to your ice cream base.
Folding in Ingredients for Optimal Texture
Gently fold the whipped cream into the condensed milk mix. Use a spatula to avoid deflating the whipped cream. This keeps the ice cream light and airy. Once combined, add 1 cup of crushed chocolate sandwich cookies. You can also add 1 cup of mini chocolate chips, if you like. Fold these in until they are evenly spread. Pour the mixture into a freezer-safe container. Smooth the top with a spatula. You can sprinkle some crushed cookies on top for a nice touch. Cover it up and freeze for at least 6 hours. Enjoy your homemade ice cream!
Tips & Tricks
How to Achieve the Perfect Texture
To get a smooth and creamy ice cream, use heavy cream. Whip it until stiff peaks form. This makes your ice cream light and fluffy. When you mix in the condensed milk, do it gently. Folding keeps that airy texture. If you mix too hard, you lose the fluffiness.
Storage Tips for Homemade Ice Cream
Store your ice cream in a freezer-safe container. Use a lid or plastic wrap to cover it tightly. This keeps out air and prevents ice crystals. Make sure to label it with the date. Homemade ice cream lasts about two weeks in the freezer.
Serving Suggestions for Presentation
For a fun touch, serve your ice cream in waffle cones. Add a swirl of whipped cream on top. You can sprinkle crushed cookies for extra flair. Use dessert bowls for a classic look. Either way, your no-churn cookies and cream ice cream will wow your guests!
Pro Tips
- Use Cold Ingredients: Make sure your heavy cream and mixing bowl are chilled before whipping to achieve the best volume and texture.
- Choose Your Cookies Wisely: Opt for chocolate sandwich cookies with a creamy filling for a richer flavor; you can experiment with different types for unique results.
- Mix Gradually: When folding in the whipped cream, do it gradually to maintain the airiness of the mixture, ensuring a light and fluffy ice cream.
- Freeze Thoroughly: Allow the ice cream to freeze for at least 6 hours or overnight for the best texture; letting it set longer enhances the flavor and consistency.
Variations
Fun Flavor Twists to Try
You can make this ice cream even more exciting! Try adding different flavors. How about mint extract for a cool touch? Mix in some peanut butter for a creamy twist. You can also use flavored cookies, like double-stuffed Oreos or chocolate chip cookies. Each change gives you a new treat!
Alternate Mix-Ins and Add-Ins
Mix-ins can change your ice cream game. You can add crushed candy bars, like Snickers or Reese's, for a fun crunch. Mini marshmallows or sprinkles can add color and texture. If you love nuts, try chopped walnuts or pecans. Just fold them in when you add the cookies.
Dairy-Free or Vegan Options
Want a dairy-free version? Use coconut cream instead of heavy cream. This adds a yummy flavor. Replace the sweetened condensed milk with coconut milk. You can find vegan cookies to mix in, too. This way, everyone can enjoy a scoop of this delicious treat!
Storage Info
How to Store No-Churn Ice Cream
To keep your no-churn cookies and cream ice cream fresh, use a freezer-safe container. Make sure it has a tight lid. If you don’t have one, wrap the container in plastic wrap. This helps keep out air and prevents ice crystals.
Best Practices for Keeping Ice Cream Fresh
Always store your ice cream in the coldest part of the freezer. Avoid opening the freezer too often. This keeps the temperature low and helps your ice cream stay creamy. When serving, scoop out only what you need. Then, quickly cover it again to keep it cold.
How Long Does it Last in the Freezer?
Your no-churn ice cream can last up to two weeks in the freezer. After that, it may lose its smooth texture. If you notice ice crystals or a change in flavor, it’s best to toss it. Enjoy it while it’s fresh for the best taste!
FAQs
Can I make this ice cream without heavy cream?
Yes, you can! For a lighter option, use whipped coconut cream or whipped topping. These substitutes provide a similar texture. The flavor might change a bit, but it will still be tasty. Just make sure to whip them until peaks form. This makes your ice cream light and creamy.
How do I fix ice cream that’s too hard?
If your ice cream is too hard, let it sit out for a few minutes. This helps soften it. You can also stir in a bit of milk while it’s still frozen. This adds creaminess and makes it easier to scoop. If it’s still hard, try blending it in a food processor for a smooth texture.
What can I use instead of chocolate sandwich cookies?
You can use other cookies like chocolate chip cookies or graham crackers. For a twist, try using peanut butter cookies or even mint cookies for a fresh flavor. Just crush them up into small pieces, and fold them into the ice cream mix. This keeps the fun crunch and adds new tastes.
This blog post covered making simple, tasty ice cream. We looked at key ingredients, steps, and tips for perfect texture. I shared fun variations and storage info to keep your ice cream fresh. Remember, you can add your favorite flavors and mix-ins. Don't be afraid to experiment! Homemade ice cream should be fun and easy. Enjoy your time in the kitchen making this treat. Your friends and family will love your delicious creations!