Latest & Greatest
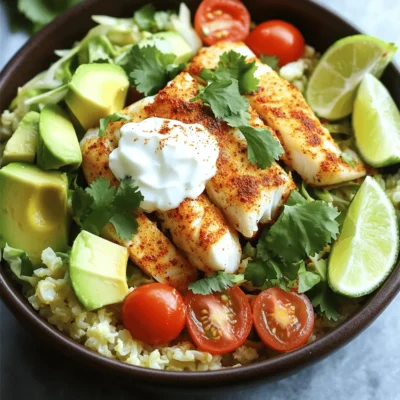
Low-Carb Fish Taco Bowl Fresh and Flavorful Delight
If you’re looking for a fresh and tasty meal that fits a low-carb lifestyle, you’ve come to the right place!
Read more…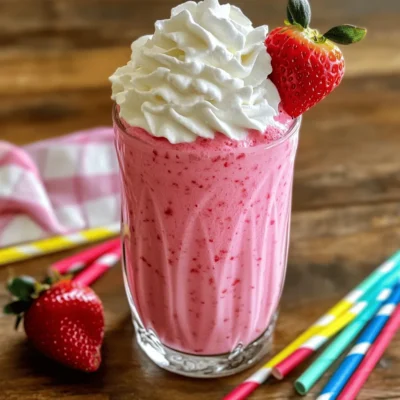
Strawberry Milkshake Delightful and Creamy Recipe
Craving a delicious treat that’s both refreshing and creamy? You’re in the right place! Today, I’ll share my favorite Strawberry
Read more…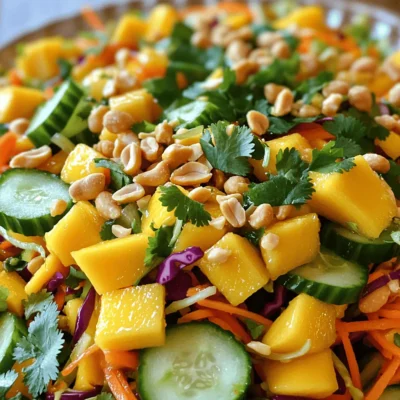
Thai Mango Salad Fresh and Flavorful Delight
Ready to enjoy a bright burst of flavors? Thai Mango Salad is your go-to dish! With its fresh mangoes, colorful
Read more…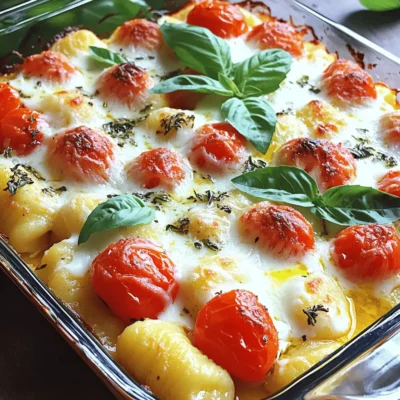
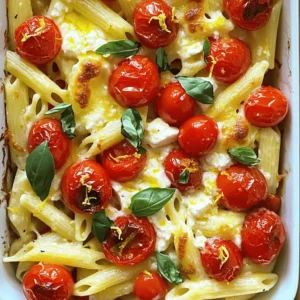
Tomato Gnocchi Bake Flavorful and Easy Dinner Recipe
Looking for a cozy dinner that’s both tasty and easy to whip up? This Tomato Gnocchi Bake hits the spot!
Read more…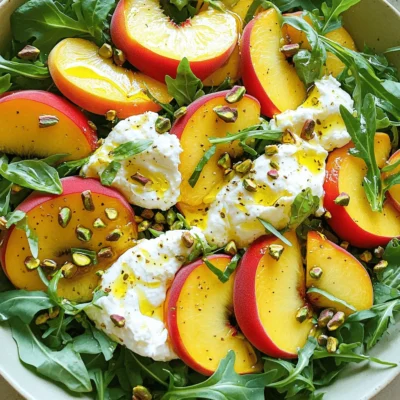
Peach Burrata Salad with Champagne Vinaigrette Delight
If you’re craving a fresh and vibrant dish, look no further than my Peach Burrata Salad with Champagne Vinaigrette. This
Read more…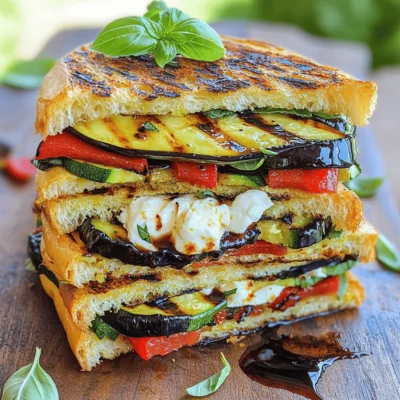
Grilled Veggie Burrata Panini Flavorful and Fresh Meal
Looking for a meal that’s both tasty and fresh? Try my Grilled Veggie Burrata Panini! This sandwich packs grilled zucchini,
Read more…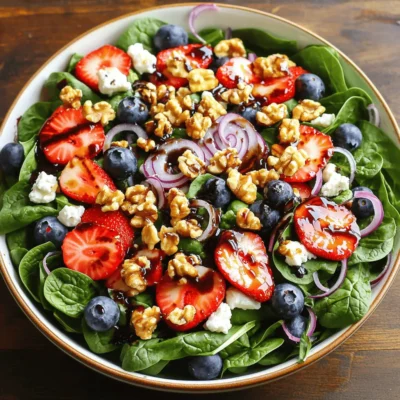
Strawberry Spinach Salad with Blueberries Delight
Are you ready to try a salad that bursts with flavor? This Strawberry Spinach Salad with Blueberries is your go-to
Read more…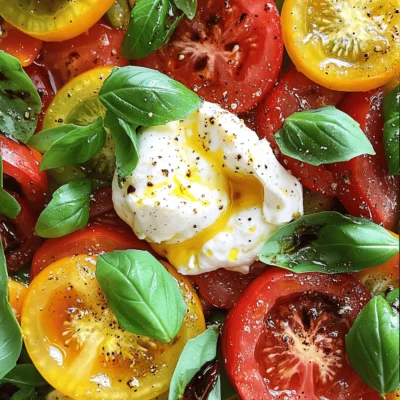
Marinated Tomato Burrata Salad Fresh and Flavorful
Looking to elevate your salad game? This Marinated Tomato Burrata Salad is a burst of fresh flavors! With ripe heirloom
Read more…browse recipes

Homemade King Cake Tasty and Fun Recipe Guide
Are you ready to bake a delicious and fun Homemade King Cake? This festive treat is perfect for celebrations, and I’ll guide you step…
My Latest Desserts
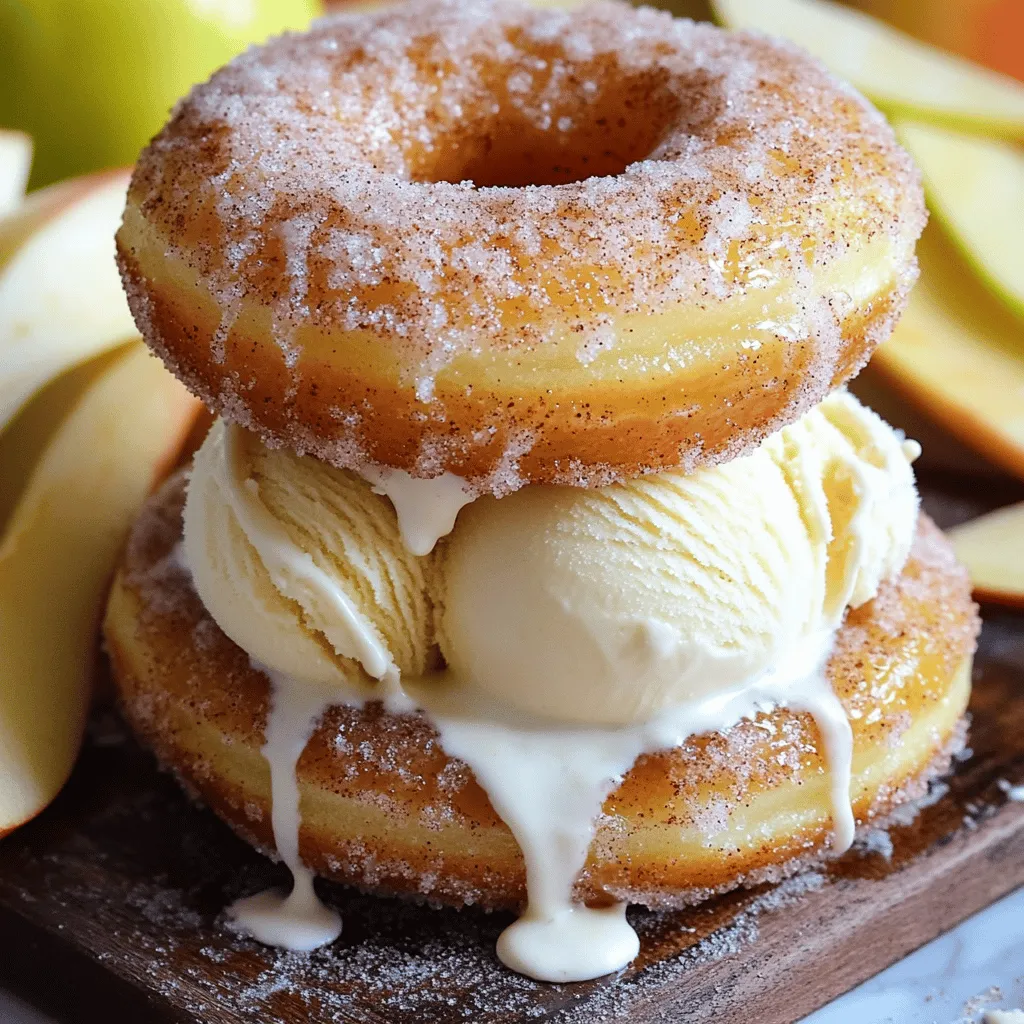
Apple Cider Donut Ice Cream Sandwiches Delightful Treat
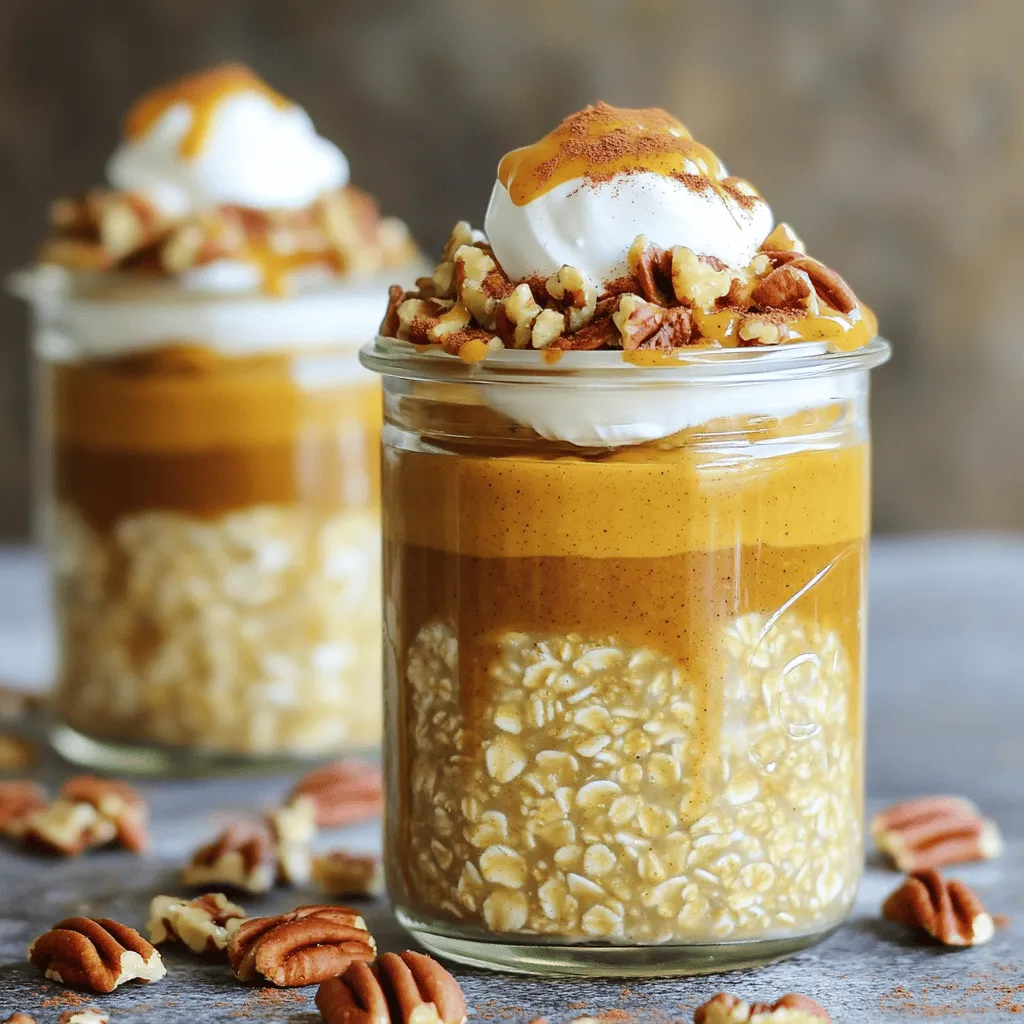
Get ready to treat your taste buds! Apple Cider Donut Ice Cream Sandwiches blend fall flavors and sweet creaminess. These Read Full RecipeBrown Sugar Pumpkin Pie Overnight Oats Delight
Looking for a tasty breakfast that’s easy and fun? You’ll love my Brown Sugar Pumpkin Pie Overnight Oats Delight! This Read Full RecipeCream Soda Donut Holes Delightful Dessert Recipe
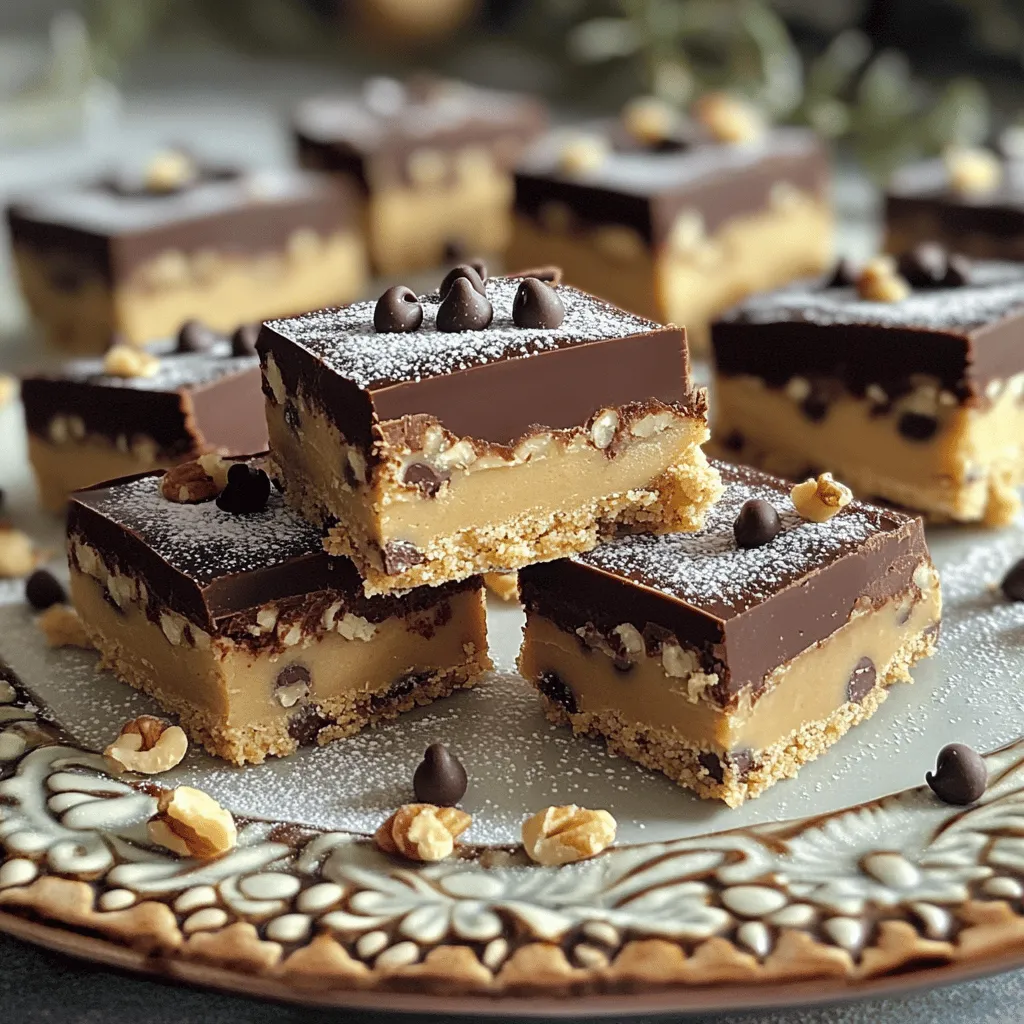
Are you ready to enjoy a fun twist on a classic treat? Cream Soda Donut Holes are sweet, fluffy, and Read Full RecipeCookie Dough Bars Delightful Recipe for a Sweet Treat
If you’ve ever craved the rich, sweet goodness of cookie dough, then you’re in for a treat! My recipe for Read Full RecipeChocolate Covered Cherries with Pistachio Dust Delight
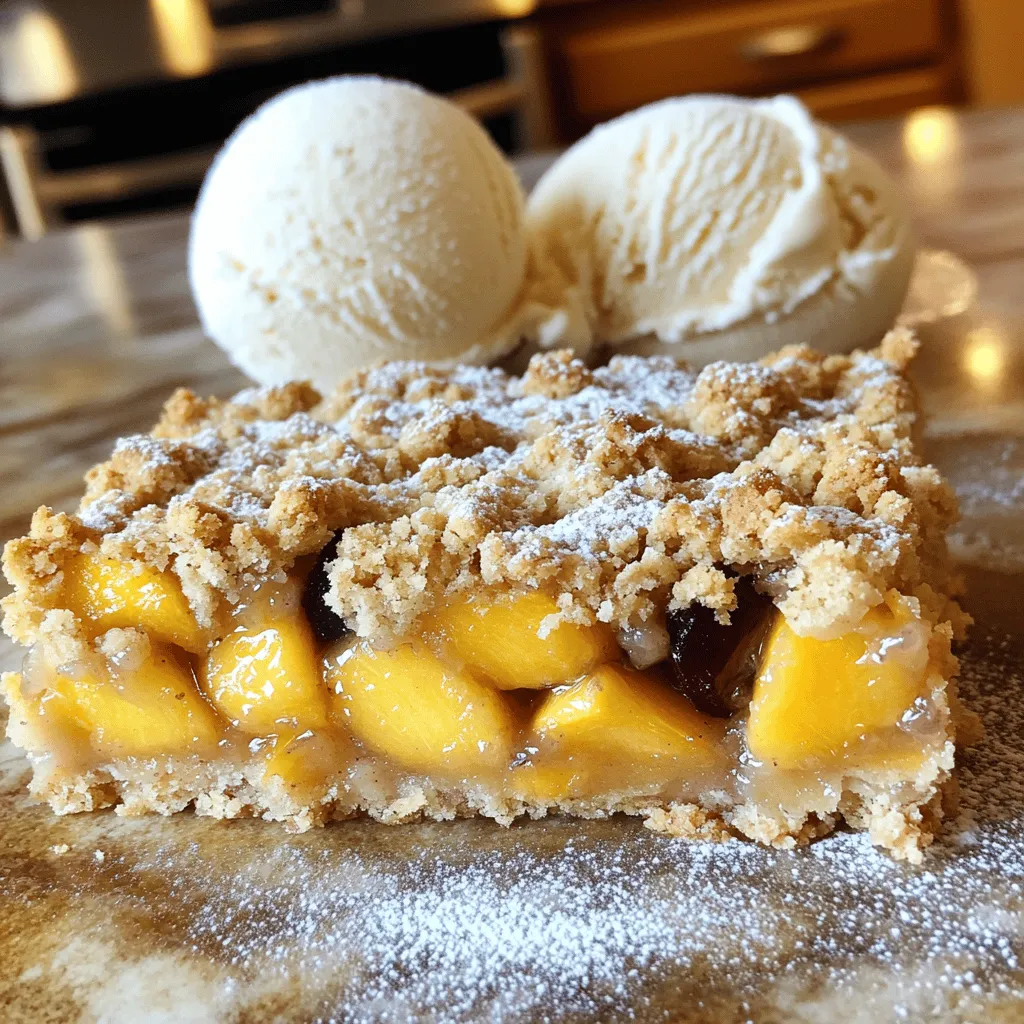
Get ready to treat your taste buds with my “Chocolate Covered Cherries with Pistachio Dust Delight.” This sweet snack combines Read Full RecipePeach Plum Crumble Bars Irresistible Sweet Treat
Are you ready for a dessert that combines the sweetness of peaches and plums? My Peach Plum Crumble Bars are Read Full RecipeWatercolor Buttercream Cupcakes Delightful Recipe Guide
Are you ready to bring some color to your baking? In this guide, I’ll show you how to make stunning Read Full RecipeNo-Bake Peach Icebox Cake Simple and Refreshing Treat
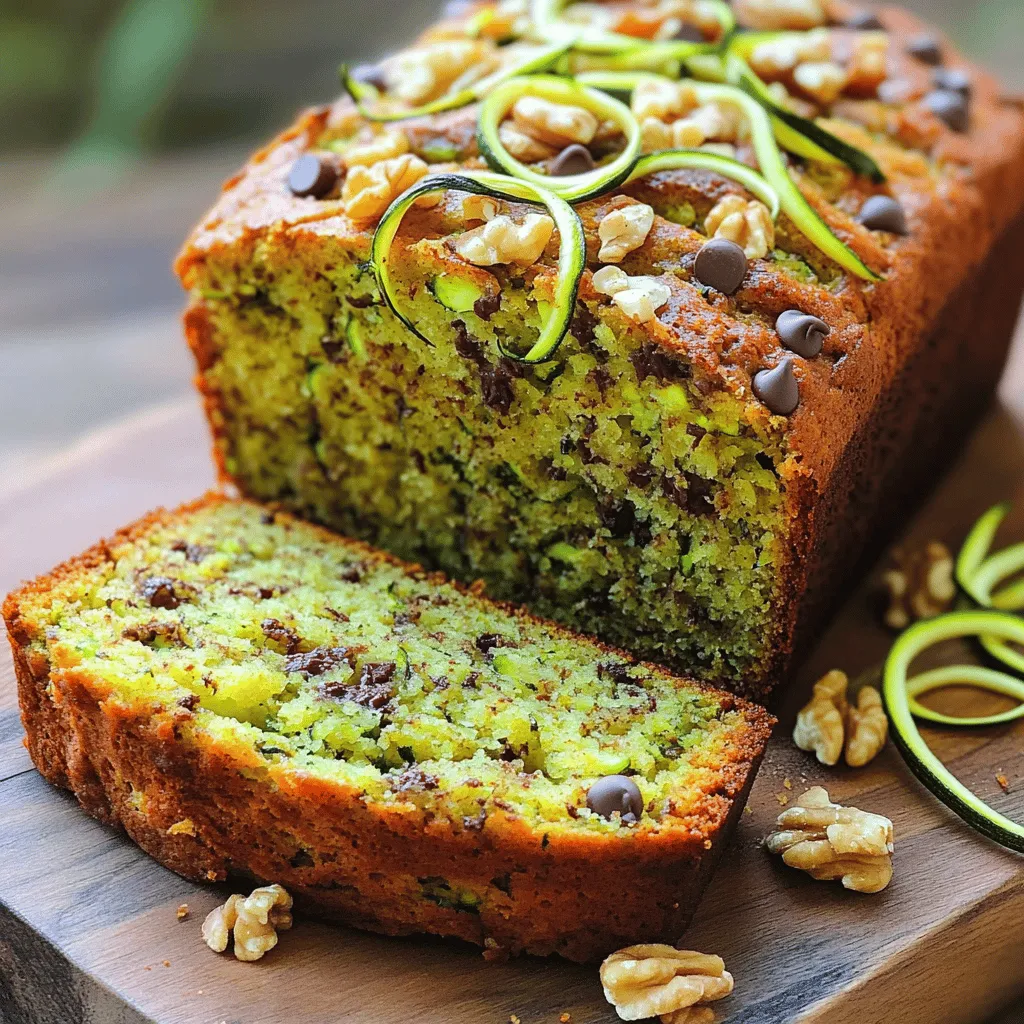
If you’re seeking a sweet, cool treat that’s simple to make, it’s time to try my No-Bake Peach Icebox Cake. Read Full RecipeThe Best Zucchini Bread Irresistible and Easy Recipe
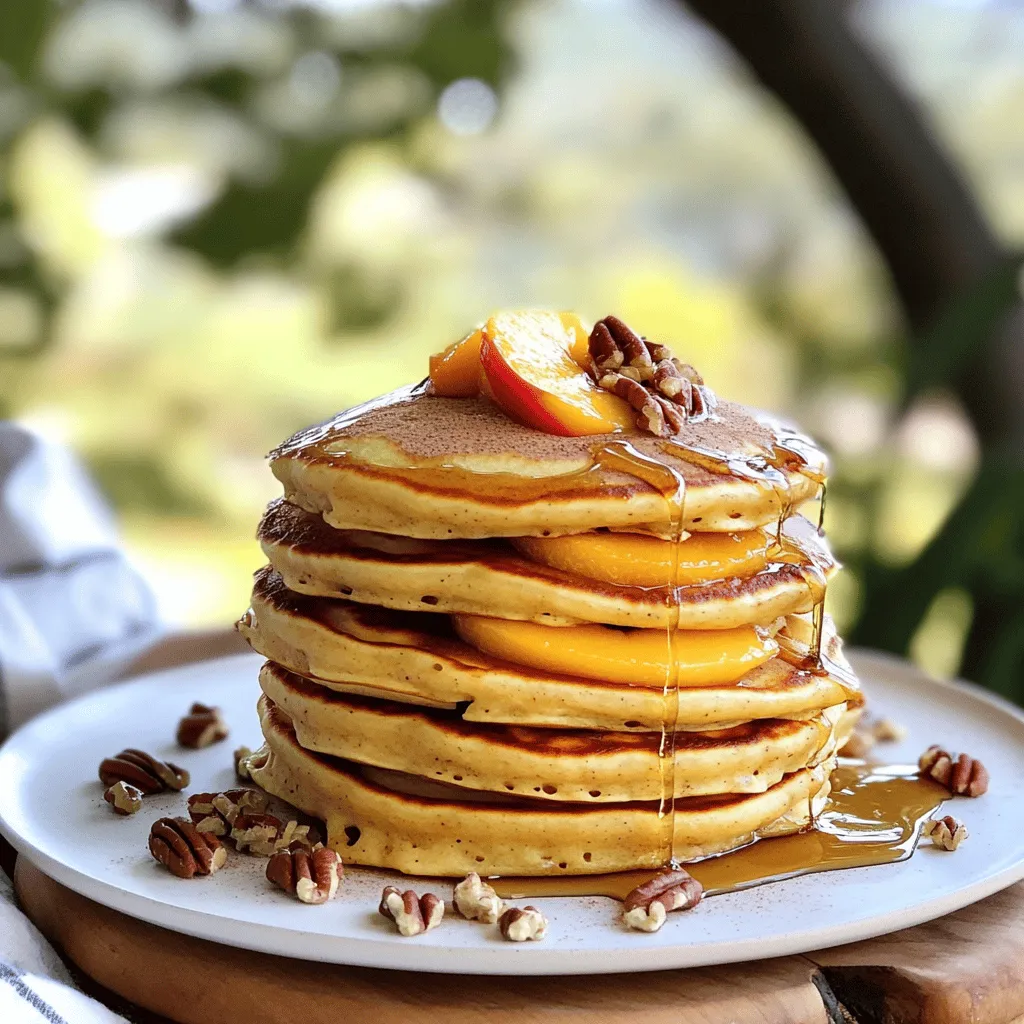
Are you ready to bake the best zucchini bread that’s both irresistible and easy? This simple recipe combines fresh, grated Read Full RecipePeach Cobbler Pancakes Delicious and Simple Recipe
Are you ready to bring a burst of flavor to your breakfast table? Peach Cobbler Pancakes are the perfect blend Read Full Recipe
My Latest Recipes
hey,
i’m !
I’m so happy you’re here!
Food is my passion, and perfecting each dish is my craft. I can’t wait for you to try them let’s dive into this delicious journey side by side.
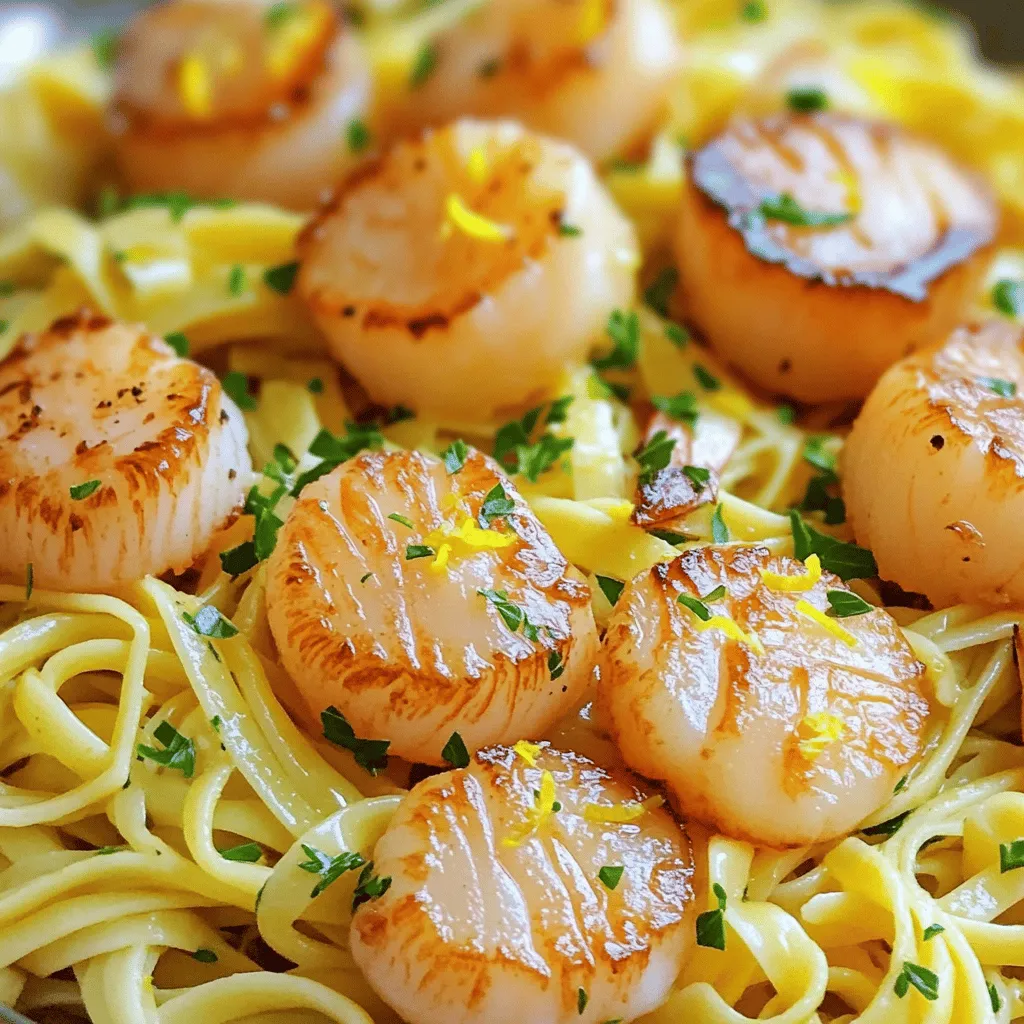
Lemon Garlic Shrimp & Scallop Pasta Flavorful Delight
Are you ready to make a dish that bursts with flavor? My Lemon Garlic Shrimp & Scallop Pasta is the answer! This easy recipe…









![- 1 can (15 oz) chickpeas - 1 tablespoon olive oil - Spices: smoked paprika, ground cumin, chili powder, cayenne pepper - Toppings: shredded red cabbage, avocado, cilantro, feta cheese (optional) These ingredients create a tasty base for your spicy chickpea tacos. Chickpeas give you protein and fiber. Olive oil adds healthy fat and helps the spices stick. You can serve the tacos with various sauces and sides for extra flavor. Try adding hot sauce for heat. A side of rice or a simple salad works well too. To enhance nutrition, add more veggies. Chopped tomatoes or diced bell peppers add color. They also boost vitamins. You can mix and match to suit your taste. For the full recipe, check the complete details to create these delicious tacos. First, preheat your oven to 400°F (200°C). This step is key for crispy chickpeas. Next, you need to mix the chickpeas with olive oil and spices. In a large bowl, add the drained chickpeas. Pour in one tablespoon of olive oil. Then, add one teaspoon of smoked paprika, one teaspoon of ground cumin, and half a teaspoon of chili powder. If you like heat, add a quarter teaspoon of cayenne pepper. Finish with salt and pepper to taste. Toss everything well to coat the chickpeas evenly. Now, spread the chickpeas on a baking sheet in a single layer. This helps them roast evenly. Place the baking sheet in the oven and roast for about 20 to 25 minutes. Stir them halfway through to ensure they get crispy all around. You’ll know they are done when they turn golden and crunchy. While the chickpeas are roasting, it’s time to warm your tortillas. You can do this in a skillet over medium heat. Heat each tortilla for about 30 seconds on each side. This makes them soft and easy to fold. Keeping them warm means they won’t crack when you fill them. Once the chickpeas are crisp, take them out of the oven. Start building your taco by laying a generous amount of crispy chickpeas onto each tortilla. Next, top them with shredded red cabbage for crunch. Add sliced avocado for creaminess and sprinkle with fresh cilantro. For extra flavor, drizzle lime juice over the top. If you want it creamier, add crumbled feta cheese. Now your tacos are ready to enjoy! For the full recipe, check out the [Full Recipe]. To adjust the spice levels in your tacos, start by tasting the spices as you mix. If you like it hot, add more cayenne pepper. For milder tacos, use less. You can also add more lime juice to balance the heat. Remember, everyone has different preferences, so taste as you go. It’s fun to find the right mix for you! To keep your roasted chickpeas fresh, store them in an airtight container. They will stay crunchy for about three days. If they lose their crunch, try reheating them in the oven for a few minutes. For tacos, assemble only what you will eat. Store leftover toppings separately to keep them fresh. You can use leftovers for salads or wraps, too! To elevate the taste of your tacos, consider adding more toppings. Fresh mango or pineapple can give a sweet kick. You might sprinkle some jalapeños for extra heat. Try adding a dollop of yogurt or sour cream for creaminess. Mix in some spices like coriander or garlic powder to the chickpeas for added depth. There are endless ways to make your tacos unique! For the full recipe, refer to the [Full Recipe]. {{image_2}} For a plant-based twist, use lentils instead of chickpeas. Lentils cook fast and pack protein. You can also try black beans or pinto beans for a different flavor. If you want a meat-like texture, consider jackfruit. It soaks up spices well and has a fun, pulled texture. Add some sautéed mushrooms for a hearty bite. To change the taste, mix up the spices. Try adding garlic powder or onion powder for depth. A splash of soy sauce or tamari can add a savory kick. If you like citrus, replace lime with lemon or orange juice. For a smoky flavor, try adding chipotle powder. This gives your tacos a unique twist that excites the taste buds. When it comes to tortillas, you have options. Corn tortillas are gluten-free and add a nice texture. Flour tortillas are soft and chewy, making them a favorite for many. You can even use lettuce wraps for a low-carb version. Look for gluten-free tortillas made from almond or coconut flour for a new taste. Each tortilla type brings its own flair to your spicy chickpea tacos. Store leftover chickpeas in an airtight container. Keep them in the fridge for up to five days. For longer storage, freeze them in a freezer-safe bag. Make sure to remove as much air as possible. This method helps keep their flavor and texture. To keep tortillas fresh, store them in a sealed bag. Place them in the fridge for up to a week. For longer storage, you can freeze them. Just wrap each tortilla in plastic wrap before placing them in the freezer. This way, they won’t stick together. Reheat chickpeas in the oven or microwave. For the oven, set it to 350°F (175°C). Spread the chickpeas on a baking sheet and heat for about 10 minutes. If using a microwave, heat in short bursts of 30 seconds. Stir in between to avoid uneven heating. For tortillas, warm them in a skillet. Heat each side for about 20 to 30 seconds. This keeps them soft and pliable, perfect for making tacos. Enjoy your tasty Spicy Chickpea Tacos with all the right textures! Yes, you can prep the chickpeas and toppings in advance. - Cook the chickpeas and store them in a container. - Keep the tortillas wrapped in foil or a bag. - Prepare toppings like cabbage and avocado, but slice avocados just before serving. Chickpeas are very versatile. Here are some great additions: - Fresh tomatoes for a juicy bite. - Diced red onion for a sharp flavor. - Sliced jalapeños for added heat. - Corn for sweetness and crunch. If you love heat, try these tips: - Add more cayenne pepper to the chickpeas. - Drizzle hot sauce on top before serving. - Include fresh chopped jalapeños as a topping. - Use spicy salsa for extra kick. Yes, they can be gluten-free! - Use corn tortillas, which are naturally gluten-free. - Check labels on any packaged ingredients. - Swap out feta cheese for a dairy-free option if needed. For the full recipe, check out the details provided. In this blog post, we covered how to make tasty Spicy Chickpea Tacos. We went through the main ingredients, including chickpeas, olive oil, and spices. You learned step-by-step instructions for preparation and roasting, plus tips for perfect spice levels and leftovers. Remember, these tacos are versatile; feel free to swap ingredients to suit your taste. With their bold flavors and fun assembly, Spicy Chickpea Tacos are a dish you can enjoy any time. Try making them your own with different toppings or sauces. Enjoy!](https://mysavedrecipe.com/wp-content/uploads/2025/05/819b49e6-de89-4c88-9862-24012c8d226d-300x300.webp)
