


Latest & Greatest

Lemon Posset Dessert Creamy Citrus Indulgence
Are you ready to indulge in a sweet treat that’s both simple and delicious? Lemon posset is a creamy, zesty
Read more…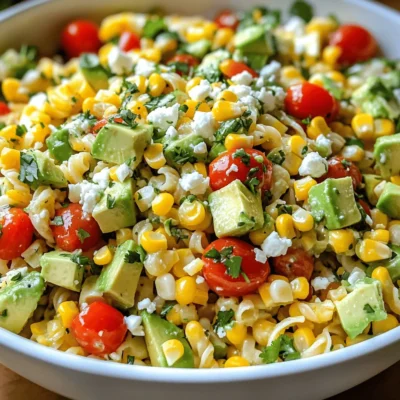
Healthy Street Corn Pasta Salad Vibrant and Flavorful Dish
Looking for a fresh and vibrant dish to liven up your meals? My Healthy Street Corn Pasta Salad is packed
Read more…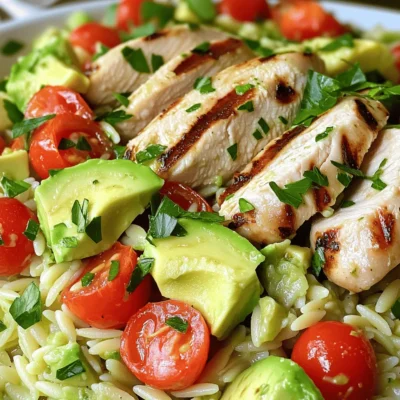
Grilled Lemon Herb Chicken Avocado Orzo Salad Delight
Welcome to your new favorite dish! In this blog post, I’ll show you how to make a Grilled Lemon Herb
Read more…
Biscoff Cheesecake Delight Easy and Decadent Treat
Craving a dessert that’s easy to make and absolutely scrumptious? You’re in for a treat! This Biscoff Cheesecake is a
Read more…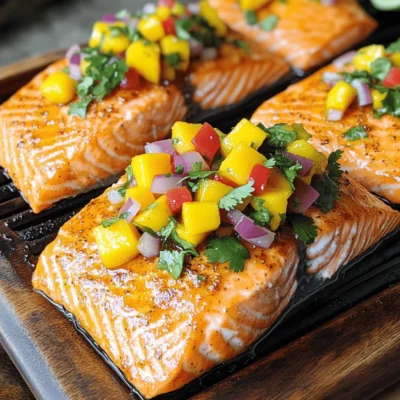
Salmon with Mango Salsa Fresh and Flavorful Dish
Craving a dish that’s both fresh and full of flavor? Look no further! Salmon with Mango Salsa is your perfect
Read more…
Mini Chocolate Tarts Irresistible Decadent Delight
Are you ready to indulge in a sweet treat that’s both easy to make and downright delicious? Mini Chocolate Tarts
Read more…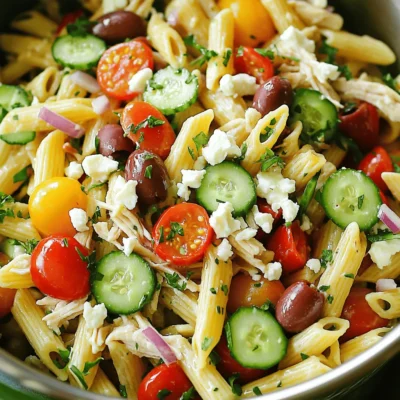
Mediterranean Chicken Pasta Salad Flavorful and Fresh
Looking for a meal that’s both flavorful and fresh? You’ve found it with my Mediterranean Chicken Pasta Salad! Packed with
Read more…
Homemade Strawberry Lemonade Refreshing and Sweet Drink
Looking for a drink that’s both refreshing and sweet? Homemade Strawberry Lemonade is your answer! With fresh strawberries and tangy
Read more…browse recipes
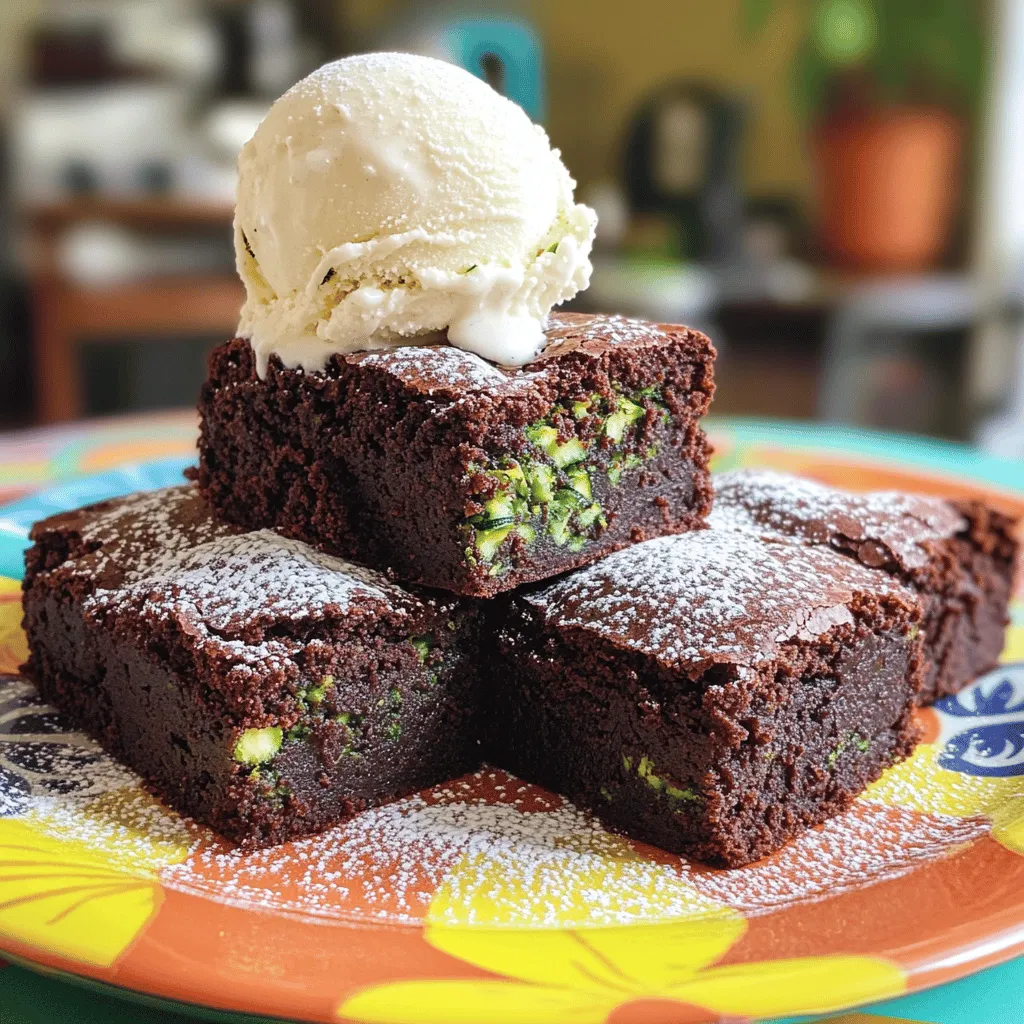
Zucchini Brownies for Kids Healthy and Tasty Delight
Are you looking for a new treat that kids will love while sneaking in some veggies? Look no further! These Zucchini Brownies are a…
My Latest Desserts

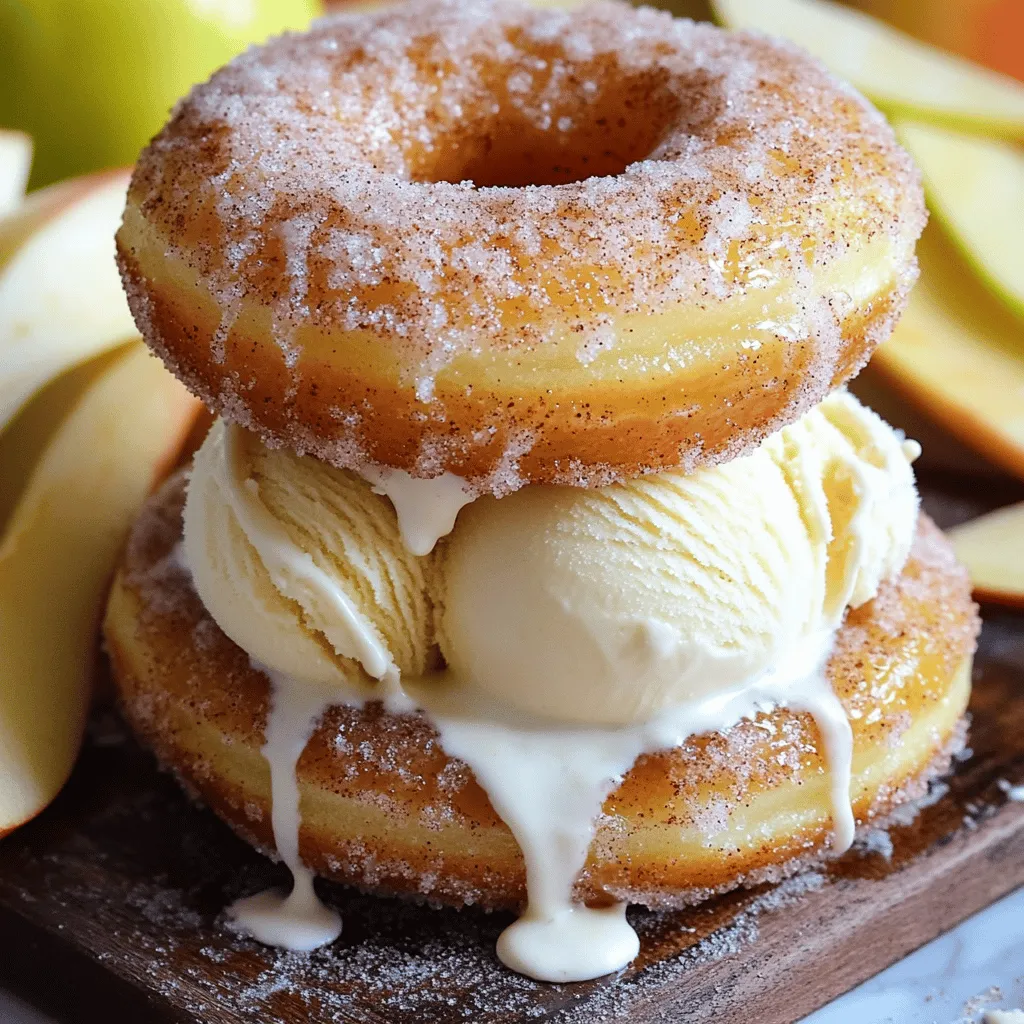
Apple Cider Donut Ice Cream Sandwiches Delightful Treat
Get ready to treat your taste buds! Apple Cider Donut Ice Cream Sandwiches blend fall flavors and sweet creaminess. These Read Full Recipe-
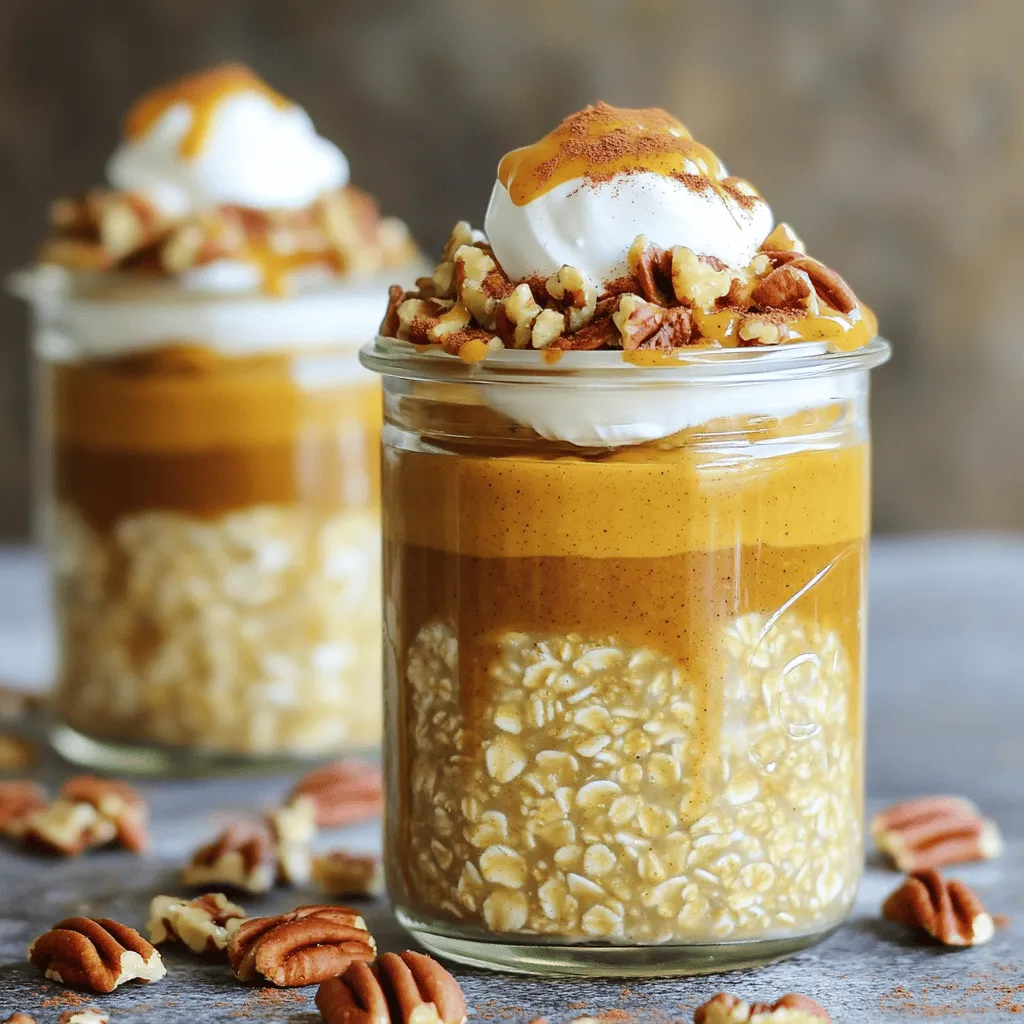
Brown Sugar Pumpkin Pie Overnight Oats Delight
Looking for a tasty breakfast that’s easy and fun? You’ll love my Brown Sugar Pumpkin Pie Overnight Oats Delight! This Read Full Recipe -
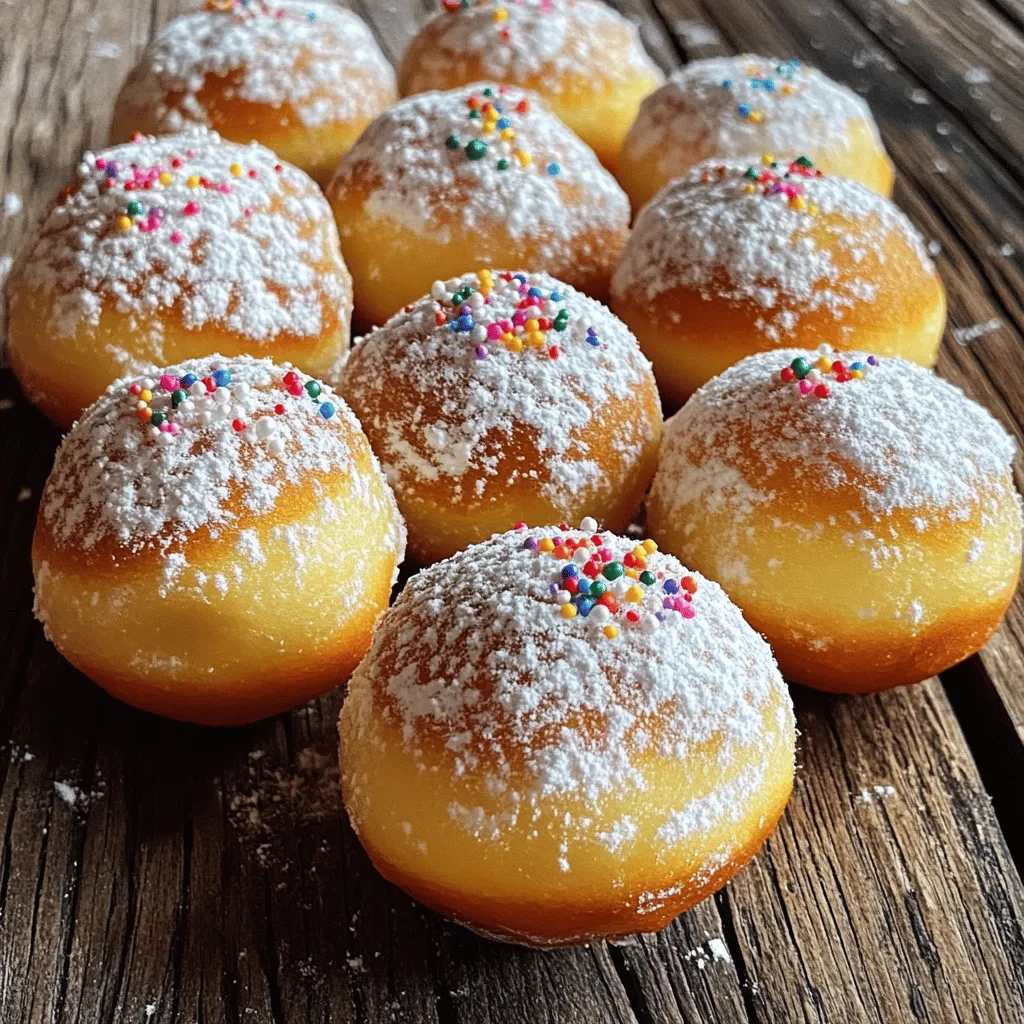
Cream Soda Donut Holes Delightful Dessert Recipe
Are you ready to enjoy a fun twist on a classic treat? Cream Soda Donut Holes are sweet, fluffy, and Read Full Recipe -
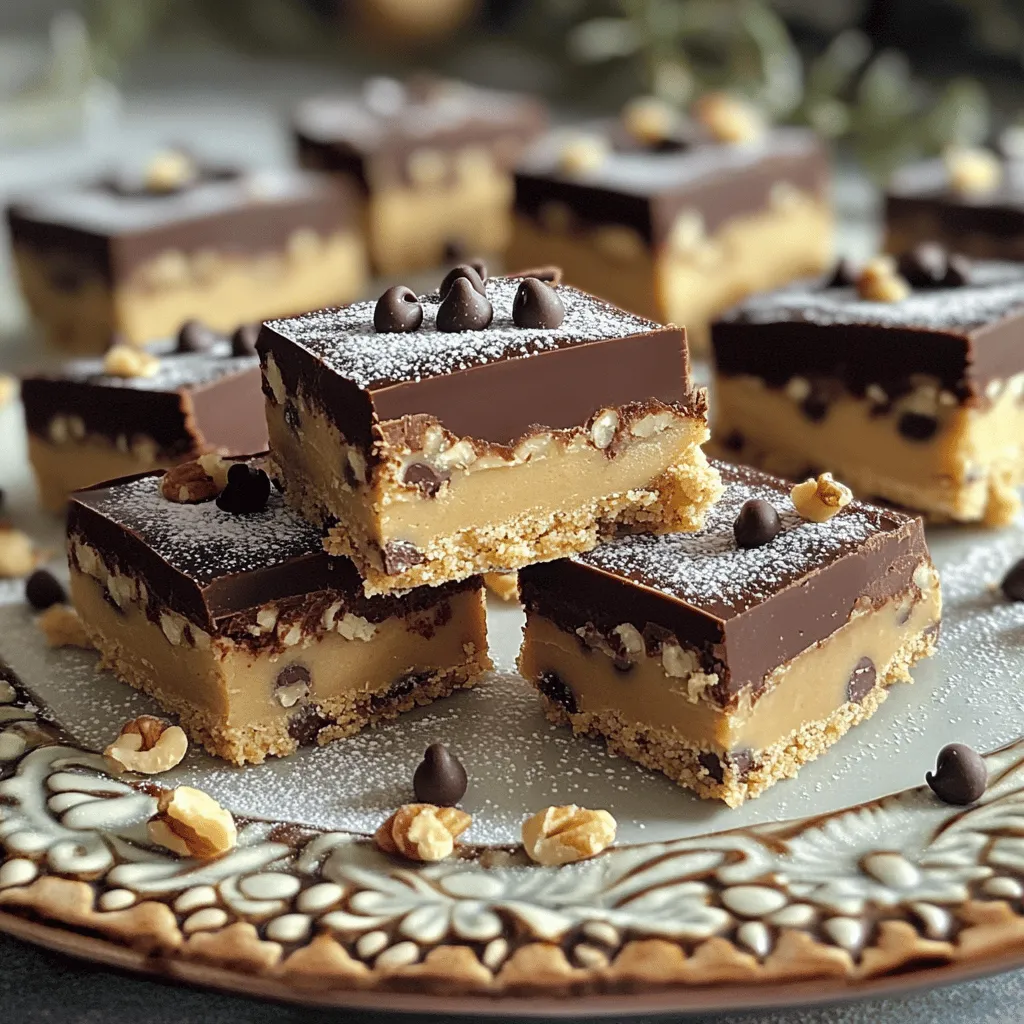
Cookie Dough Bars Delightful Recipe for a Sweet Treat
If you’ve ever craved the rich, sweet goodness of cookie dough, then you’re in for a treat! My recipe for Read Full Recipe -
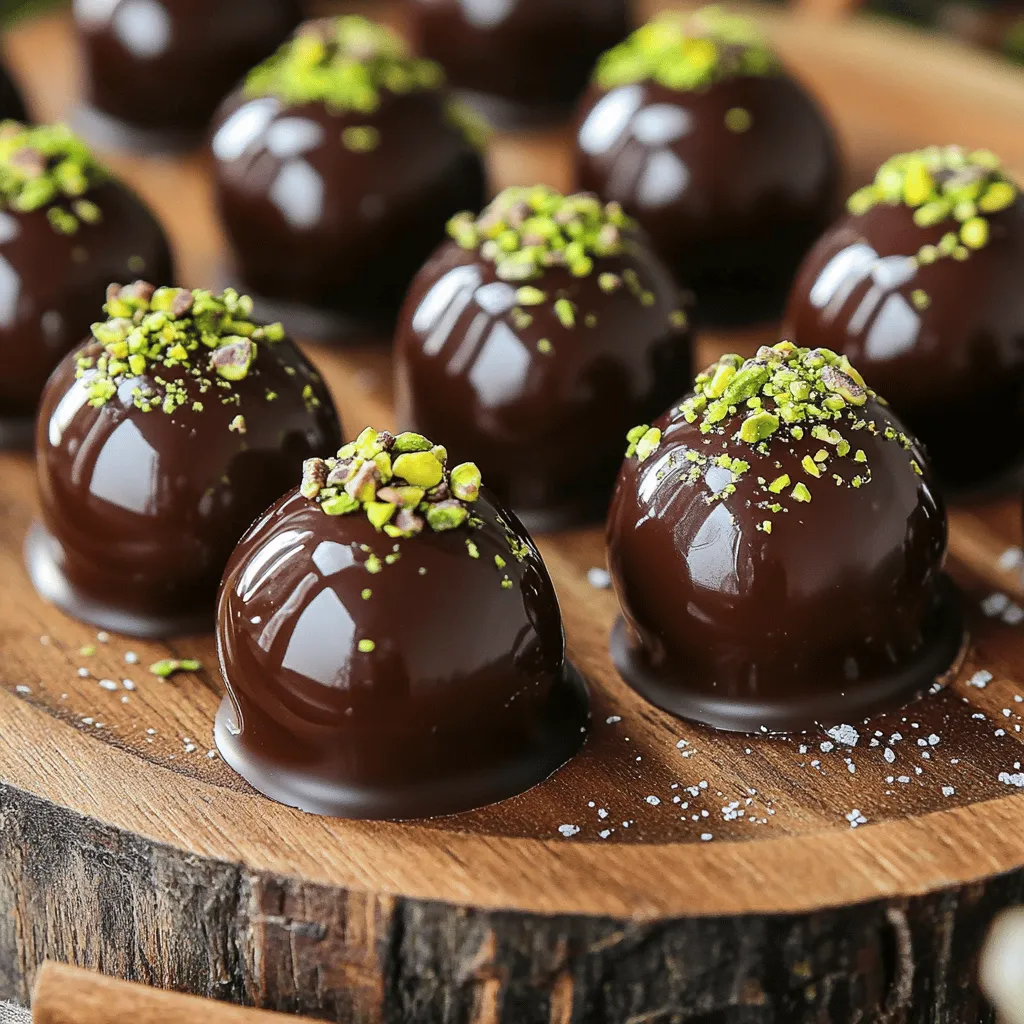
Chocolate Covered Cherries with Pistachio Dust Delight
Get ready to treat your taste buds with my “Chocolate Covered Cherries with Pistachio Dust Delight.” This sweet snack combines Read Full Recipe -
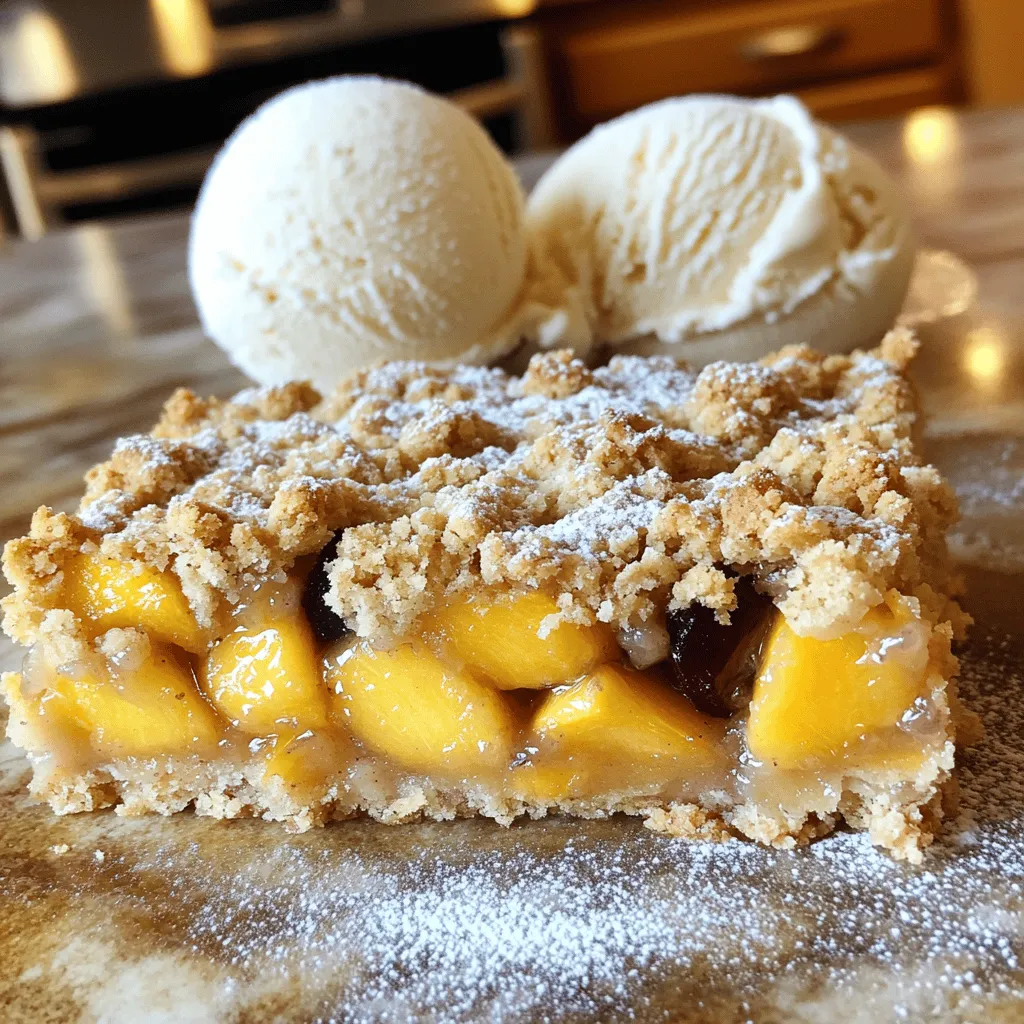
Peach Plum Crumble Bars Irresistible Sweet Treat
Are you ready for a dessert that combines the sweetness of peaches and plums? My Peach Plum Crumble Bars are Read Full Recipe -
Watercolor Buttercream Cupcakes Delightful Recipe Guide
Are you ready to bring some color to your baking? In this guide, I’ll show you how to make stunning Read Full Recipe -
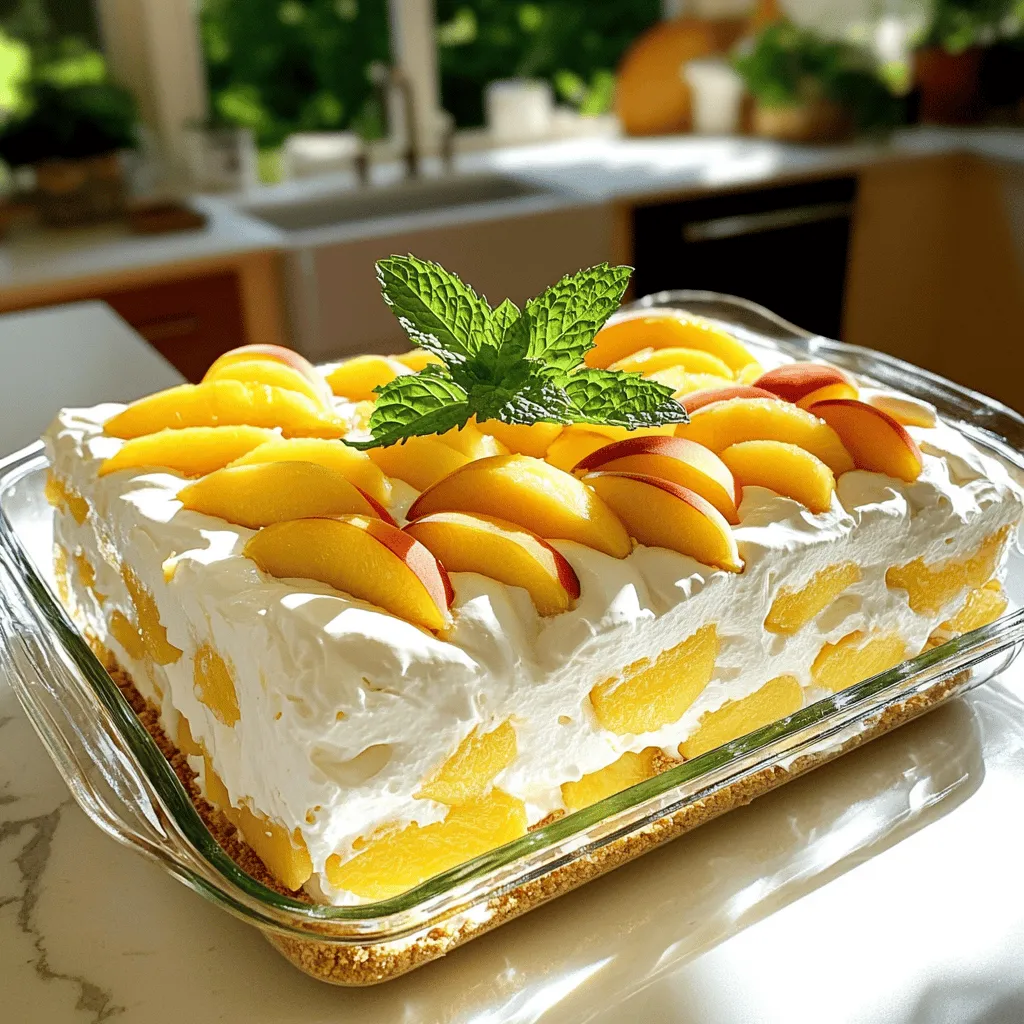
No-Bake Peach Icebox Cake Simple and Refreshing Treat
If you’re seeking a sweet, cool treat that’s simple to make, it’s time to try my No-Bake Peach Icebox Cake. Read Full Recipe -
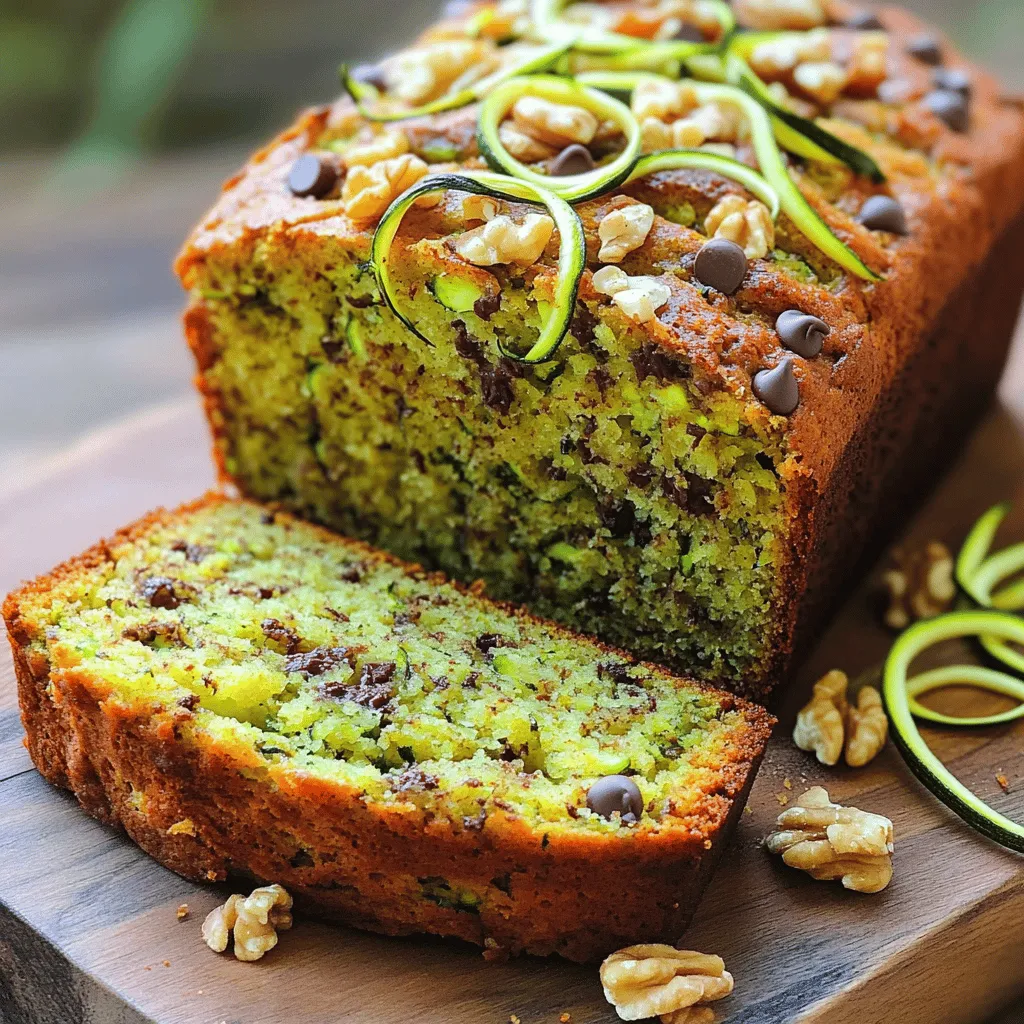
The Best Zucchini Bread Irresistible and Easy Recipe
Are you ready to bake the best zucchini bread that’s both irresistible and easy? This simple recipe combines fresh, grated Read Full Recipe -
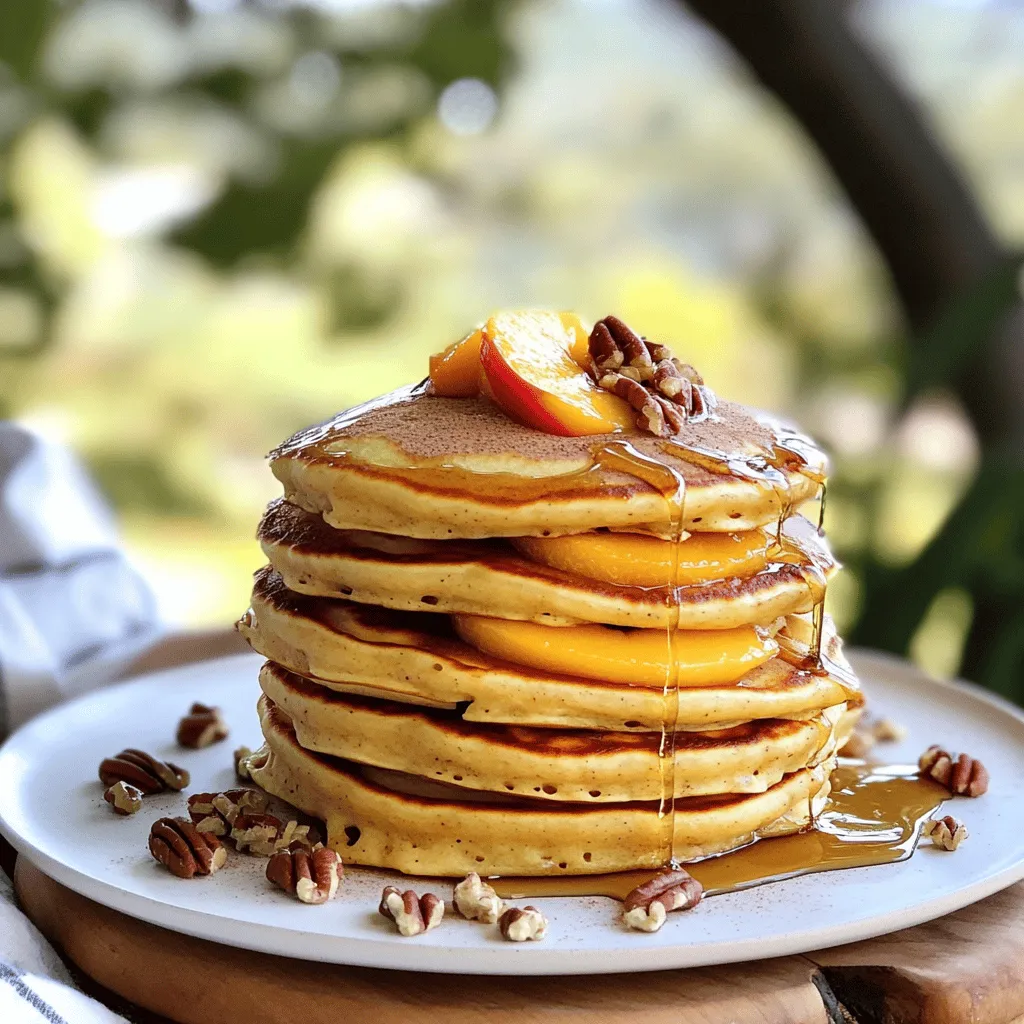
Peach Cobbler Pancakes Delicious and Simple Recipe
Are you ready to bring a burst of flavor to your breakfast table? Peach Cobbler Pancakes are the perfect blend Read Full Recipe

My Latest Recipes

hey,
i’m !
I’m so happy you’re here!
Food is my passion, and perfecting each dish is my craft. I can’t wait for you to try them let’s dive into this delicious journey side by side.
![To make the best chocolate chip banana bread, you need simple, fresh ingredients. Here’s what you will need: - 3 ripe bananas, mashed - 1/2 cup unsalted butter, melted - 3/4 cup brown sugar - 1 large egg, beaten - 1 teaspoon vanilla extract - 1 teaspoon baking soda - Pinch of salt - 1 1/2 cups all-purpose flour - 1/2 cup dark chocolate chips - 1/4 cup chopped walnuts (optional) These ingredients are easy to find. The ripe bananas bring natural sweetness and moisture. The melted butter gives the bread a rich texture, while brown sugar adds depth. The dark chocolate chips melt beautifully, giving bursts of flavor in every bite. You can add walnuts for crunch, or leave them out if you prefer a smoother loaf. You can find the full recipe in the Choco-Banana Bliss Bread section. 1. Preheat your oven to 350°F (175°C). Grease and flour a 9x5-inch loaf pan. 2. In a large bowl, mash the ripe bananas. Add the melted butter and mix well. 3. Now, stir in the brown sugar, beaten egg, and vanilla extract. Whisk until smooth. 1. In a small bowl, combine the baking soda and a pinch of salt. 2. Gradually add this mixture to the wet ingredients. 3. Slowly fold in the all-purpose flour. Be gentle; don’t overmix! 1. Gently fold in the dark chocolate chips and walnuts if you want some crunch. 2. Pour the batter into the loaf pan and spread it evenly. 3. Bake in the oven for 55-60 minutes. Check for doneness with a toothpick. 4. Let it cool in the pan for about 10 minutes. Then, transfer it to a wire rack. This process makes a warm, tasty loaf that fills your kitchen with the best aroma. Enjoy your baking! For the complete recipe, check out the [Full Recipe]. To make the best banana bread, use ripe bananas. Look for ones that are brown and soft. This ensures a sweet and moist loaf. Remember not to overmix the batter. Stir just until the flour blends in. This keeps your bread light and fluffy. Slice the banana bread after it cools a bit. Serve it warm for the best taste. You can enjoy it plain or with a dollop of whipped cream. It also pairs nicely with coffee for a cozy treat. A big mistake is misjudging your oven's temperature. Always use an oven thermometer to check. This helps you bake the bread evenly. Also, be careful with measuring ingredients. Use a scale or measuring cups for accuracy. This will make a noticeable difference in your bread's texture. {{image_2}} You can easily change up your chocolate chip banana bread. If you want a nutty crunch, try adding walnuts or pecans. They add great flavor and texture. You can also use seeds like chia or sunflower for a healthy twist. Swapping chocolate types is another fun way to mix things up. Dark chocolate chips give a rich taste. Milk chocolate chips are sweeter and creamier. You can even use white chocolate chips for a different flavor. Adding spices can enhance your banana bread. Cinnamon adds warmth and depth. Nutmeg gives a cozy feel. Just a pinch of either can change the whole dish. Incorporating other fruits can also add freshness. Try diced apples or shredded zucchini. Both add moisture and flavor to your bread. You can even mash in some ripe pears for a sweet twist. If you want a healthier option, consider substituting whole wheat flour for all-purpose flour. This adds fiber and nutrients. Your banana bread will still taste great. You can also reduce the sugar content. Use less brown sugar or try honey or maple syrup instead. Both options will keep your bread sweet but lighter on sugar. To keep your chocolate chip banana bread fresh, store it properly. Let the bread cool before wrapping it. Use plastic wrap or aluminum foil to cover it tightly. This helps keep moisture in and prevents drying out. You can also use an airtight container. A glass or plastic container works well. Just make sure it’s sealed snugly. If you want to save some banana bread for later, freezing is a great option. First, let the bread cool completely. Then, slice the bread into pieces. Wrap each slice in plastic wrap. Place the wrapped slices in a freezer bag. Label the bag with the date. To thaw, take out a slice and leave it at room temperature for about an hour. You can also microwave it for a quick treat. Just heat it for 15-20 seconds. Enjoy it warm for a delicious taste! Banana bread stays fresh for a few days at room temperature. It lasts about 2-3 days in a cool place. If you keep it in the fridge, it can last up to a week. However, the cold may change its texture. For the best taste, I suggest eating it within a few days. If you freeze it, it can last up to three months. Just remember to label your storage containers! If you want to skip the egg, try using 1/4 cup of unsweetened applesauce. You can also use 1/2 ripe banana as a substitute. Both options keep the bread moist and tasty. Check for doneness by inserting a toothpick into the center. If it comes out clean, your banana bread is ready. You can also gently press the top. It should spring back if it's done. Yes! Frozen bananas work great in this recipe. Just thaw them before mashing. They will be softer and easier to mix in. This can also enhance the flavor of your bread. To ripen bananas fast, place them in a paper bag. The bag traps ethylene gas, which speeds up the ripening process. You can also put them in a warm spot, like on top of the fridge. If you need them really quick, bake them at 300°F (150°C) for about 15-20 minutes. You learned how to make banana bread with simple ingredients. I shared step-by-step instructions for perfect results. Remember to use ripe bananas and avoid overmixing. You can add nuts or change flavors, too. Proper storage keeps your bread fresh and tasty. Don’t forget, you may freeze it for later. With these tips, you'll bake delicious banana bread every time. Enjoy baking and share your yummy success with others!](https://mysavedrecipe.com/wp-content/uploads/2025/06/0eb940b7-887f-4605-b06a-5629e2f5151e-300x300.webp)

Mushroom Spinach Frittata Simple and Tasty Dish
Welcome to the delicious world of Mushroom Spinach Frittata! This simple and tasty dish packs fresh flavor and nutrition. You can whip it up…
. In this blog post, we explored how to make a delicious mushroom spinach frittata. We covered essential and optional ingredients that add flavor and texture. I shared step-by-step instructions and helpful tips for cooking and serving. Variations allow you to customize the dish, and I included storage details for leftovers. With this knowledge, you can create a tasty frittata any time. Experiment with flavors and enjoy the process! Happy cooking!](https://mysavedrecipe.com/wp-content/uploads/2025/06/f123b1d2-b5be-43b7-b8dc-55819e027fa2.webp)
