Latest & Greatest
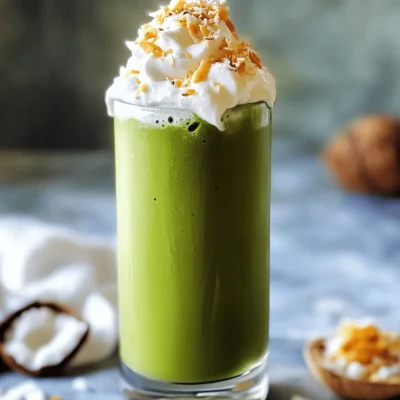
Matcha Coconut Cloud Frappe Delightfully Smooth Drink
Get ready to enjoy a drink that brings joy to your taste buds! The Matcha Coconut Cloud Frappe is a
Read more…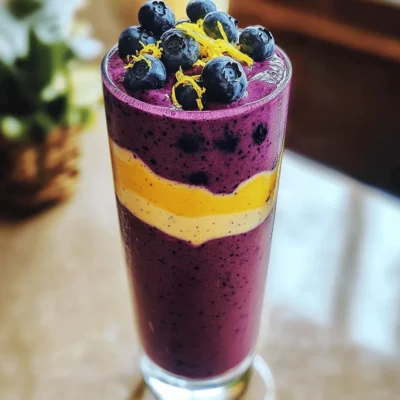
Blueberry Lemon Cheesecake Smoothie Creamy Delight
Get ready to treat yourself with a delicious Blueberry Lemon Cheesecake Smoothie! This creamy delight is packed with flavor and
Read more…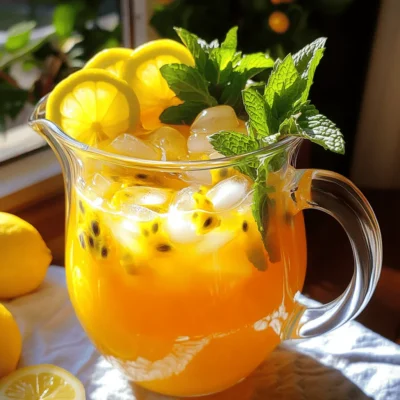
Passion Fruit Mint Iced Tea Refreshing Summer Drink
Looking for a refreshing summer drink that bursts with flavor? You’ll love my Passion Fruit Mint Iced Tea! This tasty
Read more…
Double Chocolate Espresso Shake Rich and Creamy Treat
Indulge yourself with a creamy delight! The Double Chocolate Espresso Shake combines rich chocolate ice cream and bold espresso for
Read more…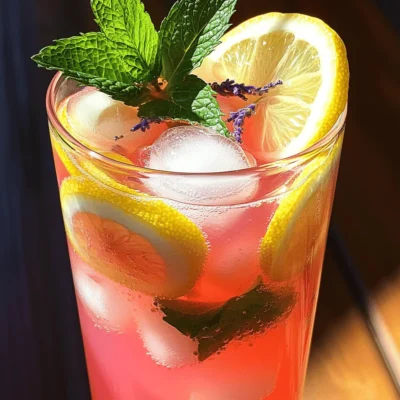
Lychee Lavender Lemon Spritz Refreshing Summer Drink
Looking for a drink that screams summer? The Lychee Lavender Lemon Spritz is your answer! This refreshing mix blends sweet
Read more…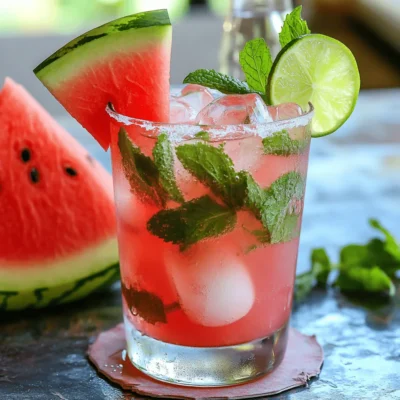
Watermelon Mint Mojito Mocktail Refreshing Beverage Recipe
Looking for a cool drink that bursts with flavor? The Watermelon Mint Mojito Mocktail is the perfect choice for hot
Read more…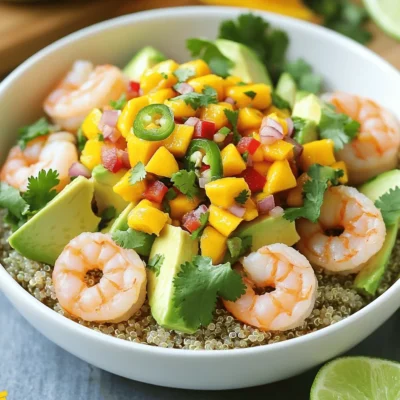
Savory Shrimp and Avocado Bowls with Mango Salsa
Are you ready to dive into a fresh and tasty dish? My Savory Shrimp and Avocado Bowls with Mango Salsa
Read more…
Strawberry Crunch Salad with Champagne Vinaigrette Delight
Are you ready to brighten up your meals? This Strawberry Crunch Salad with Champagne Vinaigrette is the perfect mix of
Read more…browse recipes

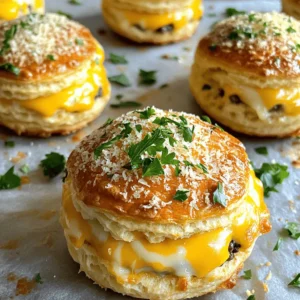
Tailgate Buffalo Chicken Sushi Rolls Flavorful Delight
Looking to spice up your tailgate party? Tailgate Buffalo Chicken Sushi Rolls are a flavorful twist on your favorite game day snacks. Imagine gooey…
My Latest Desserts

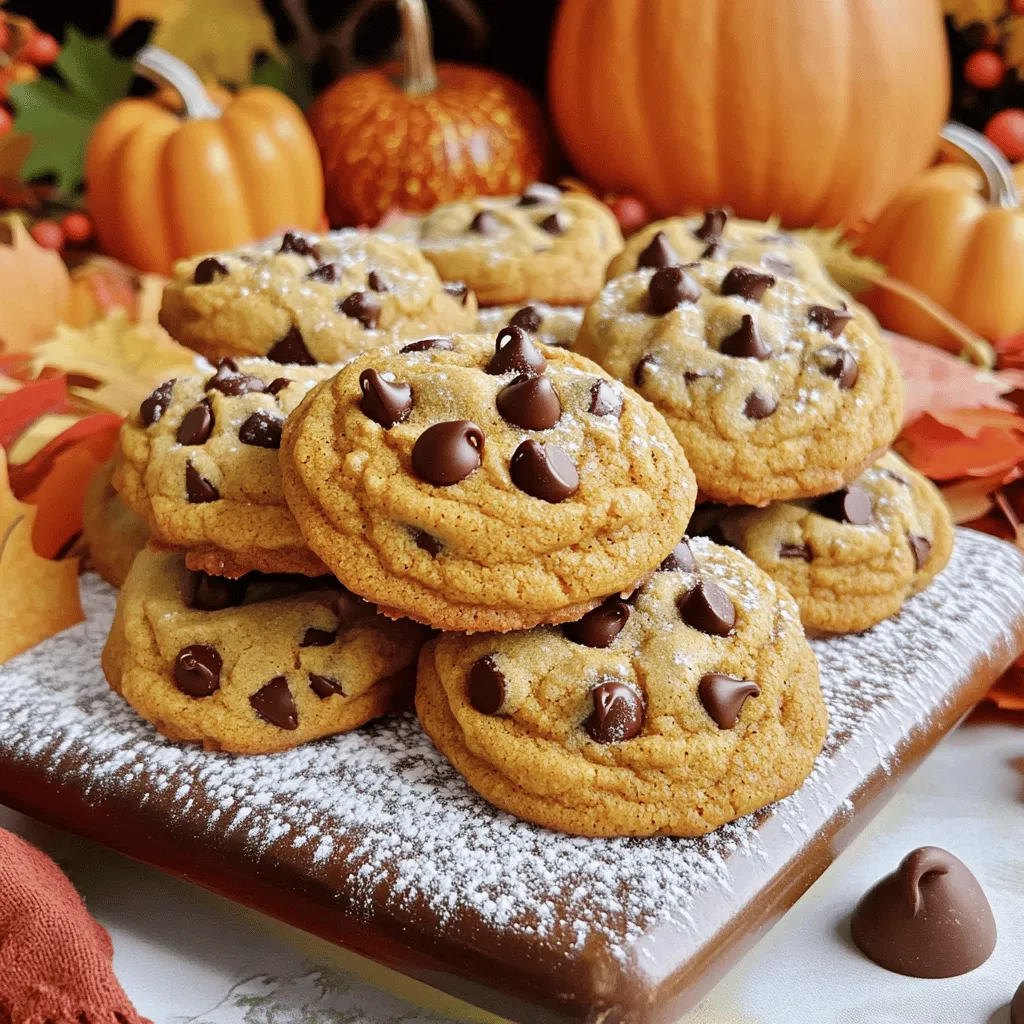
Chewy Pumpkin Cookies Simple and Irresistible Treat
Craving a delicious fall treat? Look no further! My chewy pumpkin cookies are simple to make and completely irresistible. With Read Full Recipe-
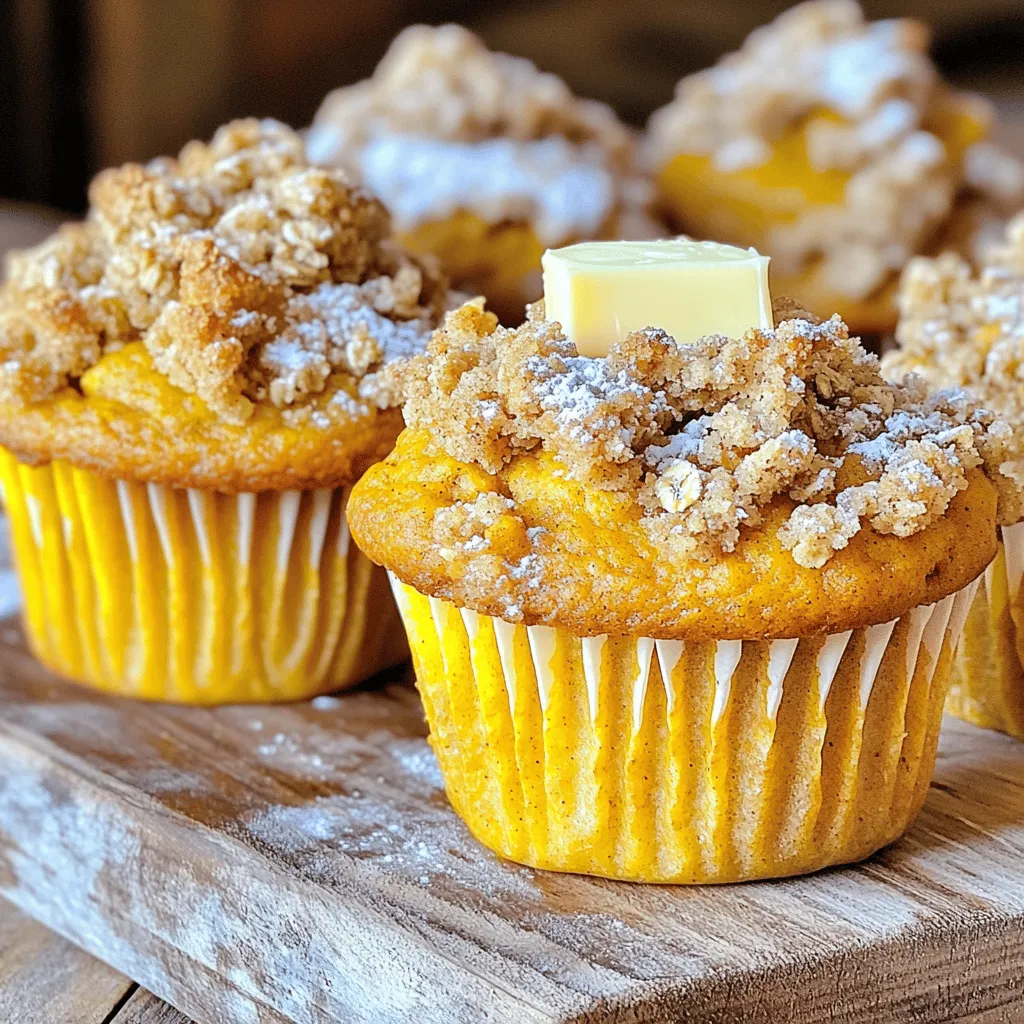
Pumpkin Streusel Muffins Irresistible Fall Treat
Fall is here, and what better way to celebrate than with warm Pumpkin Streusel Muffins? These muffins are soft, spiced, Read Full Recipe -
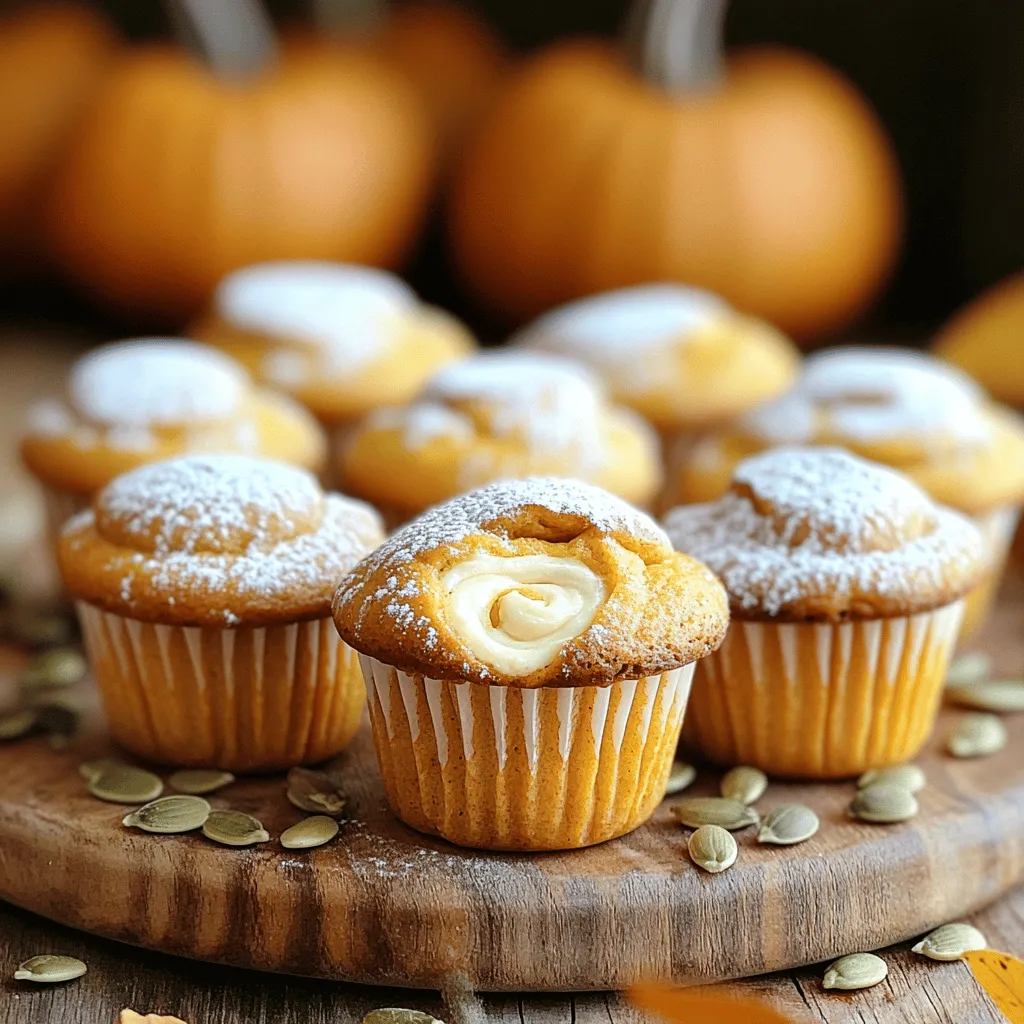
Pumpkin Cheesecake Muffins Delightful Flavor Treat
Craving a sweet treat that screams fall? You’re in for a treat with Pumpkin Cheesecake Muffins! These muffins blend rich Read Full Recipe -
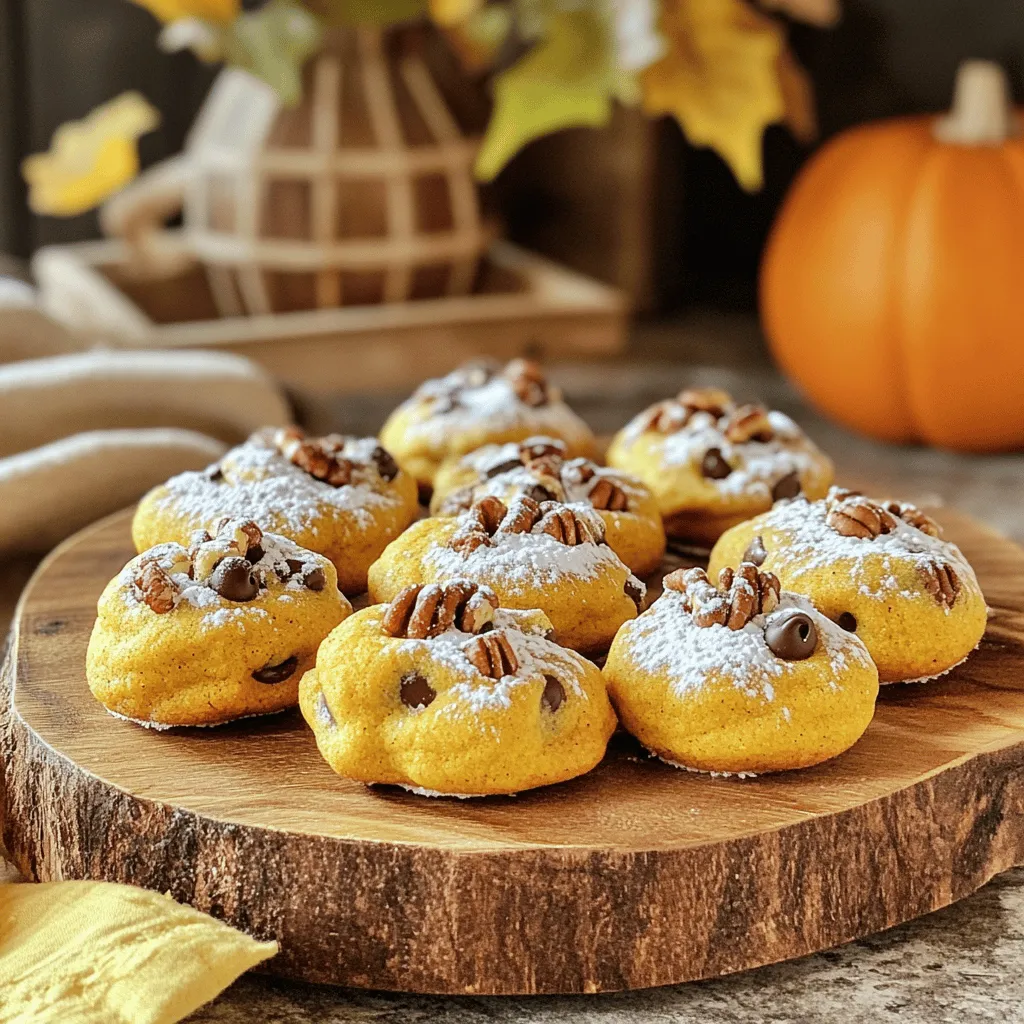
Pumpkin Spice Cookie Bites Irresistible Fall Treat
Are you ready to embrace the cozy flavors of fall? These Pumpkin Spice Cookie Bites are the perfect treat! They Read Full Recipe -
Vegan Pumpkin Spice Cookies Tasty Fall Delight
If you love fall flavors, you’ll adore these Vegan Pumpkin Spice Cookies! They are soft, spiced, and full of seasonal Read Full Recipe -
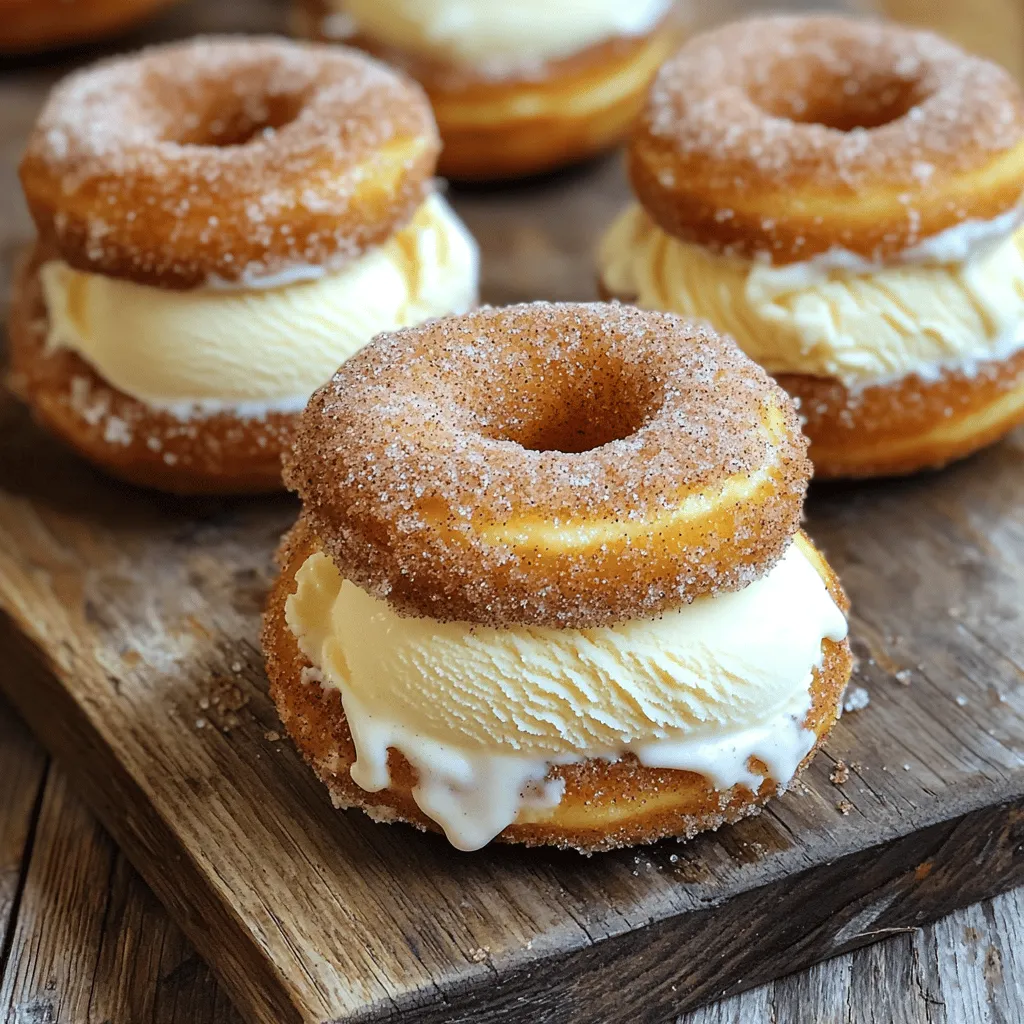
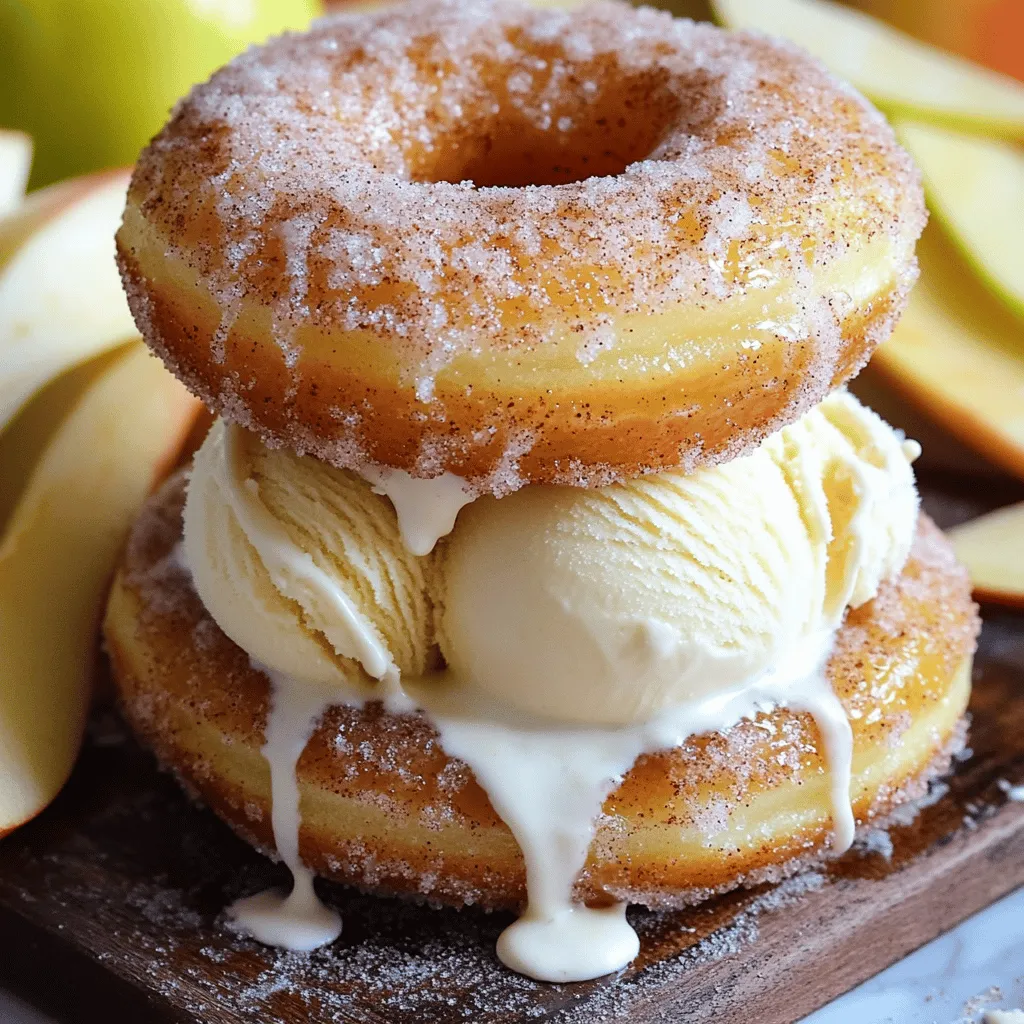
Apple Cider Donut Ice Cream Sandwiches Tasty Delight
Get ready for a sweet treat that combines two favorites: donuts and ice cream! Apple Cider Donut Ice Cream Sandwiches Read Full Recipe -
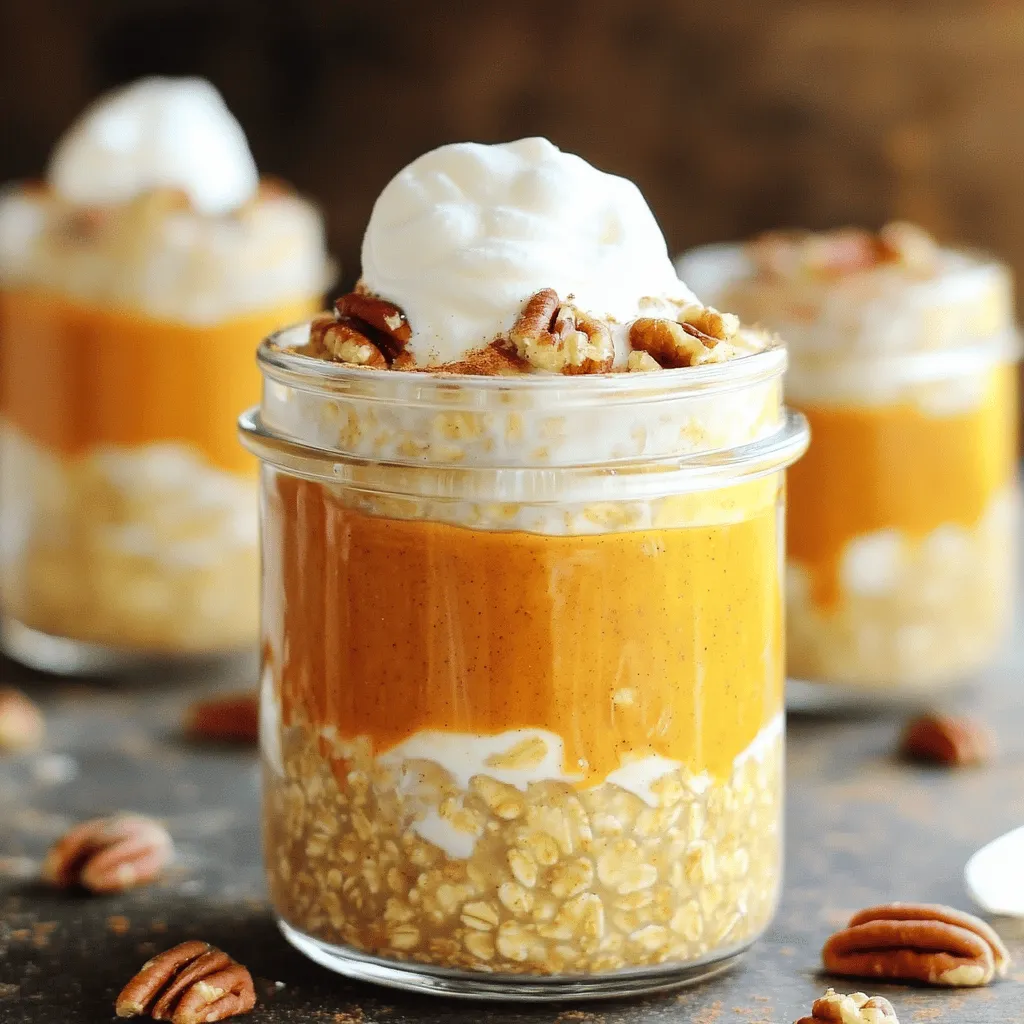
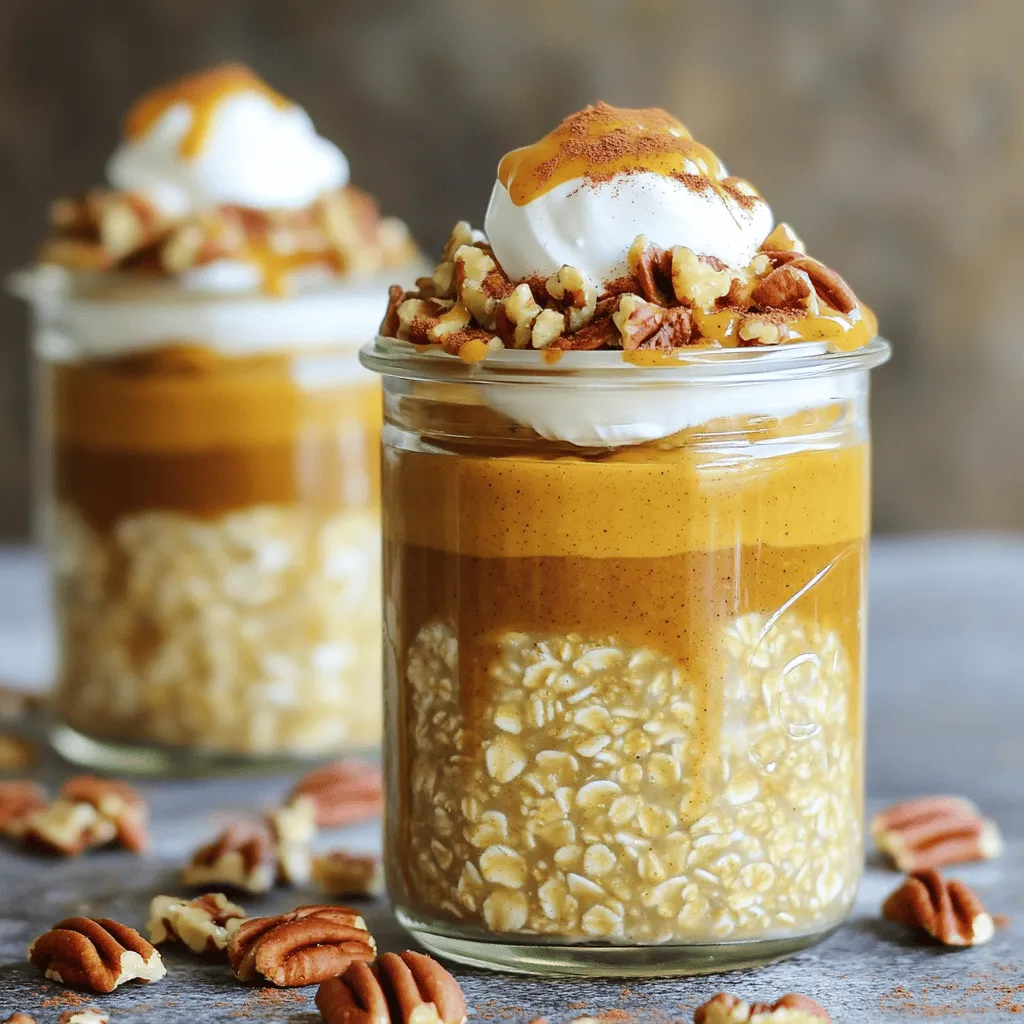
Brown Sugar Pumpkin Pie Overnight Oats Delight
Start your day with a warm slice of fall in a jar: Brown Sugar Pumpkin Pie Overnight Oats! This easy Read Full Recipe -
Apple Cider Donut Ice Cream Sandwiches Delightful Treat
Get ready to treat your taste buds! Apple Cider Donut Ice Cream Sandwiches blend fall flavors and sweet creaminess. These Read Full Recipe -
Brown Sugar Pumpkin Pie Overnight Oats Delight
Looking for a tasty breakfast that’s easy and fun? You’ll love my Brown Sugar Pumpkin Pie Overnight Oats Delight! This Read Full Recipe -
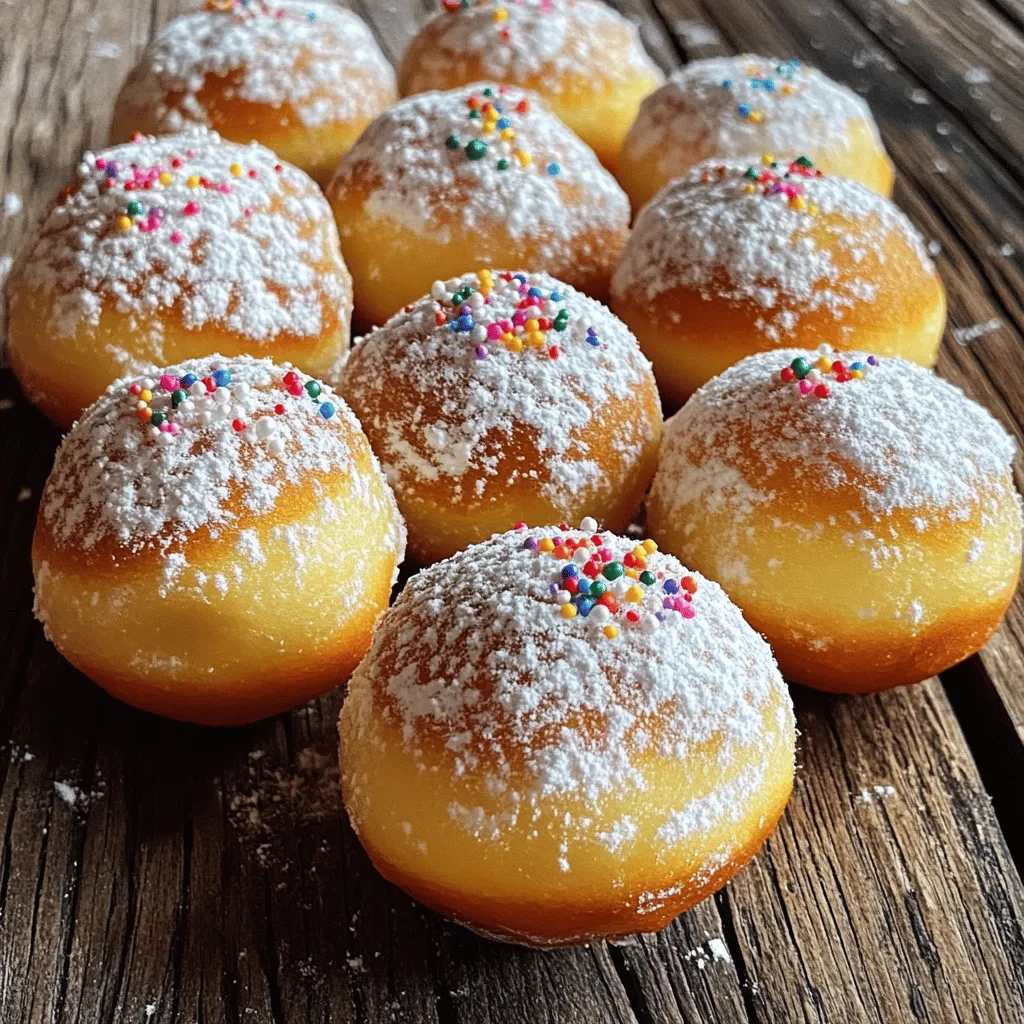
Cream Soda Donut Holes Delightful Dessert Recipe
Are you ready to enjoy a fun twist on a classic treat? Cream Soda Donut Holes are sweet, fluffy, and Read Full Recipe

My Latest Recipes

hey,
i’m !
I’m so happy you’re here!
Food is my passion, and perfecting each dish is my craft. I can’t wait for you to try them let’s dive into this delicious journey side by side.
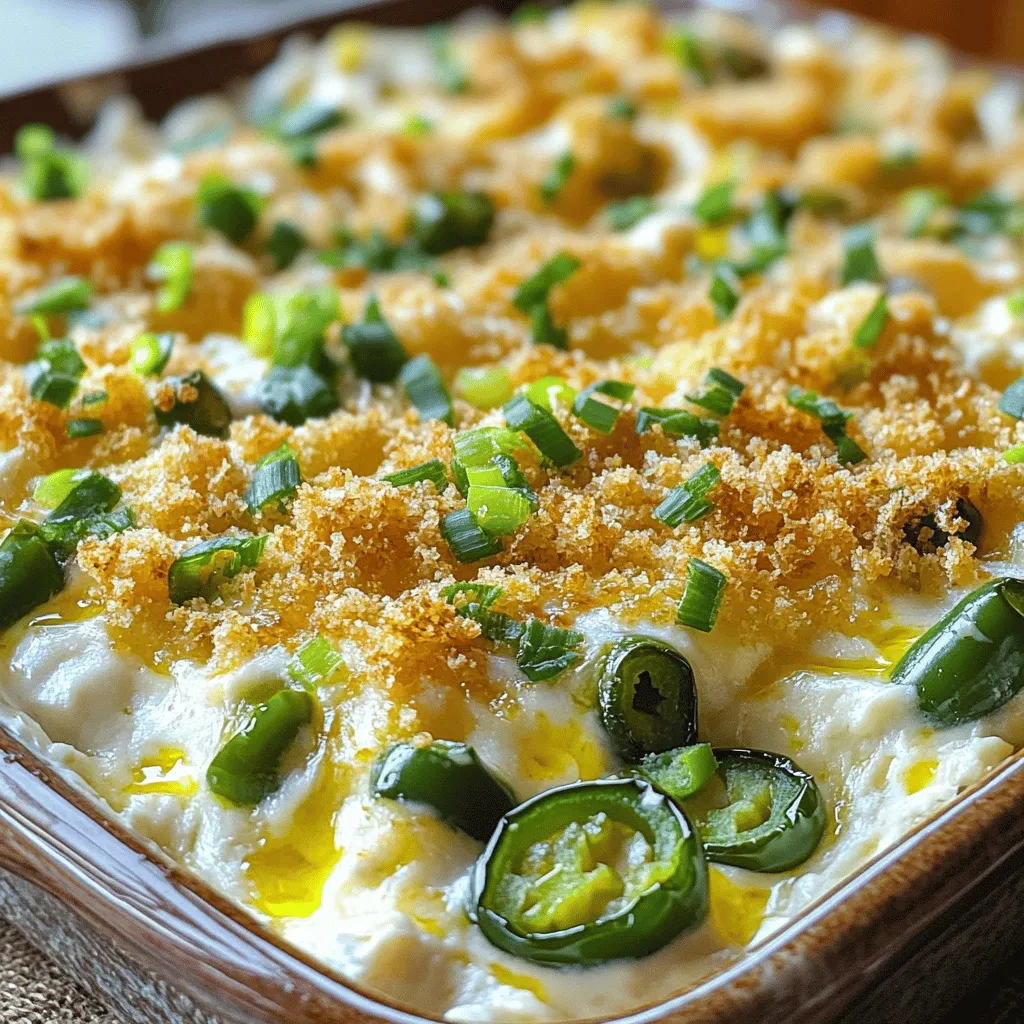
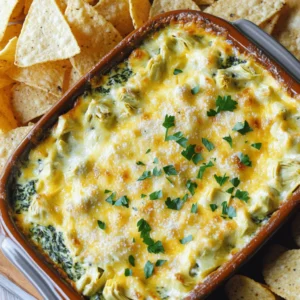
Cheesy Jalapeno Popper Dip Creamy and Rich Delight
Are you ready to indulge in a rich, creamy delight? My Cheesy Jalapeno Popper Dip will transform your snack game forever! It’s loaded with…