


Latest & Greatest
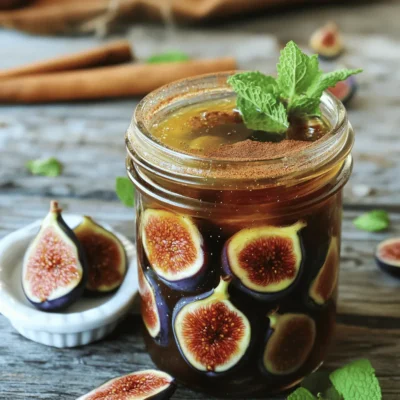
French Fig Jam Simple Recipe for Delicious Flavor
If you crave a simple yet delicious spread, this French Fig Jam recipe is for you. Made with fresh figs,
Read more…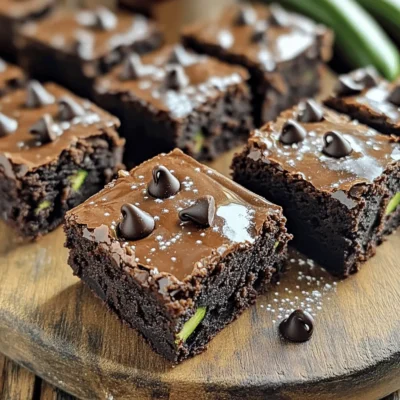
Dark Chocolate Zucchini Brownies Rich and Chewy Treat
When you crave something sweet, these Dark Chocolate Zucchini Brownies hit the spot! Rich and chewy, they combine the goodness
Read more…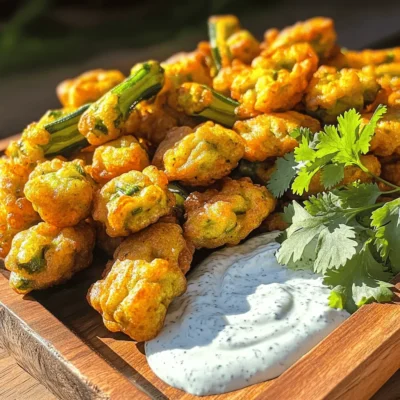
Savory Okra Recipes for Crispy Delicious Fritters
Are you ready to turn fresh okra into mouthwatering fritters? In this post, I’ll share savory okra recipes that bring
Read more…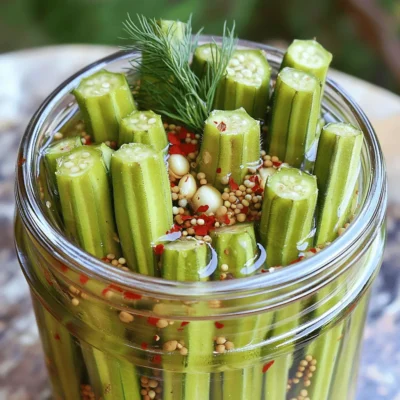
Crisp Pickled Okra Tangy and Tasty Recipe Guide
Looking to spice up your meals? My Crisp Pickled Okra recipe is a tangy delight! Bursting with flavors, fresh okra
Read more…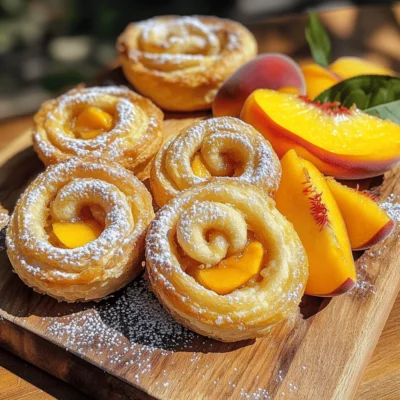
Peach Pie Cruffins Irresistible and Easy Recipe
Welcome to a delightful world of flavors with Peach Pie Cruffins! If you love sweet treats that are easy to
Read more…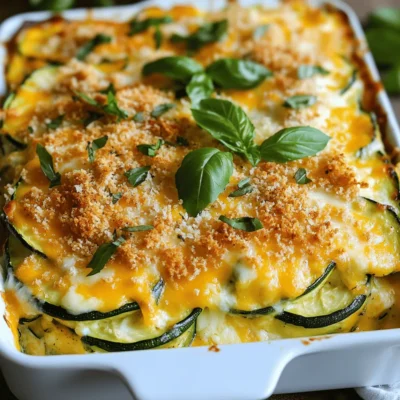
Cheesy Zucchini Casserole Easy and Flavorful Dish
Are you looking for a delicious way to enjoy zucchini? This Cheesy Zucchini Casserole is easy to make and packed
Read more…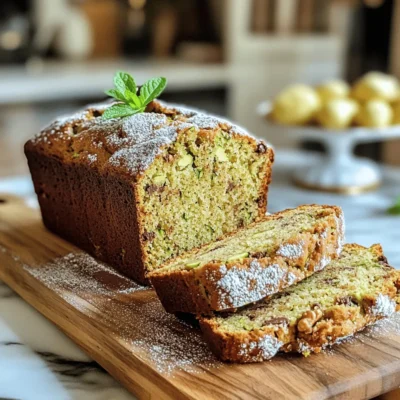
Moist Zucchini Bread Simple and Flavorful Recipe
Are you ready to bake the best zucchini bread ever? This moist zucchini bread recipe is simple and packed with
Read more…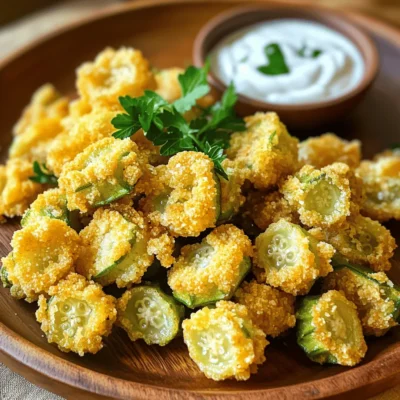
Whole Fried Okra Crispy and Flavorful Delight
Are you ready to indulge in a crispy, flavorful delight? Whole fried okra is a Southern classic that brings a
Read more…browse recipes
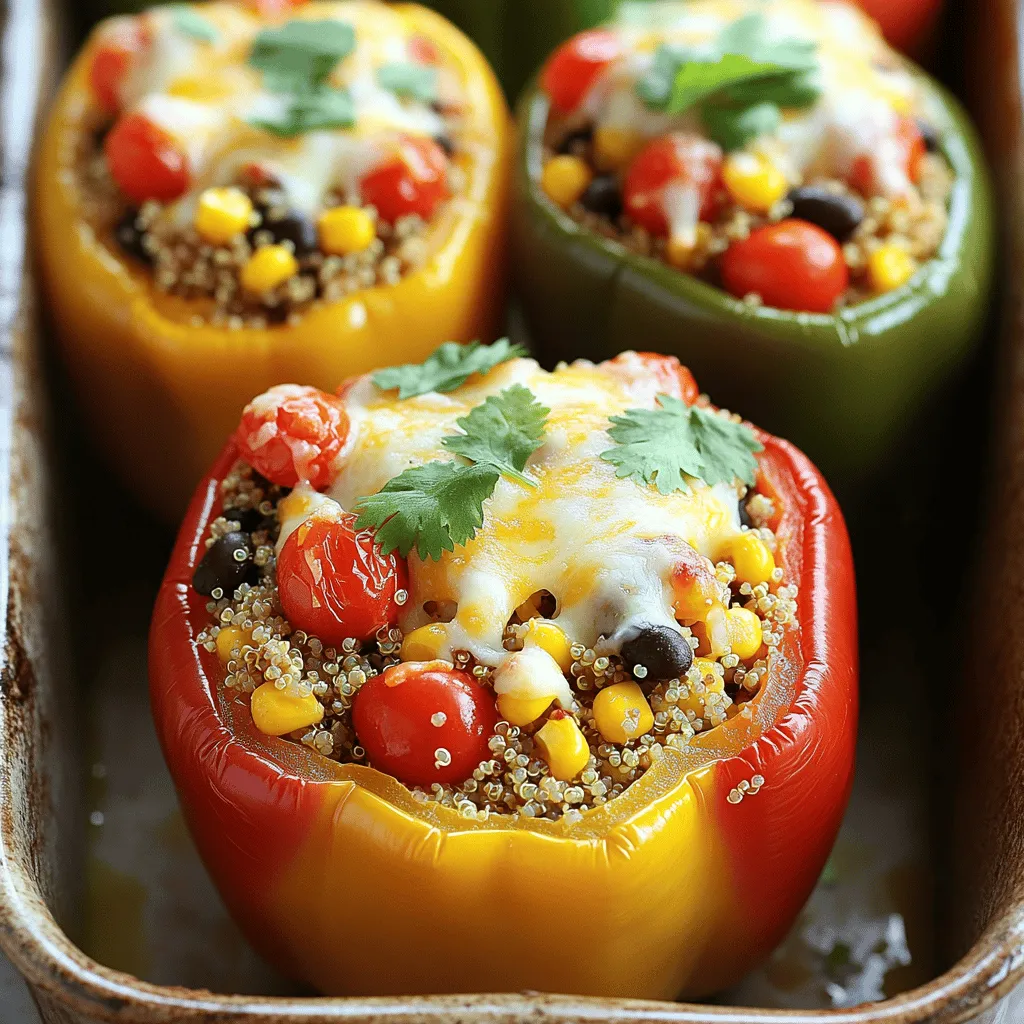
Stuffed Bell Peppers with Quinoa Flavorful Recipe
Stuffed bell peppers with quinoa are a tasty and healthy meal option you’ll love. This colorful dish combines sweet peppers with protein-rich quinoa and…
My Latest Desserts

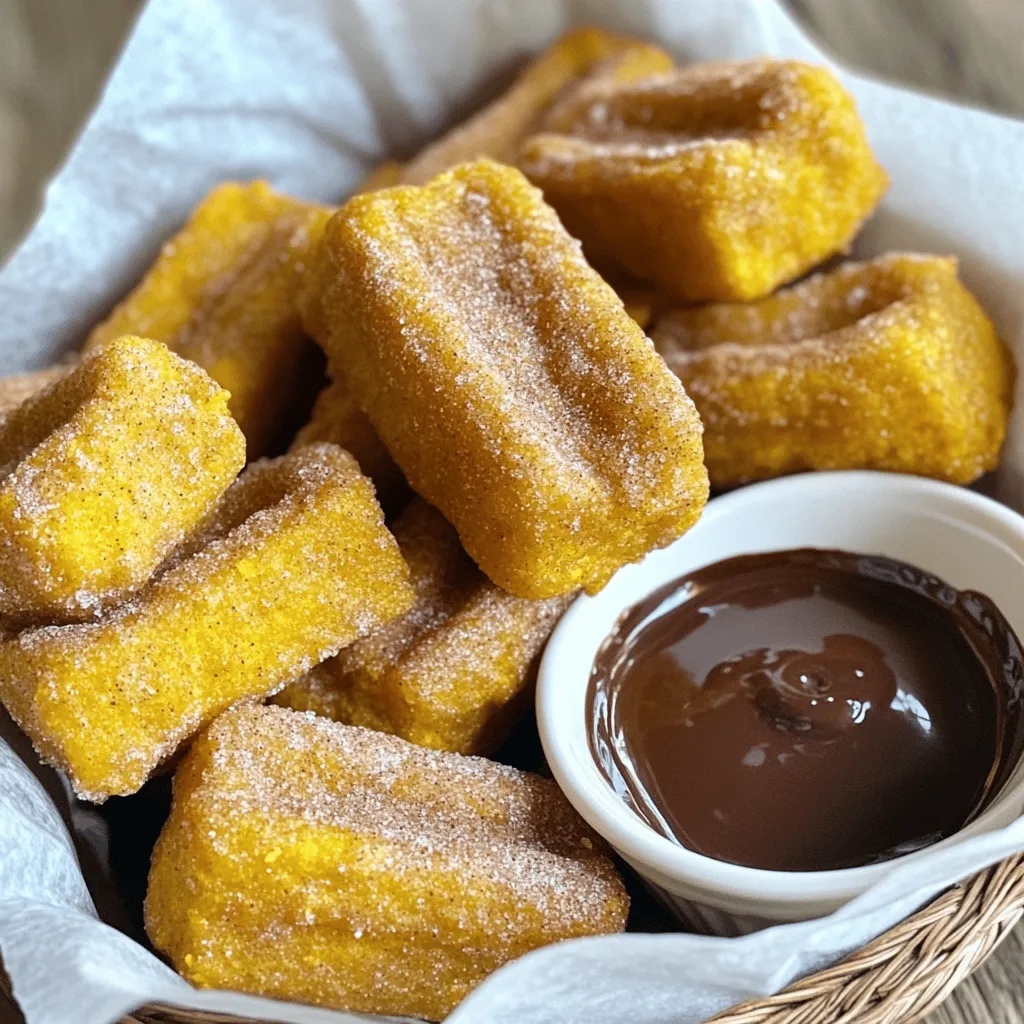
Pumpkin Churro Bites Tasty and Easy Dessert Treat
Are you ready to take your dessert game to the next level? These Pumpkin Churro Bites are here to impress! Read Full Recipe-
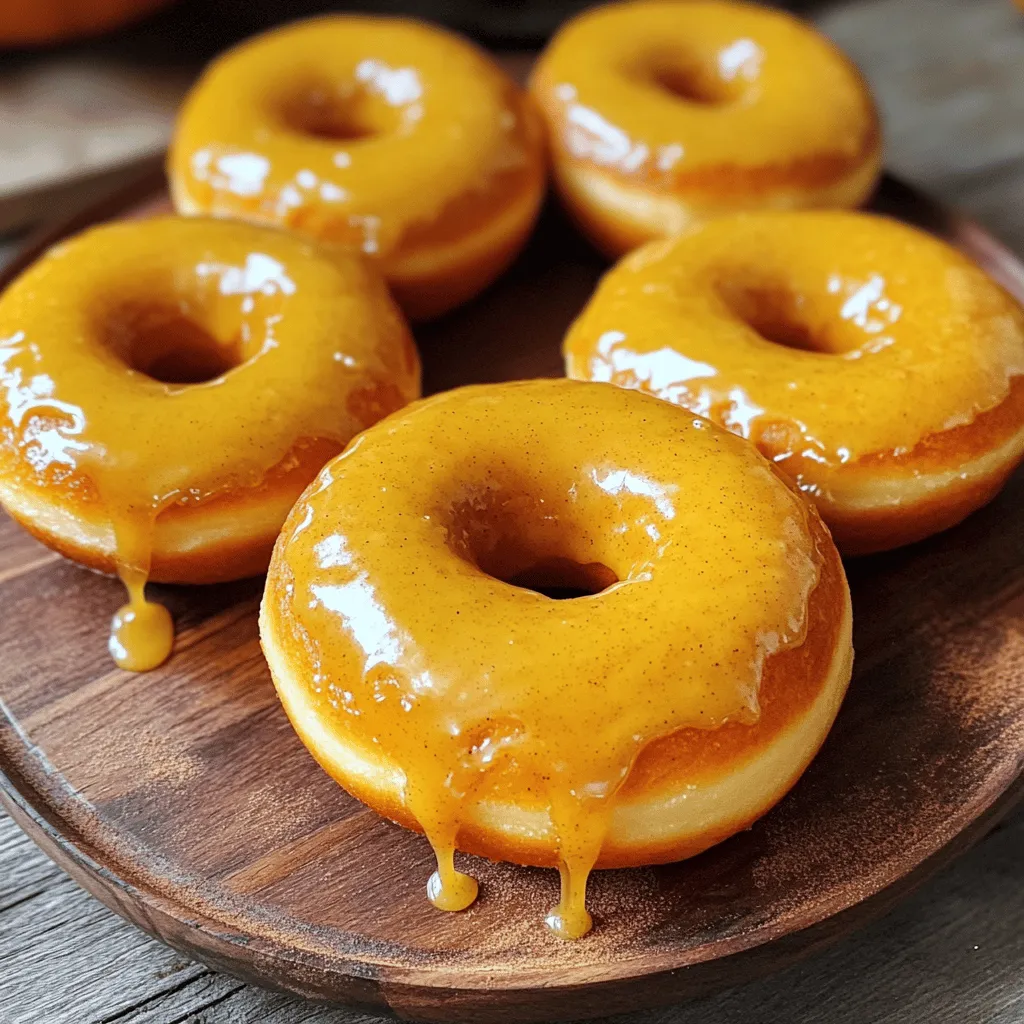
Maple Glazed Pumpkin Donuts Tasty Homemade Treat
Craving a sweet fall treat? Maple glazed pumpkin donuts are your answer! These easy-to-make donuts bring together the warm flavors Read Full Recipe -
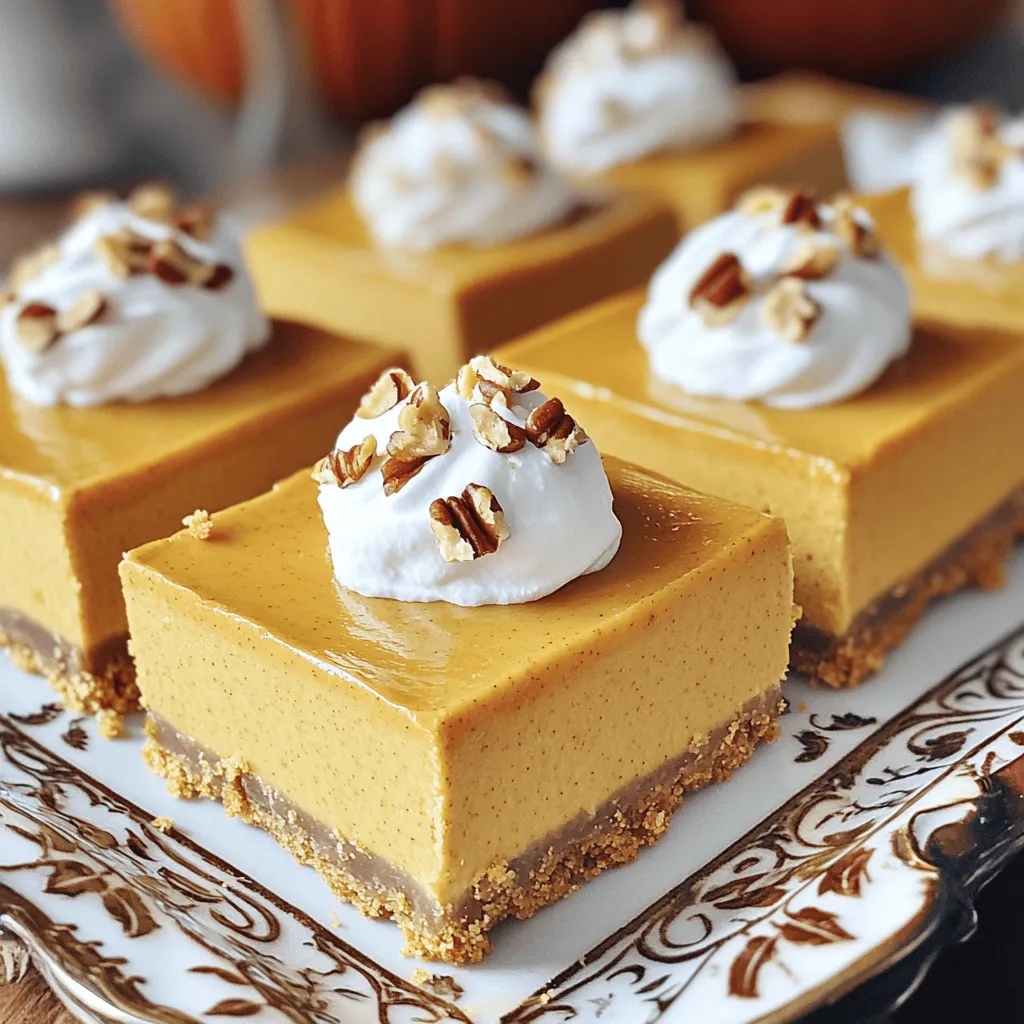
No-Bake Pumpkin Cheesecake Bars Easy and Delicious Treat
Craving a sweet treat that screams fall but requires zero baking? You’re in the right place! These No-Bake Pumpkin Cheesecake Read Full Recipe -
Pumpkin Spice Latte Cookies Irresistible Fall Treat
Fall is here, and that means it’s time to indulge in cozy flavors! Imagine sinking your teeth into a warm Read Full Recipe -
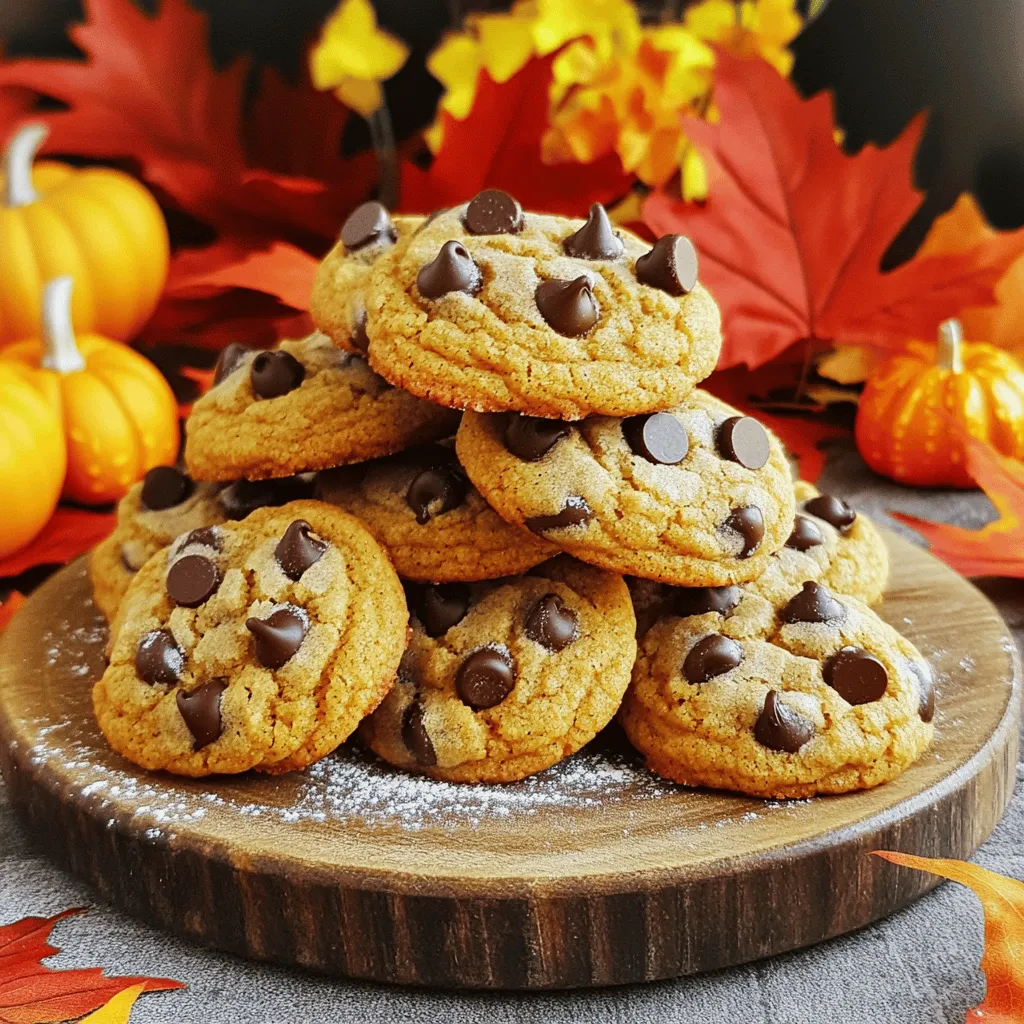
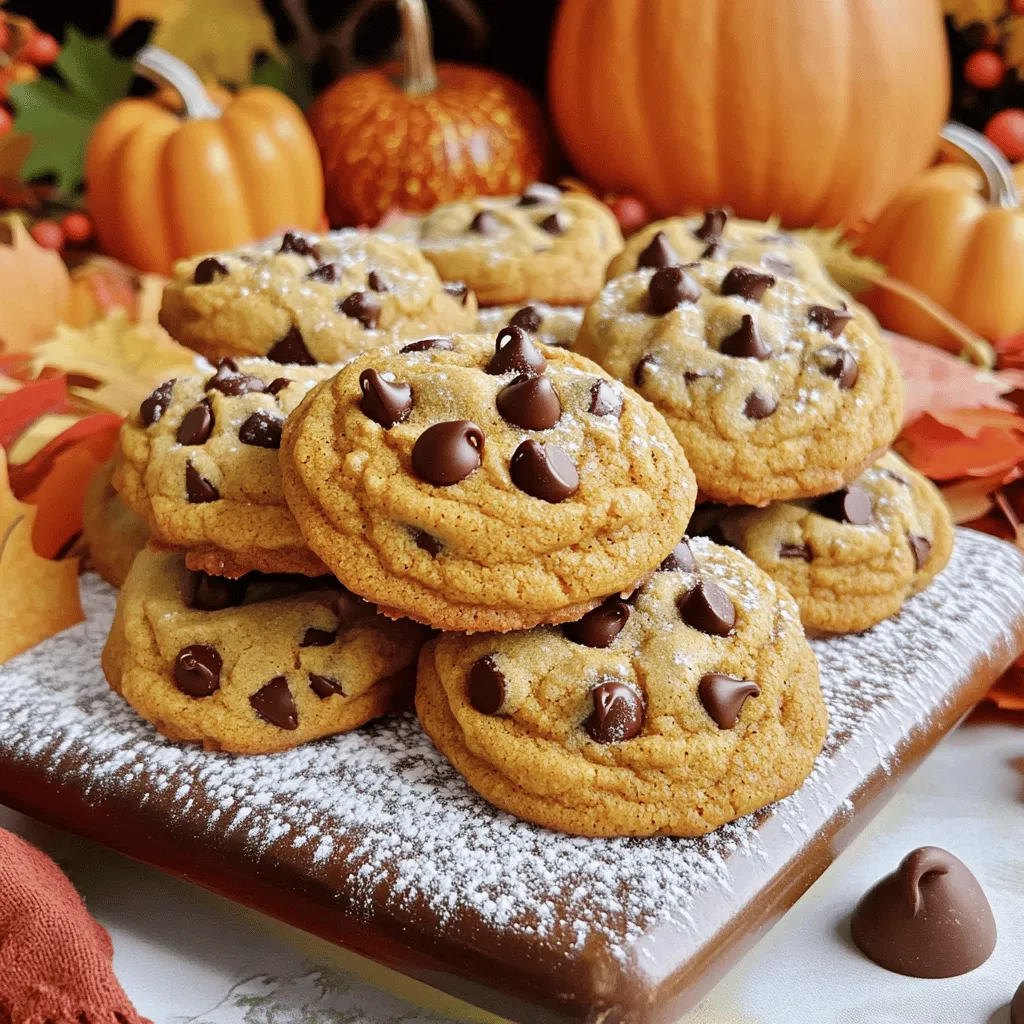
Pumpkin Chocolate Chip Cookies Irresistible Fall Treat
As the leaves turn and the air cools, nothing says fall like warm Pumpkin Chocolate Chip Cookies. These treats blend Read Full Recipe -
Chewy Pumpkin Cookies Simple and Irresistible Treat
Craving a delicious fall treat? Look no further! My chewy pumpkin cookies are simple to make and completely irresistible. With Read Full Recipe -
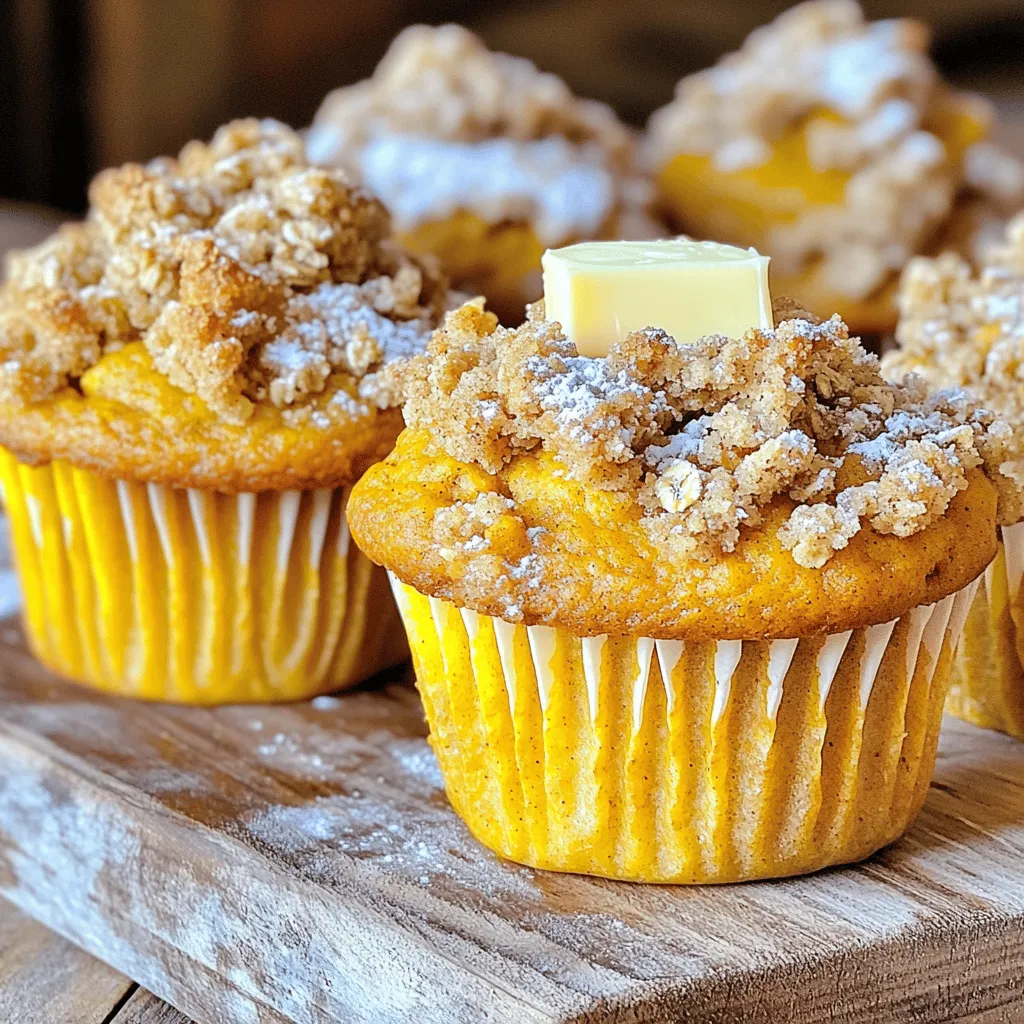
Pumpkin Streusel Muffins Irresistible Fall Treat
Fall is here, and what better way to celebrate than with warm Pumpkin Streusel Muffins? These muffins are soft, spiced, Read Full Recipe -
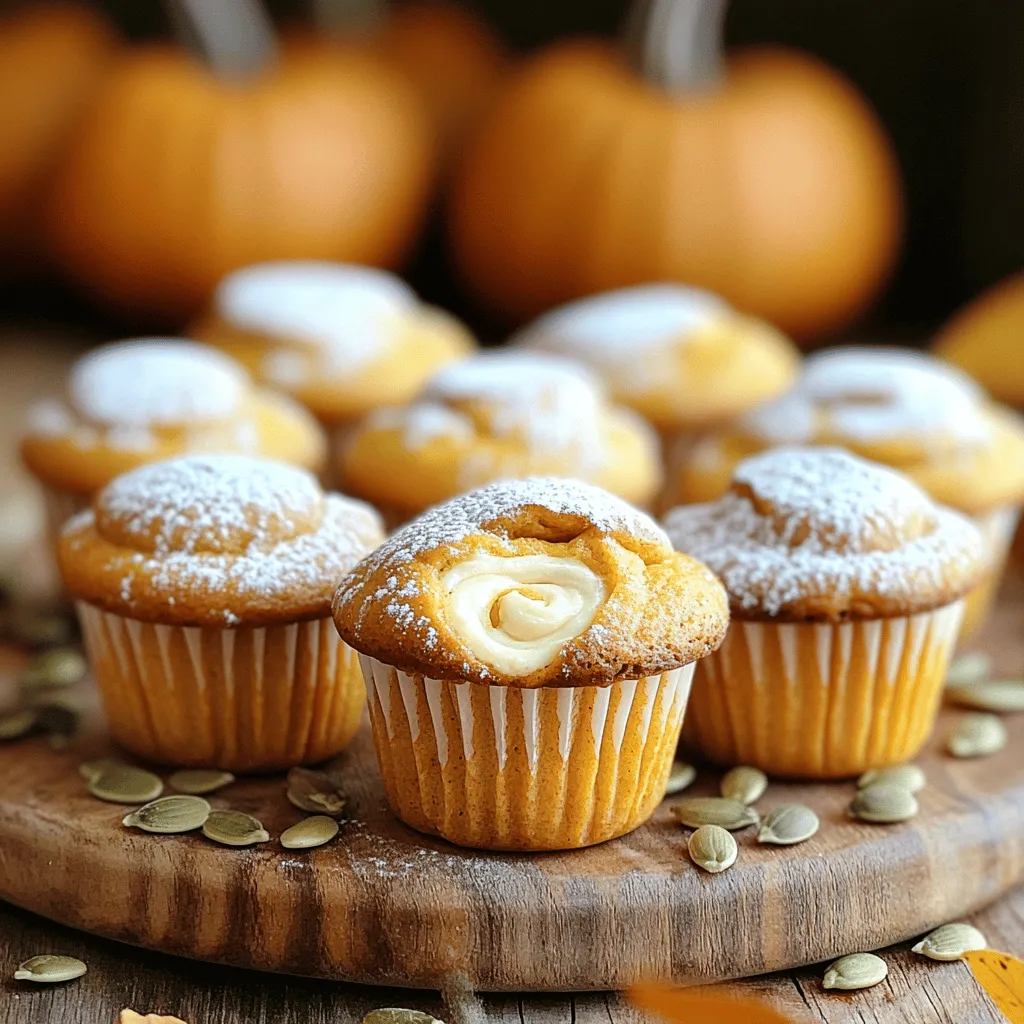
Pumpkin Cheesecake Muffins Delightful Flavor Treat
Craving a sweet treat that screams fall? You’re in for a treat with Pumpkin Cheesecake Muffins! These muffins blend rich Read Full Recipe -
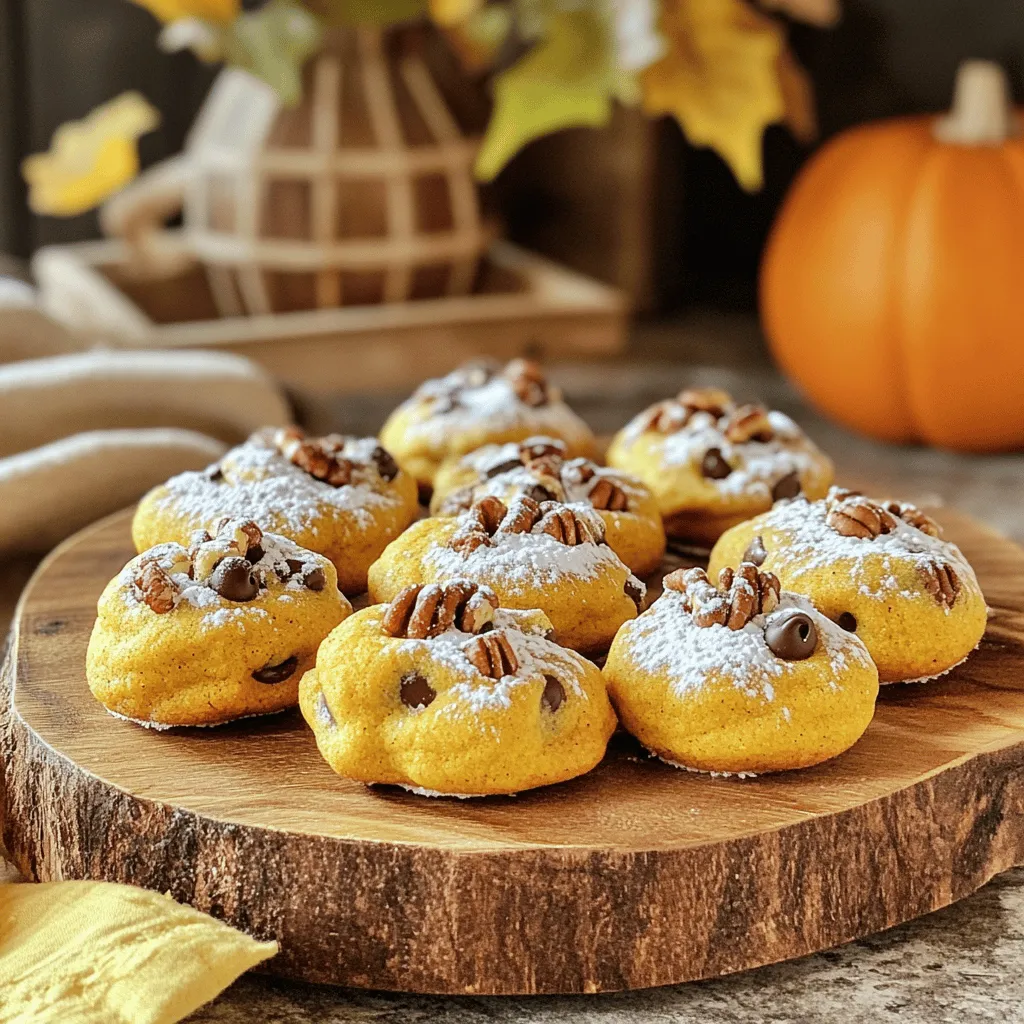
Pumpkin Spice Cookie Bites Irresistible Fall Treat
Are you ready to embrace the cozy flavors of fall? These Pumpkin Spice Cookie Bites are the perfect treat! They Read Full Recipe -
Vegan Pumpkin Spice Cookies Tasty Fall Delight
If you love fall flavors, you’ll adore these Vegan Pumpkin Spice Cookies! They are soft, spiced, and full of seasonal Read Full Recipe


My Latest Recipes

hey,
i’m !
I’m so happy you’re here!
Food is my passion, and perfecting each dish is my craft. I can’t wait for you to try them let’s dive into this delicious journey side by side.

One-Pan Honey Garlic Salmon Quick and Tasty Recipe
Are you ready to make a delicious meal in just one pan? This One-Pan Honey Garlic Salmon recipe is quick, simple, and packed with…

