Latest & Greatest
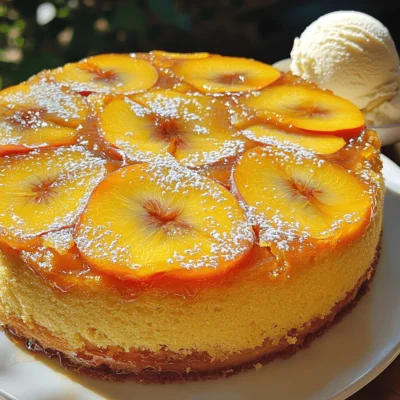
Peach Upside Down Cake Delightful and Easy Recipe
Are you ready to indulge in a delicious Peach Upside Down Cake? This easy recipe is a perfect blend of
Read more…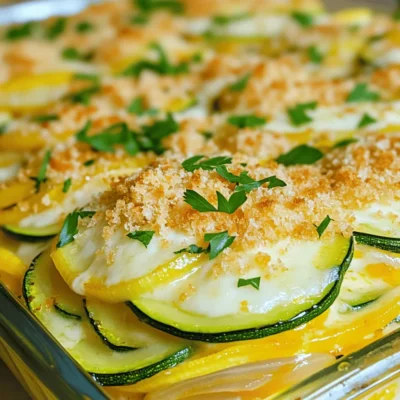
Cheesy Zucchini Casserole Simple and Comforting Dish
Are you ready to savor a dish that’s both simple and comforting? My Cheesy Zucchini Casserole is the perfect blend
Read more…
Ingredient Peach Iced Tea Refreshing Summer Drink
Summer is here, and there’s no better way to cool off than with a glass of refreshing Peach Iced Tea.
Read more…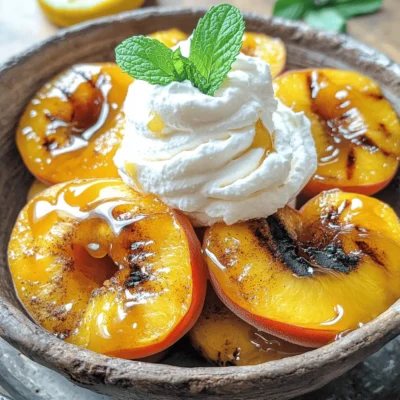
Old Fashioned Peaches and Cream Delightful Dessert
Craving a simple, sweet treat? Discover the joy of Old Fashioned Peaches and Cream! This classic dessert celebrates fresh peaches
Read more…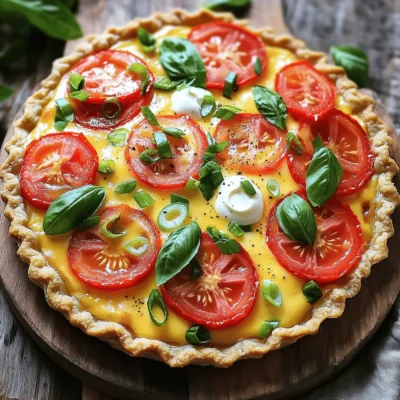
Southern Tomato Pie Flavorful and Easy to Make
If you love tomatoes, you’ll adore Southern Tomato Pie! This dish is easy to make and full of flavor. You
Read more…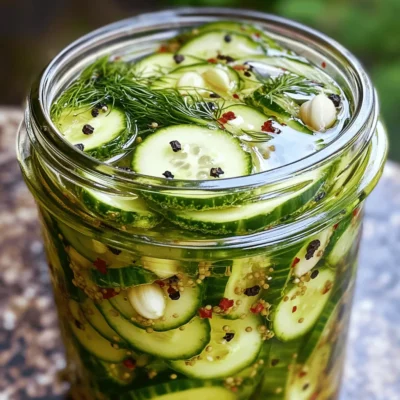
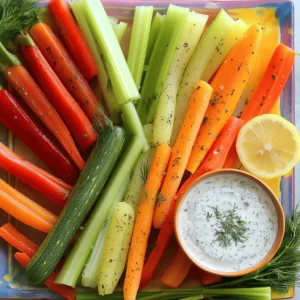
Quick Refrigerator Pickles Crunchy and Flavorful Treat
Are you ready to add a burst of flavor and crunch to your meals? Quick refrigerator pickles are the answer!
Read more…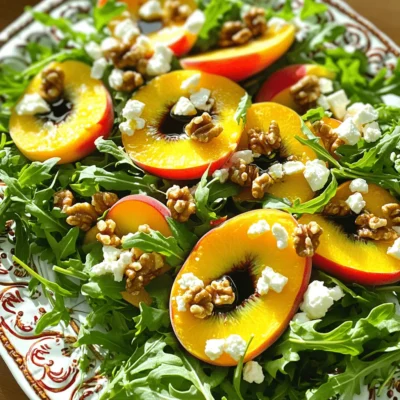
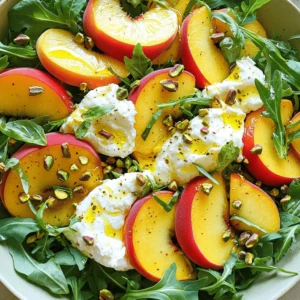
Peach Feta Salad Fresh and Flavorful Delight
Looking for a fresh and tasty dish to impress your friends? Let me introduce you to my Peach Feta Salad!
Read more…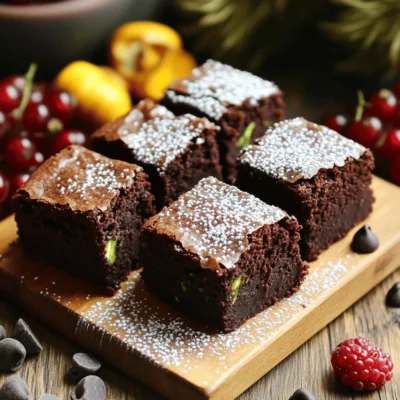
Healthy Zucchini Brownies Rich and Moist Delight
Are you ready to indulge in a sweet treat that’s both rich and healthy? My Healthy Zucchini Brownies are the
Read more…browse recipes

Instant Pot Chicken Tikka Masala Flavorful Dish
Are you ready to dive into a world of flavor? This Instant Pot Chicken Tikka Masala is a quick, delicious dish that brings the…
My Latest Desserts

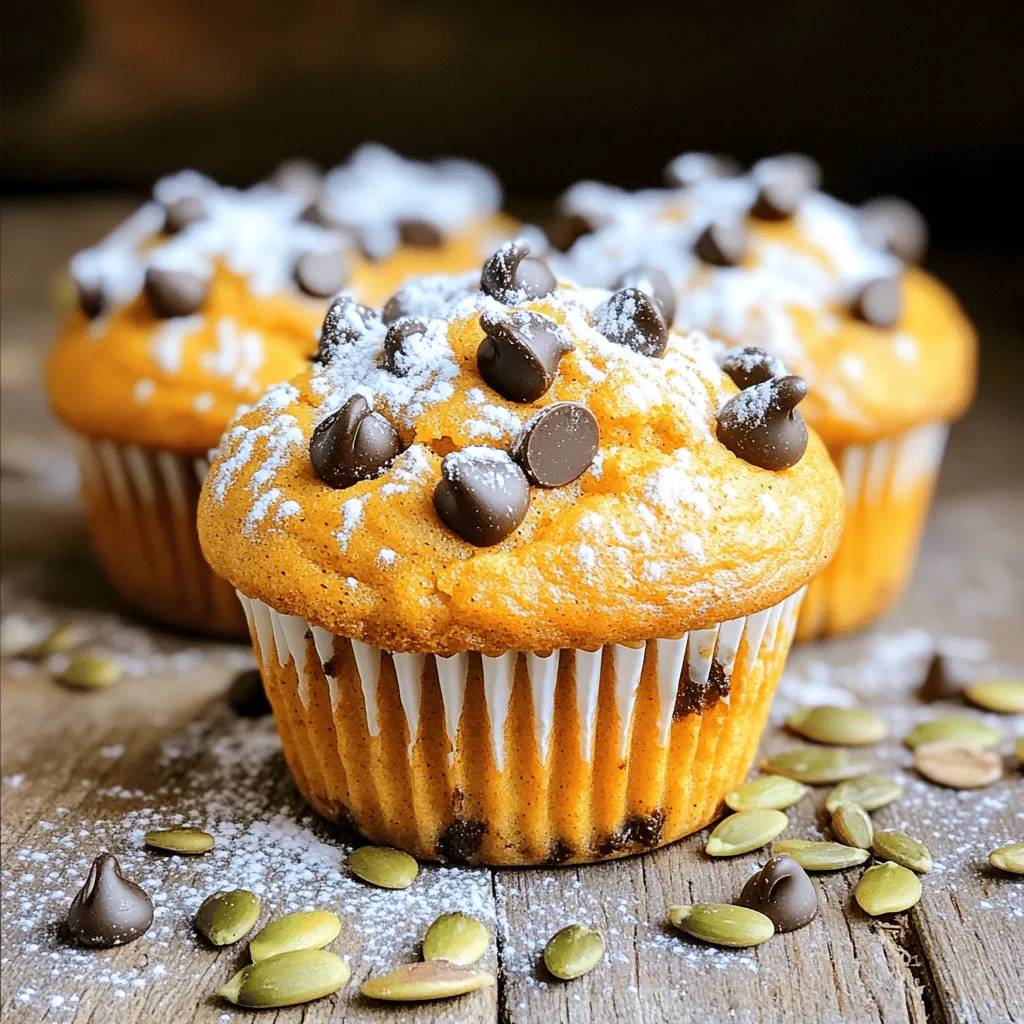
Chocolate Chip Pumpkin Cream Cheese Muffins Delight
If you love the cozy flavors of fall, you’re in for a real treat! Chocolate Chip Pumpkin Cream Cheese Muffins Read Full Recipe-
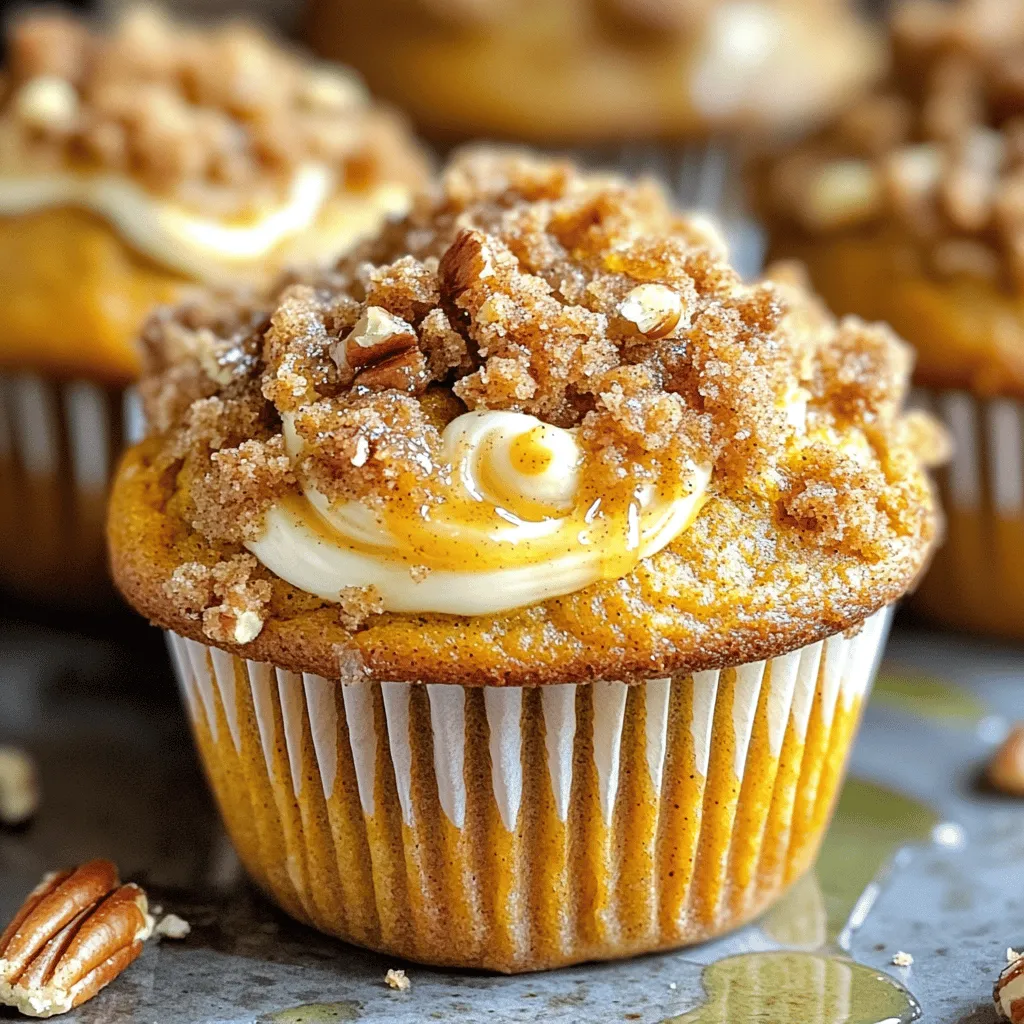
Streusel Pumpkin Cream Cheese Muffins Delightful Treat
If you love pumpkin flavors, you will adore these Streusel Pumpkin Cream Cheese Muffins. They mix rich pumpkin with creamy Read Full Recipe -
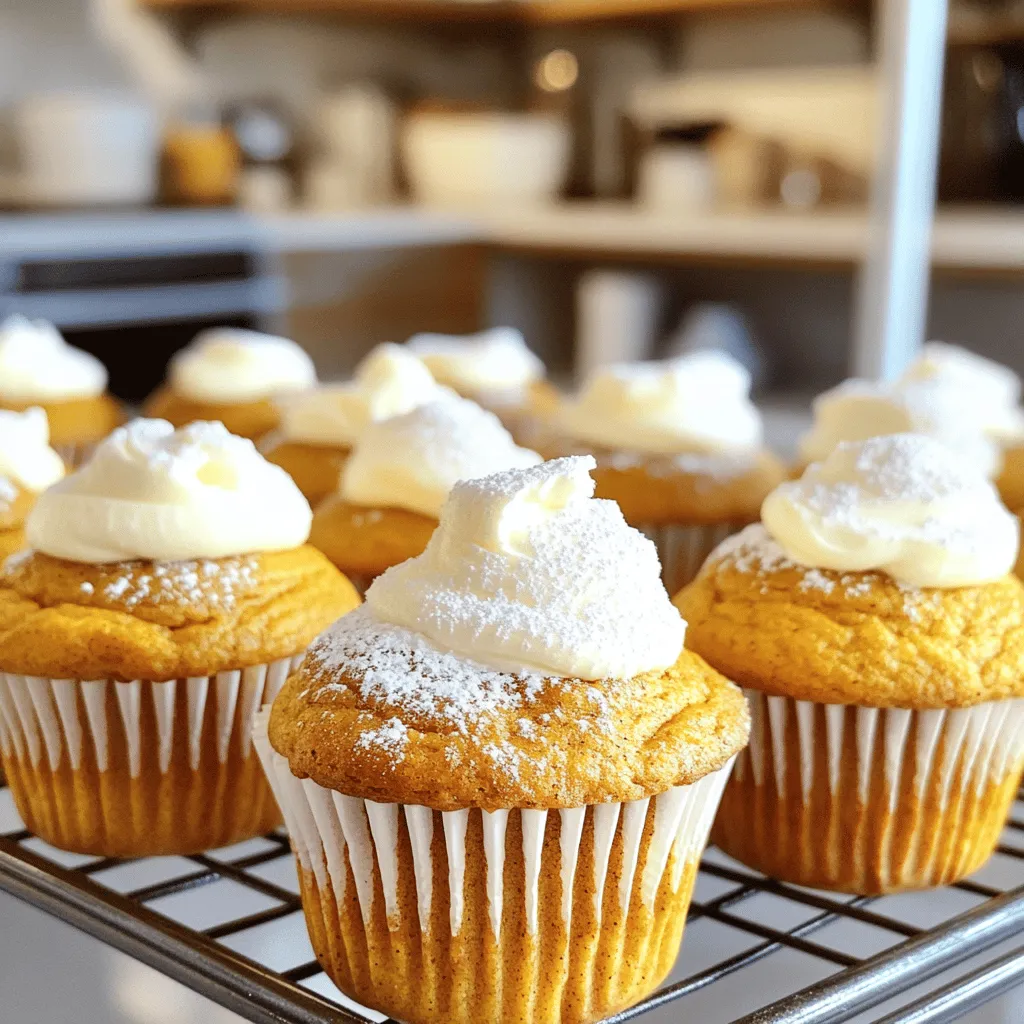
Easy Pumpkin Cream Cheese Muffins Tasty Fall Treat
Fall is here, and that means it’s time for warm, cozy treats! You’ll love these Easy Pumpkin Cream Cheese Muffins. Read Full Recipe -
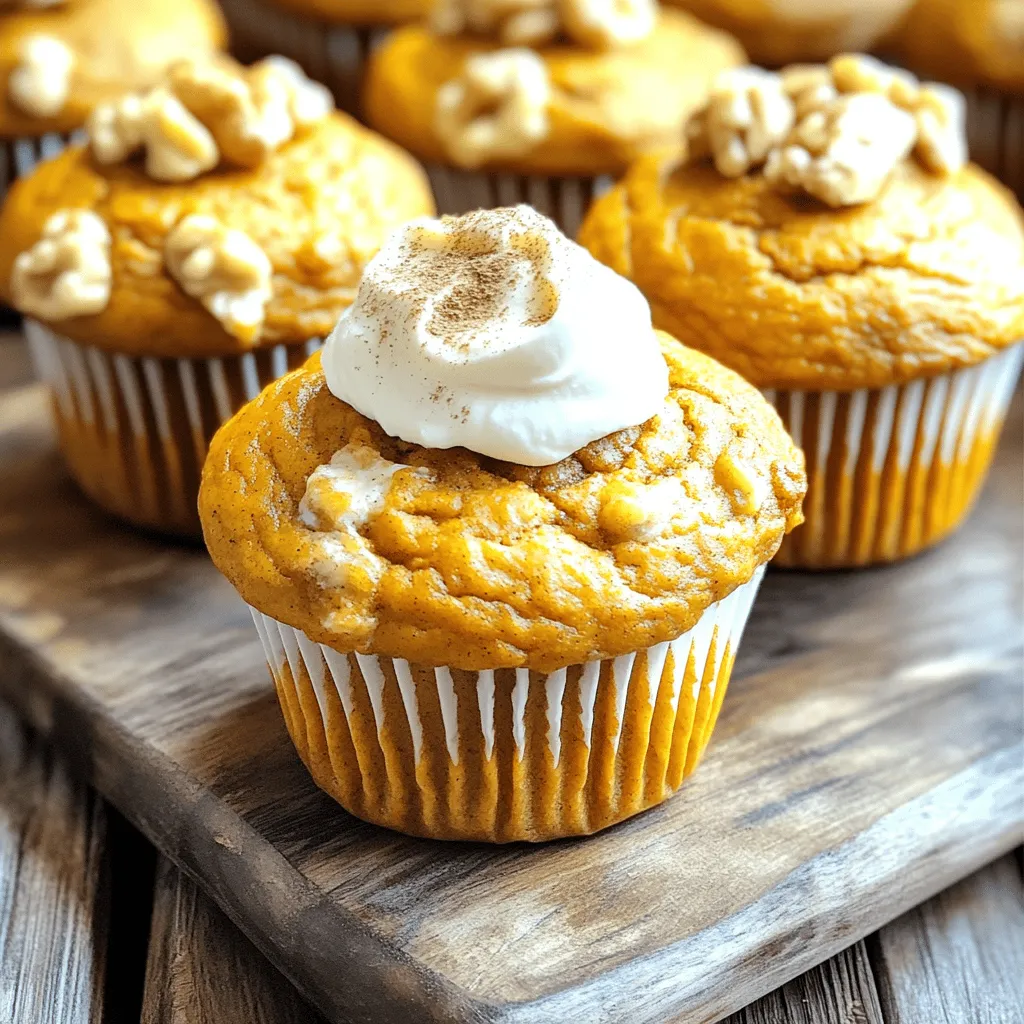
Pumpkin Cream Cheese Muffins Delightful and Simple Recipe
Get ready to enjoy a treat that combines the warmth of pumpkin with creamy cheese! This simple recipe for pumpkin Read Full Recipe -
Pumpkin Pie Crinkle Cookies Charming Autumn Treat
Get ready to embrace autumn with a delightful twist on a classic favorite! Pumpkin Pie Crinkle Cookies combine the warm Read Full Recipe -
Pumpkin Cheesecake Cookies Irresistible Fall Treat
Welcome to the season of cozy flavors and pumpkin delights! If you crave a treat that combines the rich taste Read Full Recipe -
Chocolate Chip Pumpkin Cookies Flavorful Fall Treat
Are you ready to bake something special this fall? Chocolate chip pumpkin cookies blend sweet chocolate with warm pumpkin spice Read Full Recipe -
Pumpkin Butter Snickerdoodles Irresistible Cookie Treat
Looking for a new fall favorite? These Pumpkin Butter Snickerdoodles are the perfect cookie treat! With soft centers and a Read Full Recipe -
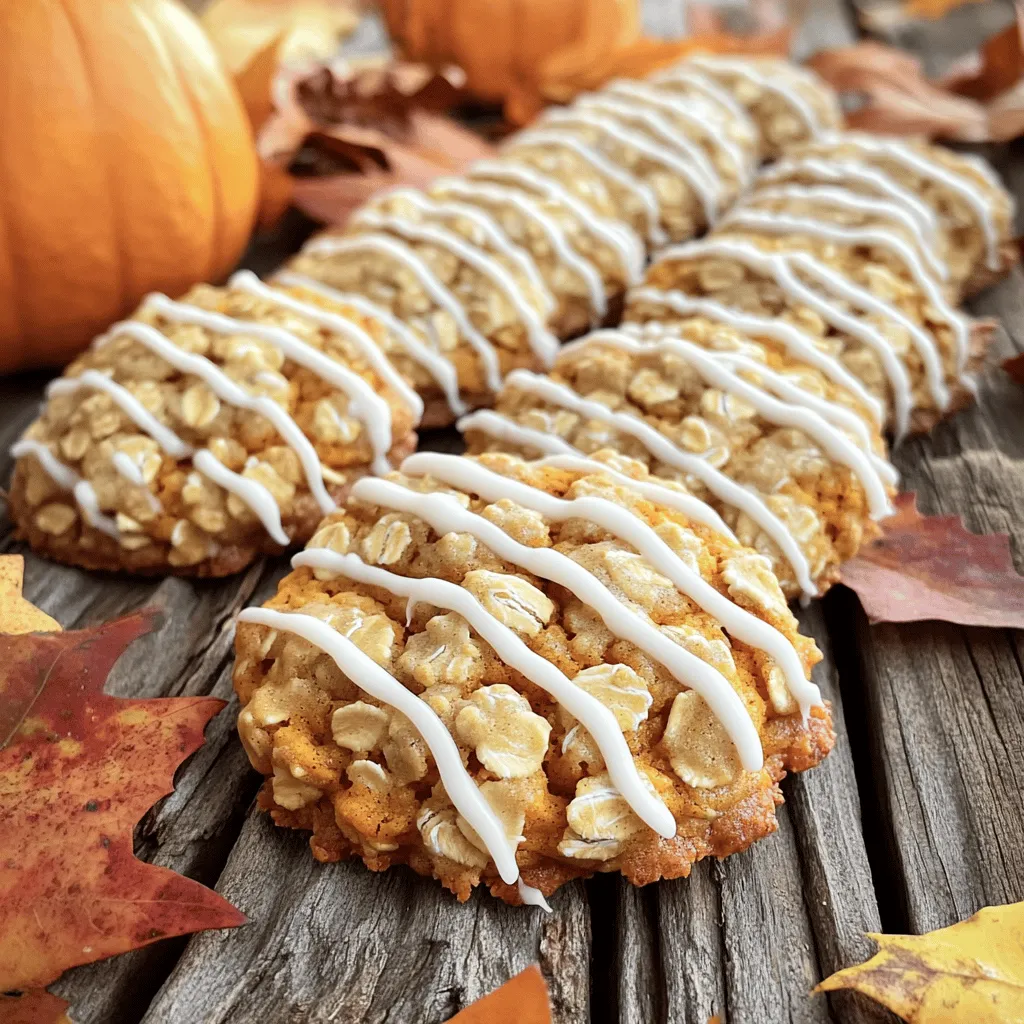
Pumpkin & Oatmeal Cookies with Icing Delight
If you’re looking for a delightful treat that combines the warm flavors of fall, you’re in the right place! In Read Full Recipe -
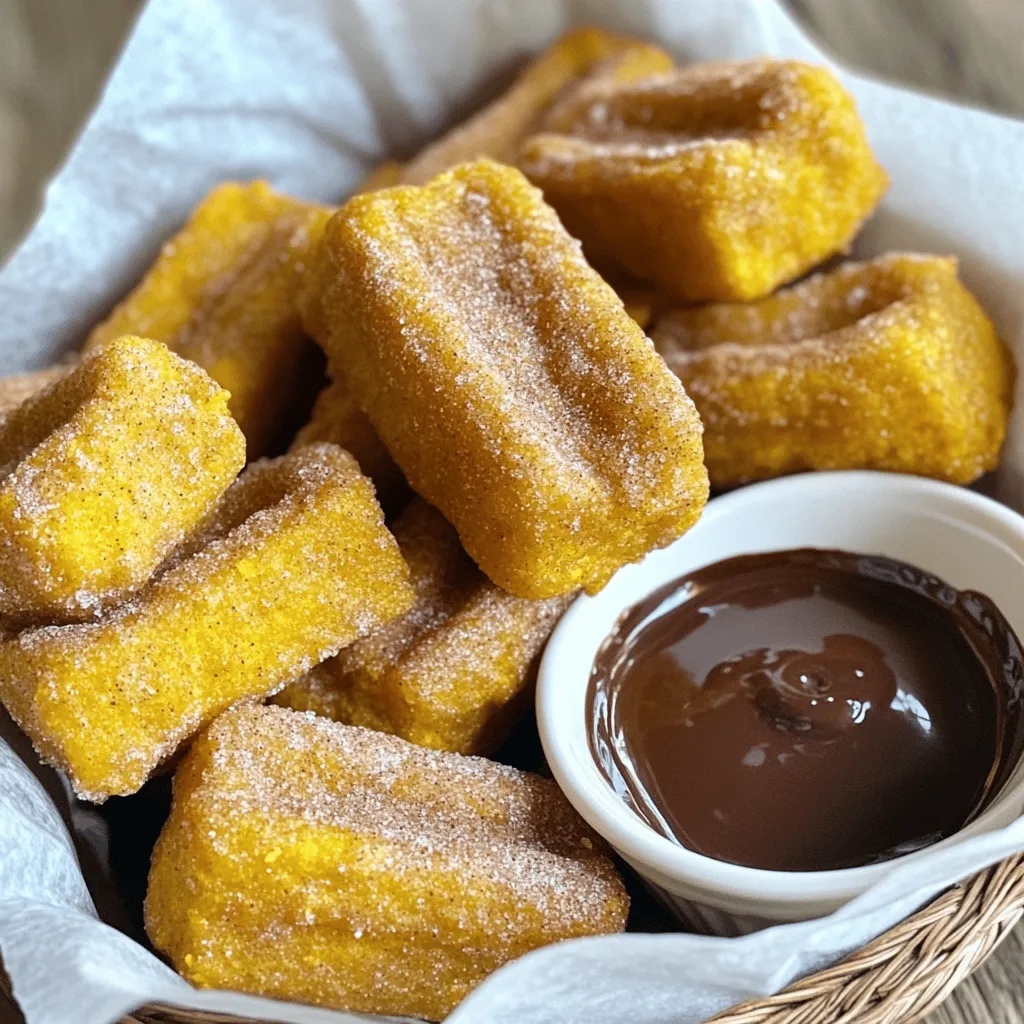
Pumpkin Churro Bites Tasty and Easy Dessert Treat
Are you ready to take your dessert game to the next level? These Pumpkin Churro Bites are here to impress! Read Full Recipe
My Latest Recipes

hey,
i’m !
I’m so happy you’re here!
Food is my passion, and perfecting each dish is my craft. I can’t wait for you to try them let’s dive into this delicious journey side by side.
. - Overmixing batter: This can make the texture tough. Mix just until smooth. - Not cooling properly: Let the cheesecakes cool before chilling. This helps set their shape. - Use room temperature ingredients: Cold cream cheese will not mix well. It needs to be soft. - Avoid overbaking: Bake until the centers are slightly jiggly. They will firm up as they cool. - Best served chilled: Chilling enhances the flavors and makes them refreshing. - Pair with homemade whipped cream: A dollop of whipped cream adds richness and a nice touch. Enjoy these tips to make the best mini lemon blueberry cheesecakes. Check out the Full Recipe for more details! {{image_2}} You can easily switch things up with your mini lemon blueberry cheesecakes. Instead of blueberries, try using raspberries or strawberries. These fruits add a nice twist to your dessert. You can also add chocolate chips or nuts. Dark chocolate adds richness, while nuts give a lovely crunch. Just fold them into the batter gently. If you need a gluten-free option, use gluten-free graham cracker crumbs. These work just like regular crumbs for the crust. For a dairy-free twist, substitute cream cheese with a dairy-free cream cheese. You can also use cashew cream for a smooth texture. These choices keep the flavor tasty for everyone. If you’re hosting a larger gathering, you can double the recipe. This will give you about 24 mini cheesecakes. To make one full cheesecake, use a 9-inch springform pan. Simply pour the batter into the pan after mixing. Bake it for 45-55 minutes instead of 20-25 minutes. This will create a lovely, creamy cheesecake that everyone will love. For more details, check the Full Recipe. To keep your mini lemon blueberry cheesecakes fresh, refrigerate them right away. Place them in an airtight container. This keeps moisture in and prevents them from drying out. They stay fresh for about 3 to 4 days. If you want to enjoy them longer, use plastic wrap before sealing. This adds an extra layer of protection. You can freeze mini cheesecakes for later enjoyment. First, let them cool completely. Then, wrap each cheesecake tightly in plastic wrap. After that, put them in a freezer-safe bag or container. This prevents freezer burn. They can last up to 2 months in the freezer. When you're ready to eat them, take them out and thaw in the fridge overnight. This keeps their texture smooth and creamy. Mini cheesecakes are best eaten within a week. After that, they may still be safe but lose quality. Look for changes in texture or smell to tell if they've gone bad. If they become watery or smell sour, it’s time to toss them. Enjoy these treats while they’re at their best! You can tell mini cheesecakes are done by looking for visual cues. The edges should be set, while the center may jiggle slightly. A toothpick test works well too; insert it into the center. If it comes out clean or with a few moist crumbs, they are ready. Keep an eye on the baking time. They usually bake for 20-25 minutes at 325°F (160°C). Yes, you can make the cheesecake batter in advance. Store it in the fridge for up to 24 hours. Just keep it in a sealed container. When you're ready to bake, give it a quick stir. This helps to mix any ingredients that may have settled. It's a great way to save time on busy days. If you need a substitute for sour cream, there are several options. Greek yogurt works well and gives a similar tang. You could also use cream cheese thinned with a bit of milk. Another option is buttermilk, which adds moisture and flavor. Choose what fits your taste or what you have on hand. This blog post shared how to make tasty mini cheesecakes. You learned about key ingredients, like graham cracker crumbs and cream cheese, and how fresh blueberries add flavor. I provided step-by-step instructions for perfecting your cheesecakes and offered tips to avoid common mistakes. Whether you're making variations for special diets or just for fun, you'll impress your friends. Remember to store them well for freshness. Enjoy your baking adventure and savor every bite of your delicious creation!](https://mysavedrecipe.com/wp-content/uploads/2025/07/afd2eeb2-324e-43dd-bdee-e695502af599-300x300.webp)
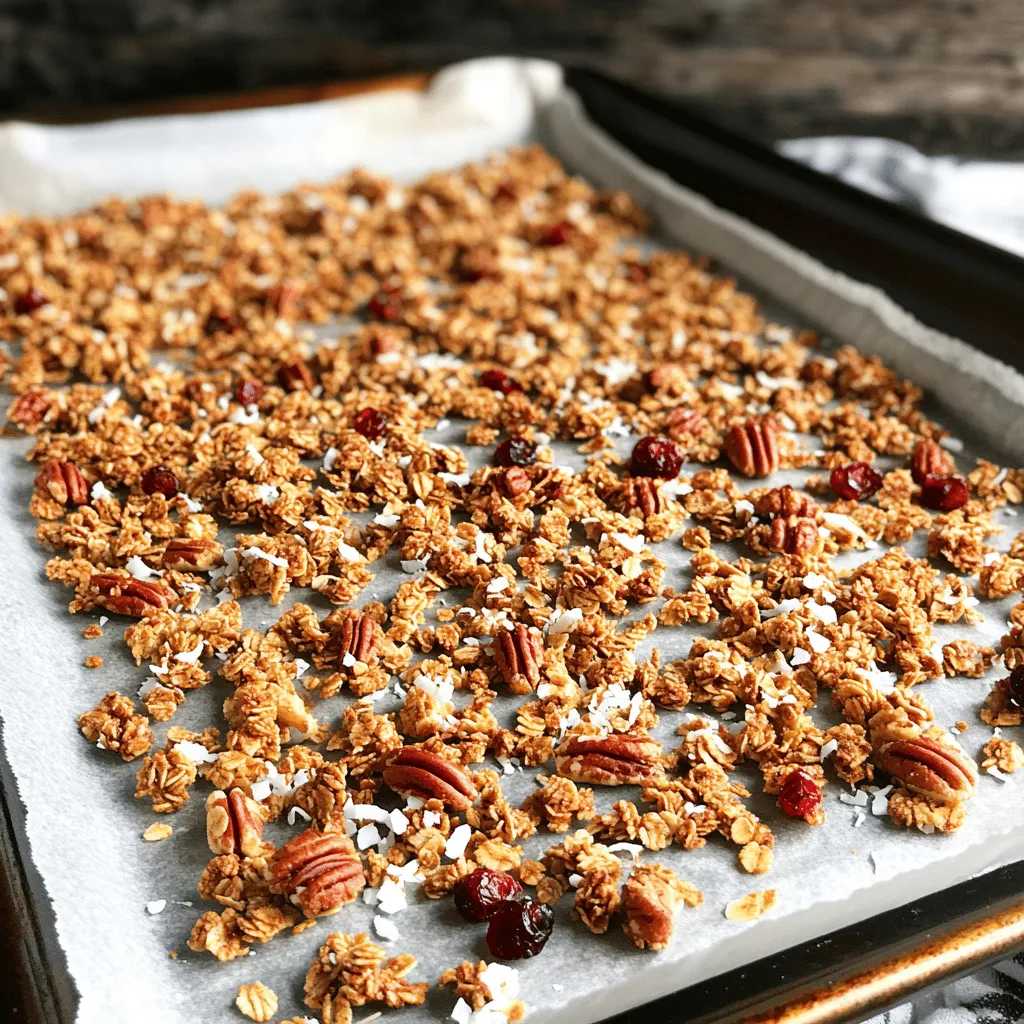
Maple Pecan Granola Crunchy and Tasty Recipe Guide
If you crave a crunchy, tasty snack, you’ve found it! This Maple Pecan Granola recipe is simple and delicious. I’ll share the key ingredients,…