


Latest & Greatest
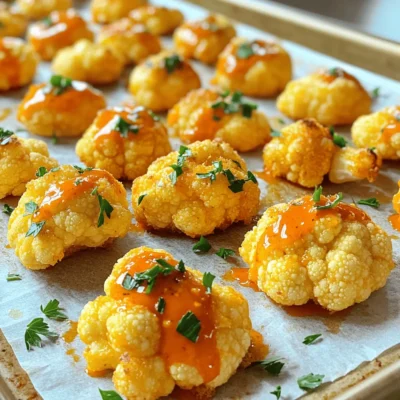
Buffalo Cauliflower Bites Crunchy and Flavorful Snack
Are you ready to try a snack that’s crunchy, flavorful, and delightfully healthy? Buffalo Cauliflower Bites are the perfect treat
Read more…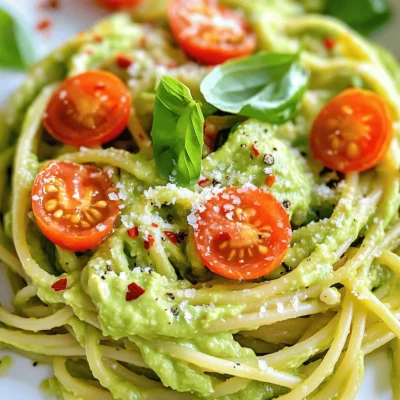
Creamy Avocado Pasta Simple and Healthy Recipe
Looking for a quick, delicious meal that’s also healthy? Creamy Avocado Pasta is the answer! In just a few easy
Read more…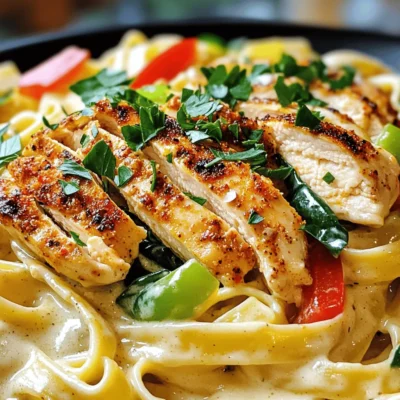
Cajun Chicken Alfredo Pasta Savory and Quick Delight
If you’re looking for a meal that’s both savory and quick, Cajun Chicken Alfredo Pasta is the answer! This dish
Read more…
Instant Pot Mac and Cheese Simple and Creamy Meal
Ready to make the creamiest Instant Pot Mac and Cheese? This simple meal is a game-changer for busy nights. With
Read more…
Loaded Nacho Casserole Flavorful Family Favorite Dish
Craving a quick and tasty meal? Loaded Nacho Casserole is your answer! This dish brings all your favorite nacho flavors
Read more…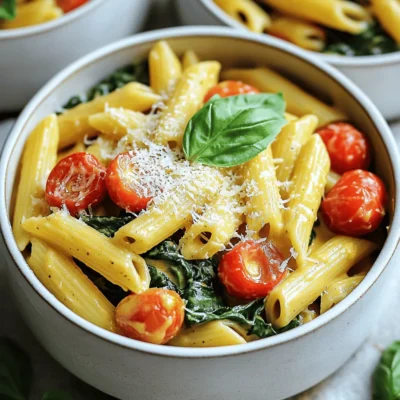
One-Pot Creamy Tuscan Pasta Quick and Flavorful Meal
Craving a warm, comforting meal that’s ready in no time? One-Pot Creamy Tuscan Pasta is your answer! This dish combines
Read more…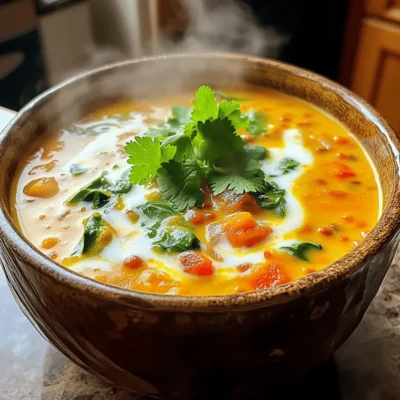
Coconut Curry Lentil Soup Flavorful and Nourishing Meal
If you’re craving a meal that’s both flavorful and nourishing, you’ve come to the right place! My Coconut Curry Lentil
Read more…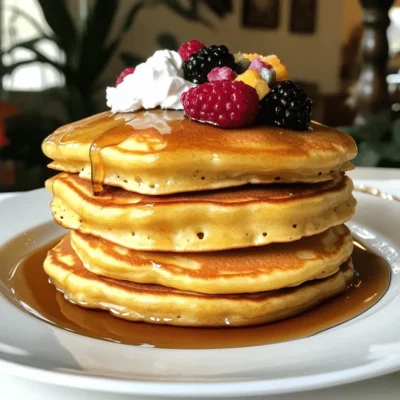
Fluffy Ricotta Pancakes Perfectly Light and Delicious
Are you ready to flip the best pancakes of your life? These Fluffy Ricotta Pancakes are light, airy, and oh-so-delicious!
Read more…browse recipes


Lemon Garlic Roasted Cauliflower Flavorful Side Dish
Are you ready to elevate your side dish game? Lemon Garlic Roasted Cauliflower is the perfect blend of tangy lemon and savory garlic that…
My Latest Desserts

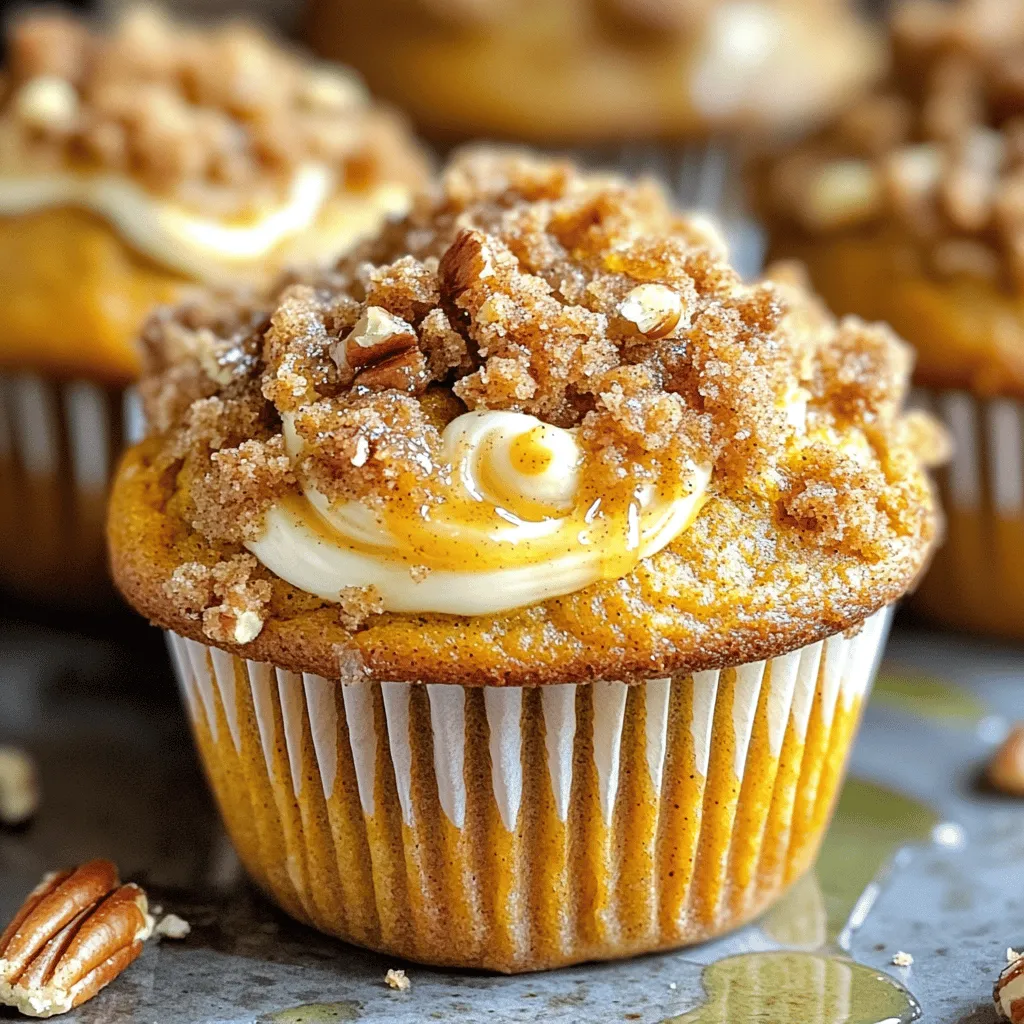
Chocolate Chip Pumpkin Cream Cheese Muffins Delight
If you love the cozy flavors of fall, you’re in for a real treat! Chocolate Chip Pumpkin Cream Cheese Muffins Read Full Recipe-
Streusel Pumpkin Cream Cheese Muffins Delightful Treat
If you love pumpkin flavors, you will adore these Streusel Pumpkin Cream Cheese Muffins. They mix rich pumpkin with creamy Read Full Recipe -
Easy Pumpkin Cream Cheese Muffins Tasty Fall Treat
Fall is here, and that means it’s time for warm, cozy treats! You’ll love these Easy Pumpkin Cream Cheese Muffins. Read Full Recipe -
Pumpkin Cream Cheese Muffins Delightful and Simple Recipe
Get ready to enjoy a treat that combines the warmth of pumpkin with creamy cheese! This simple recipe for pumpkin Read Full Recipe -
Pumpkin Pie Crinkle Cookies Charming Autumn Treat
Get ready to embrace autumn with a delightful twist on a classic favorite! Pumpkin Pie Crinkle Cookies combine the warm Read Full Recipe -
Pumpkin Cheesecake Cookies Irresistible Fall Treat
Welcome to the season of cozy flavors and pumpkin delights! If you crave a treat that combines the rich taste Read Full Recipe -
Chocolate Chip Pumpkin Cookies Flavorful Fall Treat
Are you ready to bake something special this fall? Chocolate chip pumpkin cookies blend sweet chocolate with warm pumpkin spice Read Full Recipe -
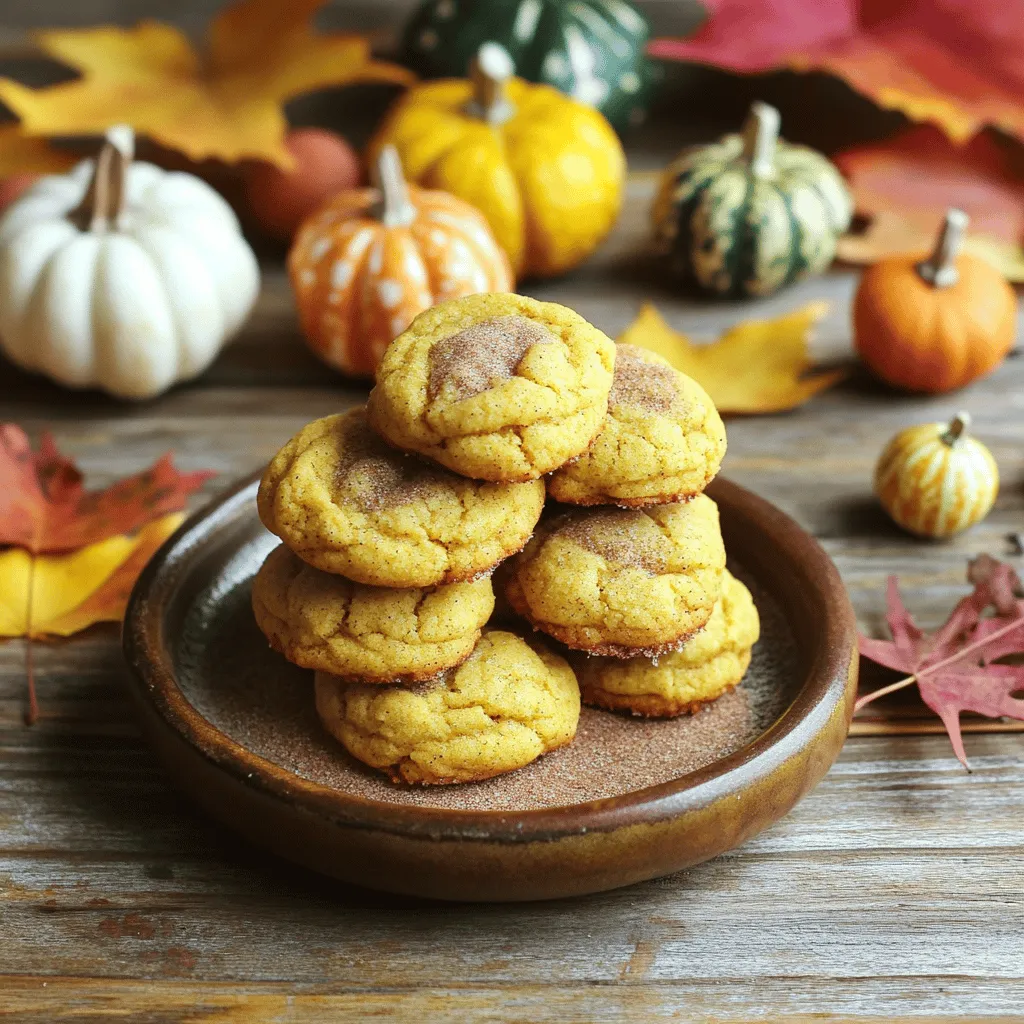
Pumpkin Butter Snickerdoodles Irresistible Cookie Treat
Looking for a new fall favorite? These Pumpkin Butter Snickerdoodles are the perfect cookie treat! With soft centers and a Read Full Recipe -
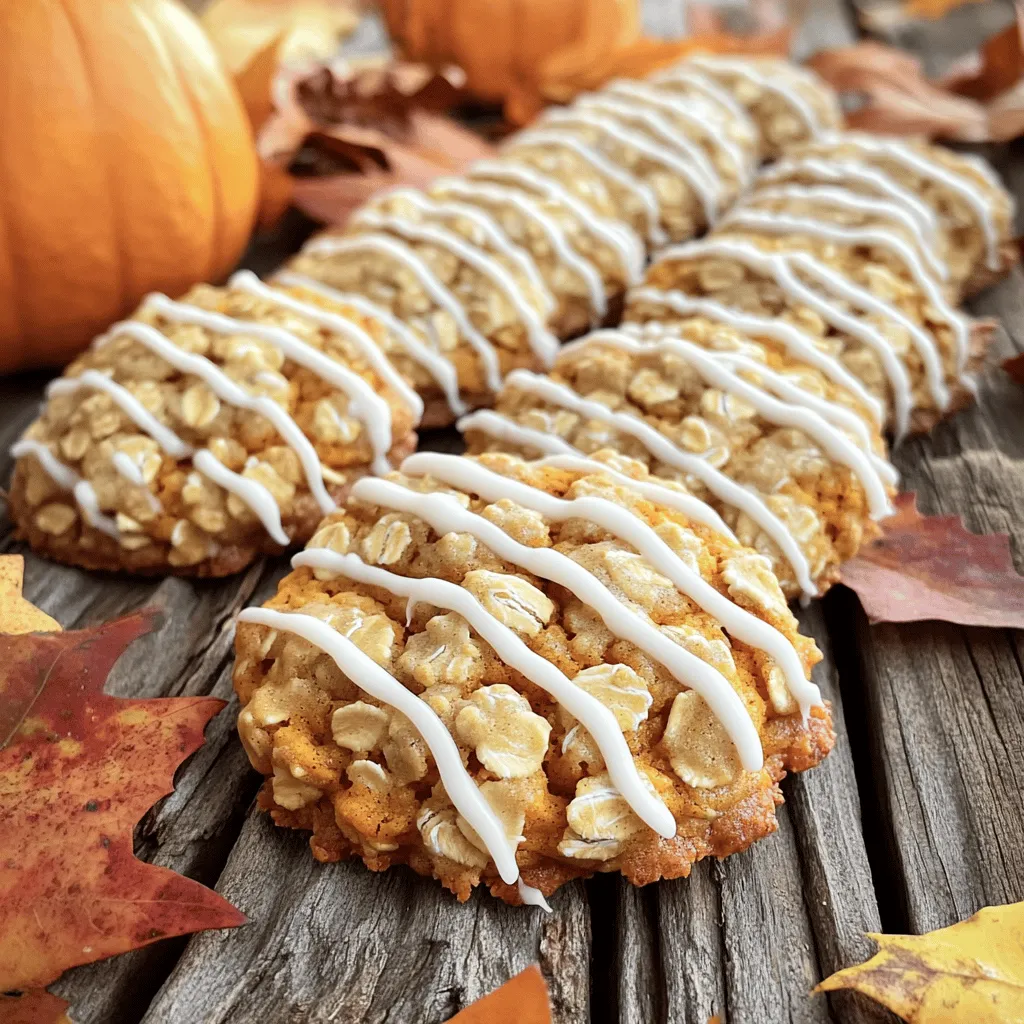
Pumpkin & Oatmeal Cookies with Icing Delight
If you’re looking for a delightful treat that combines the warm flavors of fall, you’re in the right place! In Read Full Recipe -
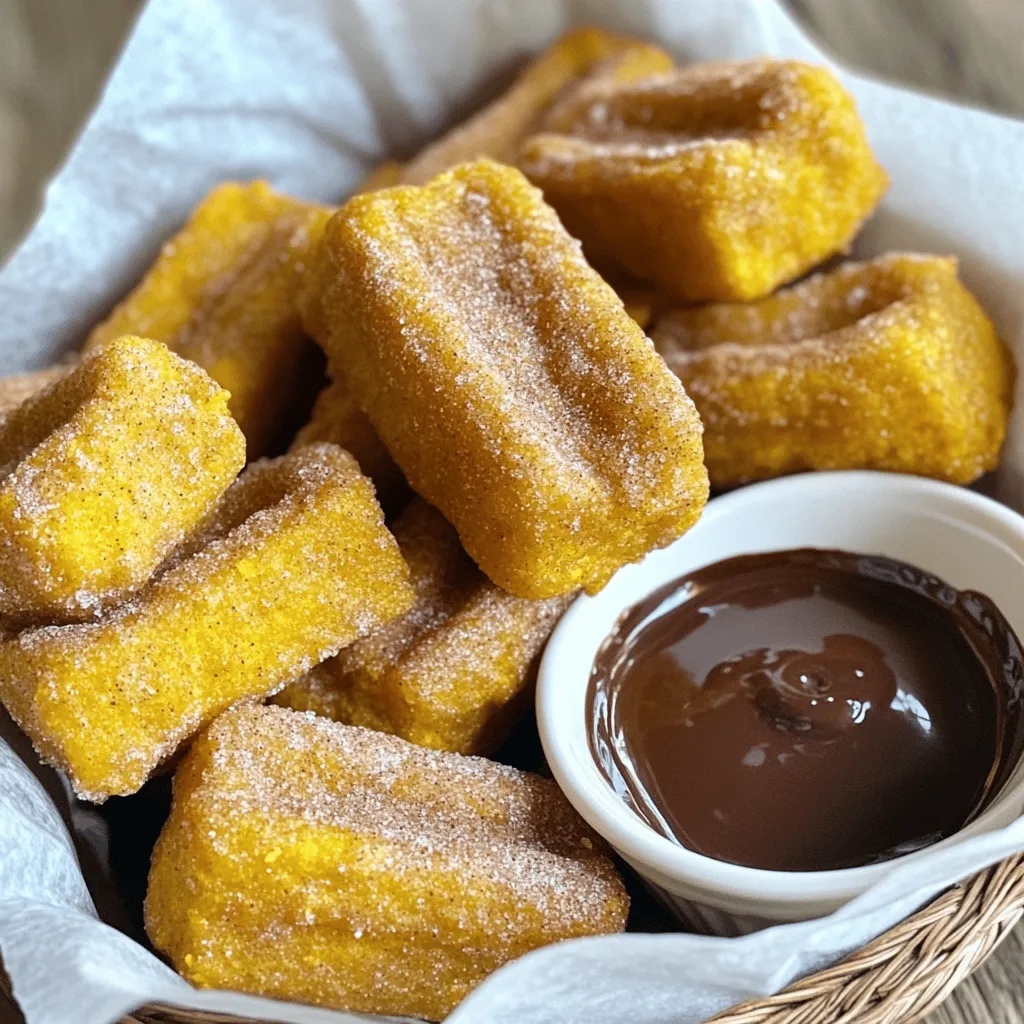
Pumpkin Churro Bites Tasty and Easy Dessert Treat
Are you ready to take your dessert game to the next level? These Pumpkin Churro Bites are here to impress! Read Full Recipe


My Latest Recipes

hey,
i’m !
I’m so happy you’re here!
Food is my passion, and perfecting each dish is my craft. I can’t wait for you to try them let’s dive into this delicious journey side by side.
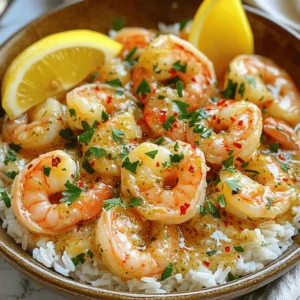
![- 1 pound large shrimp, peeled and deveined - 4 tablespoons unsalted butter - 2 tablespoons honey - 4 cloves garlic, minced - 2 tablespoons low sodium soy sauce - 1 tablespoon lemon juice - 1 teaspoon red pepper flakes (optional) - Salt and pepper to taste - Chopped fresh parsley for garnish - Calories per serving: About 250 - Macronutrient breakdown: - Carbohydrates: 10g - Fats: 16g - Proteins: 21g - Possible allergens: Shellfish, soy sauce This meal is simple, tasty, and quick to make. You can whip it up in just 15 minutes! The shrimp becomes sweet and savory from honey and soy sauce. Garlic adds a lovely aroma. Each bite is a burst of flavor. You get protein and healthy fats too. The dish is not only delicious but also easy to adjust for your taste. Use less honey if you want it less sweet. Add more red pepper flakes for extra heat. To start, you need to prep your shrimp. Rinse the shrimp under cold water. Remove the shell and the tail. Next, use a small knife to make a shallow cut along the back. This helps you see and remove the dark vein inside. Rinse the shrimp again to get rid of any debris. For measuring your ingredients, use measuring spoons for liquids like honey and soy sauce. For solid ingredients, like butter, use a kitchen scale if you have one. This helps you get the right amounts and keeps your dish balanced. First, melt the butter in a large skillet over medium heat. Wait until it starts to bubble. Then, add the minced garlic and stir it for 1-2 minutes. You want the garlic to smell good but not brown. Next, make the honey garlic sauce. Stir in the honey, soy sauce, and lemon juice. Mix it well until smooth. Now, add the shrimp to the skillet. Make sure they are all coated with the sauce. Cook the shrimp for 2-3 minutes on one side. Flip them over and cook for another 2-3 minutes. They are done when they turn pink and opaque. Season with salt, pepper, and red pepper flakes if you like heat. Honey Garlic Butter Shrimp pairs well with rice or steamed vegetables. You can also serve it with a fresh salad for a light meal. For plating, use a large, shallow bowl. Place the shrimp in the center and drizzle some sauce on top. Garnish with chopped parsley for a pop of color. This makes your dish look fancy and inviting. For the complete instructions, check out the Full Recipe. To perfect the sweetness, add more honey bit by bit. If you want more salt, use soy sauce. For a thicker sauce, let it cook longer on low heat. This allows the sauce to reduce and become rich. Stir well to mix all flavors together. Use a non-stick or cast-iron skillet for best results. These types help the shrimp cook evenly. Set your heat to medium. This ensures the butter melts but doesn't burn. A steady heat cooks shrimp just right without drying them out. Do not overcook shrimp. They can become tough and rubbery if cooked too long. Cook them until they are pink and opaque, about 4-6 minutes total. Also, always measure your sauce ingredients. Skipping this can lead to an unbalanced flavor in your dish. {{image_2}} You can swap honey for maple syrup or agave. These options work well in the sauce. If you want to try something different, use chicken or tofu instead of shrimp. Both cook nicely in the honey garlic sauce. For a zesty twist, add lime or orange juice. The citrus brightens the dish. You can also mix in ginger or sesame oil for extra depth. These spices will add layers of flavor that make each bite exciting. You can serve this dish over rice or noodles. This adds heartiness and helps soak up the sauce. If you want to include veggies, try adding bell peppers or snap peas. They add color and nutrition, making the meal even better. For the complete recipe, check out the Full Recipe. To keep your Honey Garlic Butter Shrimp fresh, store it in an airtight container. This helps lock in flavors and moisture. Place the container in the fridge within two hours of cooking. The dish stays good for up to three days. If you want to enjoy it later, make sure to label the container with the date. Reheat shrimp gently to prevent overcooking. The best method is using a skillet on low heat. Add a splash of water or broth to keep it moist. Stir occasionally until heated through. Aim for a serving temperature of 145°F for safety and taste. Yes, you can freeze Honey Garlic Butter Shrimp! Place it in a freezer-safe bag or container. Remove as much air as possible to prevent freezer burn. It can last for up to three months. When you're ready to eat, thaw it overnight in the fridge. Reheat using a skillet for the best results. Cooking shrimp takes about 4 to 6 minutes. The time depends on their size. For large shrimp, cook them for 2 to 3 minutes on each side. They turn pink and opaque when done. Overcooking makes shrimp tough, so keep an eye on them! Yes, you can prep this dish a bit early! Peel and devein the shrimp in advance. You can also mix the sauce and store it in the fridge. Just cook the shrimp and sauce together when you're ready to eat. This makes dinner quick and easy. Several sides pair well with this dish. Here are some popular options: - Steamed rice - Garlic bread - Roasted vegetables - Salad with fresh greens These sides balance the sweet and savory flavors of the shrimp. For a detailed guide, check out the [Full Recipe] for Honey Garlic Butter Shrimp. This recipe will help you create a tasty meal with ease! In this post, we explored making Honey Garlic Butter Shrimp with easy steps and tips. We covered main and additional ingredients, cooking techniques, and helpful variations. Remember, perfect shrimp should be tender, not overcooked. Feel free to swap ingredients to match your taste. Store any leftovers properly, and enjoy the meal later. Cooking shrimp can be simple and fun. I hope this guide inspires you to try this dish and impress yourself or your guests. Happy cooking!](https://mysavedrecipe.com/wp-content/uploads/2025/05/fc2856e5-4f28-409d-ad98-9ca96b82f7a4-300x300.webp)
![- 1 cup long-grain rice (white or brown) - 2 cups vegetable broth or water - Zest of 1 lime - 2 tablespoons fresh lime juice - 1/4 cup fresh cilantro, finely chopped - 1 tablespoon olive oil - 1 small clove garlic, minced - 1/2 teaspoon salt - 1/4 teaspoon black pepper - Optional: lime wedges and extra cilantro for garnish Lime cilantro rice is fresh and full of flavor. You need just a few items to make it shine. The main star is rice. You can use either white or brown rice based on your taste. The broth or water helps to cook the rice and gives it more flavor. Lime zest and juice bring a bright taste that wakes up the dish. Fresh cilantro adds a wonderful herb note. Together, they create a symphony of flavors in every bite. For the additional ingredients, olive oil adds richness. Garlic gives a hint of warmth. Salt and pepper round out the taste, making each bite better. If you want to add a special touch, use lime wedges and extra cilantro for garnish. They make the dish look pretty and add more zest! For the full recipe, check out the detailed steps. - Rinse the rice under cold water. This step removes extra starch. A fine mesh sieve works best. - Toast the garlic in olive oil. Heat the oil in a medium saucepan. Add minced garlic and sauté for about one minute. Watch it closely; you don’t want it to burn. - Add rice and broth to the saucepan. Stir the rinsed rice into the pan. - Bring to a boil, then reduce heat. After boiling, lower the heat to let it simmer. Cover the pan tightly. - Allow rice to steam. Let it sit covered for five minutes after cooking. This helps the rice become fluffy. - Fluff and mix in lime juice, zest, and cilantro. Use a fork to fluff the rice gently. Stir in the lime juice, zest, and chopped cilantro. This adds bright flavors to the rice. For the full recipe, check out the earlier section. - Rinsing the rice helps remove excess starch. This keeps your rice fluffy and light. - Adjust the heat as you cook. Start high to boil, then lower it to simmer. - Use homemade broth for a richer taste. This adds depth to the simple rice. - Experiment with seasonings. Try adding cumin or chili powder for a twist. - Add lime juice and zest after cooking. This keeps the flavors fresh and bright. - Garnish effectively with lime wedges and more cilantro. This adds color and appeal. For a full recipe, check out the [Full Recipe]. {{image_2}} You can choose different types of rice for this dish. Brown rice is a healthy choice. It has more fiber and a nutty taste. White rice cooks faster and has a softer texture. Both options work well. You can also try quinoa or cauliflower rice. Quinoa adds protein and a unique texture. Cauliflower rice is low in carbs and very light. Both add a fun twist to this recipe. Want to spice things up? Add diced jalapeños for heat. They give a nice kick and flavor. If you prefer milder flavors, try adding fresh parsley or green onions. These herbs add freshness and color to your rice. This rice pairs well with many proteins. Serve it with grilled chicken, shrimp, or fish. It also goes great with black beans or lentils for a veggie option. You can use Lime Cilantro Rice as a base for burrito bowls too. Top it with your favorite ingredients like salsa, avocado, or cheese. The options are endless! To store leftover rice, wait for it to cool. Place it in a container. Use an airtight container to keep it fresh. This helps avoid any bad smells or tastes. Leftover rice can last about 3 to 5 days in the fridge. When you want to reheat, keep the rice moist. Add a splash of water before heating. This helps the rice stay fluffy and soft. You can use the microwave or stovetop. If using the microwave, heat in short bursts. Stir in between to heat evenly. On the stovetop, add water to a pan on low heat. Stir until warmed through. To freeze lime cilantro rice, let it cool first. Then, place it in a freezer-safe bag. Remove as much air as possible before sealing. This helps prevent freezer burn. The rice can stay good for up to 2 months. When ready to use, thaw the rice in the fridge overnight. Reheat in the microwave or stovetop as mentioned earlier. Just add a little water to keep it moist. Enjoy your zesty lime cilantro rice anytime! Cooked Lime Cilantro Rice lasts about 4 to 5 days in the fridge. Store it in an airtight container to keep it fresh. I suggest letting it cool down before you put it in the fridge. This helps avoid extra moisture build-up, which can make the rice soggy. Yes, you can make Lime Cilantro Rice ahead of time. It’s great for meal prep or events. Just cook the rice and let it cool. Then, store it in the fridge until you're ready to serve. When you’re ready, simply reheat it on the stove or in the microwave. Add a little lime juice to freshen up the flavor. If you don't like cilantro, you can try parsley or chives. Both add a nice green flavor without the strong taste of cilantro. You can also use mint for a fresher twist. Just chop them finely and mix them in like you would with cilantro. Lime Cilantro Rice is not spicy at all. It has a bright, zesty flavor from lime. If you want to add some heat, you can mix in chopped jalapeños or red pepper flakes. Start with a little and taste as you go. Adjust it to your liking. This blog post covered a simple way to make Lime Cilantro Rice. We explored the main ingredients, like rice, lime, and cilantro. You learned step-by-step instructions to prepare and cook the rice perfectly. I also shared tips to enhance flavor and ways to vary the dish. Remember to store any leftovers correctly for great reheating. Lime Cilantro Rice is a tasty, fresh side that pairs well with many meals. Enjoy your cooking and experimenting with flavors to make it your own!](https://mysavedrecipe.com/wp-content/uploads/2025/04/0e918937-c68b-4897-9318-e171559d46c0-300x300.webp)

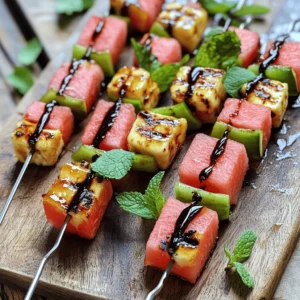
Sweet Yellow Squash Pickles Flavorful and Easy Recipe
If you love tangy, sweet flavors, you’re in for a treat! I’m excited to share my easy recipe for Sweet Yellow Squash Pickles. With…
![- 3 medium yellow squash, sliced into thin rounds - 1 cup sugar - 1 cup apple cider vinegar - 1/2 cup water - 1 tablespoon salt - 1 teaspoon mustard seeds - 1 teaspoon black peppercorns - 1 teaspoon turmeric powder - 1 teaspoon crushed red pepper flakes - 1 teaspoon garlic powder - 1 small onion, thinly sliced - Fresh herbs like dill or cilantro Gathering the right ingredients is key to making great sweet yellow squash pickles. Start with fresh yellow squash. Look for ones that are firm and bright in color. The sugar and apple cider vinegar are what give this recipe its sweet and tangy kick. The water helps balance the brine. The spices add depth. Salt draws moisture from the squash, making them crisp. Mustard seeds, black peppercorns, and turmeric bring unique flavors. Crushed red pepper adds a touch of heat, while garlic powder gives a savory note. Sliced onions make the pickles even better. For garnishes, fresh herbs like dill or cilantro can add a lovely touch. These herbs boost flavor and look pretty too. Using high-quality ingredients ensures your pickles taste amazing. You can find the full recipe above if you want to dive right into making these delicious pickles! - Combine 3 medium yellow squash slices with 1 tablespoon of salt. - Let the squash sit for 1 hour to draw out moisture. - After an hour, rinse the squash slices under cold water. - Drain the slices well to remove excess salt. - In a medium saucepan, combine: - 1 cup sugar - 1 cup apple cider vinegar - 1/2 cup water - 1 teaspoon mustard seeds - 1 teaspoon black peppercorns - 1 teaspoon turmeric powder - 1 teaspoon crushed red pepper flakes - 1 teaspoon garlic powder - Bring this mix to a gentle boil over medium heat. - Stir until the sugar dissolves completely. - Reduce the heat and add 1 small thinly sliced onion. - Let it simmer for about 5 minutes to blend the flavors. - Remove the saucepan from heat and add the drained squash slices. - Mix well to coat all the squash with the hot brine. - Pack the mixture into clean, sterilized jars. - Make sure to include onions and spices in each jar. - Pour the hot brine over the squash until fully submerged. - Leave 1/2 inch of headspace at the top of each jar. - Seal the jars with lids and cool to room temperature. - Refrigerate the jars and let the pickles sit for at least 24 hours before serving. For the complete recipe, refer to the [Full Recipe]. - Ensure jars are sterilized properly. This keeps your pickles fresh and safe. - Use fresh, high-quality ingredients. Fresh squash gives the best flavor and crunch. - Adjust sugar for sweetness level. Taste the brine, and add more sugar if needed. - Modify spice amounts to taste. If you love heat, add more crushed red pepper flakes. - Serve pickles in decorative jars. A pretty jar makes your pickles look even better. - Garnish with fresh herbs for visual appeal. Fresh dill or cilantro adds color and flavor. These tips will help you create the best sweet yellow squash pickles. For more details, check out the Full Recipe. {{image_2}} For a sweet and spicy twist, consider adding more crushed red pepper flakes. This simple addition ramps up the heat. If you want even more fire, toss in some jalapeños. Slice them thin and mix them into the squash before packing the jars. This variation creates a fun kick that pairs well with rich meats. Another delightful option is to infuse your pickles with herbs. Fresh dill or rosemary adds a fresh taste to the brine. You can toss in a few sprigs during the cooking process. Don’t be afraid to experiment with other herbs too! Thyme, tarragon, or even basil can bring new flavors to your pickles. You can also try pickling different vegetables. Other summer squashes work great, and cucumbers are a classic choice. Consider blending the squash with colorful carrots or sweet bell peppers. This adds a beautiful look and varied taste to your jars. Mixing vegetables lets you create unique flavors that are fun and delicious. For more ideas, check out the Full Recipe. To keep your sweet yellow squash pickles fresh, store them in the fridge. This helps maintain their crunch and flavor. After making them, let your pickles sit for at least 24 hours. This resting time allows the flavors to blend nicely. Homemade pickles usually last about 2 to 3 weeks in the fridge. Look for signs of spoilage, such as off smells or mold. If the pickles seem slimy or the liquid looks cloudy, it's best to toss them. If you want to keep your pickles longer, consider canning. Use proper canning methods for safe long-term storage. Before canning, make sure your jars are clean and sterilized. This helps prevent bacteria growth and keeps your pickles safe to eat. Sweet yellow squash pickles last about 2 months in the fridge. If you can them properly, they can last up to a year on the shelf. Always check for signs of spoilage before eating. Yes, you can use other types of vinegar. White vinegar works well and gives a clean taste. Red wine vinegar adds a bit of depth and color. Experiment and see what you like best. You can serve these pickles in many ways. They pair nicely with sandwiches, burgers, or as a side for grilled meats. For a fun twist, add them to tacos or salads. A good serving size is about 1/4 cup per person. These pickles are great for picnics and parties. You can adjust the sweetness easily. Add more sugar for a sweeter taste or cut back for less sweetness. If you want a sugar substitute, try honey or agave syrup. Just remember to adjust the liquid in the brine. In this guide, we covered how to make sweet yellow squash pickles. We discussed the key ingredients, flavor tips, and the step-by-step process to pickle squash properly. Remember, adjusting sweetness and spice makes the pickles uniquely yours. Don't forget to store them safely for the best flavor. Enjoy your pickles as a tasty side or snack. Making them adds fun to your kitchen, and you can share them with friends! Happy pickling!](https://mysavedrecipe.com/wp-content/uploads/2025/06/afd8ad7d-43bb-4028-a14f-8632236d1c09.webp)
