Latest & Greatest

Pineapple Coconut Smoothie Refreshing and Creamy Treat
Are you ready to dive into a tropical escape with just one sip? My Pineapple Coconut Smoothie is both refreshing
Read more…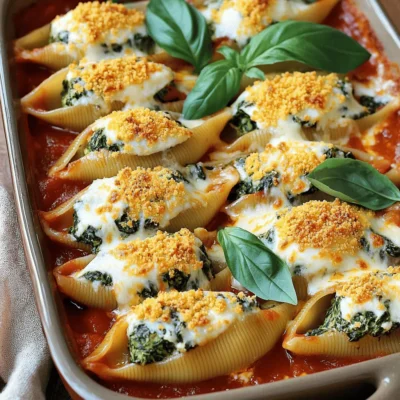
Cheesy Spinach Stuffed Shells Comforting Dinner Idea
Looking for a cozy dinner that’s both simple and delicious? Cheesy Spinach Stuffed Shells are the perfect choice! This dish
Read more…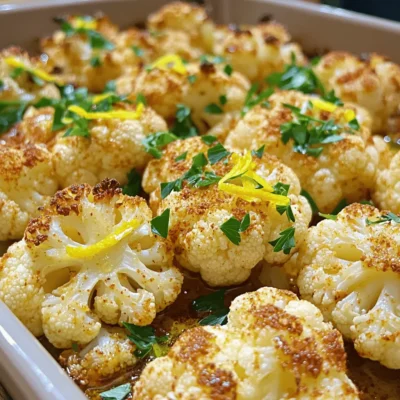
Lemon Garlic Roasted Cauliflower Flavorful Side Dish
Are you ready to elevate your side dish game? Lemon Garlic Roasted Cauliflower is the perfect blend of tangy lemon
Read more…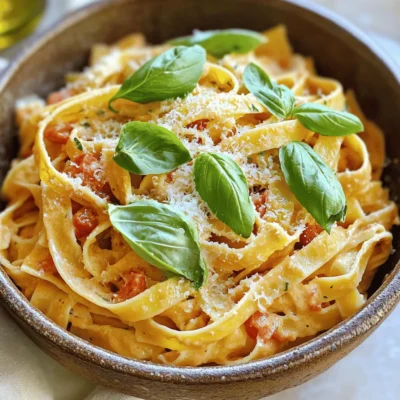
Creamy Tomato Basil Pasta Delight in Every Bite
Are you ready to indulge in a rich and creamy tomato basil pasta that dances on your taste buds? This
Read more…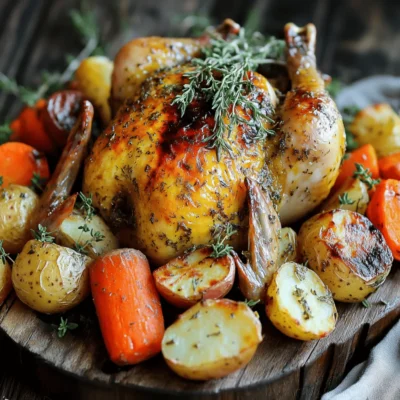
Savory Herb Roasted Chicken Flavorful and Easy Recipe
Are you ready to master a dish that wows everyone? My Savory Herb Roasted Chicken recipe combines fresh herbs and
Read more…
Chocolate Chip Banana Bread Easy and Delicious Treat
Looking for a quick, tasty treat? This Chocolate Chip Banana Bread is your answer! It’s easy to make and filled
Read more…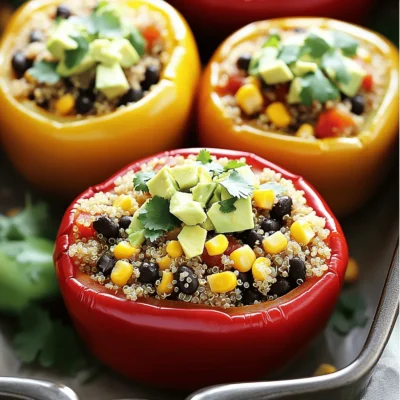
Vegan Stuffed Bell Peppers Savory and Nutritious Meal
Looking for a meal that’s both savory and healthy? Try my Vegan Stuffed Bell Peppers! They’re colorful, easy to make,
Read more…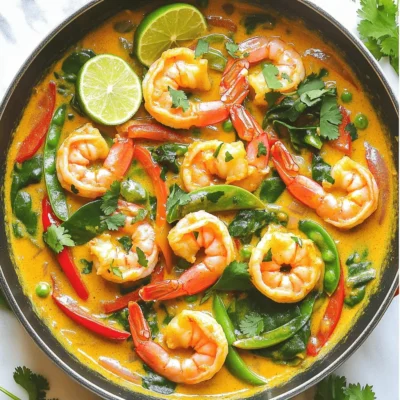
Coconut Curry Shrimp Flavorful and Easy Recipe Guide
Are you ready to dive into a dish that’s bursting with flavor? In this Coconut Curry Shrimp recipe guide, I’ll
Read more…browse recipes
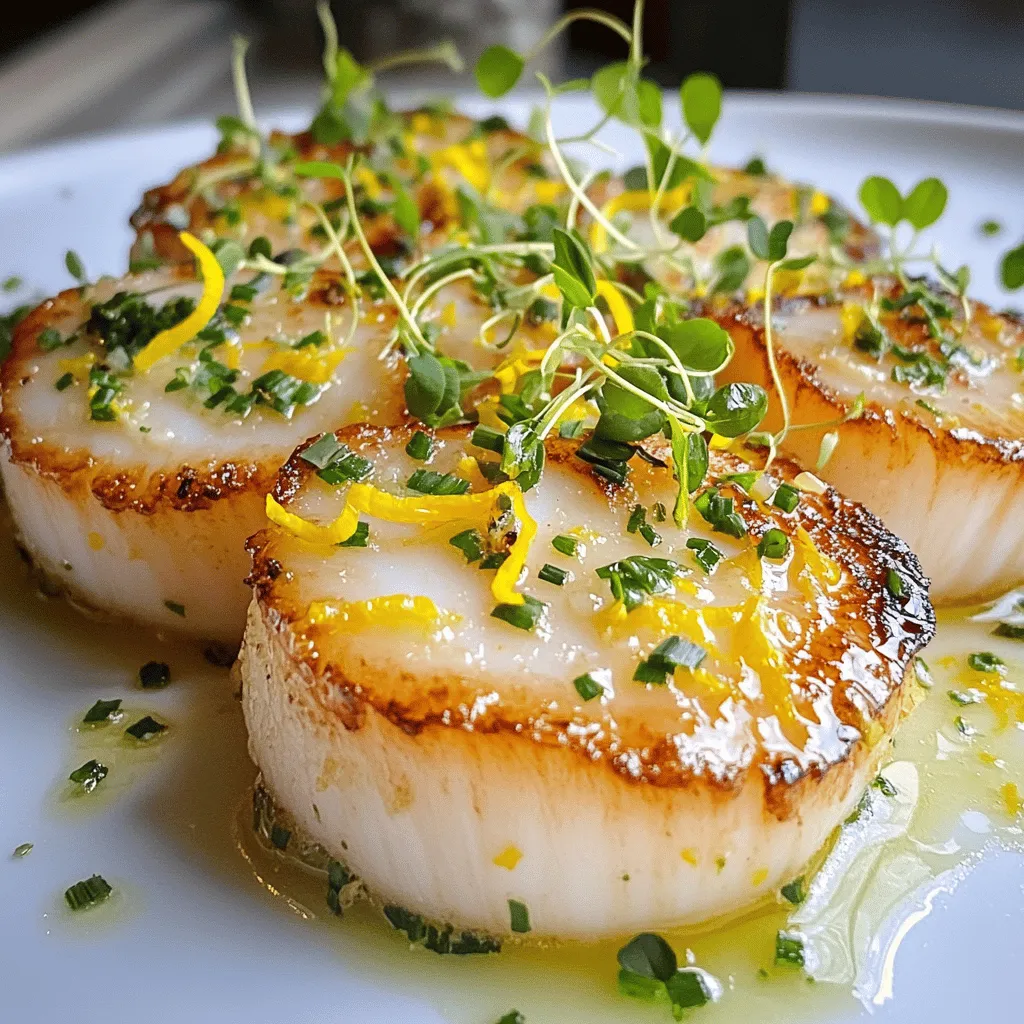
Gordon Ramsay’s Pan-Seared Scallops Delicious Recipe
Ready to impress your friends with a stunning dish? Gordon Ramsay’s Pan-Seared Scallops are simple yet elegant. They combine fresh flavors with a perfect…
My Latest Desserts
Pancake Donuts with Maple Glaze Simple and Delicious
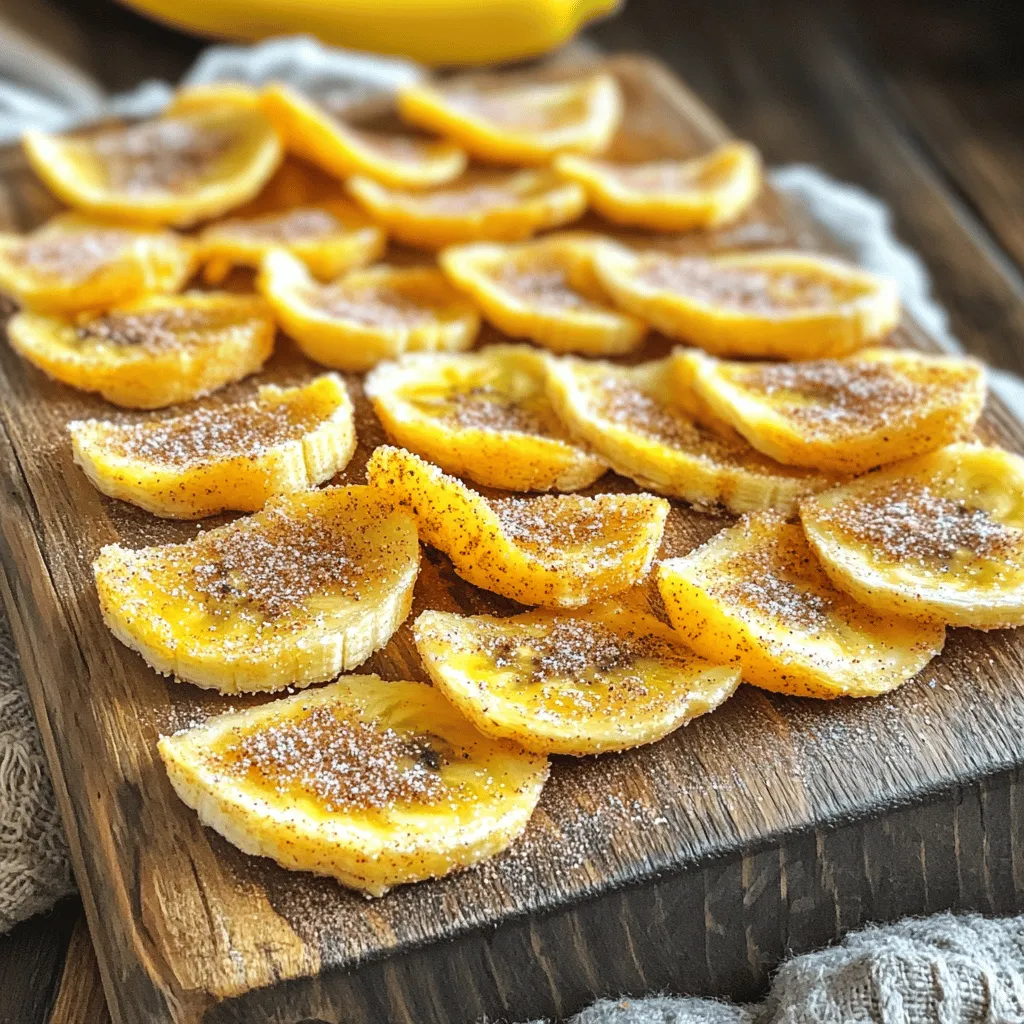
Do you love pancakes and donuts? With my pancake donuts topped with maple glaze, you can enjoy both! This simple Read Full RecipeCrispy Cinnamon Sugar Air Fryer Banana Chips Delight
Are you ready for a snack that’s both crunchy and sweet? I’m excited to share my Crispy Cinnamon Sugar Air Read Full RecipeEasy Sweet Potato Casserole Simple and Tasty Recipe
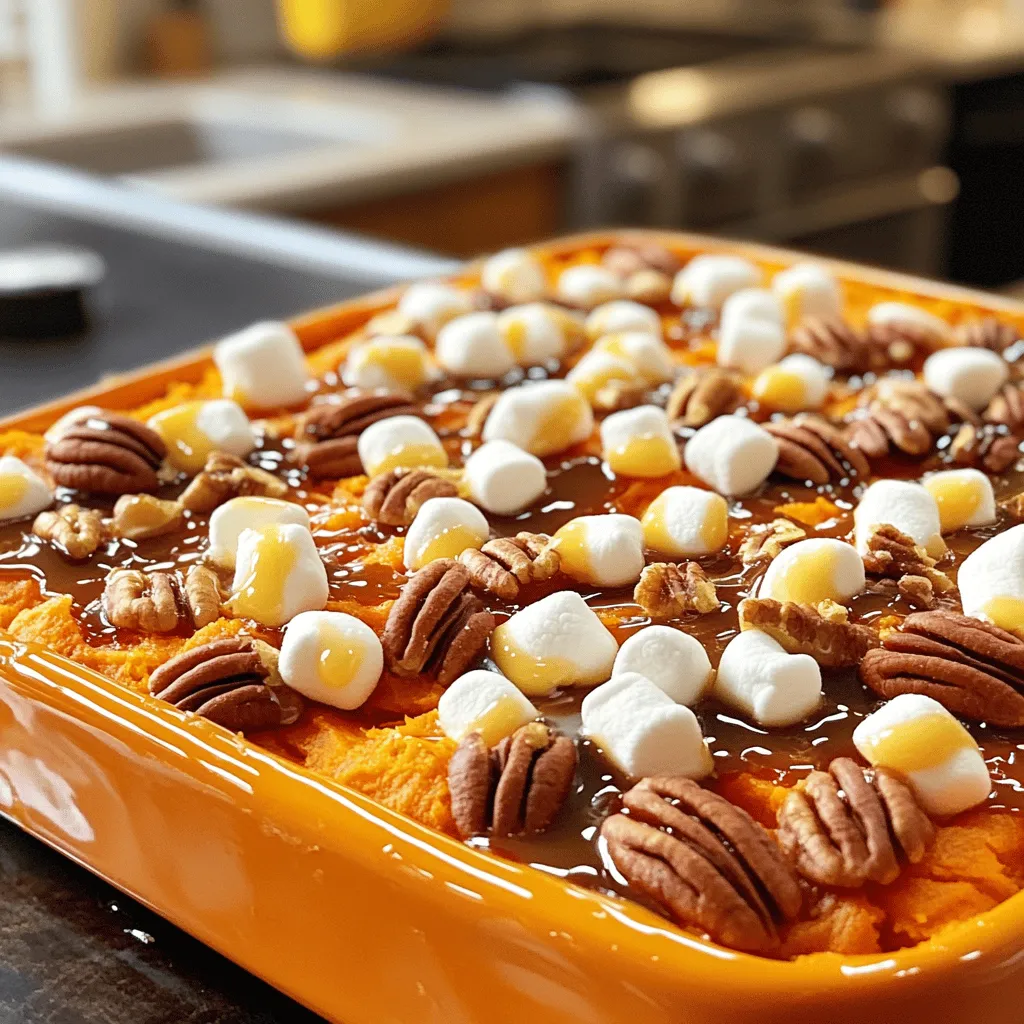
Looking for a sweet, easy dish that steals the show? My Easy Sweet Potato Casserole is just what you need! Read Full RecipePeppermint Chocolate Chip Cookies Festive and Delightful
Get ready to celebrate the season with my Peppermint Chocolate Chip Cookies! These festive treats combine the rich taste of Read Full RecipeChocolate Thumbprint Cookies Irresistible Treat Recipe
If you’re craving a sweet treat, you’ll love chocolate thumbprint cookies! These soft, chewy cookies are easy to make and Read Full RecipeEasy Stained Glass Cookies Simple and Fun Recipe
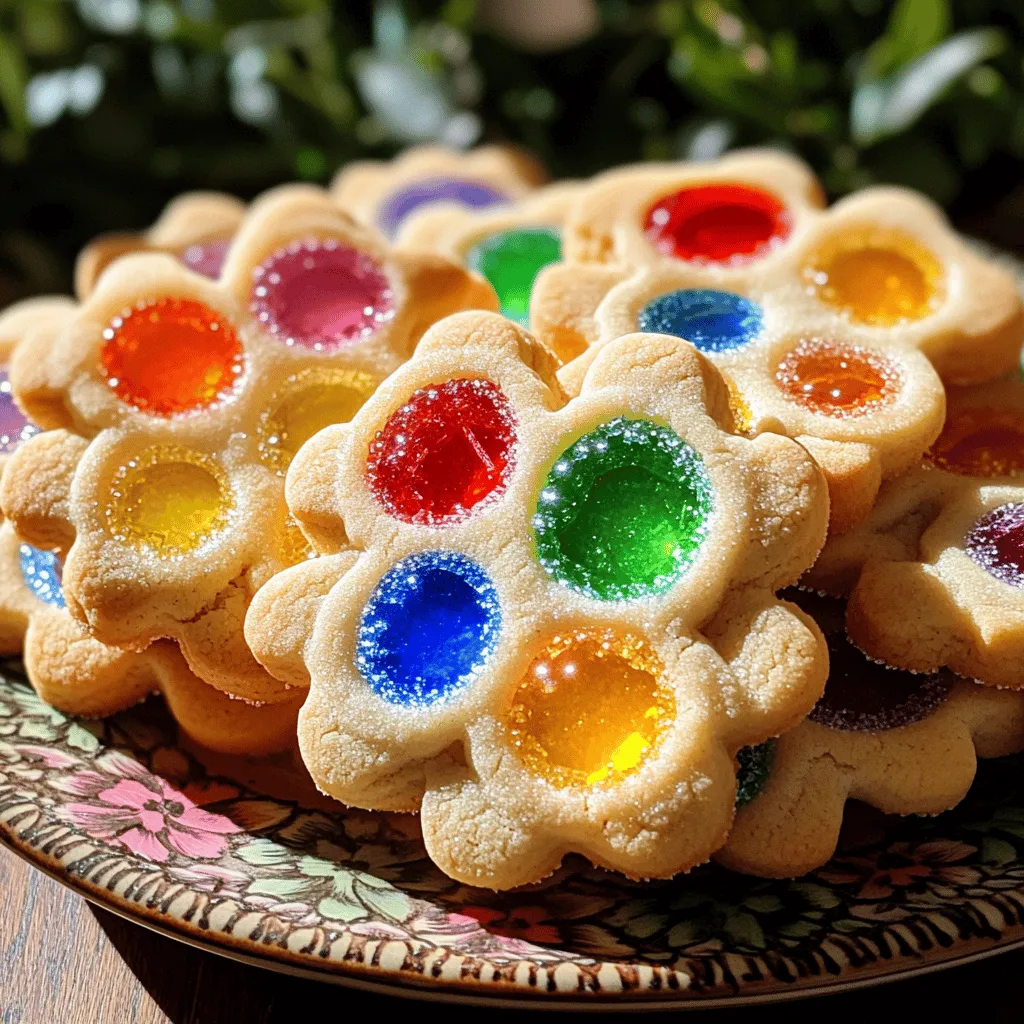
Get ready to create some beautiful treats with my Easy Stained Glass Cookies! This simple recipe is perfect for kids Read Full RecipeHalloween Chex Mix Fun and Festive Snack Idea
Get ready for a sweet and spooky delight with my Halloween Chex Mix! This fun snack combines crispy Chex cereal, Read Full RecipePumpkin Cheesecake Dip Delightful and Easy Recipe
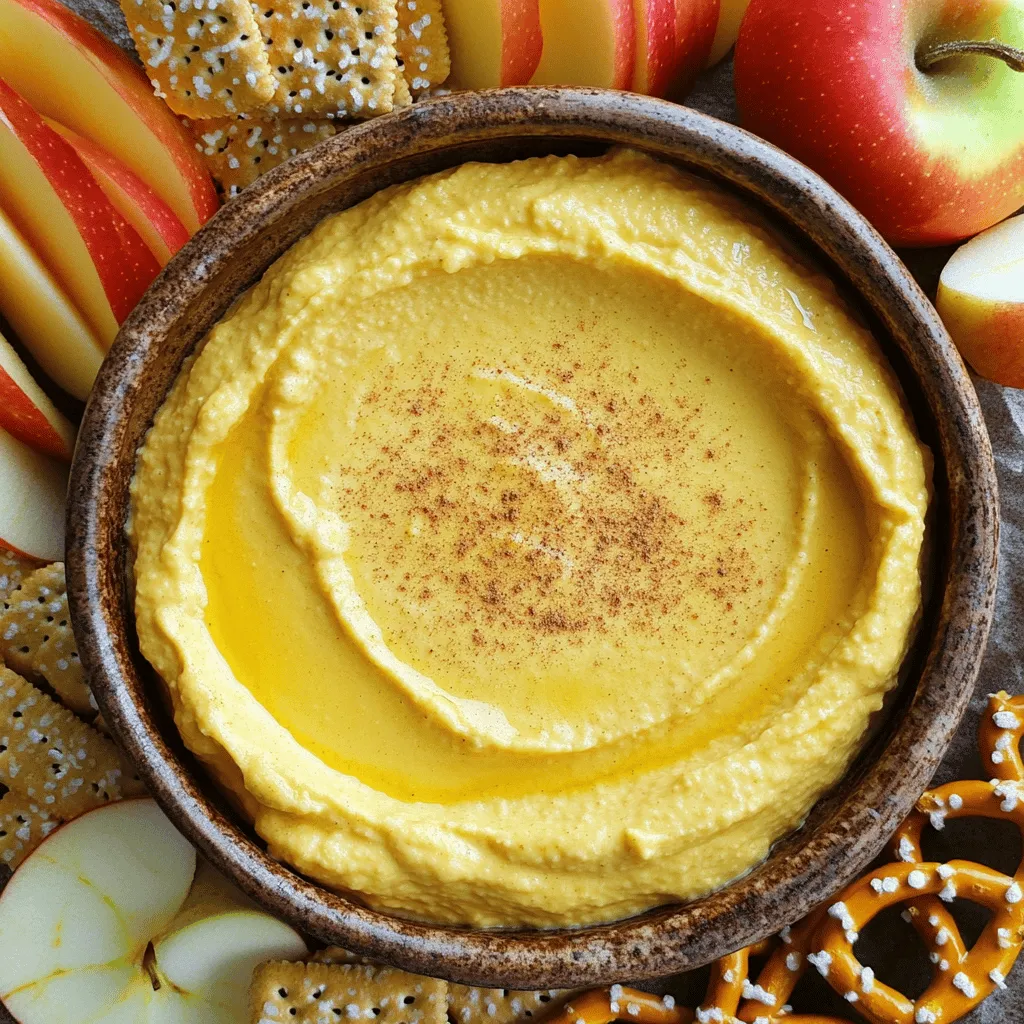
Fall is here, and nothing screams comfort like my Pumpkin Cheesecake Dip! This delightful treat is easy to make, packed Read Full RecipePumpkin Spice Energy Bites Healthy Power Snack
Looking for a delicious and healthy snack? Pumpkin Spice Energy Bites are the answer! These tasty treats blend fiber-rich oats, Read Full RecipePumpkin Pie Overnight Oats Flavorful and Nutritious Meal
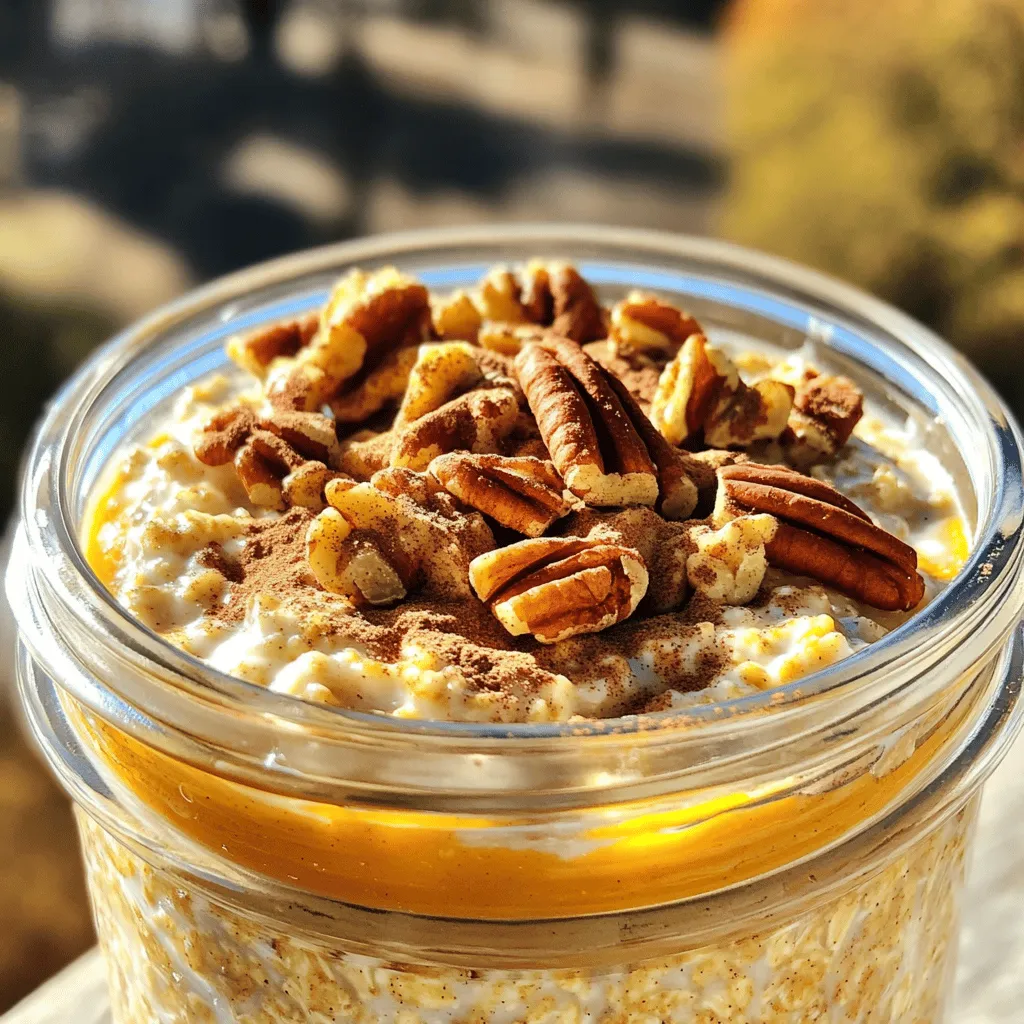
Looking for a healthy yet tasty breakfast? Pumpkin Pie Overnight Oats combine rich pumpkin flavor with creamy oats. Packed with Read Full Recipe
My Latest Recipes
hey,
i’m !
I’m so happy you’re here!
Food is my passion, and perfecting each dish is my craft. I can’t wait for you to try them let’s dive into this delicious journey side by side.
Air Fryer Chicken Tenders Crunchy and Delicious Recipe
You deserve delicious meals that are easy to make. Today, I’ll show you how to whip up crunchy and mouthwatering Air Fryer Chicken Tenders…
![- 1 lb chicken breast, cut into strips - 1 cup buttermilk - 1 cup all-purpose flour - 1 cup breadcrumbs (panko for extra crunch) - 1 teaspoon garlic powder - 1 teaspoon onion powder - 1 teaspoon paprika - 1 teaspoon dried oregano - Salt and pepper, to taste - Cooking spray (optional) Using these ingredients gives you a tasty base. The chicken breast is lean and full of protein. Buttermilk adds moisture and flavor. Flour gives the chicken a good coating. The breadcrumbs, especially panko, create that desired crunch. The seasoning ingredients add depth. Garlic powder and onion powder boost the flavor. Paprika gives the chicken a nice color and a hint of spice. Oregano adds a fresh note. Salt and pepper enhance everything. If you want even less sticking, use cooking spray. It helps the tenders crisp up nicely in the air fryer. This list will help you prepare for a fun cooking session. For the full recipe, check out the detailed steps to create these crunchy chicken tenders. Start by taking your chicken strips and placing them in a bowl. Add one cup of buttermilk to the chicken. Mix well to coat each piece. This step is key for flavor and moisture. Let the chicken marinate for at least 30 minutes. You can even let it sit overnight for extra flavor. While the chicken marinates, set up your breading stations. In one bowl, mix one cup of flour with garlic powder, onion powder, paprika, oregano, salt, and pepper. Stir it well to combine the spices and flour. In another bowl, place one cup of breadcrumbs. I recommend using panko for that extra crunch. Preheat your air fryer to 400°F (200°C) for about five minutes. After the chicken has marinated, take it out of the buttermilk. Let any excess liquid drip off. Now, dredge each chicken strip in the flour mixture. Make sure to coat it well. Then dip it back into the buttermilk and finally coat it with breadcrumbs. This double coating gives you a great crunch. Next, lightly spray the air fryer basket with cooking spray to prevent sticking. Arrange the chicken tenders in a single layer in the basket. Don't overcrowd; work in batches if needed. Air fry the chicken tenders at 400°F for 10-12 minutes. Flip them halfway through cooking. They should turn golden brown and be fully cooked. Enjoy your crispy air fryer chicken tenders! For the complete recipe, check [Full Recipe]. To boost flavor, add some spices. Here are my top picks: - Cayenne pepper for heat. - Italian seasoning for a herb mix. - Lemon zest for a fresh taste. - Parmesan cheese in the breadcrumbs for a cheesy kick. You can blend these spices into your flour mix. This adds layers of flavor to every bite. Panko breadcrumbs are key for crunch. Here’s how to use them well: 1. Double coat your chicken. After the flour, dip in buttermilk, then coat in panko. This adds that extra layer of crunch. 2. Press firmly on the chicken when coating. This helps the panko stick better. 3. Air fry in batches. Avoid overcrowding the basket. This ensures each piece gets hot air and stays crispy. For a fun presentation, serve your chicken tenders on a wooden platter. Here are some garnish ideas: - Fresh parsley for color. - Lemon wedges for a zesty touch. - Pickles for a tangy crunch. Pair your chicken with dipping sauces like: - Honey mustard for sweetness. - Barbecue sauce for a smoky flavor. - Ranch dressing for a classic choice. These additions make your meal not just tasty but visually appealing too. {{image_2}} You can change the coating for your chicken tenders. Instead of regular breadcrumbs, try coconut flakes for a tropical twist. They add a nice crunch and sweetness. Crushed cornflakes also work great. They give a crispy texture and a fun flavor. You can mix and match these options for different tastes. Changing the flavor is easy with marinades and spices. Try using hot sauce in the buttermilk for a spicy kick. You can also add lemon juice for a fresh taste. For a sweet option, mix honey into the buttermilk. When mixing the flour, add more spices like cumin or chili powder for warmth. Experiment with different herbs too, like thyme or rosemary, to find your favorite flavor. If you don’t have an air fryer, don’t worry! You can bake the chicken tenders. Preheat your oven to 425°F (220°C). Place the coated chicken strips on a baking sheet. Bake for about 20-25 minutes, flipping halfway through. For frying, heat oil in a pan over medium heat. Fry the chicken tenders in batches until golden brown. This way, you can still enjoy crispy chicken tenders, even without an air fryer. Check out the Full Recipe for more details! To keep your chicken tenders fresh, place them in an airtight container. This helps to lock in moisture. If you plan to store them for a long time, consider freezing them. Wrap each tender in plastic wrap before placing them in a freezer bag. This will prevent freezer burn. When reheating, avoid using the microwave. Instead, use the air fryer to keep them crispy. Preheat the air fryer to 350°F (175°C). Place the tenders in a single layer and heat for about 5-7 minutes. This method helps maintain their crunchy texture. You can also use an oven at the same temperature for better results. Cooked chicken tenders will last in the fridge for 3-4 days. If you freeze them, they can last up to 2-3 months. Just make sure to label the bags with the date. This makes it easy to track how long they have been stored. Enjoy your crispy chicken tenders later with the Full Recipe! You can use frozen chicken breasts for this recipe. However, fresh chicken works better. If you choose frozen, be sure to thaw them fully first. This helps the chicken marinate well in buttermilk. Proper marination ensures the meat stays juicy and flavorful. Just remember, cooking time might change slightly. Always check for doneness to be safe. To check if your chicken is done, use a meat thermometer. The center should reach 165°F (75°C). If you don’t have one, cut into a tender. Make sure the juices run clear and there’s no pink meat. Cooking times may vary based on the size of your strips. Flipping halfway helps ensure even cooking. Dipping sauces can elevate your chicken tenders. Here are my top picks: - Honey mustard - Barbecue sauce - Ranch dressing - Buffalo sauce - Sweet and sour sauce Each sauce adds a different flavor and flair. Feel free to mix and match to find your favorite! For an extra touch, garnish with herbs or fresh veggies. Enjoy exploring different tastes! In this blog post, we explored how to make delicious chicken tenders from scratch. We covered the main ingredients, the steps for preparing and cooking, and ways to enhance flavor. We also discussed storage tips to keep your tenders fresh. Remember, experimentation is key. Feel free to try new spices or cooking methods. Your kitchen is your playground. Enjoy your tasty chicken tenders with your favorite sauces.](https://mysavedrecipe.com/wp-content/uploads/2025/06/c5be8f72-db5e-4335-9ab7-cab3ec23900f.webp)












![Shrimp and Zucchini Noodles Basics For this dish, I use: - 1 pound large shrimp, peeled and deveined - 4 medium zucchinis, spiralized into noodles Zucchini noodles, or zoodles, make a great low-carb base. They soak up flavors and add a fresh crunch. The shrimp gives the dish its protein and a sweet, salty taste. Flavor Enhancers: Garlic, Lemon, and More To boost the taste, I add: - 4 cloves garlic, minced - 2 tablespoons olive oil - 1 tablespoon unsalted butter - 1 cup cherry tomatoes, halved - 1 tablespoon lemon juice - 1 teaspoon red pepper flakes (adjust to taste) Garlic and lemon create a bright, zesty flavor. The tomatoes add a juicy pop. Olive oil and butter make the dish rich and smooth. Red pepper flakes give it a nice kick. Garnishes and Seasonings To finish, I use: - Salt and pepper to taste - Fresh parsley, chopped (for garnish) - Zest of 1 lemon (for added flavor) Fresh parsley adds color and freshness. The lemon zest enhances the citrus notes. These garnishes make the dish look and taste gourmet. For the full recipe, check our detailed guide on how to prepare this delightful dish! Spiralizing Techniques To create zucchini noodles, start with fresh zucchinis. A spiralizer is the best tool for this task. It makes long, thin noodles that mimic pasta. Simply wash the zucchini, trim the ends, and twist it through the spiralizer. If you don’t have one, don’t worry! You can use a vegetable peeler to make thin strips. Just slice the zucchini lengthwise into long ribbons. Alternative Methods for Zucchini Noodles Other tools like a julienne peeler or a box grater work well too. If you want to save time, pre-spiralized zucchini is available at many stores. Keep in mind, the thinner the noodle, the quicker they cook. Tips for Perfectly Cooked Shrimp Start by heating olive oil and butter in a large skillet. Use medium heat to avoid burning. When the butter melts, add minced garlic. Sauté for just about 30 seconds. This brings out the flavor without burning it. Next, toss in the shrimp. Cook them for about 2-3 minutes. They should turn pink and opaque. This shows they are perfectly cooked. Avoiding Common Mistakes Don’t overcrowd the pan. If the shrimp are too close, they will steam instead of sear. This can make them rubbery. Also, avoid cooking shrimp for too long. Overcooked shrimp can become tough. Timing for Adding Each Ingredient After cooking the shrimp, add halved cherry tomatoes. Cook for about 2 minutes until they soften. Next, stir in the zucchini noodles. Toss them gently to combine everything. Cook for just 2-3 minutes. The noodles should be heated but still crunchy. Heat Levels Explained It's important to keep the heat at medium throughout cooking. This helps all the ingredients cook evenly without burning. If you find it's too hot, lower the heat slightly. You want a gentle simmer, not a vigorous boil. For the full recipe, check out the [Full Recipe]. - Using Less Oil or Butter To cut calories, use less oil and butter. You can swap half the butter with vegetable broth. This keeps the dish moist but cuts down on fat. - Recommended Cooking Methods Sautéing shrimp in a non-stick pan helps reduce oil use. Steaming zucchini noodles instead of sautéing can also lower calories. This keeps the noodles crunchy and fresh. - Additional Herbs and Spices You can add fresh basil or thyme to boost flavor. A pinch of smoked paprika can give a nice twist. Always taste as you go to find the right balance. - Combining with Other Vegetables Mix in bell peppers or spinach for color and taste. These veggies add nutrients and make your dish more vibrant. You can also add a handful of arugula for a peppery kick. - Pairing with Other Healthy Dishes Serve your shrimp scampi with a side salad or whole-grain bread. You could also pair it with quinoa for a complete meal. This adds fiber and keeps you feeling full. - Presentation Ideas Use a large, shallow bowl for serving. Twirl the zucchini noodles for a fun look. Top with extra parsley and lemon zest for color and freshness. This makes the dish inviting and appetizing. For the full recipe, check out the details above and enjoy making this delightful dish! {{image_2}} Gluten-Free Options This recipe is naturally gluten-free. You can enjoy it without worry. Just make sure all ingredients are gluten-free. For example, check the labels on your shrimp and any seasonings you use. Low-Carb Adjustments Zucchini noodles are a great low-carb choice. If you want fewer carbs, skip the cherry tomatoes. They add some sugar. You can also use less lemon juice to cut carbs even more. Seafood Alternatives If you don’t like shrimp, try scallops or chicken. Both cook well in this dish. Just adjust the cooking time. Scallops need about 3-4 minutes, while chicken takes a bit longer. Vegetable Variations You can swap zucchini for other veggies. Consider using spaghetti squash or yellow squash. Each offers unique flavors while still keeping it healthy. Spicy vs. Mild I love a bit of heat in my dishes. If you do too, add more red pepper flakes. For a milder version, cut back on them or leave them out. Taste it as you go to find your perfect level. Adding Unique Ingredients Get creative! Try adding capers or olives for a briny twist. You can also mix in spinach for added greens. Just remember to cook it down with the shrimp. Each new ingredient can change the whole dish. For more ideas, check the Full Recipe for Skinny Shrimp Scampi with Zucchini Noodles. For storing your Skinny Shrimp Scampi with Zucchini Noodles, follow these tips: - Refrigeration Guidelines: Store leftovers in an airtight container. They keep well in the fridge for up to three days. Make sure to cool the dish before sealing it. This helps prevent condensation and sogginess. - Freezing Recommendations: You can freeze this dish, but I recommend freezing the shrimp and zucchini noodles separately. This way, they maintain better texture. Use freezer-safe bags or containers, and they can last up to three months. Reheating is easy if you follow a few steps: - Best Methods for Reheating: The best way to reheat is in a skillet over low heat. This keeps the shrimp tender and the zucchini noodles crunchy. You can also use a microwave, but do it in short bursts to avoid overcooking. - Preserving Flavor and Texture: Add a splash of olive oil or a bit of broth when reheating. This helps keep the dish moist and flavorful. Stir gently to avoid breaking the noodles. Knowing when to enjoy your dish is key: - Duration for Safe Consumption: If stored correctly, eat the dish within three days when refrigerated. For frozen portions, consume within three months for best quality. - Signs of Spoilage: Look for changes in smell, color, or texture. If the shrimp smells off or the noodles feel mushy, it's best to toss it. Always trust your senses; they guide you well! Can I use frozen shrimp? Yes, you can use frozen shrimp. Just thaw them before cooking. Place the shrimp in cold water for about 15 minutes. This will help them thaw quickly. Make sure they are peeled and deveined for the best results. What can I substitute for zucchini noodles? If you don't have zucchini, try using spaghetti squash or carrots. You can also use whole wheat pasta for a more traditional dish. Each option adds its own flavor and texture. Calorie count per serving Each serving of Skinny Shrimp Scampi with Zucchini Noodles has about 300 calories. This makes it a light yet filling meal option. Protein and nutrient breakdown This dish provides around 25 grams of protein per serving. It also has healthy fats from olive oil and butter. The zucchini adds fiber and vitamins, making it nutritious. What is the best way to avoid overcooking shrimp? Cook shrimp for only 2-3 minutes per side. They should turn pink and opaque. Remove them from heat as soon as they change color. This keeps them tender and juicy. How can I make this dish more flavorful? Add more garlic or lemon zest for extra taste. Fresh herbs like basil or thyme also enhance flavor. You can adjust red pepper flakes for spice. These tips help create a rich, delicious meal. This blog post detailed how to make a healthy shrimp and zucchini noodle dish. We covered ingredients, cooking steps, and storage tips. Remember, using fresh flavors like garlic and lemon makes a difference. Avoid overcooking shrimp for the best taste. You can also adjust the recipe to fit different diets. I hope these ideas inspire you to enjoy a tasty, healthy meal with ease. Try experimenting and have fun with your cooking!](https://mysavedrecipe.com/wp-content/uploads/2025/05/7b4b3630-b8d0-4f6c-ab6e-4fd87f177afa-300x300.webp)
![- 1 pound beef sirloin, thinly sliced - 2 tablespoons fish sauce - 1 tablespoon lime juice - 1 tablespoon palm sugar (or brown sugar) - 1 clove garlic, minced - 1 teaspoon chili flakes (adjust to taste) - 2 cups mixed salad greens (arugula, spinach, and lettuce) - 1 cucumber, thinly sliced - 1 red bell pepper, thinly sliced - 1 carrot, julienned - 1/4 cup fresh cilantro, chopped - 1/4 cup fresh mint leaves, chopped - 1 tablespoon roasted peanuts, crushed (for garnish) To make the Thai Beef Salad, gather these fresh ingredients. Each one plays a key role in the dish's vibrant flavor. The beef sirloin gives the salad a hearty base. Fish sauce adds depth, while lime juice brightens every bite. Palm sugar balances the salty and sour notes. Garlic and chili flakes bring warmth and aroma. The mixed greens create a crunchy backdrop. The cucumber and bell pepper add refreshing crispness. Carrots provide a sweet crunch. Fresh herbs like cilantro and mint elevate the dish with their unique tastes. Finally, crushed peanuts give a satisfying crunch. This mix of ingredients results in a colorful and tasty meal. You can find the full recipe to create this delightful dish. Enjoy the bold flavors and fresh ingredients in your Thai Beef Salad! Start by whisking together these ingredients in a bowl: - 2 tablespoons fish sauce - 1 tablespoon lime juice - 1 tablespoon palm sugar (or brown sugar) - 1 clove garlic, minced - 1 teaspoon chili flakes (adjust to taste) This mixture is your marinade. It adds a lot of flavor to the beef. Next, place the thinly sliced beef in the bowl. Make sure each piece gets coated well. Let the beef sit in the marinade for at least 15 minutes. If you have time, one hour in the fridge gives better taste. While the beef marinates, get your salad ready. In a large bowl, combine these fresh ingredients: - 2 cups mixed salad greens (arugula, spinach, and lettuce) - 1 cucumber, thinly sliced - 1 red bell pepper, thinly sliced - 1 carrot, julienned Toss the greens and veggies gently. Set the bowl aside so the flavors can blend. Now, it's time to cook the beef. Heat a grill pan or skillet over medium-high heat. Take the marinated beef out and discard the leftover marinade. Grill or sauté the beef slices for about 2-3 minutes on each side. You want them cooked but still juicy. Once done, remove the beef from the heat. Let it rest for a minute. Then, slice the beef into thin strips. Add these strips to your salad bowl along with fresh cilantro and mint. Toss everything together gently. Serve immediately. If you want, top with crushed roasted peanuts for a nice crunch. For the full recipe, refer to the above instructions. Enjoy! To make your Thai Beef Salad shine, start with the marinade. Adjust the level of chili flakes for spice. If you love heat, add more flakes. For a milder taste, use less. Letting the beef marinate longer brings out great flavors. I recommend 15 minutes at room temperature or up to an hour in the fridge. This helps the beef soak up the flavors. When cooking the beef, use high heat. This gives it a nice sear and keeps it juicy. A cast iron skillet works well for even cooking. It holds heat well, so your beef cooks perfectly. Don’t overcrowd the pan; cook the beef in batches if needed. This step is key to achieving that perfect texture. Serve your Thai Beef Salad with jasmine rice or rice noodles for a satisfying meal. These sides complement the fresh flavors of the salad. For added taste, offer toppings like sliced avocado. It adds creaminess to the crunchy salad. You can also sprinkle crushed peanuts on top for extra crunch. Enjoy the burst of flavors in every bite! For the full recipe, check the main section. {{image_2}} You can easily change the main protein in this dish. Swap beef for grilled chicken or tofu for a tasty vegetarian option. This keeps the dish light and fresh. If you want a zesty boost, add lime zest to your marinade. This small change can brighten the whole dish. For a different twist, consider adding sesame oil or soy sauce to the dressing. Both options bring a nutty flavor that pairs well with the other ingredients. You can also try using fresh herbs like basil instead of cilantro or mint. This adds a unique touch that makes the salad your own. Using seasonal vegetables can make your salad even fresher. Think about adding crisp radishes or colorful cherry tomatoes. They not only taste great but also add visual appeal. For a sweet note, toss in seasonal fruits like mango. The sweetness from the fruit balances the lime and fish sauce perfectly. For the complete recipe, check out the [Full Recipe]. Store any leftovers in an airtight container. This keeps them fresh and tasty. For the best taste, eat them within 2 days. This way, you enjoy the full flavor of your Thai Beef Salad. If you want to save some for later, freeze the beef separately from the salad. This helps keep the salad fresh. When you're ready to eat, thaw the beef in the refrigerator. This slow method keeps the taste and texture just right. To reheat the beef, use a skillet or microwave. This warms it up nicely without drying it out. Do not reheat the salad greens. They lose their crunch and freshness if heated. Enjoy your meal at its best! For the complete recipe, check out [Full Recipe]. Thai Beef Salad is a fresh, vibrant dish from Thailand. This dish features tender beef, crisp veggies, and a zesty dressing. The flavors blend sweet, sour, salty, and spicy notes. Traditionally, it's enjoyed as a light meal or appetizer. Its origins stem from Thai street food, where balance in flavors is key. To add heat, you can increase the chili flakes in the marinade. Start with a teaspoon and add more if you like. Fresh Thai bird's eye chilies can also spice things up. Slice them thinly and mix them into the salad. Yes, you can prep elements in advance. Marinate the beef a few hours before cooking for better flavor. Chop the veggies and store them in the fridge to keep them fresh. Mix everything together just before serving for the best taste. This salad pairs well with jasmine rice or rice noodles. You can also serve it alongside spring rolls or satay skewers. These options complement the salad's flavors and make a complete meal. You can swap the beef for grilled chicken or tofu for a vegetarian dish. Add fruits like mango for sweetness or use lime zest for extra flavor. Play with herbs too; basil or cilantro can give it a unique twist. This salad is packed with nutrients. Beef adds protein and iron, while veggies provide vitamins and fiber. The dressing offers healthy fats from fish sauce and fresh herbs. Overall, it's a balanced dish that is both tasty and good for you. Enjoy this dish with the full recipe for a delightful experience! In this post, we covered how to make Thai Beef Salad. You learned about the key ingredients, marinating tips, and cooking steps. Remember, feel free to adjust spice levels and swap ingredients to suit your taste. Keep your leftovers fresh by storing them properly. Whether you're serving it with rice or adding seasonal fruits, this salad is versatile. Enjoy making it your own and impressing friends and family with bold flavors.](https://mysavedrecipe.com/wp-content/uploads/2025/07/266fddc1-3219-4022-a216-29ecf0d7f6cd-300x300.webp)
