Latest & Greatest
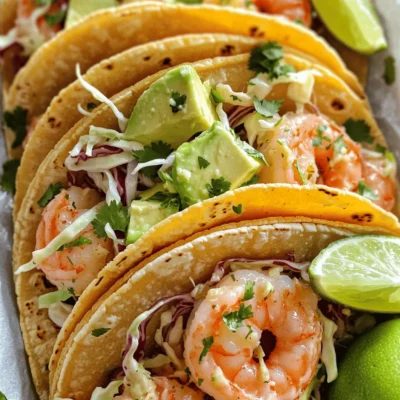
Garlic Butter Shrimp Tacos Flavorful and Easy Meal
Looking for a tasty dish that’s quick and easy? Garlic Butter Shrimp Tacos might just be your new favorite meal!
Read more…
Caprese Stuffed Avocados Fresh and Flavorful Meal
Get ready to elevate your meals with my Caprese Stuffed Avocados! This fresh and flavorful dish combines creamy avocados, mozzarella,
Read more…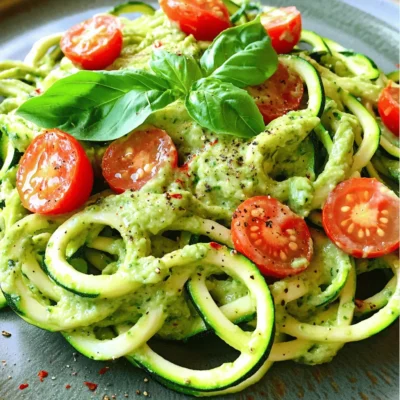
Zucchini Noodles with Pesto Flavorful and Healthy Dish
Looking for a fresh, vibrant dish that’s both healthy and easy to make? Zucchini noodles with pesto are your answer!
Read more…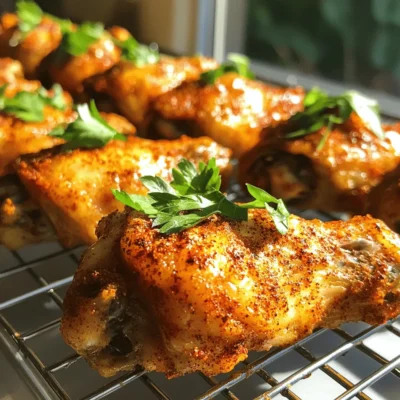
Crispy Baked Chicken Wings Simple and Flavorful Recipe
Looking for the perfect wings that are crispy and packed with flavor? You’ve found the right recipe! With simple ingredients
Read more…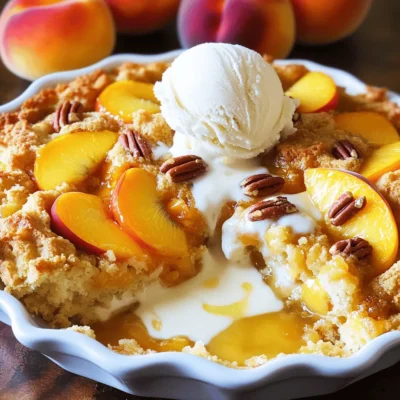
Peach Cobbler Dump Cake Delicious and Easy Dessert
Are you ready to indulge in a warm, fruity treat that’s super easy to make? My Peach Cobbler Dump Cake
Read more…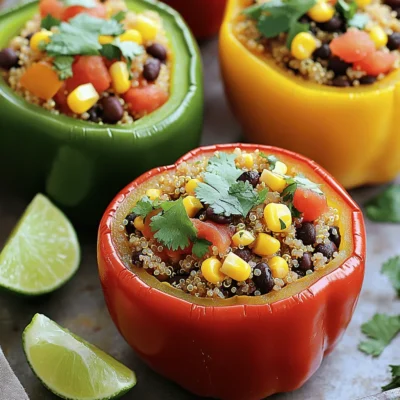
Vegan Quinoa Stuffed Peppers Flavorful and Nutritious
Are you ready to dive into a deliciously healthy dish? Vegan Quinoa Stuffed Peppers are not just flavorful; they’re packed
Read more…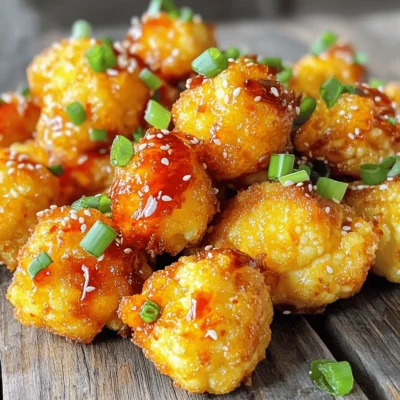
Sriracha Honey Cauliflower Bites Crispy and Flavorful
Looking for a tasty snack that’s both crispy and flavorful? You’ll love these Sriracha Honey Cauliflower Bites! This recipe combines
Read more…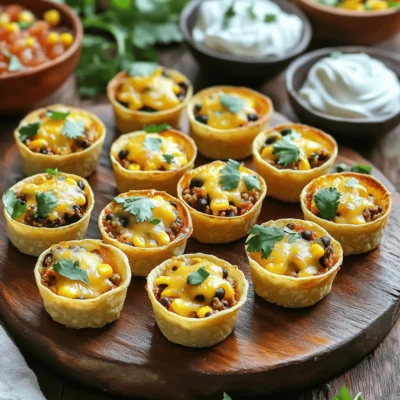
Oven-Baked Taco Bites Delicious and Easy Snack Recipe
Looking for a fun and tasty snack? You’ll love these Oven-Baked Taco Bites! They’re quick to make and packed with
Read more…browse recipes

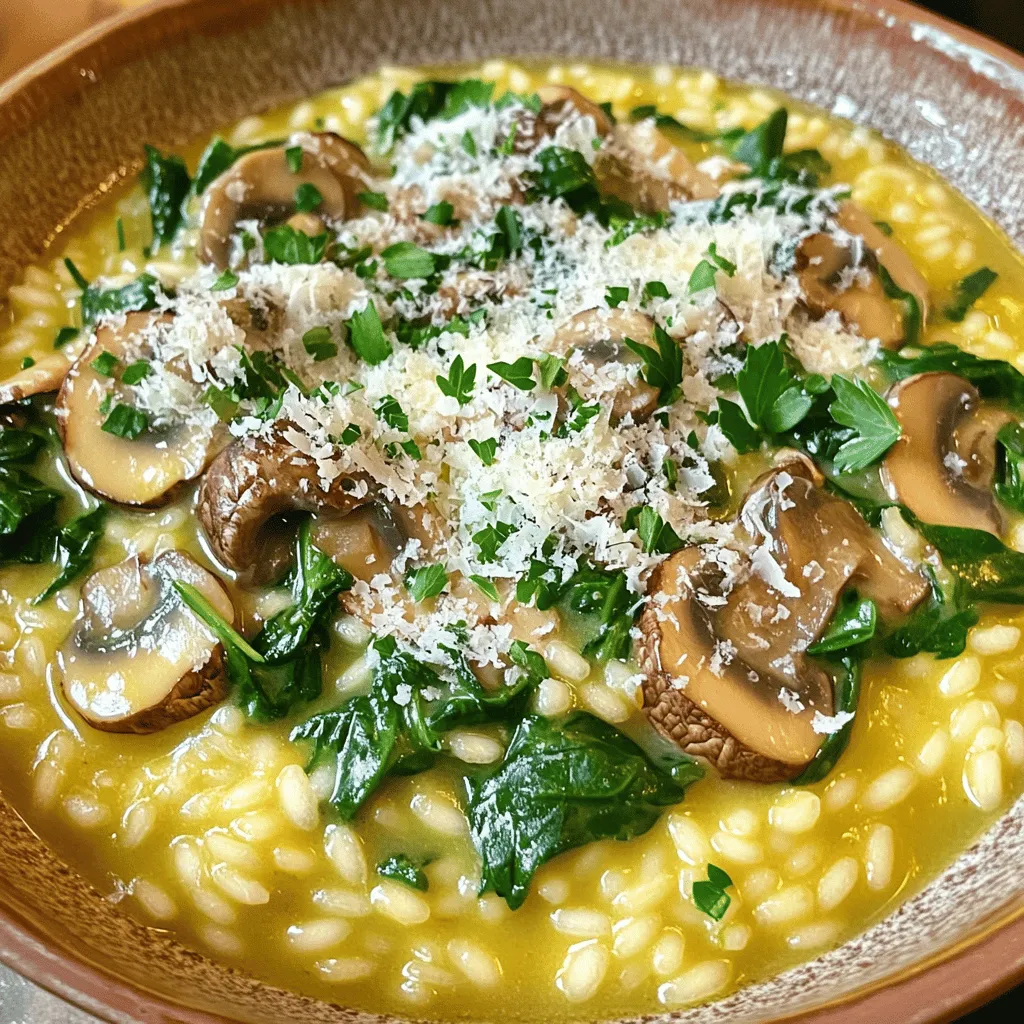
Creamy Mushroom Risotto Savory and Satisfying Dish
Are you ready to dive into a bowl of pure comfort? Creamy mushroom risotto is a dish that warms the heart and pleases the…
My Latest Desserts

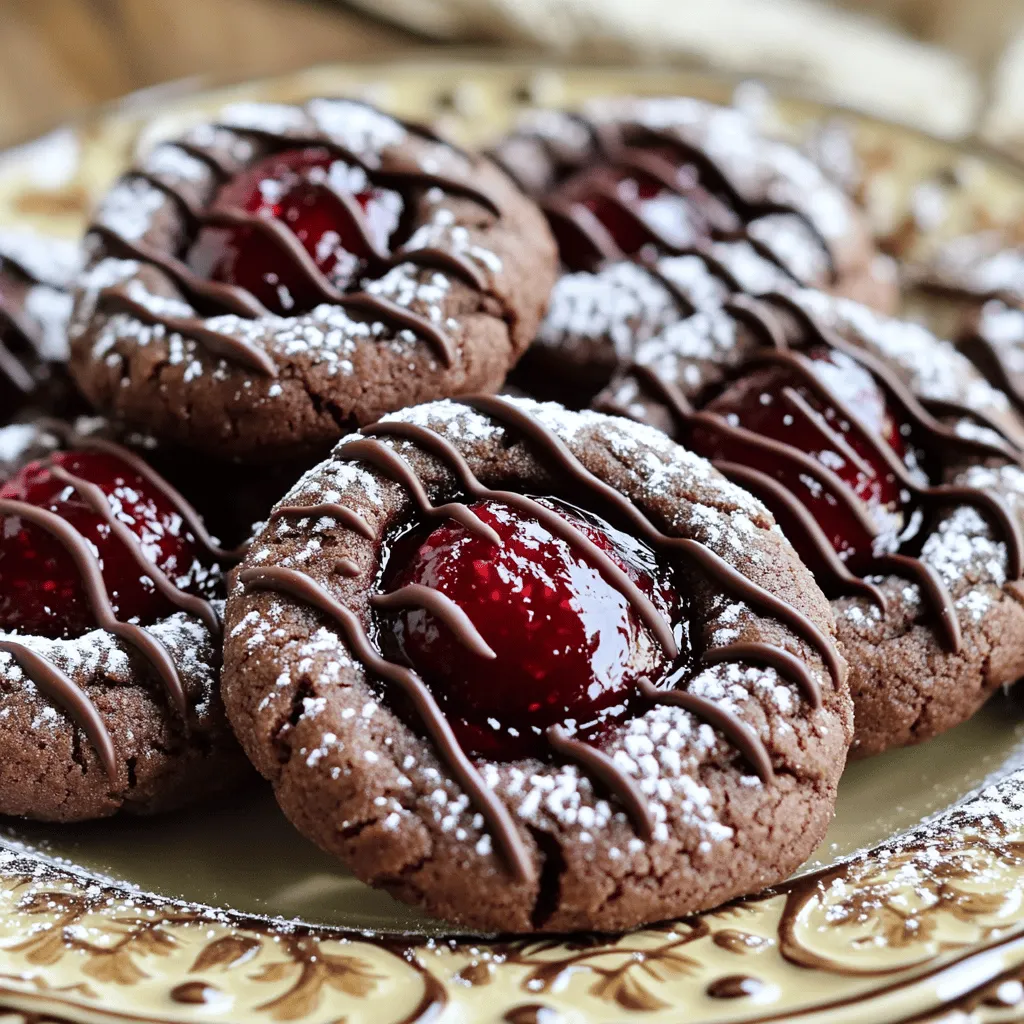
Chocolate Thumbprint Cookies Irresistible Treat Recipe
If you’re craving a sweet treat, you’ll love chocolate thumbprint cookies! These soft, chewy cookies are easy to make and Read Full Recipe-
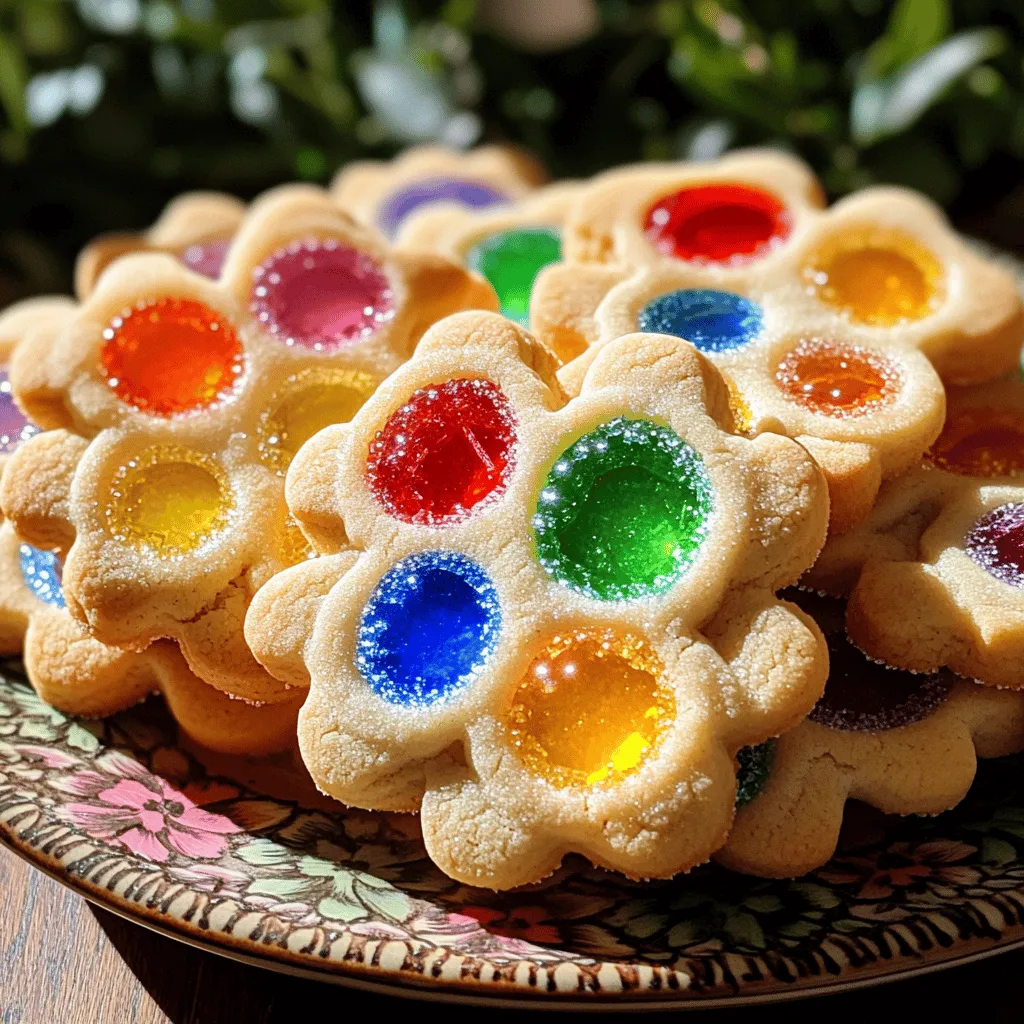
Easy Stained Glass Cookies Simple and Fun Recipe
Get ready to create some beautiful treats with my Easy Stained Glass Cookies! This simple recipe is perfect for kids Read Full Recipe -
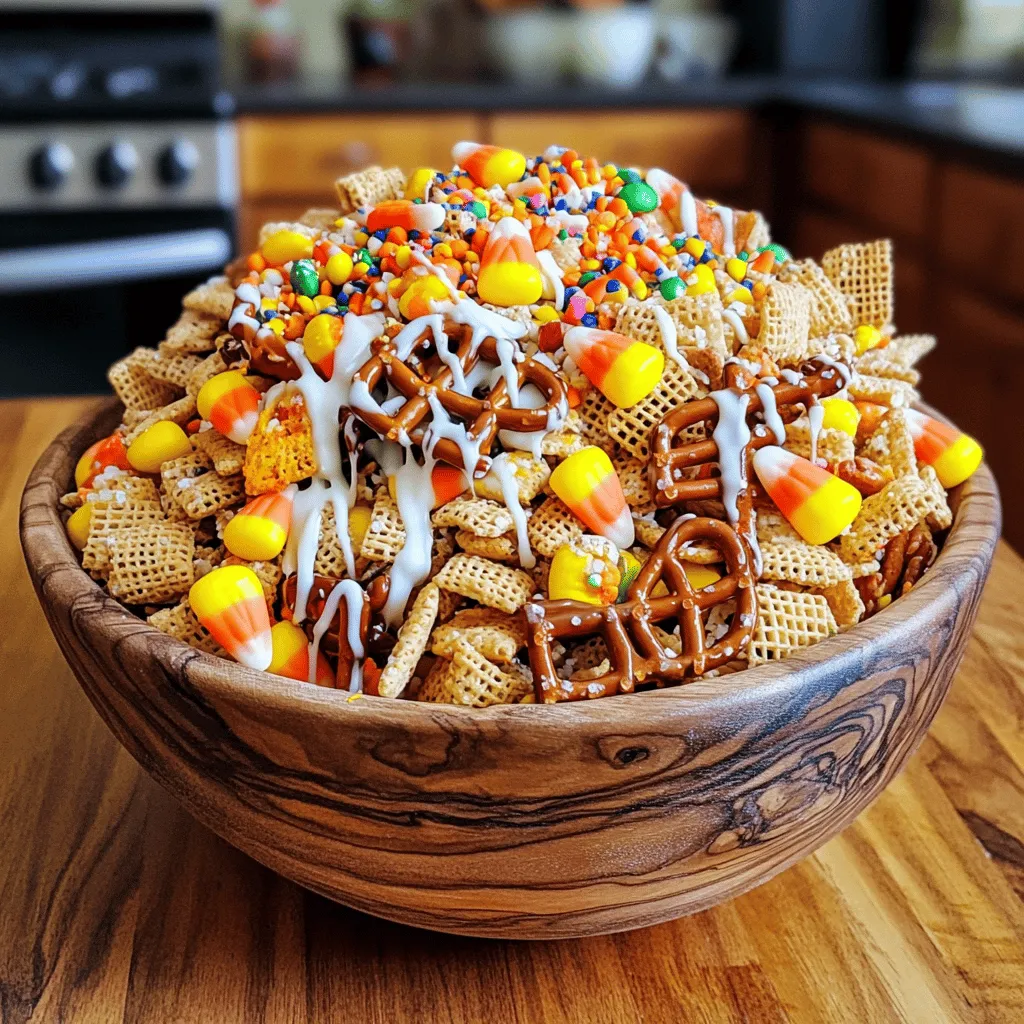
Halloween Chex Mix Fun and Festive Snack Idea
Get ready for a sweet and spooky delight with my Halloween Chex Mix! This fun snack combines crispy Chex cereal, Read Full Recipe -
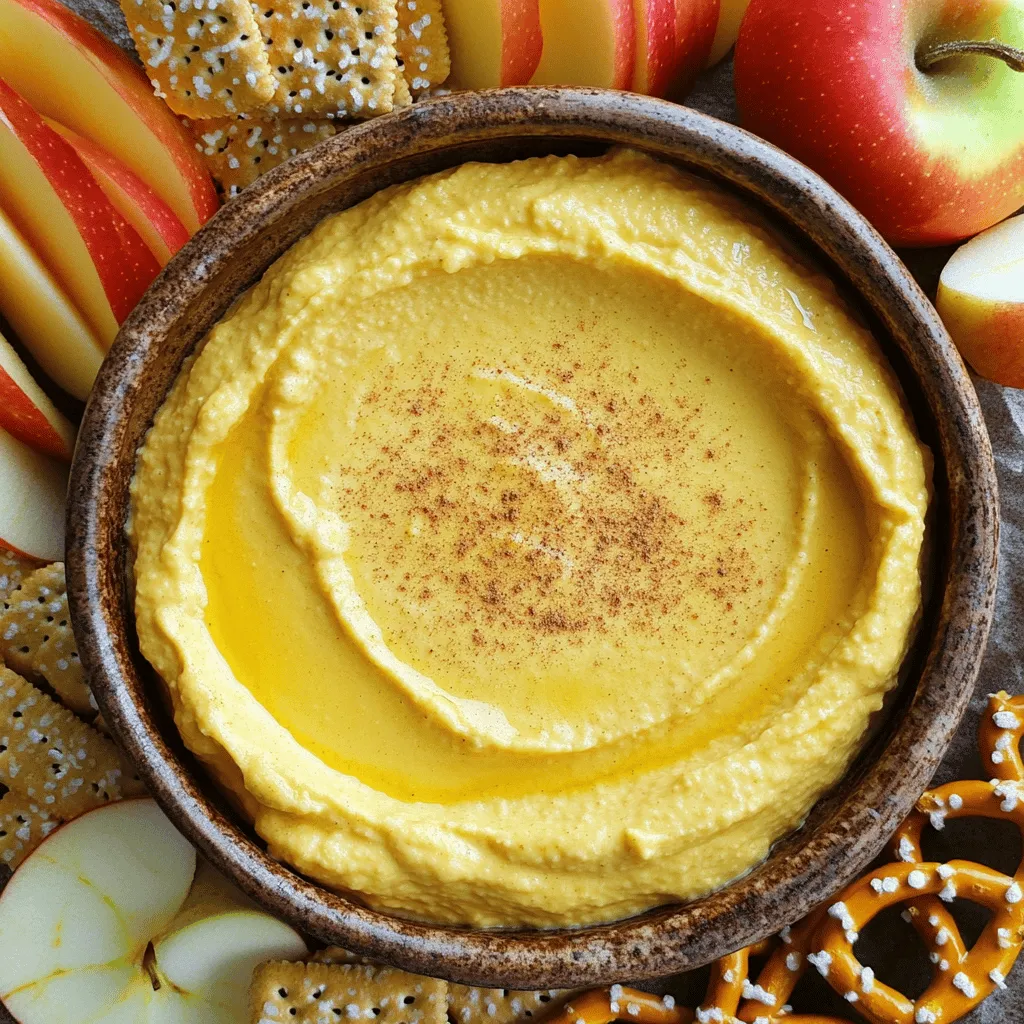
Pumpkin Cheesecake Dip Delightful and Easy Recipe
Fall is here, and nothing screams comfort like my Pumpkin Cheesecake Dip! This delightful treat is easy to make, packed Read Full Recipe -
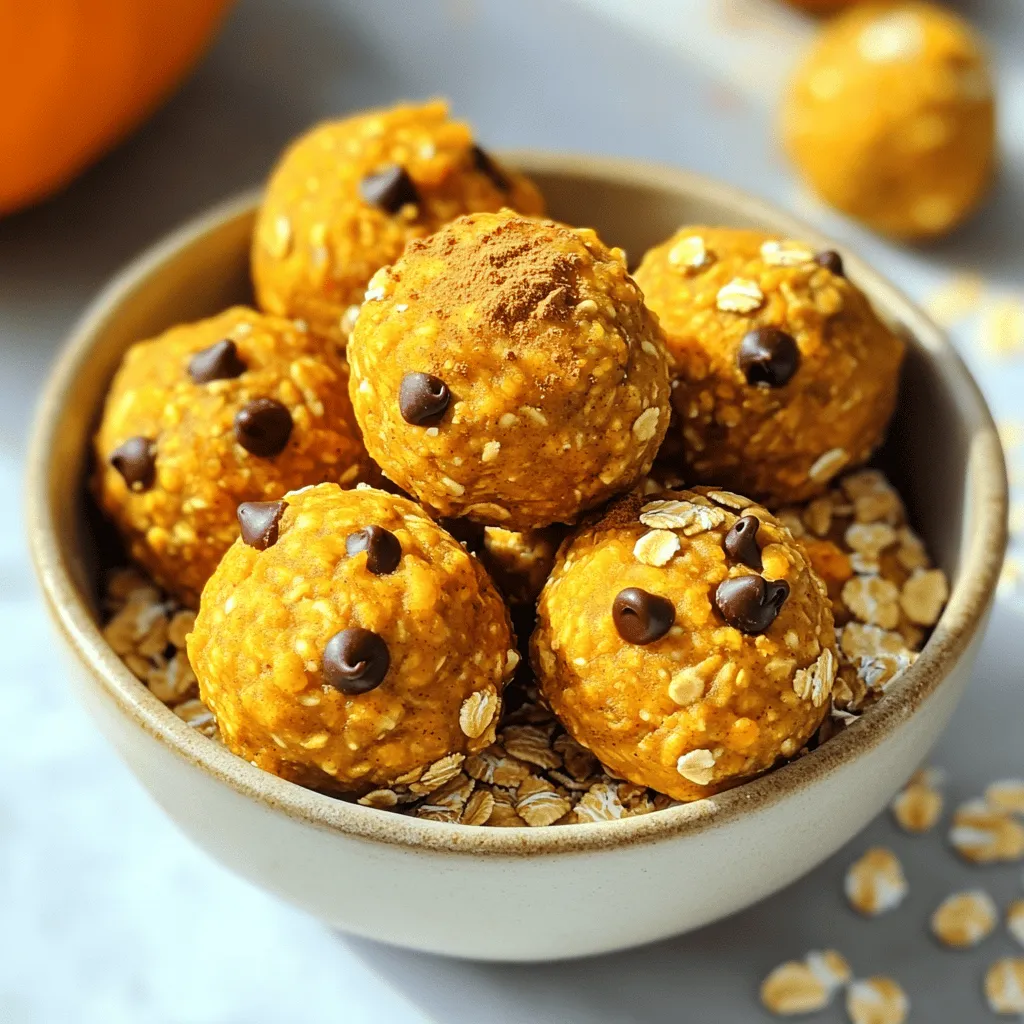
Pumpkin Spice Energy Bites Healthy Power Snack
Looking for a delicious and healthy snack? Pumpkin Spice Energy Bites are the answer! These tasty treats blend fiber-rich oats, Read Full Recipe -
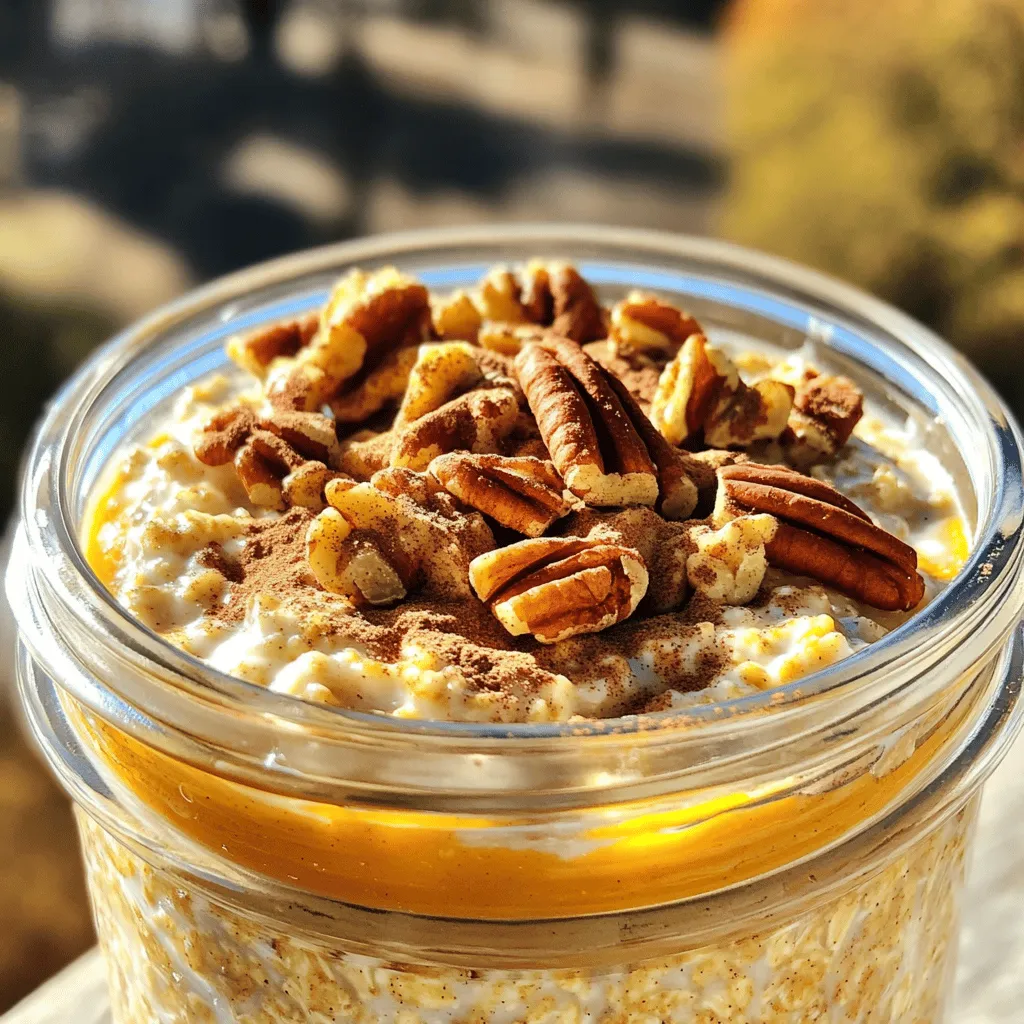
Pumpkin Pie Overnight Oats Flavorful and Nutritious Meal
Looking for a healthy yet tasty breakfast? Pumpkin Pie Overnight Oats combine rich pumpkin flavor with creamy oats. Packed with Read Full Recipe -
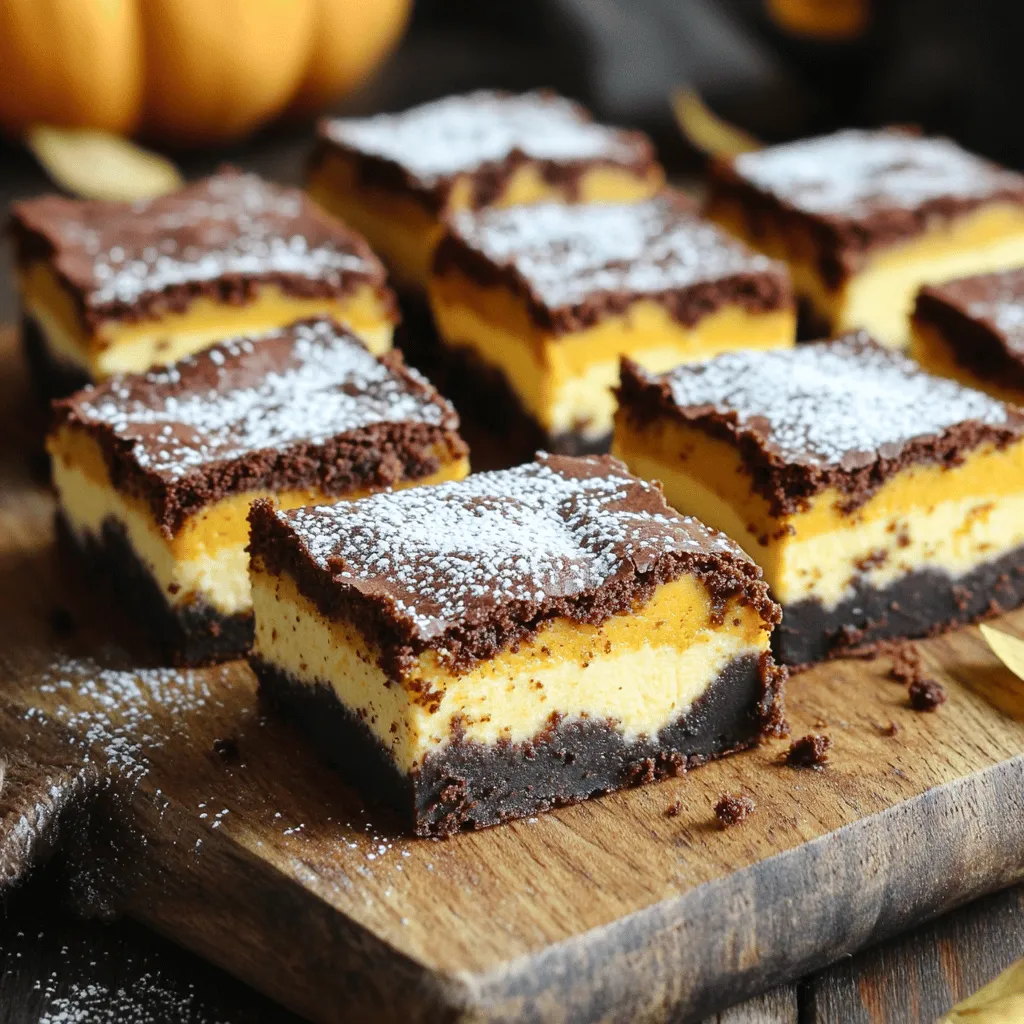
Pumpkin Cheesecake Brownies Delightful Dessert Recipe
Ready to treat yourself? Let’s dive into these Pumpkin Cheesecake Brownies. This recipe blends rich brownies with creamy pumpkin cheesecake, Read Full Recipe -
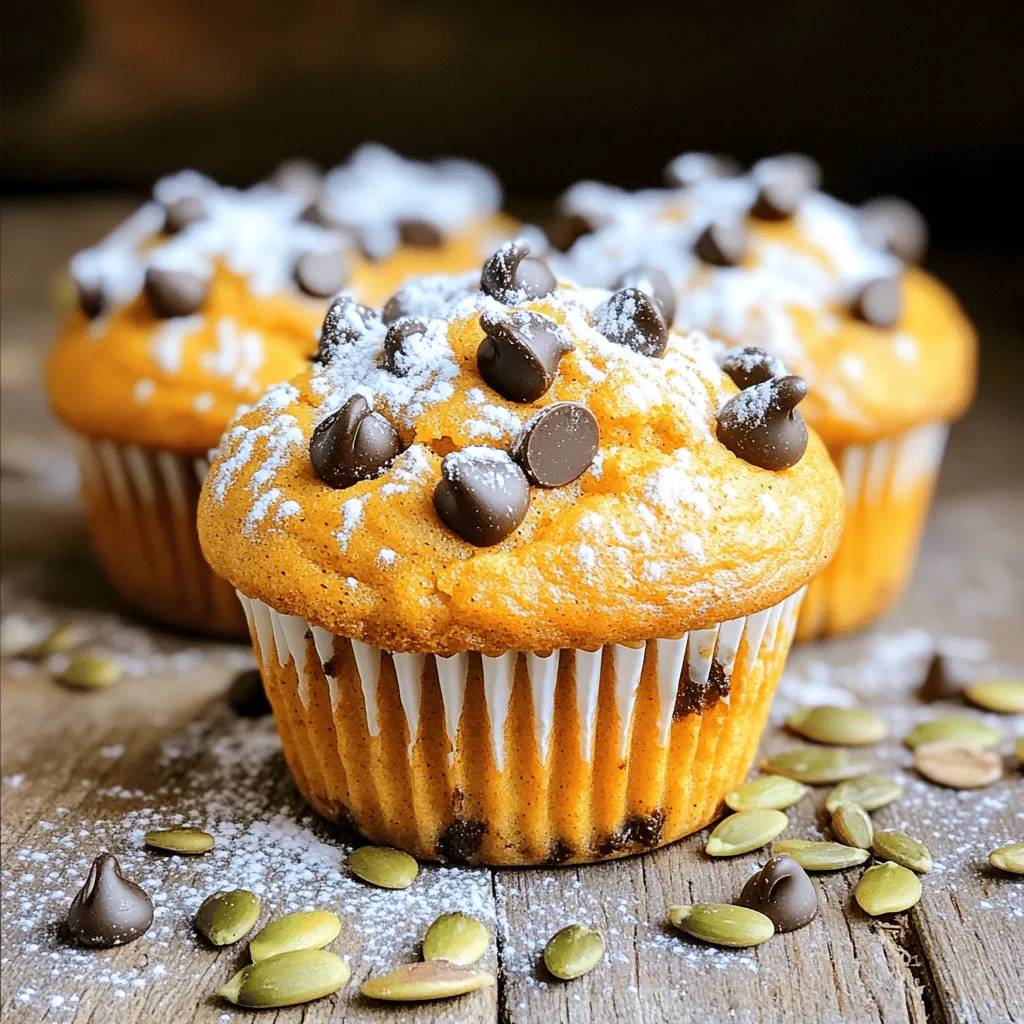
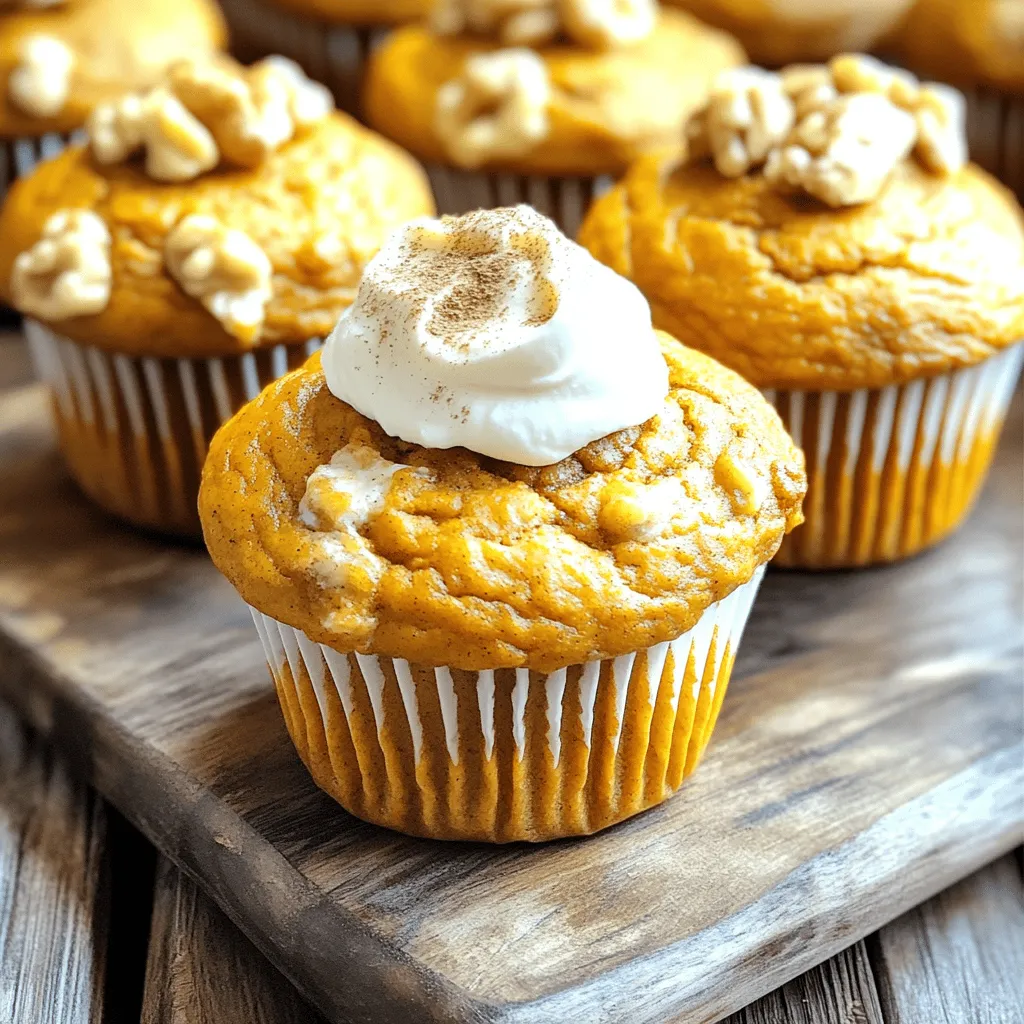
Chocolate Chip Pumpkin Cream Cheese Muffins Delight
If you love the cozy flavors of fall, you’re in for a real treat! Chocolate Chip Pumpkin Cream Cheese Muffins Read Full Recipe -
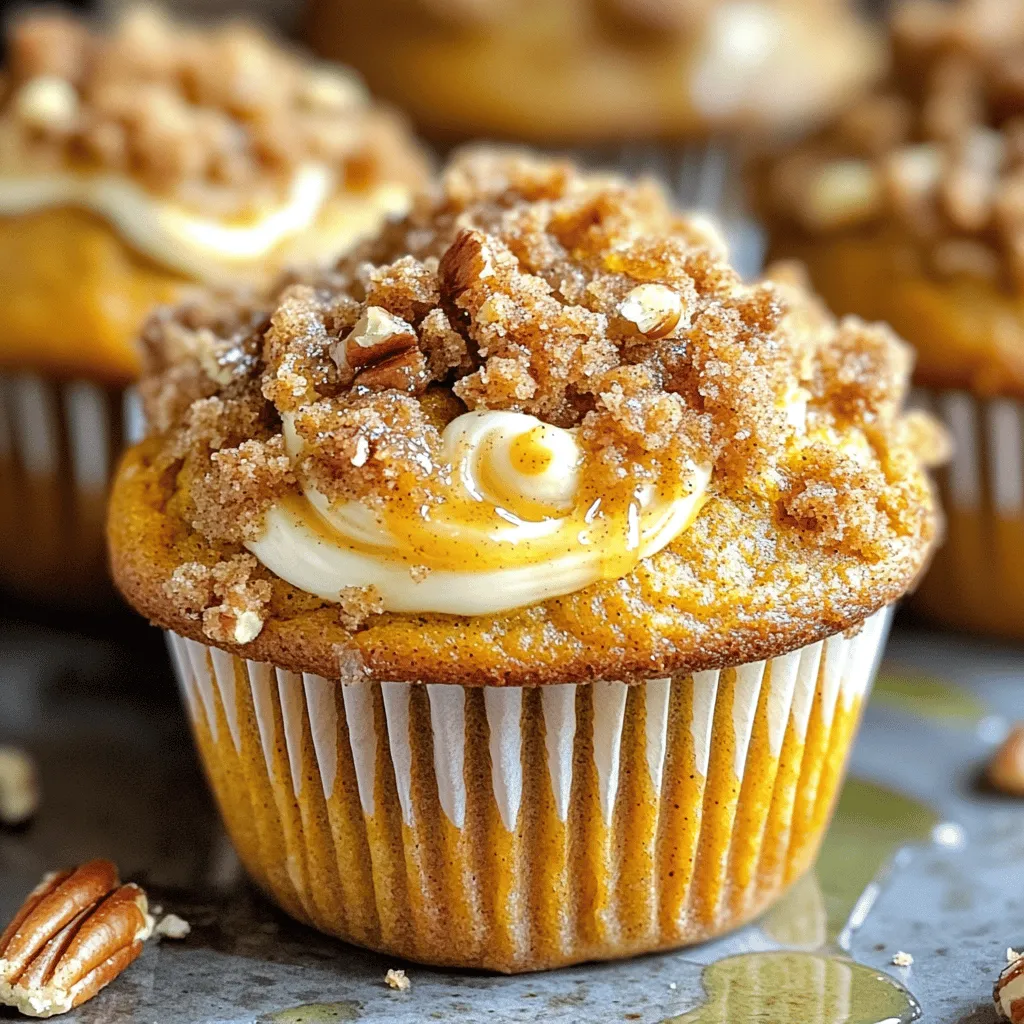
Streusel Pumpkin Cream Cheese Muffins Delightful Treat
If you love pumpkin flavors, you will adore these Streusel Pumpkin Cream Cheese Muffins. They mix rich pumpkin with creamy Read Full Recipe -
Easy Pumpkin Cream Cheese Muffins Tasty Fall Treat
Fall is here, and that means it’s time for warm, cozy treats! You’ll love these Easy Pumpkin Cream Cheese Muffins. Read Full Recipe
My Latest Recipes

hey,
i’m !
I’m so happy you’re here!
Food is my passion, and perfecting each dish is my craft. I can’t wait for you to try them let’s dive into this delicious journey side by side.
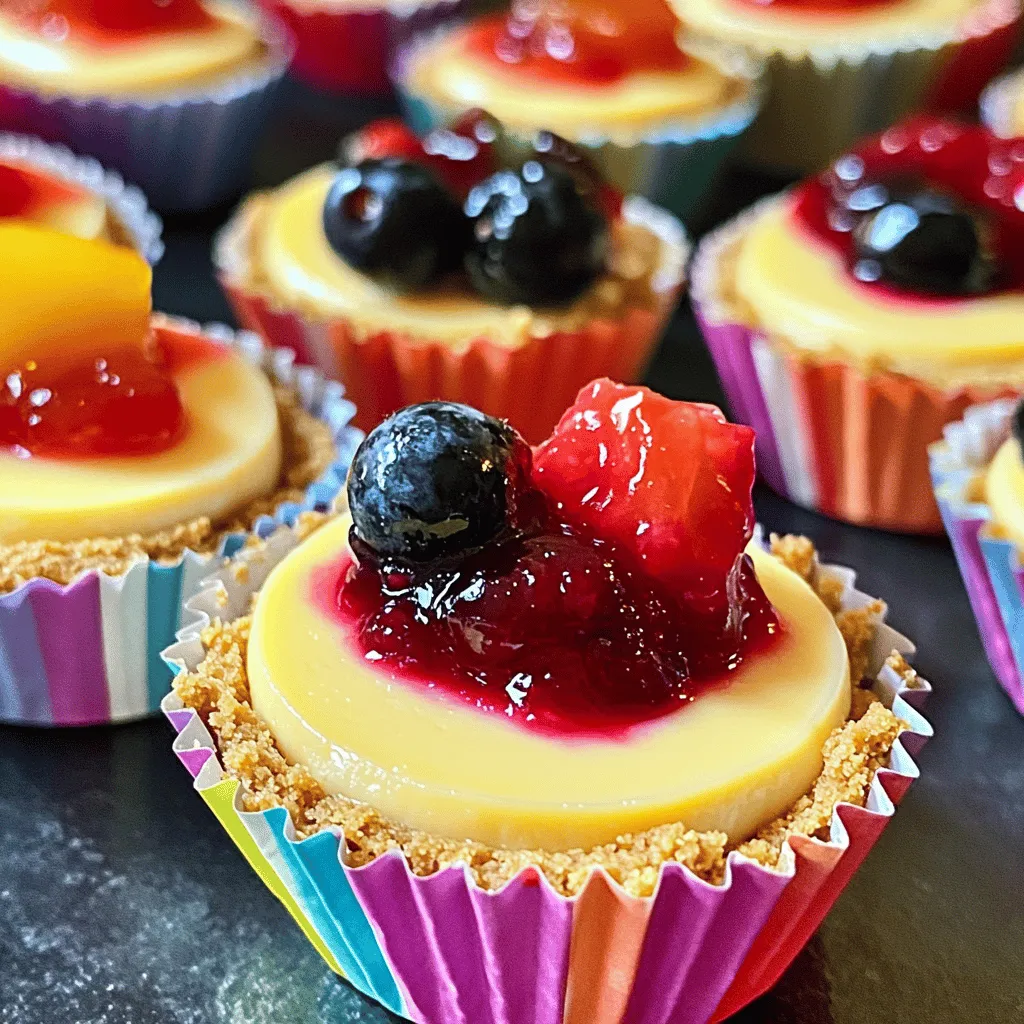
Mini Cheesecake Desserts Delightful and Easy Recipe
If you love cheesecakes but want a bite-sized treat, you’re in the right place! I’ll show you how to make mini cheesecake desserts that…