


Latest & Greatest

Vegan Chocolate Avocado Mousse Creamy Delight
Are you ready to enjoy a rich and creamy dessert that’s also healthy? This Vegan Chocolate Avocado Mousse is the
Read more…
Cheesy Stuffed Bell Peppers Tasty and Satisfying Meal
Cheesy stuffed bell peppers are the perfect meal for anyone craving comfort and flavor. This dish combines colorful veggies, protein-packed
Read more…
Peanut Butter Chocolate Chip Cookies Rich and Delectable
Get ready to indulge in the rich and delightful world of Peanut Butter Chocolate Chip Cookies! In this article, I’ll
Read more…
Creamy Mushroom Risotto Savory and Satisfying Dish
If you crave comfort food that warms both body and soul, look no further! My Creamy Mushroom Risotto is a
Read more…
Spicy Garlic Shrimp Tacos Flavorful and Easy Recipe
Are you ready to spice up your taco night? My Spicy Garlic Shrimp Tacos are both quick and bursting with
Read more…
No-Bake Strawberry Shortcake Delightful and Easy Recipe
Craving a sweet treat that’s easy to whip up? You’re in the right place! This No-Bake Strawberry Shortcake recipe combines
Read more…
Jalapeño Popper Dip Flavorful and Easy to Make
Are you ready to spice up your next gathering? This Jalapeño Popper Dip is flavorful and super easy to make.
Read more…
Lentil Soup with Spinach Nutritious and Easy Recipe
Looking for a warm and nutritious meal? My Lentil Soup with Spinach is perfect for you! This easy recipe is
Read more…browse recipes


Oven Baked Crispy Garlic Shrimp Simple and Tasty Meal
Looking for a quick and tasty meal? Oven Baked Crispy Garlic Shrimp is your answer! This dish is simple to make and packed with…
My Latest Desserts

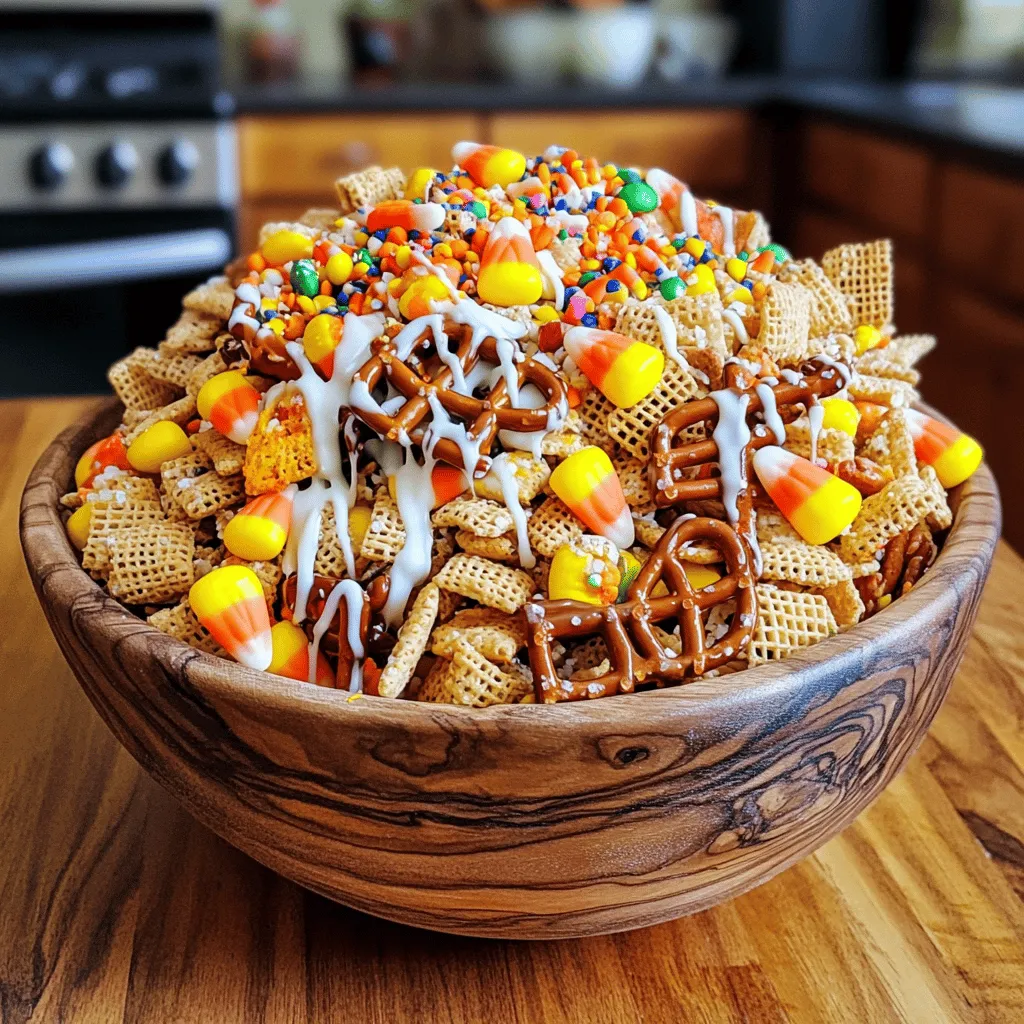
Halloween Chex Mix Fun and Festive Snack Idea
Get ready for a sweet and spooky delight with my Halloween Chex Mix! This fun snack combines crispy Chex cereal, Read Full Recipe-
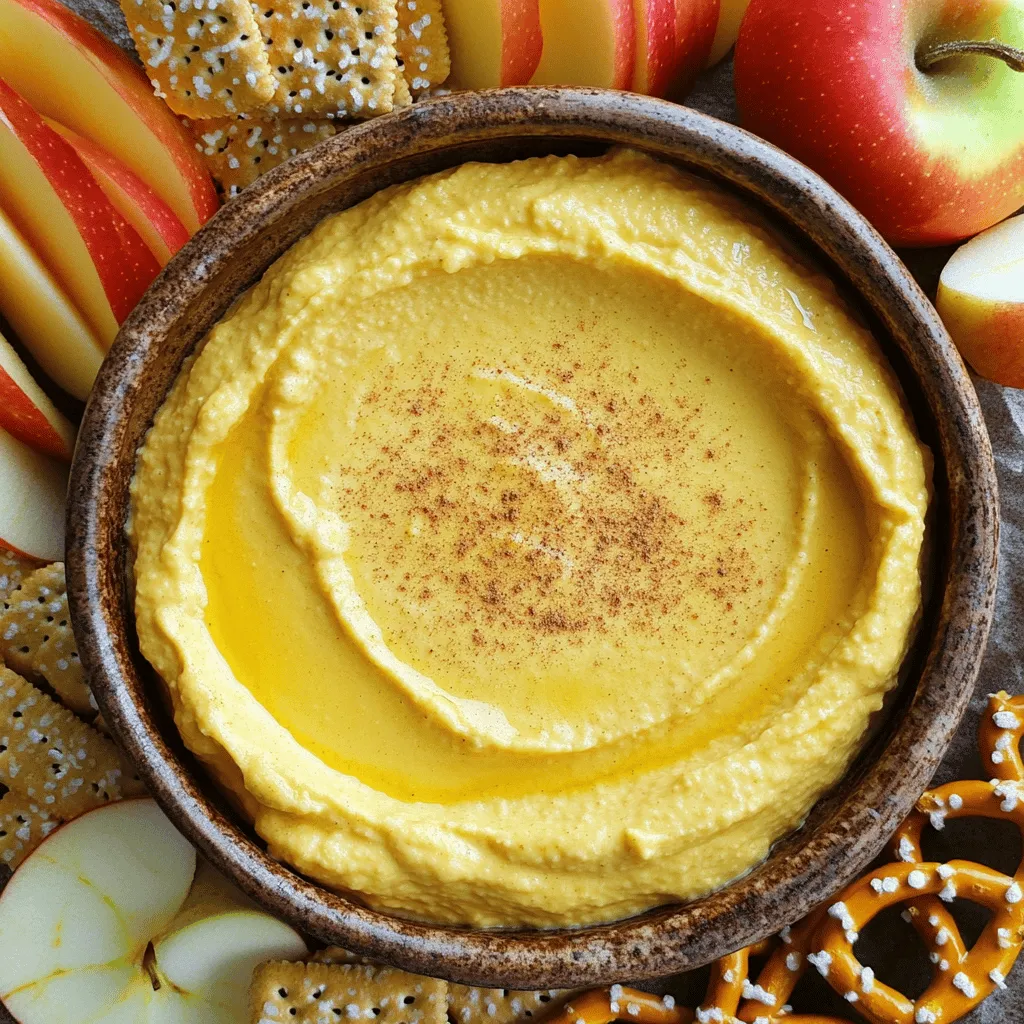
Pumpkin Cheesecake Dip Delightful and Easy Recipe
Fall is here, and nothing screams comfort like my Pumpkin Cheesecake Dip! This delightful treat is easy to make, packed Read Full Recipe -
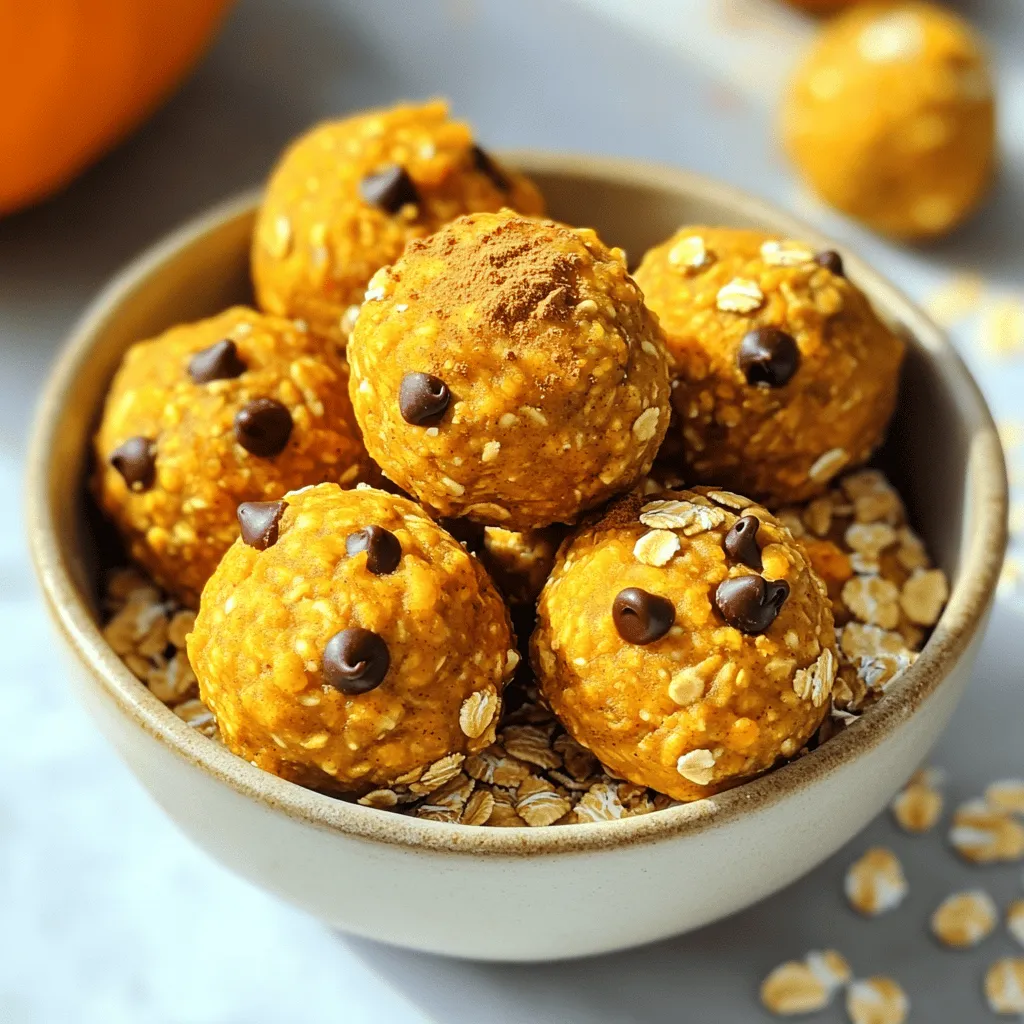
Pumpkin Spice Energy Bites Healthy Power Snack
Looking for a delicious and healthy snack? Pumpkin Spice Energy Bites are the answer! These tasty treats blend fiber-rich oats, Read Full Recipe -
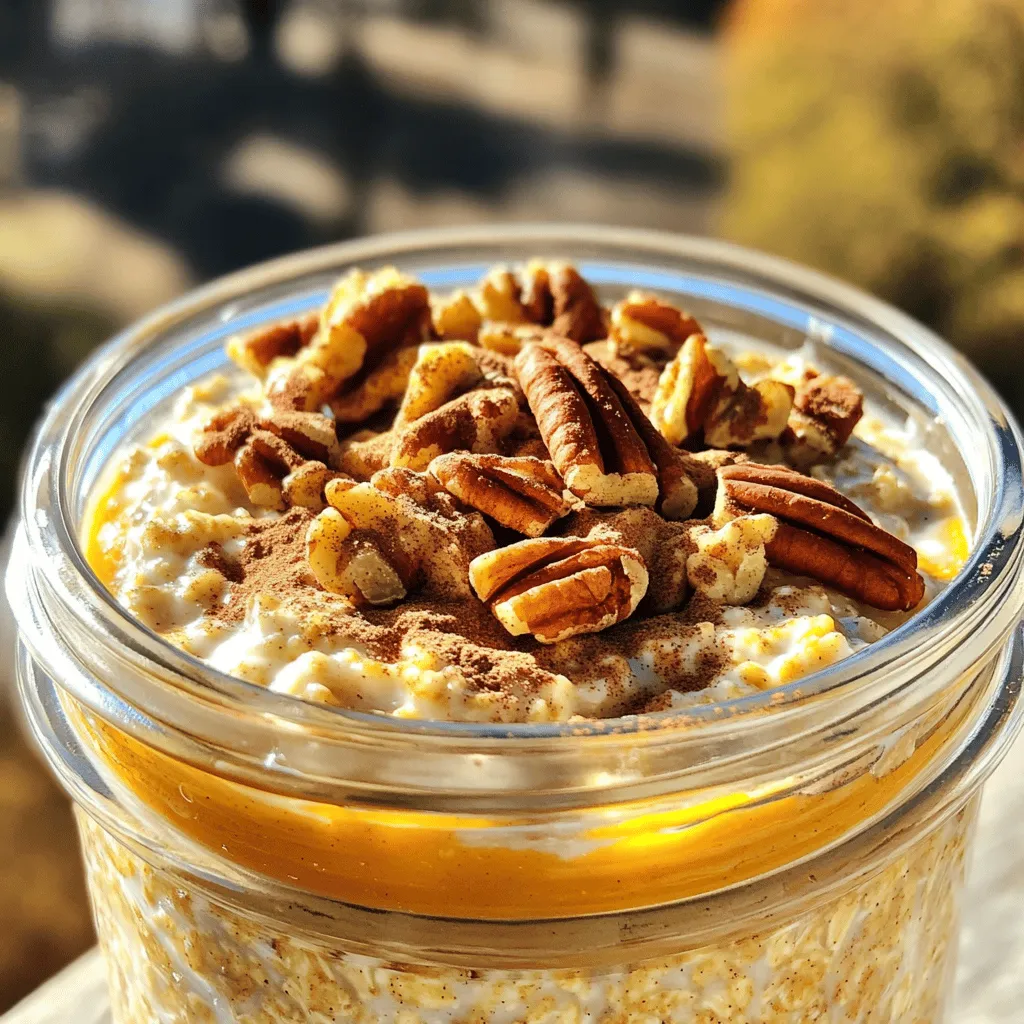
Pumpkin Pie Overnight Oats Flavorful and Nutritious Meal
Looking for a healthy yet tasty breakfast? Pumpkin Pie Overnight Oats combine rich pumpkin flavor with creamy oats. Packed with Read Full Recipe -
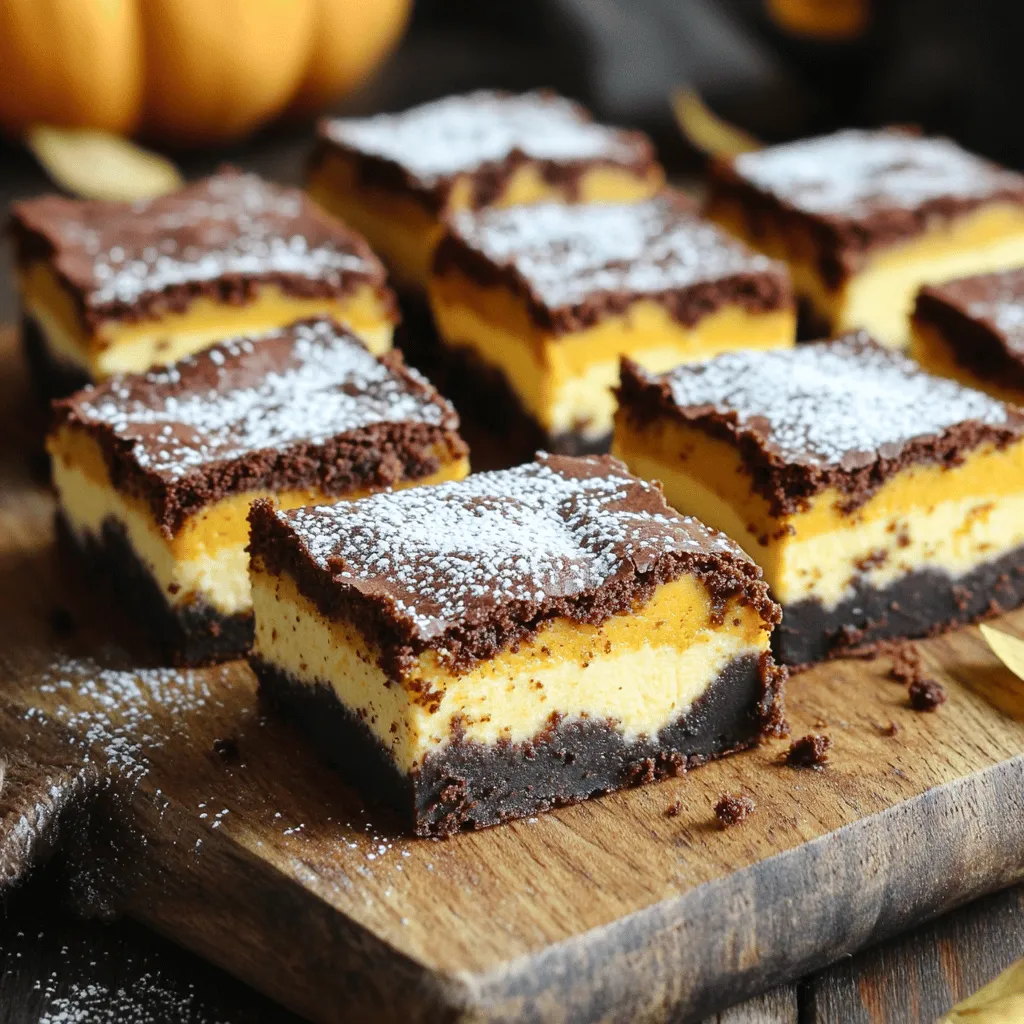
Pumpkin Cheesecake Brownies Delightful Dessert Recipe
Ready to treat yourself? Let’s dive into these Pumpkin Cheesecake Brownies. This recipe blends rich brownies with creamy pumpkin cheesecake, Read Full Recipe -
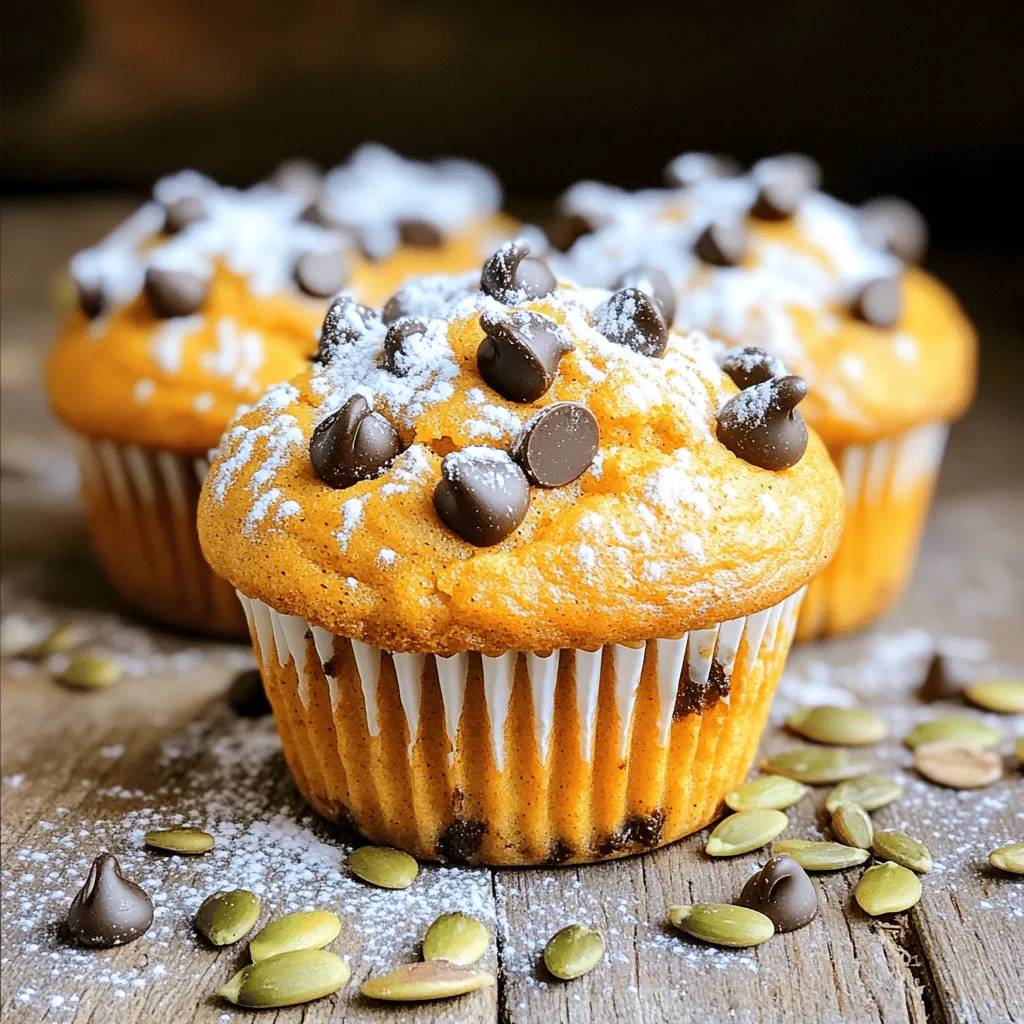
Chocolate Chip Pumpkin Cream Cheese Muffins Delight
If you love the cozy flavors of fall, you’re in for a real treat! Chocolate Chip Pumpkin Cream Cheese Muffins Read Full Recipe -
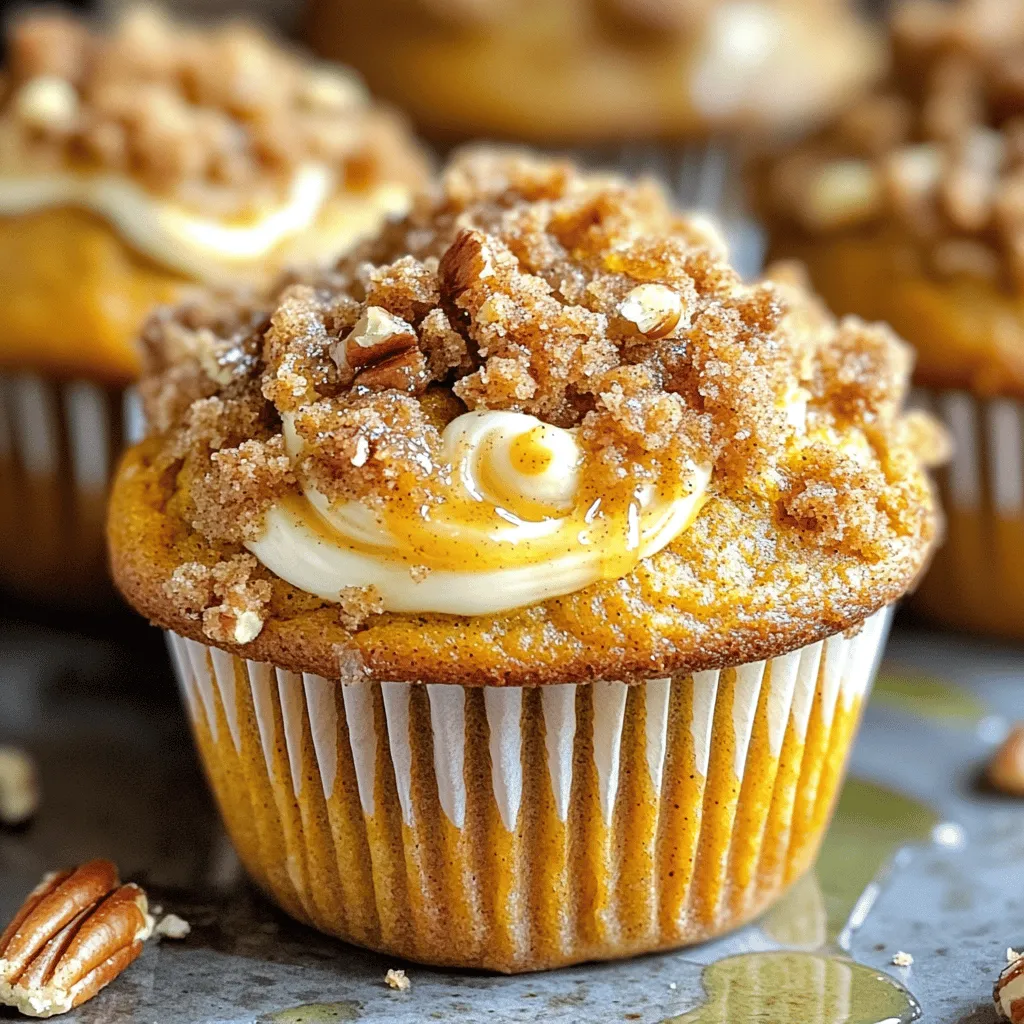
Streusel Pumpkin Cream Cheese Muffins Delightful Treat
If you love pumpkin flavors, you will adore these Streusel Pumpkin Cream Cheese Muffins. They mix rich pumpkin with creamy Read Full Recipe -
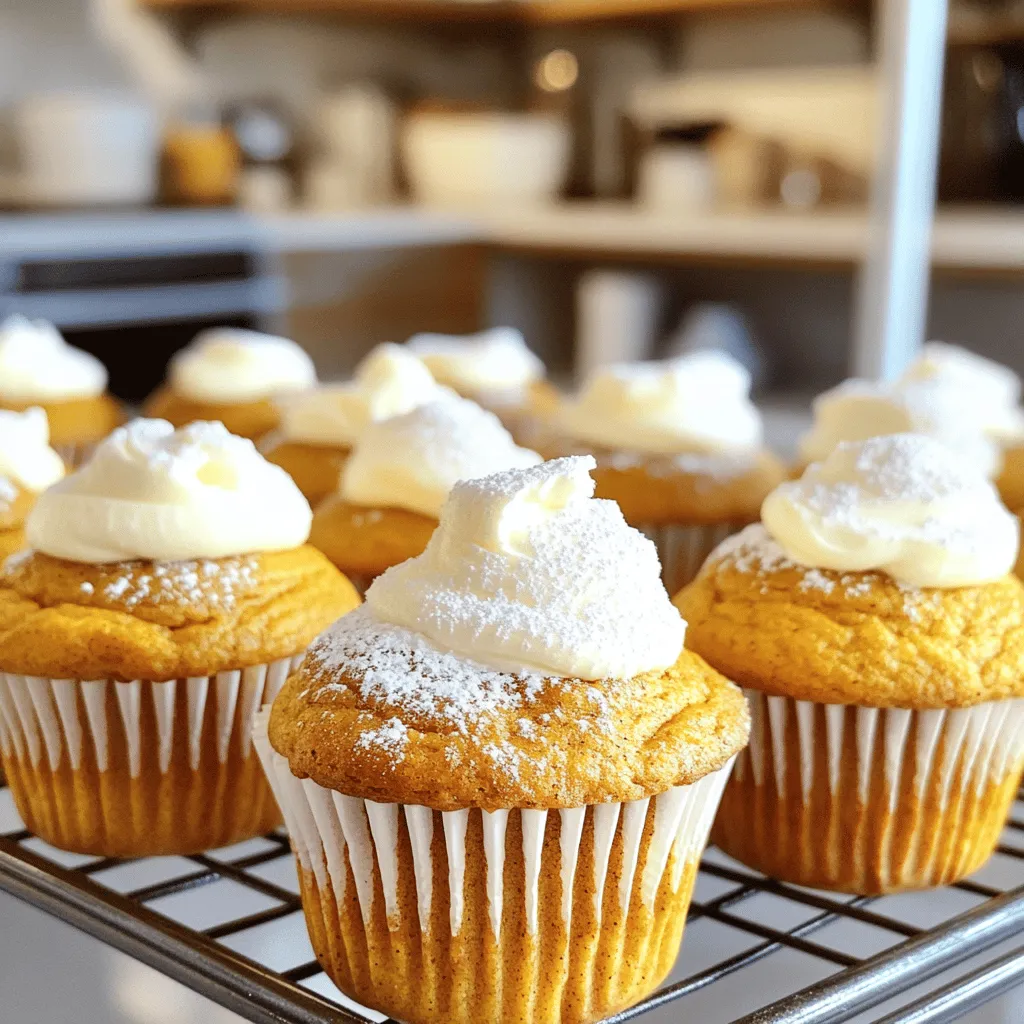
Easy Pumpkin Cream Cheese Muffins Tasty Fall Treat
Fall is here, and that means it’s time for warm, cozy treats! You’ll love these Easy Pumpkin Cream Cheese Muffins. Read Full Recipe -
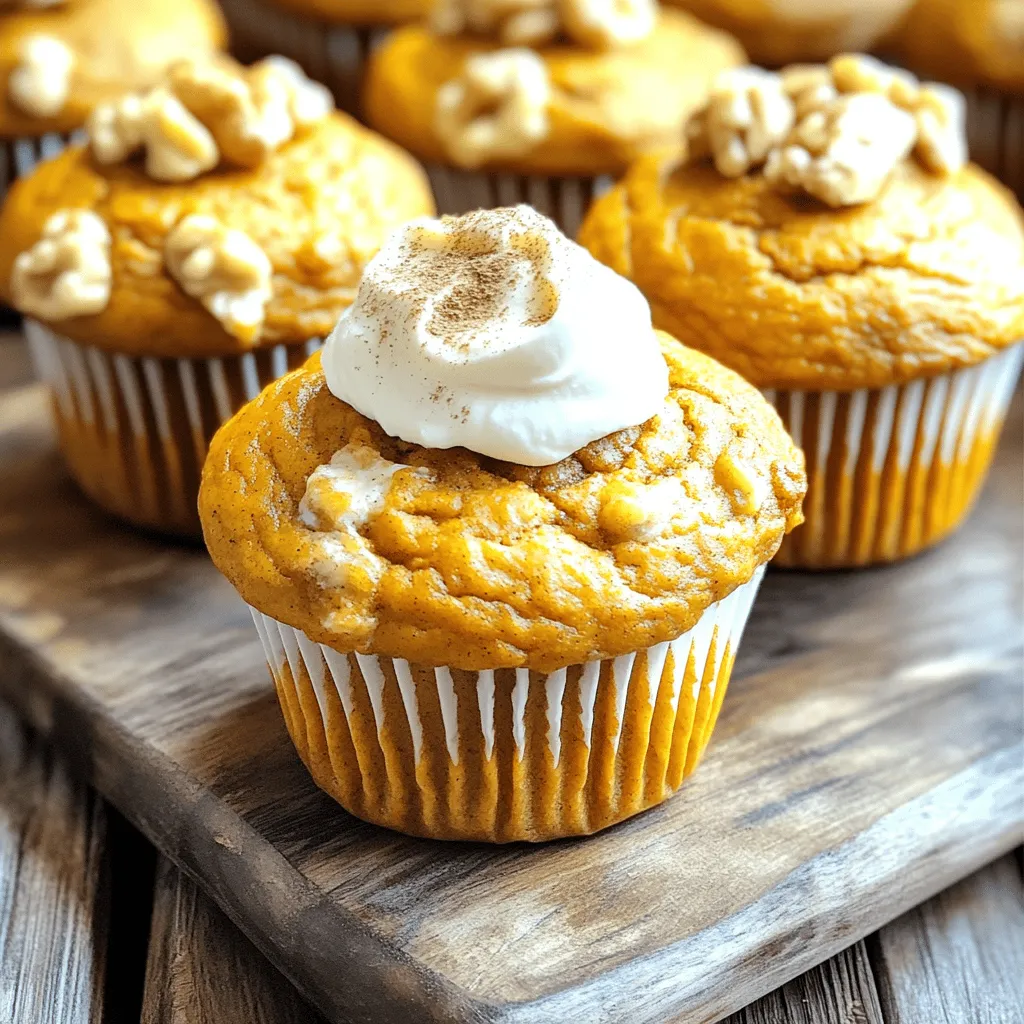
Pumpkin Cream Cheese Muffins Delightful and Simple Recipe
Get ready to enjoy a treat that combines the warmth of pumpkin with creamy cheese! This simple recipe for pumpkin Read Full Recipe -
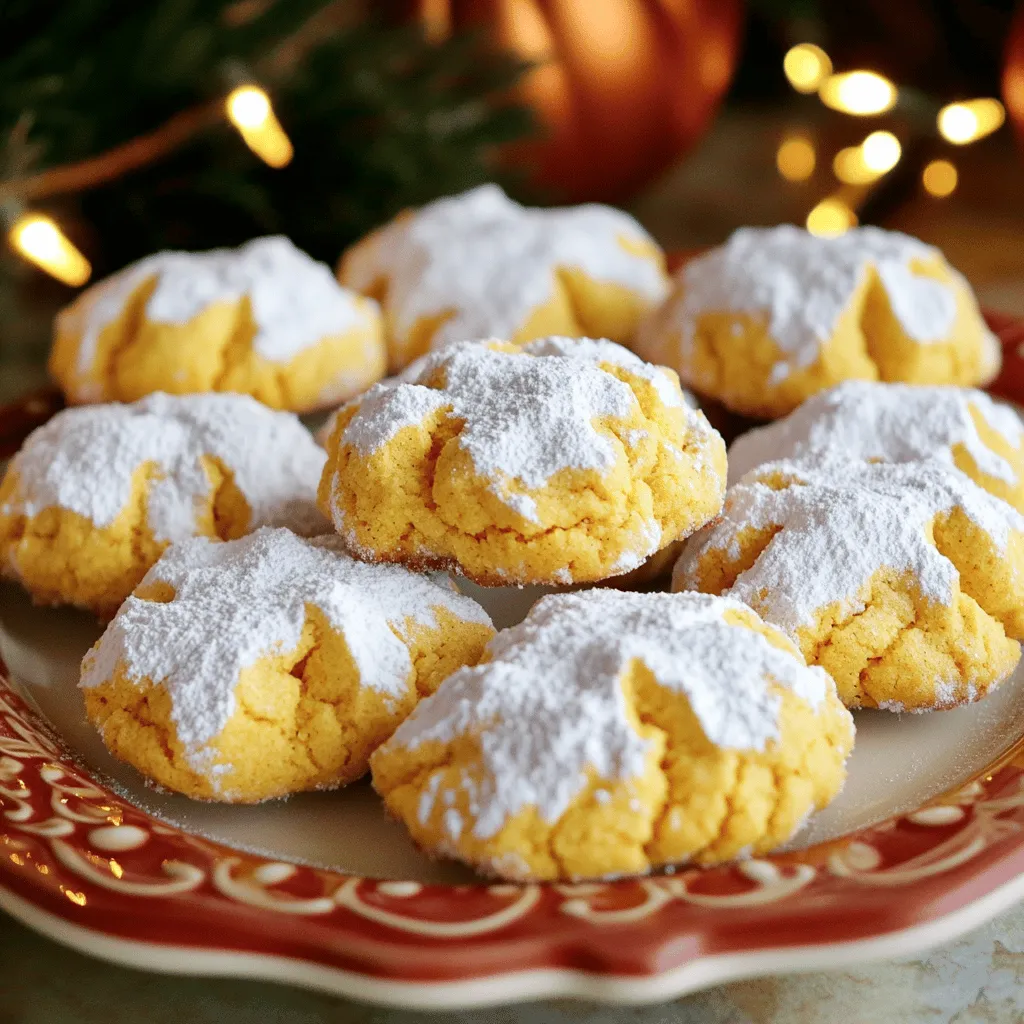
Pumpkin Pie Crinkle Cookies Charming Autumn Treat
Get ready to embrace autumn with a delightful twist on a classic favorite! Pumpkin Pie Crinkle Cookies combine the warm Read Full Recipe
My Latest Recipes

hey,
i’m !
I’m so happy you’re here!
Food is my passion, and perfecting each dish is my craft. I can’t wait for you to try them let’s dive into this delicious journey side by side.
Cinnamon Roll Pancakes Irresistible Morning Treat
Imagine waking up to the sweet, warm aroma of cinnamon rolls but in pancake form! Cinnamon Roll Pancakes are an easy way to enjoy…
![To make delicious cinnamon roll pancakes, you need some pantry staples. Here’s what you need: - 1 cup all-purpose flour - 2 tablespoons granulated sugar - 1 teaspoon baking powder - 1/2 teaspoon baking soda - 1/2 teaspoon salt - 1 cup buttermilk (or 1 cup milk + 1 tablespoon vinegar) - 1 large egg - 2 tablespoons unsalted butter, melted For the cinnamon filling, gather these optional ingredients: - 2 tablespoons ground cinnamon - 1/4 cup brown sugar To top your pancakes, use these recommended ingredients for icing: - 1/4 cup cream cheese, softened - 1/2 cup powdered sugar - 1 tablespoon milk (for icing) - 1 teaspoon vanilla extract These ingredients come together to create a warm, sweet, and creamy breakfast treat. You can find the full recipe above to guide you through the process of making these tasty pancakes. Enjoy! To start, we need to prep our dry ingredients. In a big bowl, mix together: - 1 cup all-purpose flour - 2 tablespoons granulated sugar - 1 teaspoon baking powder - 1/2 teaspoon baking soda - 1/2 teaspoon salt Whisk them until they blend well. This step is key for fluffy pancakes. Next, let's combine our wet ingredients. Grab another bowl and mix: - 1 cup buttermilk (or 1 cup milk + 1 tablespoon vinegar) - 1 large egg - 2 tablespoons unsalted butter, melted Stir these together until they're smooth. Pour the wet mix into the dry mix. Stir gently. Don’t overmix; a few lumps are okay. Now, we make the cinnamon-brown sugar mixture. In a small bowl, mix: - 2 tablespoons ground cinnamon - 1/4 cup brown sugar This mix will add a sweet swirl to your pancakes. For cooking, the right heat is crucial. Heat your non-stick skillet or griddle over medium heat. Lightly grease it with butter or oil to prevent sticking. Pour about 1/4 cup of batter onto the skillet. Before it sets, sprinkle a teaspoon of the cinnamon-brown sugar mix on top. This creates that delicious cinnamon roll swirl. When you see bubbles form on the surface, it’s time to flip the pancake. Cook for another 1-2 minutes until it's golden brown. This ensures even cooking on both sides. Repeat with the rest of the batter. Now, let’s make the icing to top off our pancakes. You’ll need: - 1/4 cup cream cheese, softened - 1/2 cup powdered sugar - 1 tablespoon milk - 1 teaspoon vanilla extract In a small bowl, mix these ingredients until smooth. You want a creamy texture for drizzling. For a nice presentation, use a spoon to drizzle the icing over the stacked pancakes. This will make your dish look as good as it tastes. Enjoy your cinnamon roll pancakes! For the complete recipe, check out the Full Recipe. To make your pancakes fluffy, start by using fresh baking powder. Old baking powder can ruin your rise. Measure your ingredients accurately. A little too much flour can make pancakes dense. Mix wet and dry ingredients separately first. Then, combine them gently. Overmixing leads to tough pancakes. Just stir until you see a few lumps. One big mistake is overmixing the batter. This can make your pancakes chewy instead of fluffy. Another common issue is burning the pancakes. Keep your heat at medium, and check regularly. If the edges brown too fast, turn down the heat. A non-stick skillet helps prevent sticking and burning. For the icing, start with cream cheese and powdered sugar. If it's too sweet, add a bit more milk to balance it. You can also try yogurt or maple syrup for a twist. Drizzle your icing over warm pancakes for the best effect. A light hand with the icing makes for a beautiful presentation. {{image_2}} You can easily boost the flavor of your cinnamon roll pancakes. Adding a splash of vanilla makes them taste richer. Try mixing in a pinch of nutmeg for a warm spice kick. Fruits also work great. Thinly sliced apples add sweetness and texture. Bananas bring a soft and creamy element. Both options make your pancakes extra special. If you need a gluten-free version, swap the all-purpose flour for gluten-free flour. Many blends work well, so pick one you like. This simple change keeps the taste while being friendly for those with gluten sensitivities. Consider other dietary needs too. You can use dairy-free milk instead of buttermilk for a vegan option. This way, everyone can enjoy these delicious pancakes. When it comes to toppings, the sky's the limit! Chopped nuts add crunch and flavor. Fresh berries like strawberries or blueberries can brighten up your plate. Don’t forget about syrups! Maple syrup is a classic choice, but other flavors can shine too. Try caramel or chocolate syrup for a sweet twist. Each of these ideas can make your breakfast even more fun and inviting. For the full recipe, check out the [Full Recipe]. To keep your cinnamon roll pancakes fresh, let them cool completely at room temperature. Place them in an airtight container. This keeps the moisture in. You can also use plastic wrap to cover them tightly. Store the container in the fridge for up to three days. When you're ready to enjoy leftovers, reheat them in a non-stick skillet over low heat. This warms them gently and keeps them soft. You can also use a microwave, but cover the pancakes with a damp paper towel. This prevents them from drying out. If you're serving a crowd, keep the pancakes warm in a low oven while you finish cooking. To freeze pancakes, stack them with parchment paper between each one. This stops them from sticking together. Place the stack in a freezer bag or a tight container. They last for up to two months. When you're ready to eat, thaw them in the fridge overnight. Reheat as mentioned before, and enjoy your tasty treat again! For a full experience, check out the full recipe. Yes, you can make these pancakes ahead. To prepare, cook the pancakes and let them cool. Place the pancakes in a single layer, separated by parchment paper, in an airtight container. Store them in the fridge for up to three days. If you want to keep them longer, freeze the pancakes for up to three months. To reheat, just pop them in the toaster or microwave until warm. This way, you have a tasty breakfast ready in no time! If you don’t have buttermilk, you can easily replace it. Mix one cup of milk with one tablespoon of vinegar or lemon juice. Let it sit for five minutes, and it will thicken. You can also use plain yogurt or sour cream, thinning them with a bit of water or milk. These substitutes work well in the recipe and keep the pancakes tasty and fluffy. To make the pancakes vegan, swap the egg for one tablespoon of ground flaxseed mixed with three tablespoons of water. Let it sit for five minutes to thicken. Use plant-based milk, like almond or soy, instead of buttermilk. Replace the melted butter with coconut oil or a vegan butter substitute. These changes keep the flavor rich and the texture light. Yes, there is a big difference! Regular pancakes are light and fluffy. They have a simple taste. On the other hand, cinnamon roll pancakes have a swirl of cinnamon and sugar in the batter. This gives them a sweet, warm flavor. The texture is slightly denser, richer, and more indulgent, making them a special treat. You’ll enjoy the sweet icing drizzled on top, which adds even more flavor! You learned how to make delicious cinnamon roll pancakes from scratch. We covered essential ingredients, step-by-step cooking, and tips for perfect results. Variations, storage, and common questions helped you gain confidence in the kitchen. Remember, measure well, and don’t rush the cooking. The right heat is key to fluffy pancakes. Experiment with flavors and have fun serving them. Enjoy these pancakes with your favorite toppings or as a cozy treat any time. Happy cooking!](https://mysavedrecipe.com/wp-content/uploads/2025/05/15d49b2f-1417-4d84-9e18-0f72e1961af0.webp)
