Latest & Greatest
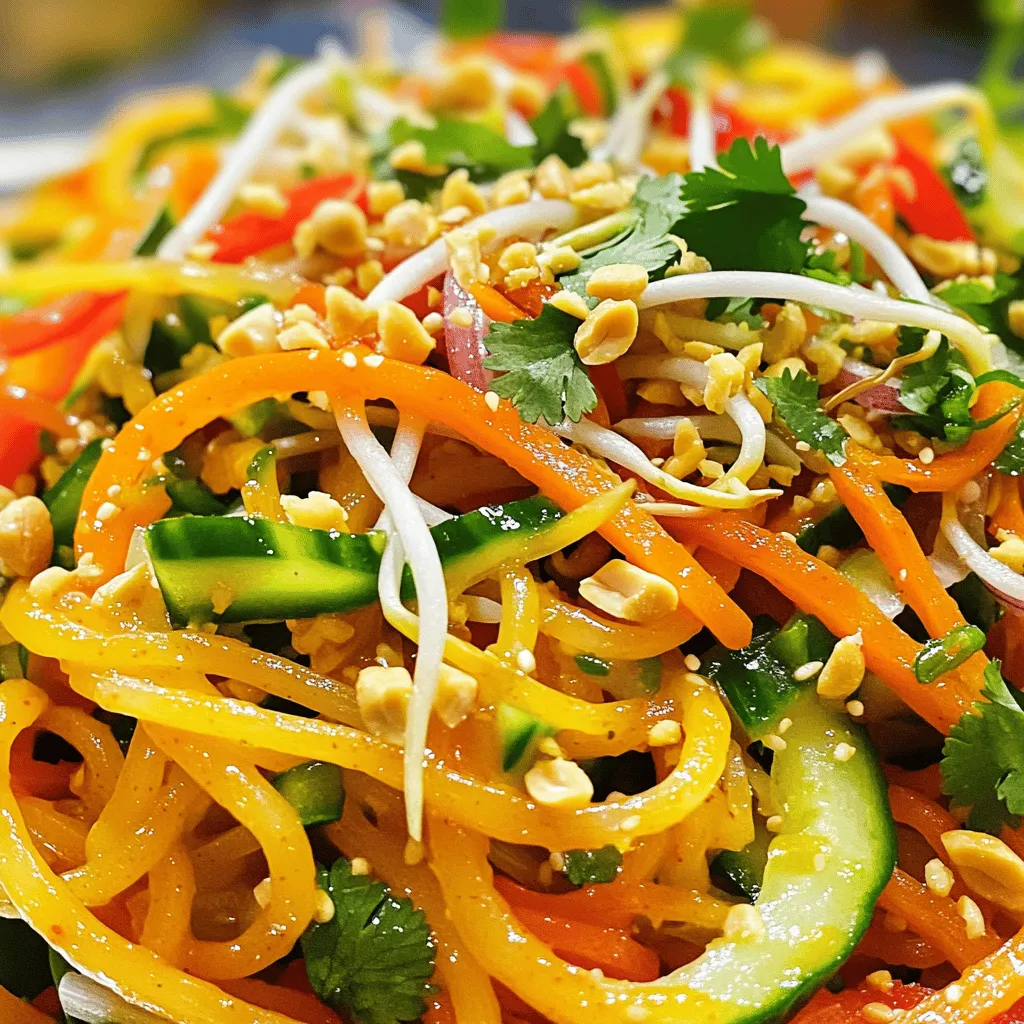
Spicy Thai Noodle Salad Fresh and Flavorful Recipe
Are you ready to excite your taste buds? This Spicy Thai Noodle Salad is fresh, flavorful, and packed with vibrant
Read more…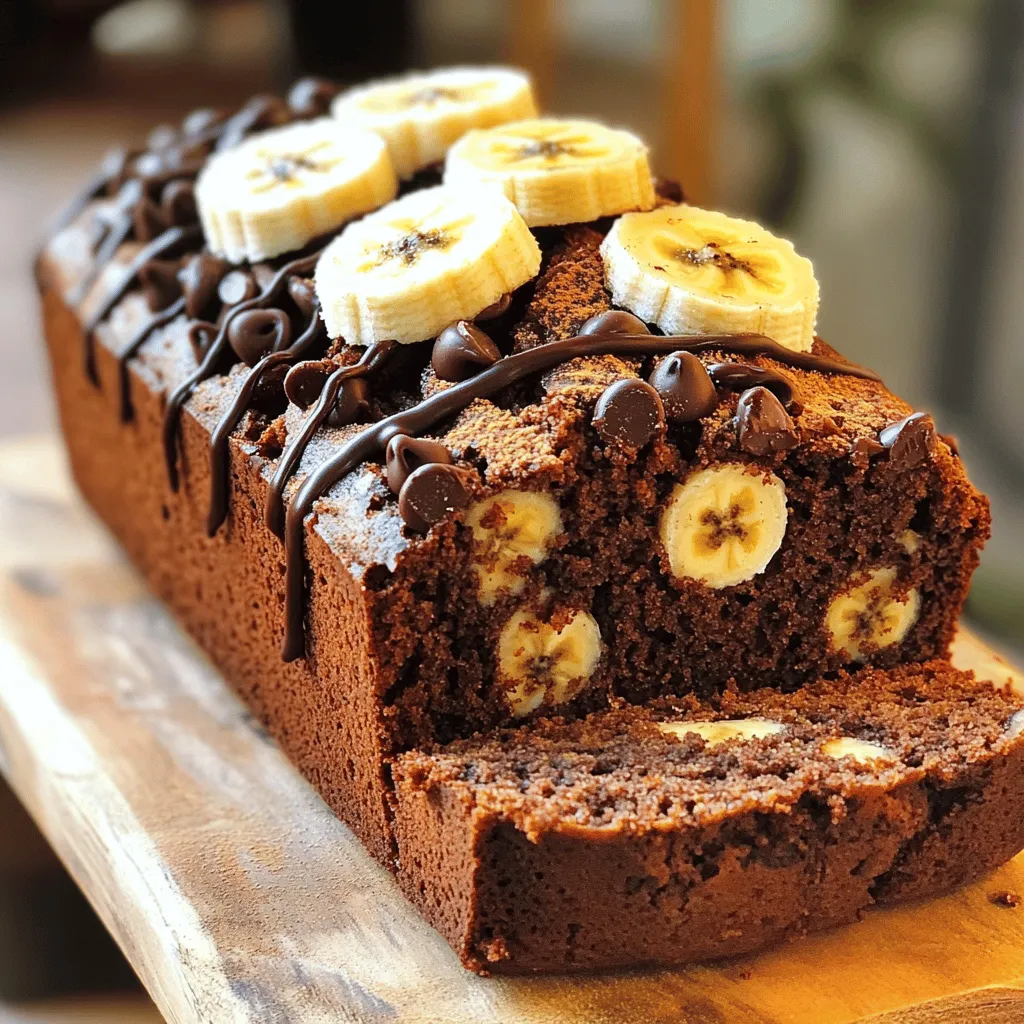
Chocolate Chip Banana Bread Simple and Tasty Recipe
If you love sweet treats that are easy to make, you’ll adore this Chocolate Chip Banana Bread recipe. With just
Read more…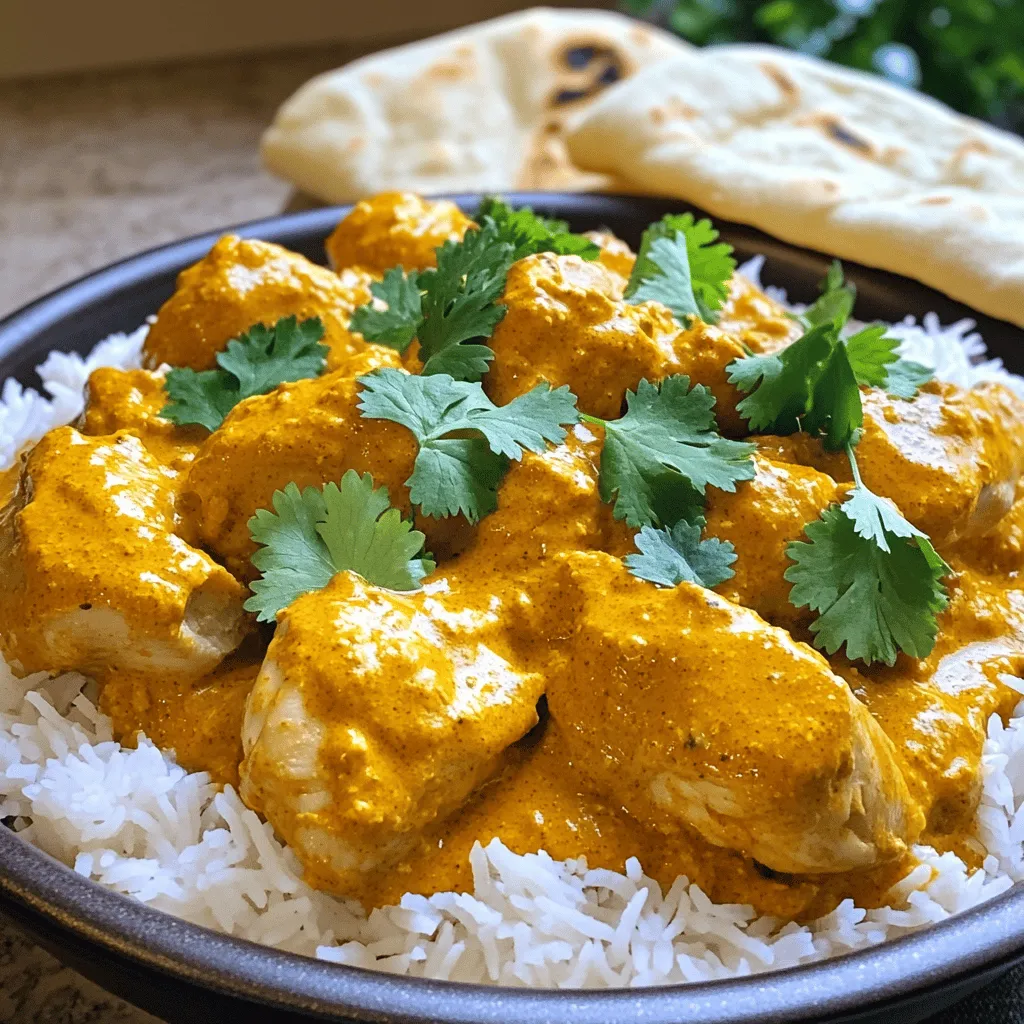
Savory Instant Pot Chicken Tikka Masala Easy Recipe
Are you ready to delight your taste buds with an easy and savory meal? My Instant Pot Chicken Tikka Masala
Read more…
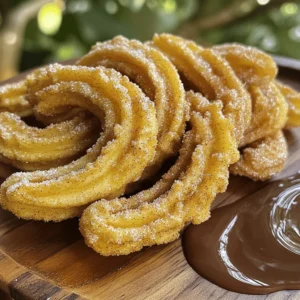
Cinnamon Sugar Churros Delightfully Sweet Treat
Are you ready to indulge in the delightfully sweet world of Cinnamon Sugar Churros? In this guide, I’ll walk you
Read more…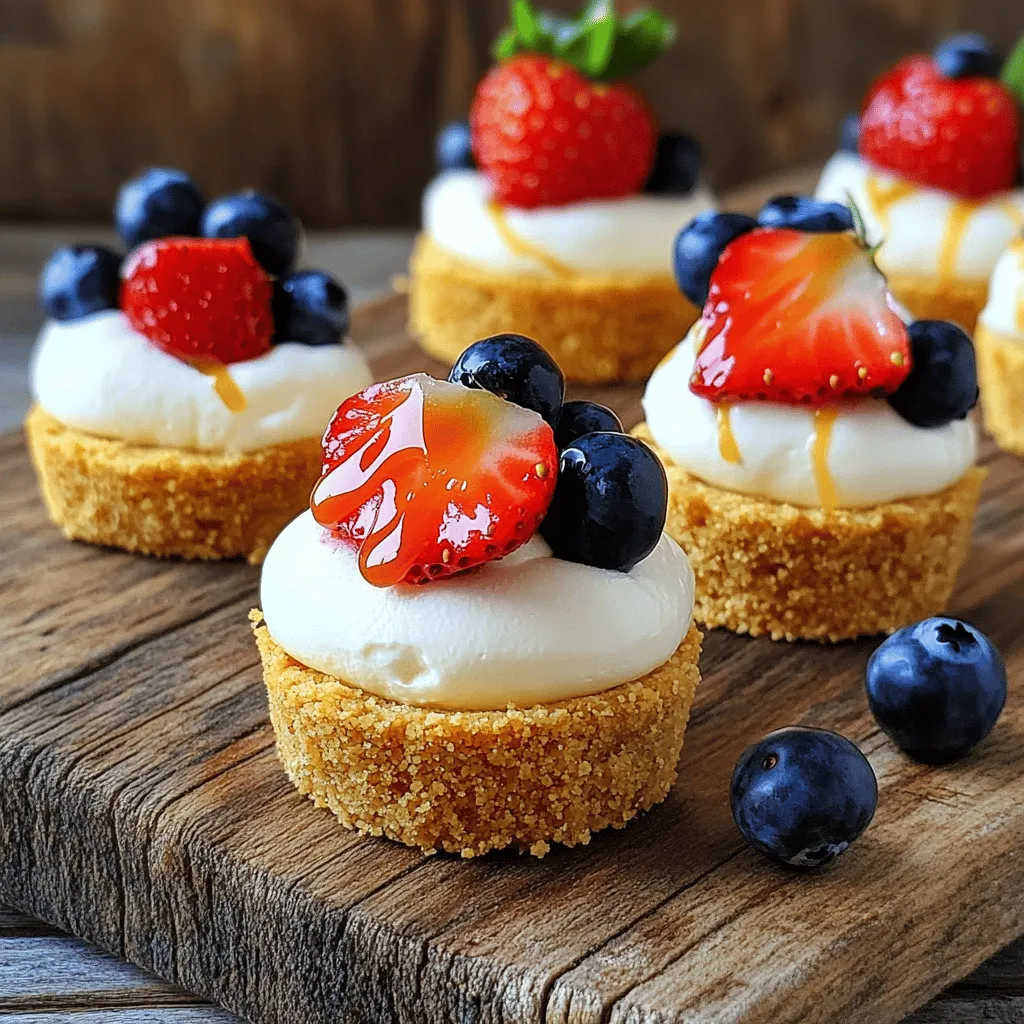
No-Bake Cheesecake Bites Easy and Tasty Treat
Are you ready to whip up a sweet treat that’s easy and fun? No-bake cheesecake bites are perfect for any
Read more…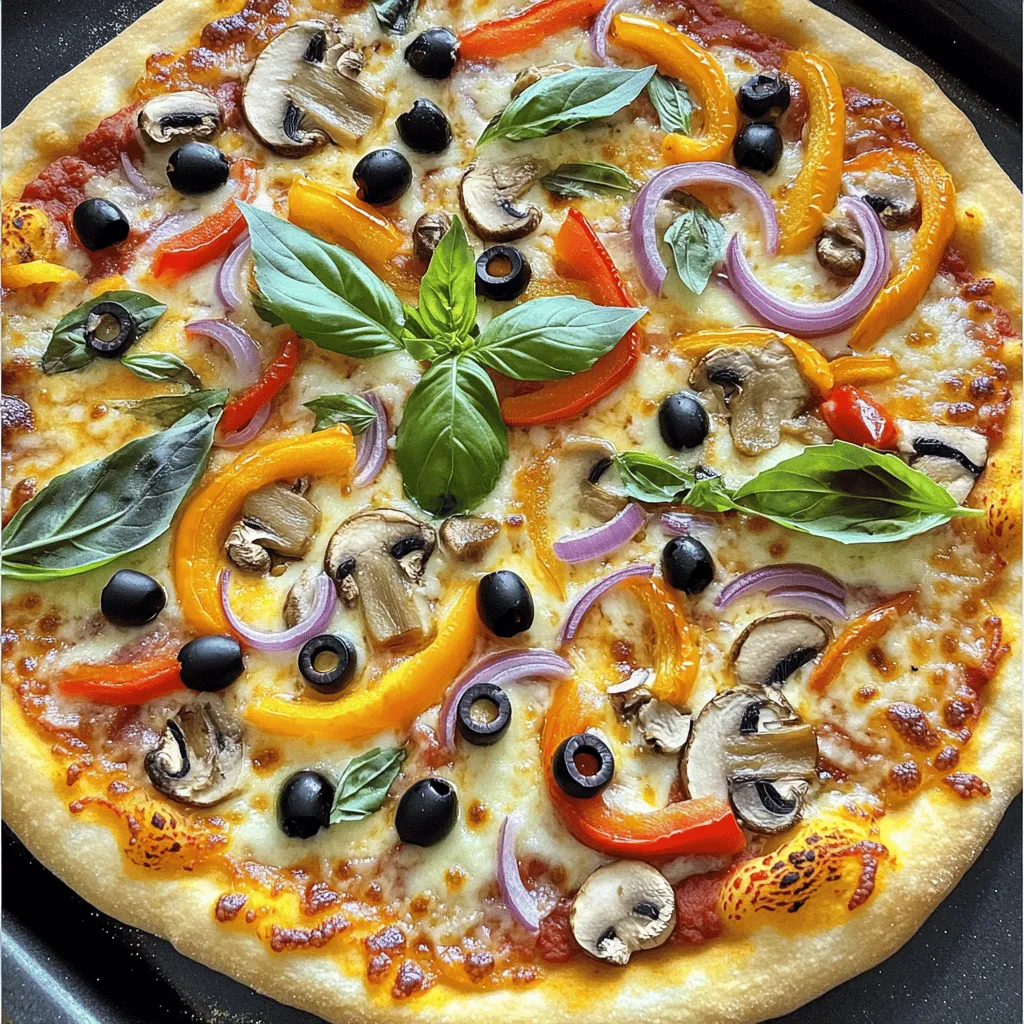
Delicious Veggie Pizza Easy and Flavorful Recipe
Craving a tasty veggie pizza that’s easy to make? You’ve come to the right place! I’ll guide you through a
Read more…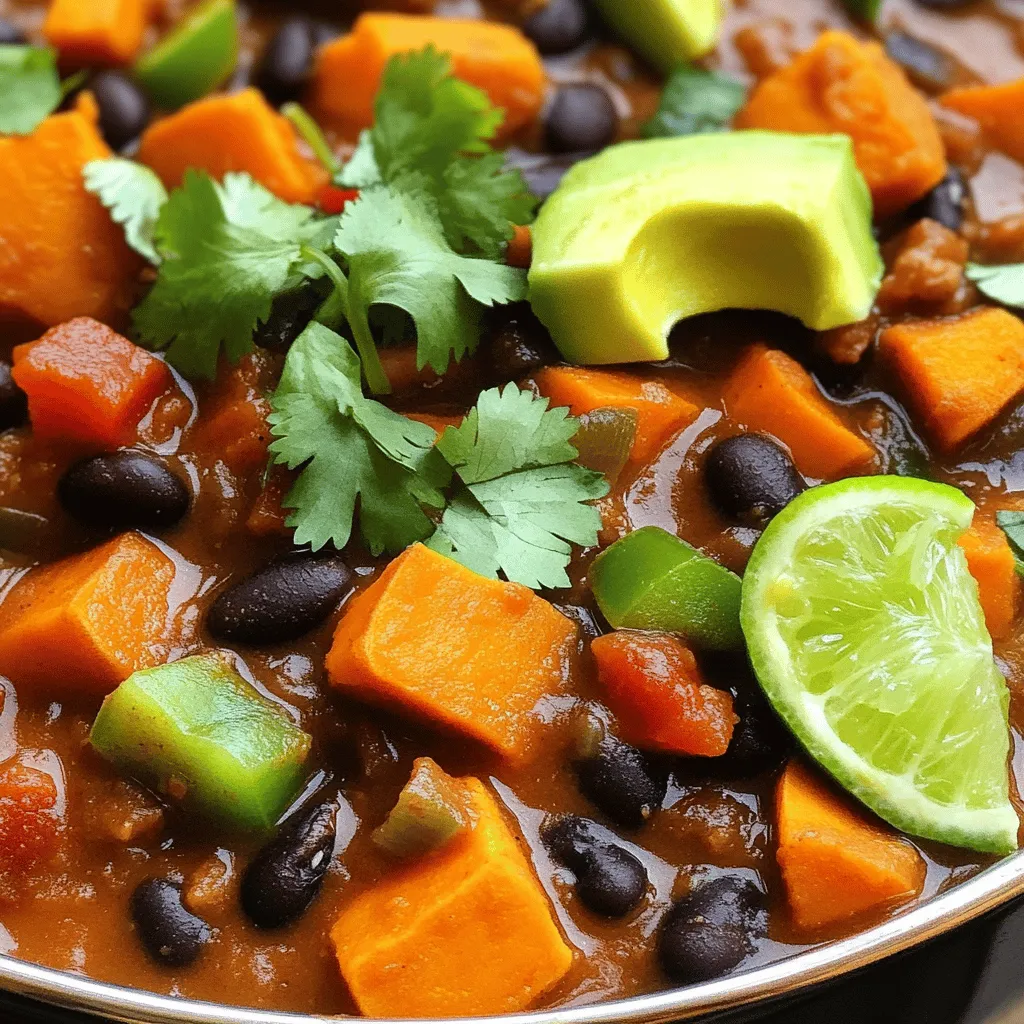
Sweet Potato Black Bean Chili Packed with Flavor
Are you ready to dive into a bowl of hearty goodness? This Sweet Potato Black Bean Chili is a flavor
Read more…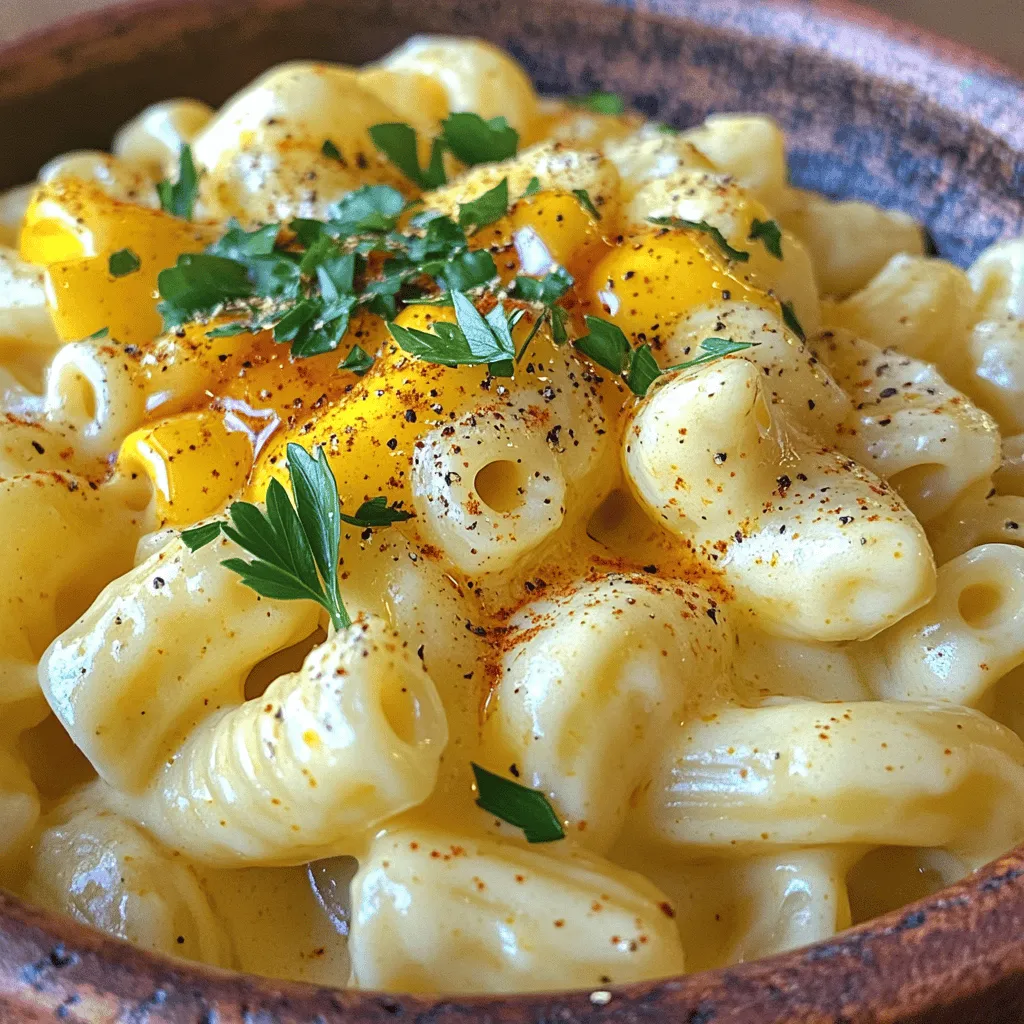
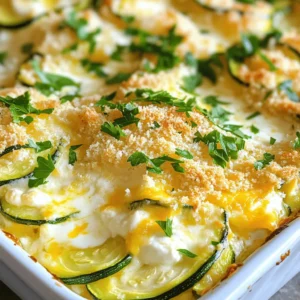
Creamy Honey Pepper Mac and Cheese Delightful Dish
Get ready to elevate your mac and cheese game with my Creamy Honey Pepper Mac and Cheese! This dish blends
Read more…browse recipes

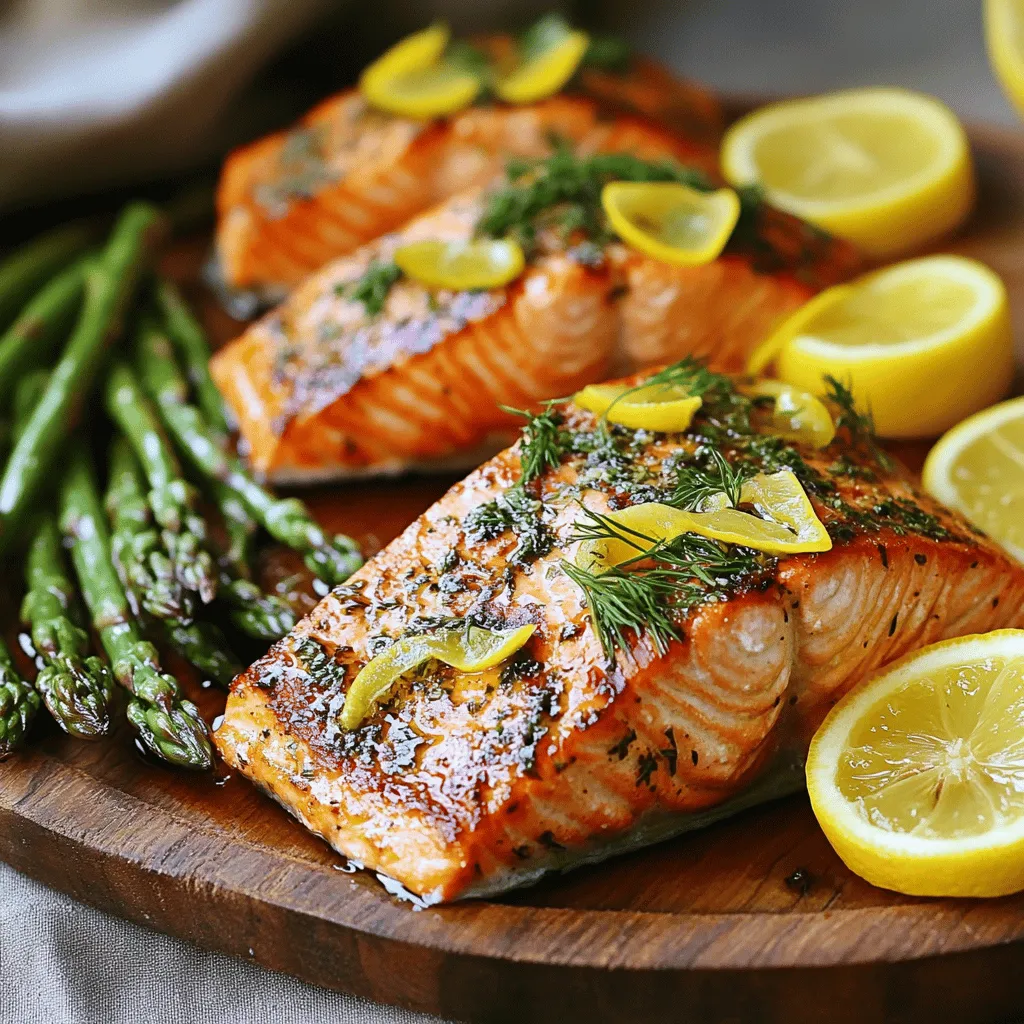
Lemon Herb Grilled Salmon Recipe for Flavorful Meals
Ready to elevate your weeknight meals? This Lemon Herb Grilled Salmon recipe is simple, tasty, and perfect for any occasion. With fresh herbs and…
My Latest Desserts

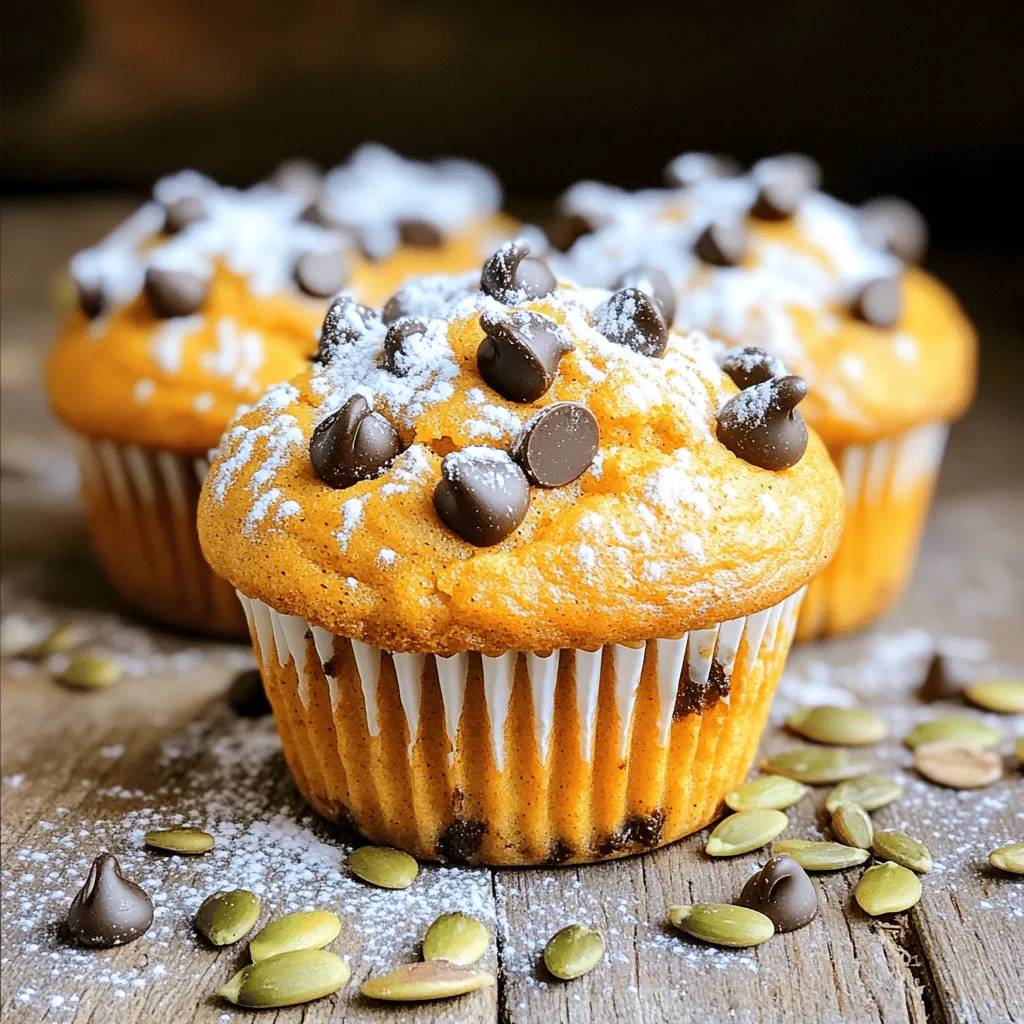
Chocolate Chip Pumpkin Cream Cheese Muffins Delight
If you love the cozy flavors of fall, you’re in for a real treat! Chocolate Chip Pumpkin Cream Cheese Muffins Read Full Recipe-
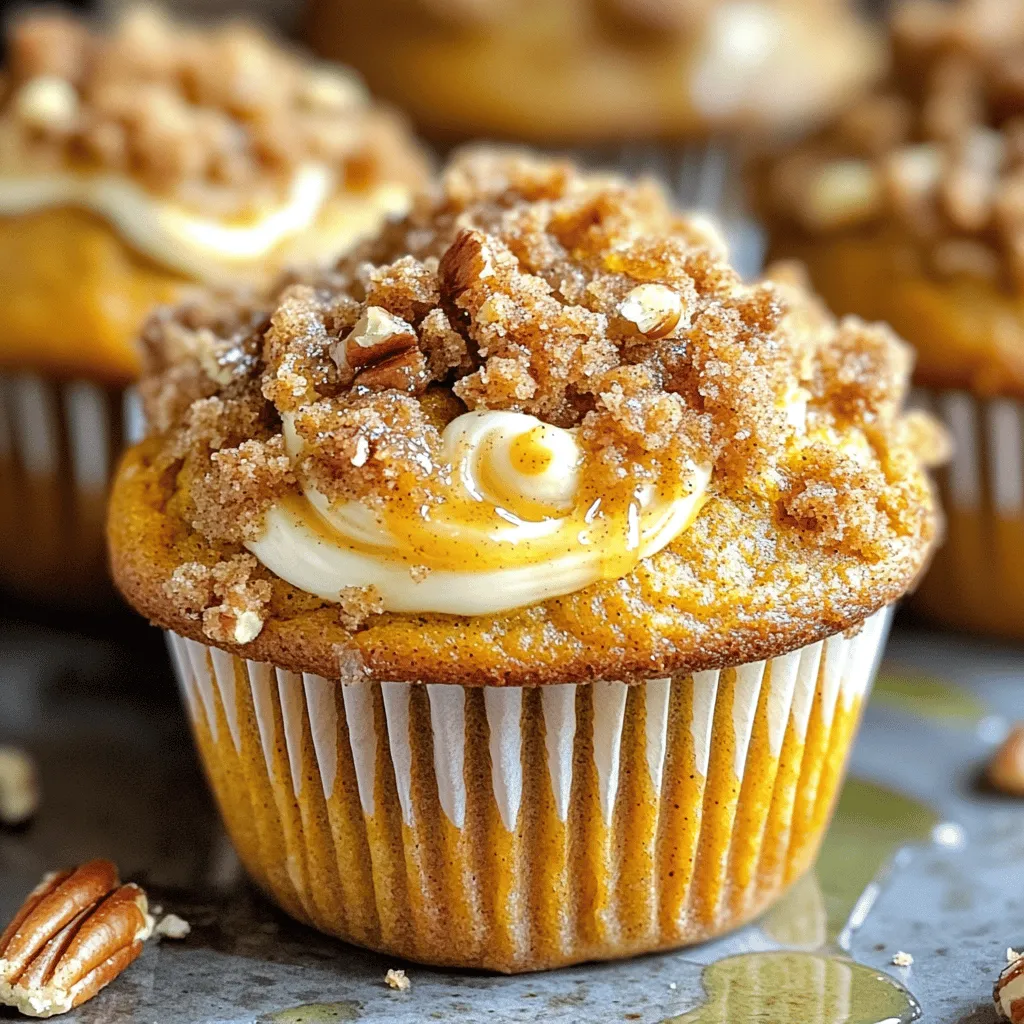
Streusel Pumpkin Cream Cheese Muffins Delightful Treat
If you love pumpkin flavors, you will adore these Streusel Pumpkin Cream Cheese Muffins. They mix rich pumpkin with creamy Read Full Recipe -
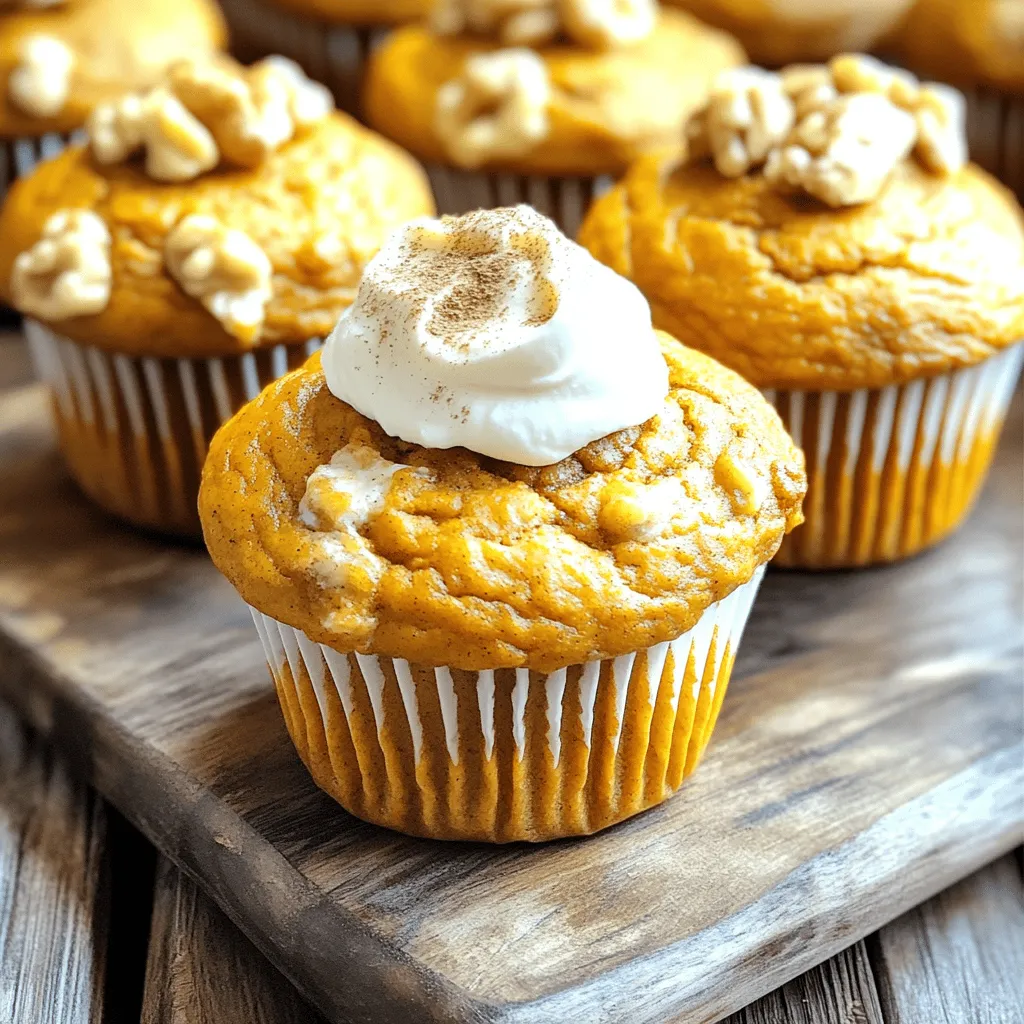
Easy Pumpkin Cream Cheese Muffins Tasty Fall Treat
Fall is here, and that means it’s time for warm, cozy treats! You’ll love these Easy Pumpkin Cream Cheese Muffins. Read Full Recipe -
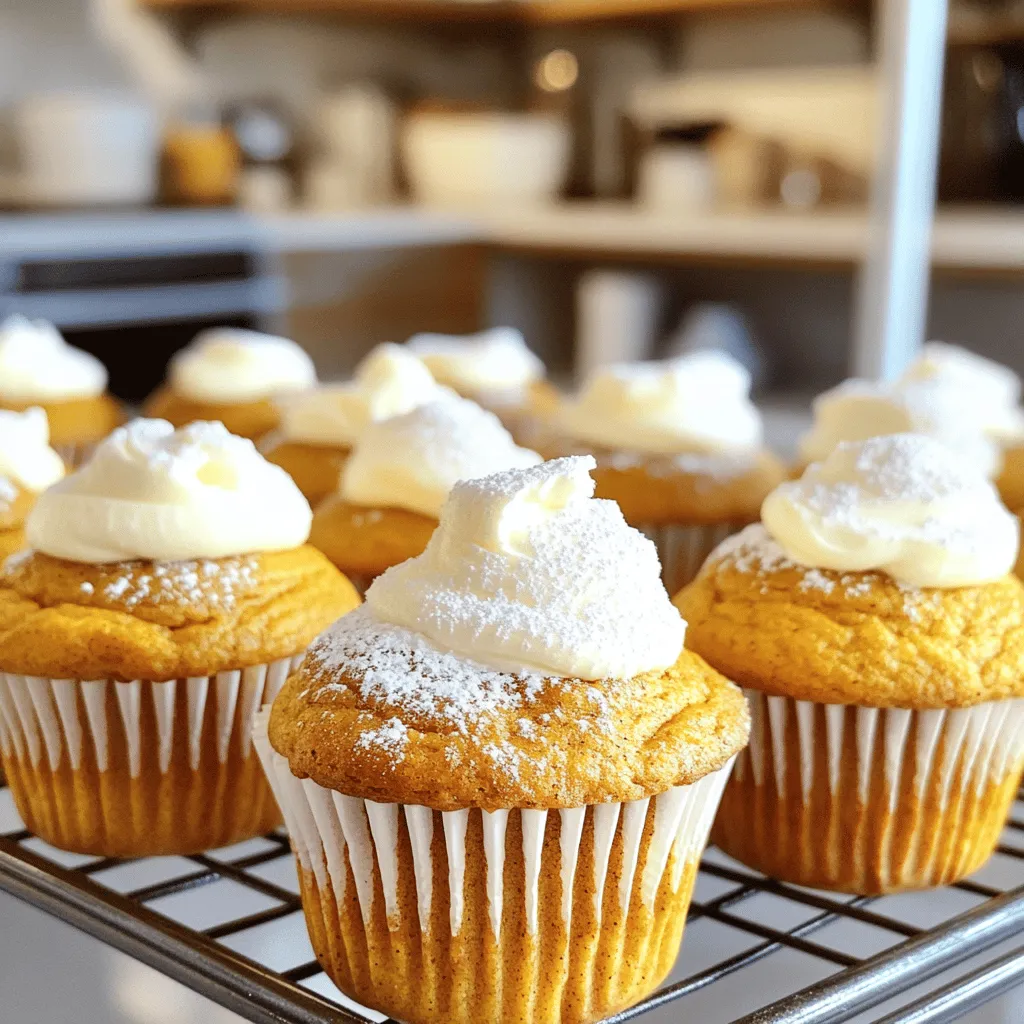
Pumpkin Cream Cheese Muffins Delightful and Simple Recipe
Get ready to enjoy a treat that combines the warmth of pumpkin with creamy cheese! This simple recipe for pumpkin Read Full Recipe -
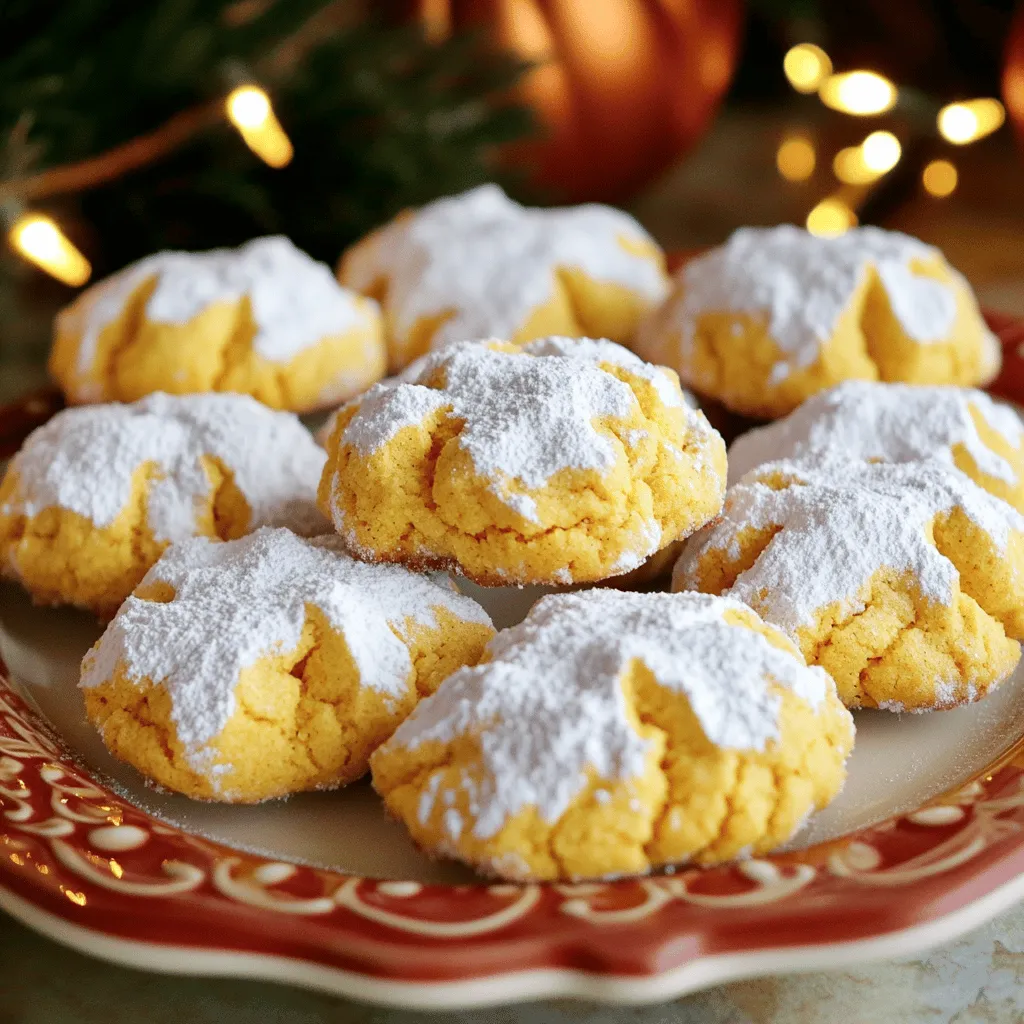
Pumpkin Pie Crinkle Cookies Charming Autumn Treat
Get ready to embrace autumn with a delightful twist on a classic favorite! Pumpkin Pie Crinkle Cookies combine the warm Read Full Recipe -
Pumpkin Cheesecake Cookies Irresistible Fall Treat
Welcome to the season of cozy flavors and pumpkin delights! If you crave a treat that combines the rich taste Read Full Recipe -
Chocolate Chip Pumpkin Cookies Flavorful Fall Treat
Are you ready to bake something special this fall? Chocolate chip pumpkin cookies blend sweet chocolate with warm pumpkin spice Read Full Recipe -
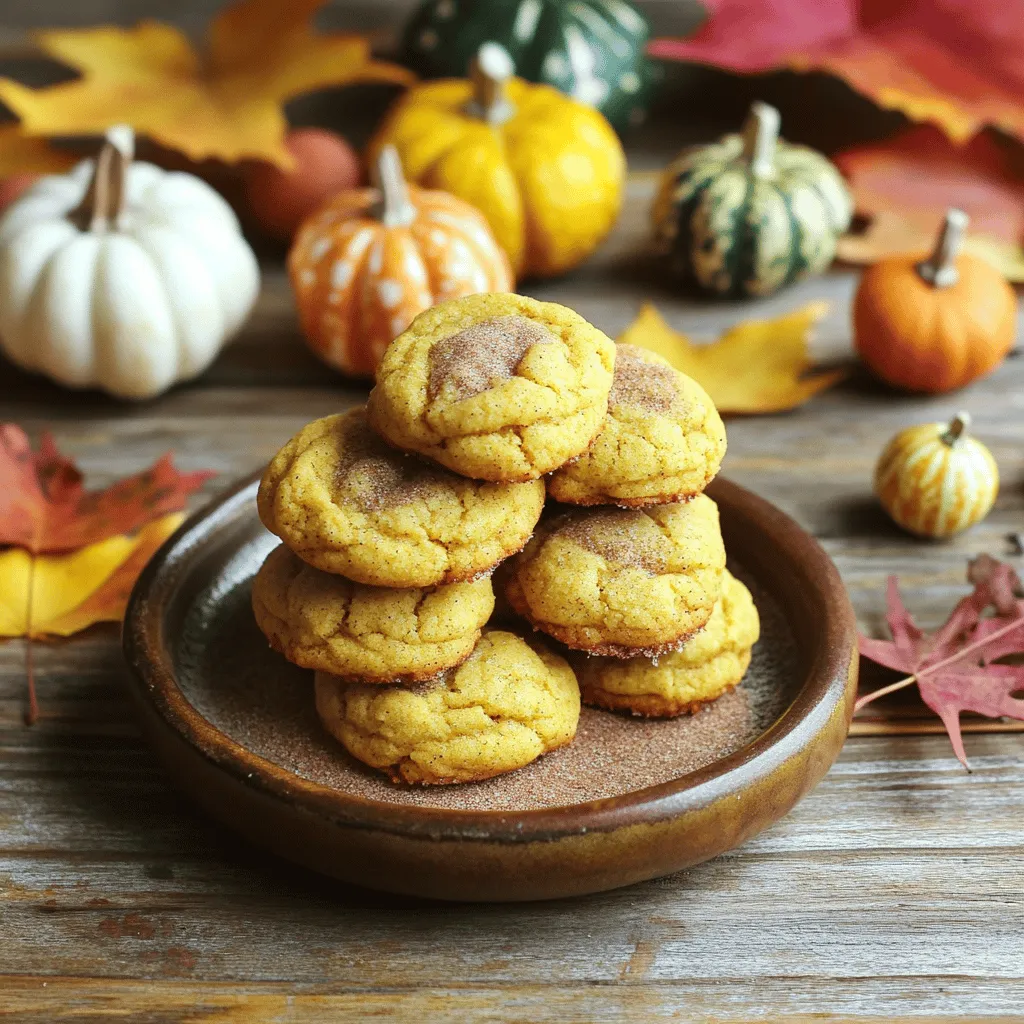
Pumpkin Butter Snickerdoodles Irresistible Cookie Treat
Looking for a new fall favorite? These Pumpkin Butter Snickerdoodles are the perfect cookie treat! With soft centers and a Read Full Recipe -
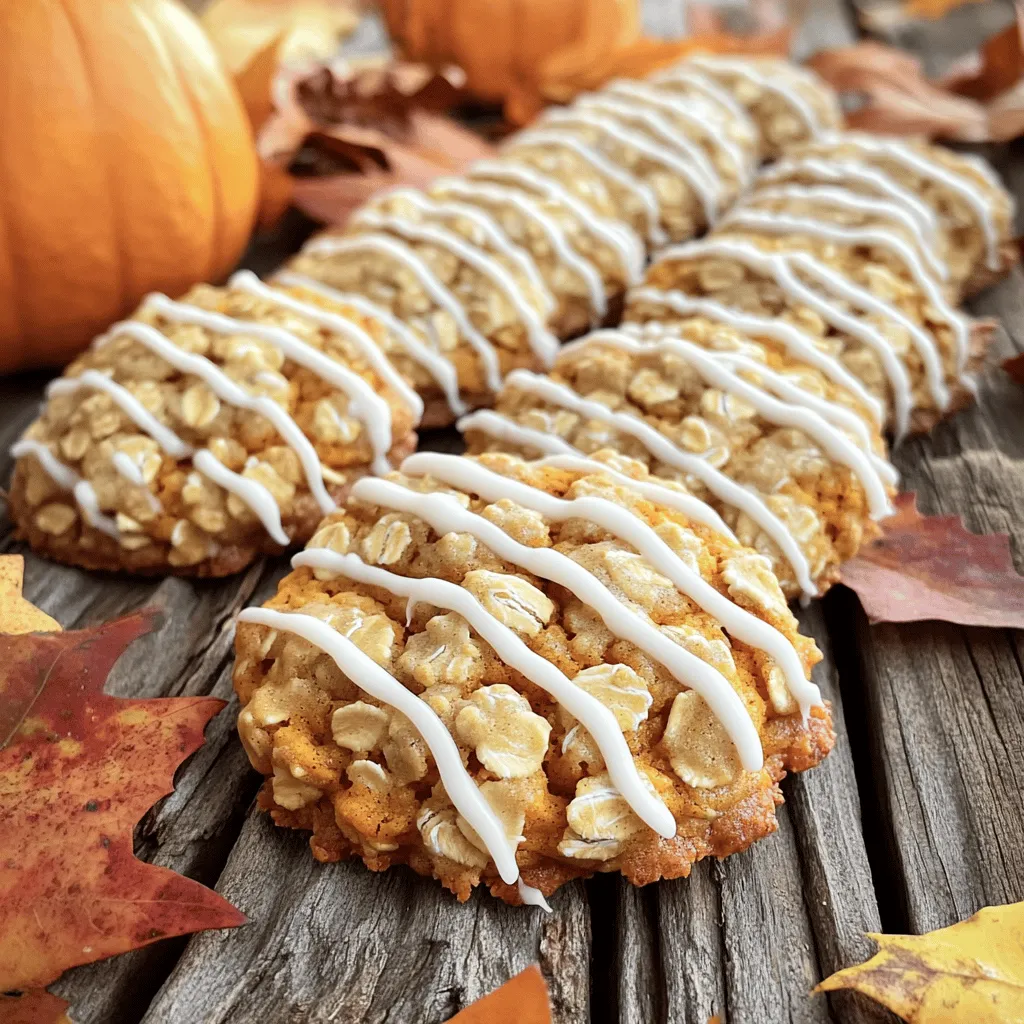
Pumpkin & Oatmeal Cookies with Icing Delight
If you’re looking for a delightful treat that combines the warm flavors of fall, you’re in the right place! In Read Full Recipe -
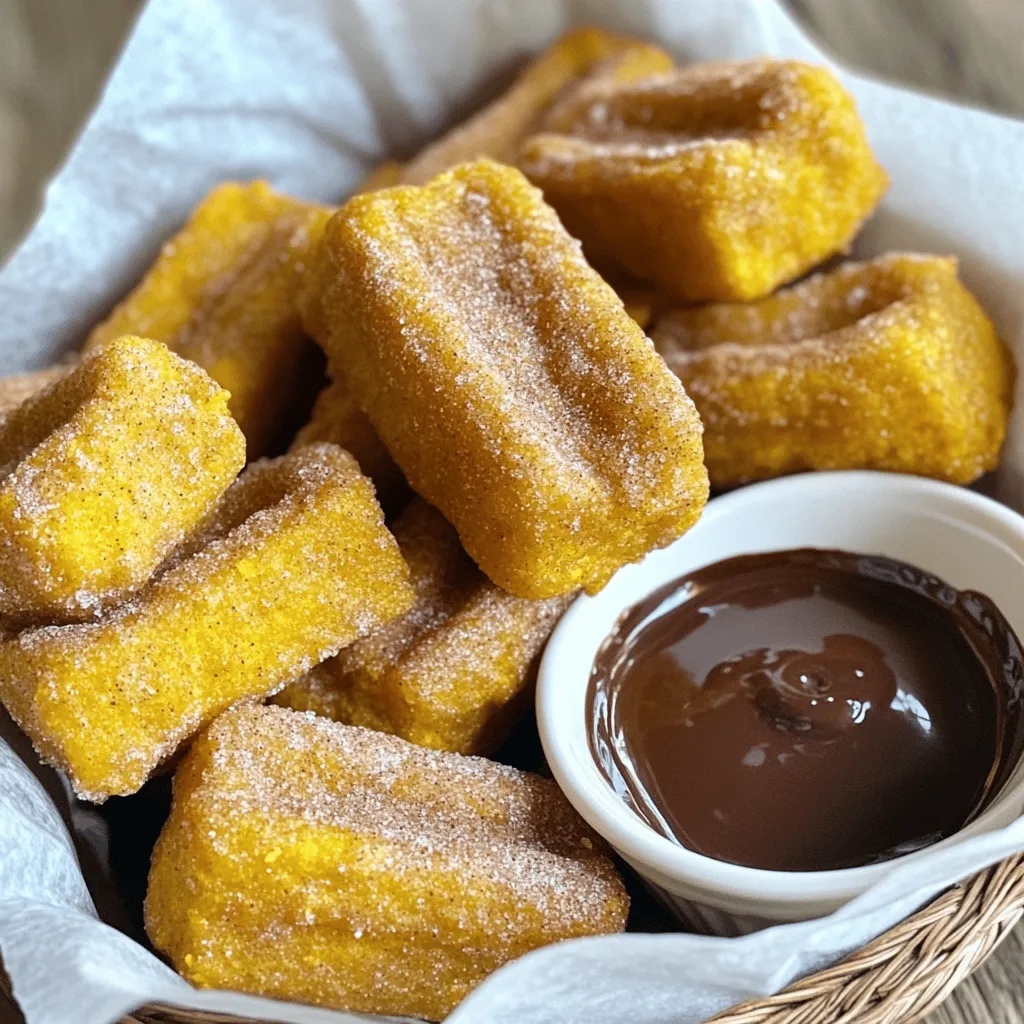
Pumpkin Churro Bites Tasty and Easy Dessert Treat
Are you ready to take your dessert game to the next level? These Pumpkin Churro Bites are here to impress! Read Full Recipe
My Latest Recipes

hey,
i’m !
I’m so happy you’re here!
Food is my passion, and perfecting each dish is my craft. I can’t wait for you to try them let’s dive into this delicious journey side by side.
. 1. Preheat your oven to 350°F (175°C). Grease a 9x5 inch loaf pan with butter or a non-stick spray. 2. In a large bowl, mash 3 ripe bananas. Pour in 1/2 cup of melted butter. Mix until smooth. 3. Add 3/4 cup of brown sugar to the banana mix. Stir until it blends well. 4. Now, mix in 1 beaten egg and 1 teaspoon of vanilla extract. Make sure everything is combined. 5. Sprinkle 1 teaspoon of baking soda and 1/4 teaspoon of salt over the mixture. Stir well to combine. 6. Gently fold in 1 1/2 cups of all-purpose flour until just mixed. Don’t overmix. If you want, add 1/2 teaspoon of cinnamon, 1/2 cup of chocolate chips, and 1/4 cup of chopped nuts for extra flavor. 7. Pour the batter into the greased loaf pan. Smooth the top with a spatula for an even bake. 8. Bake for 60-65 minutes. Check doneness by inserting a toothpick into the center. It should come out clean. 9. Let the bread cool in the pan for about 10 minutes. Then, transfer it to a wire rack to cool completely. For the full recipe, refer back to the ingredients section. To get the best texture in your chocolate chip banana bread, avoid overmixing the batter. When you mix too much, the bread can turn out dense and tough. Stir just until the ingredients blend together. This keeps the bread light and fluffy. Using ripe bananas is key. They should be soft and brown. Ripe bananas add natural sweetness and moisture. They help to create a softer crumb in your bread. If your bananas are not ripe, the bread may taste starchy and dry. You can enhance the flavor of your banana bread by using different types of chocolate. Dark chocolate gives a rich taste, while semi-sweet chocolate is sweeter. Try mixing these types for a fun twist. Adding spices can also elevate the flavor. A pinch of cinnamon or nutmeg warms up the taste. Nuts like walnuts or pecans add crunch. They also provide a nice contrast to the soft bread. For serving, slice the bread while it is warm. It tastes best fresh from the oven. You can drizzle melted chocolate on top for a rich finish. A sprinkle of powdered sugar also adds a nice touch. Garnish with a banana slice to make it look pretty. This simple step can impress your guests. Enjoy it with a cup of tea or coffee for a delightful treat. For the complete baking experience, check the Full Recipe for all the details. {{image_2}} You can use different types of chocolate in your banana bread. Dark chocolate gives a rich, deep flavor. It pairs well with the sweetness of bananas. Semi-sweet chocolate adds a nice balance of sweet and bitter. This type is popular and easy to find. If you want something different, try white chocolate. It adds a creamy taste and a lovely sweetness. You can mix and match chocolates to find your favorite! Adding other fruits can make your banana bread even better. Berries like blueberries or raspberries work well. They add a burst of flavor and color. You can also use chopped apples or peaches for a fruity twist. For those who want a nut-free option, skip the nuts and focus on fruits. This makes the bread soft and moist. It’s a great way to experiment with different flavors! If you want a healthier version, try whole wheat flour. It adds fiber and gives a nutty taste. You can also reduce the sugar in the recipe. Using half the amount or swapping it for honey or maple syrup works well. These choices keep the bread tasty while being better for you. Remember, small changes can make a big difference in health and flavor! Check out the Full Recipe for details on how to make this delicious treat! To keep your chocolate chip banana bread fresh, wrap it well. Use plastic wrap or foil to seal it. This helps retain moisture and flavor. Store it at room temperature for a few days. If you live in a warm place, refrigerate it. This prevents mold from growing. You can freeze chocolate chip banana bread for long-term storage. First, let the bread cool completely. Then, wrap it tightly in plastic wrap. After that, place it in a freezer bag. Label it with the date. It will stay good for up to three months. When you're ready to eat it, thaw it in the fridge overnight. For a quick option, microwave slices for about 20 seconds. Chocolate chip banana bread stays fresh for about four days at room temperature. If kept in the fridge, it lasts about a week. Always check for signs of spoilage. If you see mold or if it smells off, don't eat it. Fresh bread should feel moist and smell sweet. If it’s dry or has dark spots, it’s time to toss it. Yes, you can use frozen bananas. They work well in banana bread. To thaw them, place them in the fridge overnight. If you're short on time, you can microwave them for about 30 seconds. Just make sure to drain any excess liquid before mashing. This helps keep the bread from being too wet. If you want an egg-free option, there are many substitutes. You can use 1/4 cup of unsweetened applesauce or mashed banana. A tablespoon of ground flaxseed mixed with three tablespoons of water also works well. Let it sit for a few minutes to thicken before using. These swaps keep the bread moist and tasty. To make banana bread gluten-free, you can use gluten-free flour. Almond flour or coconut flour are great options. You can also try a gluten-free all-purpose blend. Just make sure the blend has xanthan gum for better texture. This keeps your bread soft and fluffy. Dense banana bread can happen for a few reasons. If you overmix the batter, it can become tough. Using too many bananas can also weigh it down. Make sure to mix just until combined and use the right amount of flour. If it’s too heavy, try adding a bit more baking soda next time. This blog post covers how to make chocolate chip banana bread. We discussed key ingredients, step-by-step instructions, and baking tips. I shared ideas for variations, storage practices, and answers to common questions. With this knowledge, you can bake a delicious treat at home. Experiment, enjoy, and share with others. Happy baking!](https://mysavedrecipe.com/wp-content/uploads/2025/06/3245b15b-88a1-4a86-b532-af5536a0cb4b-300x300.webp)
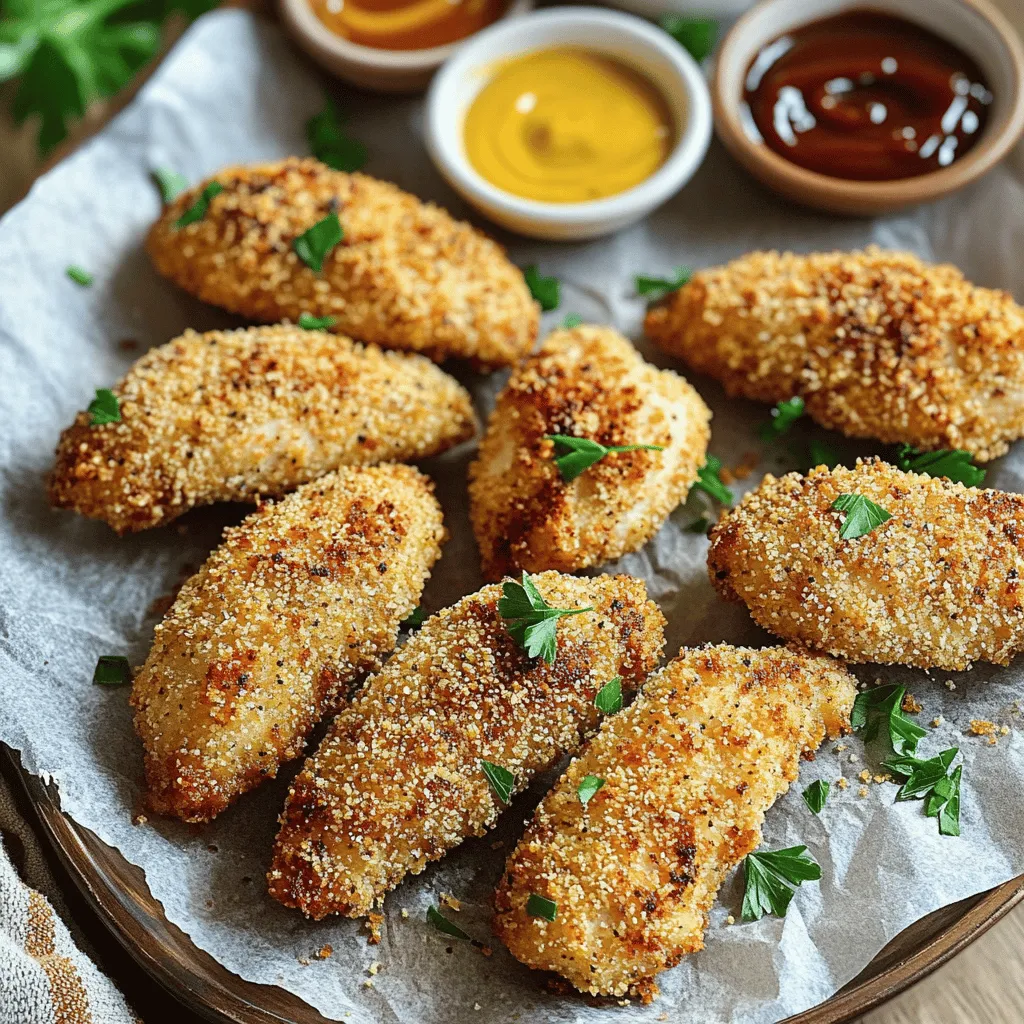
Crispy Air Fryer Chicken Tenders Easy and Delicious Meal
Craving something crispy and delicious? You’ve come to the right place! In this article, I’ll share my easy recipe for air fryer chicken tenders…