


Latest & Greatest
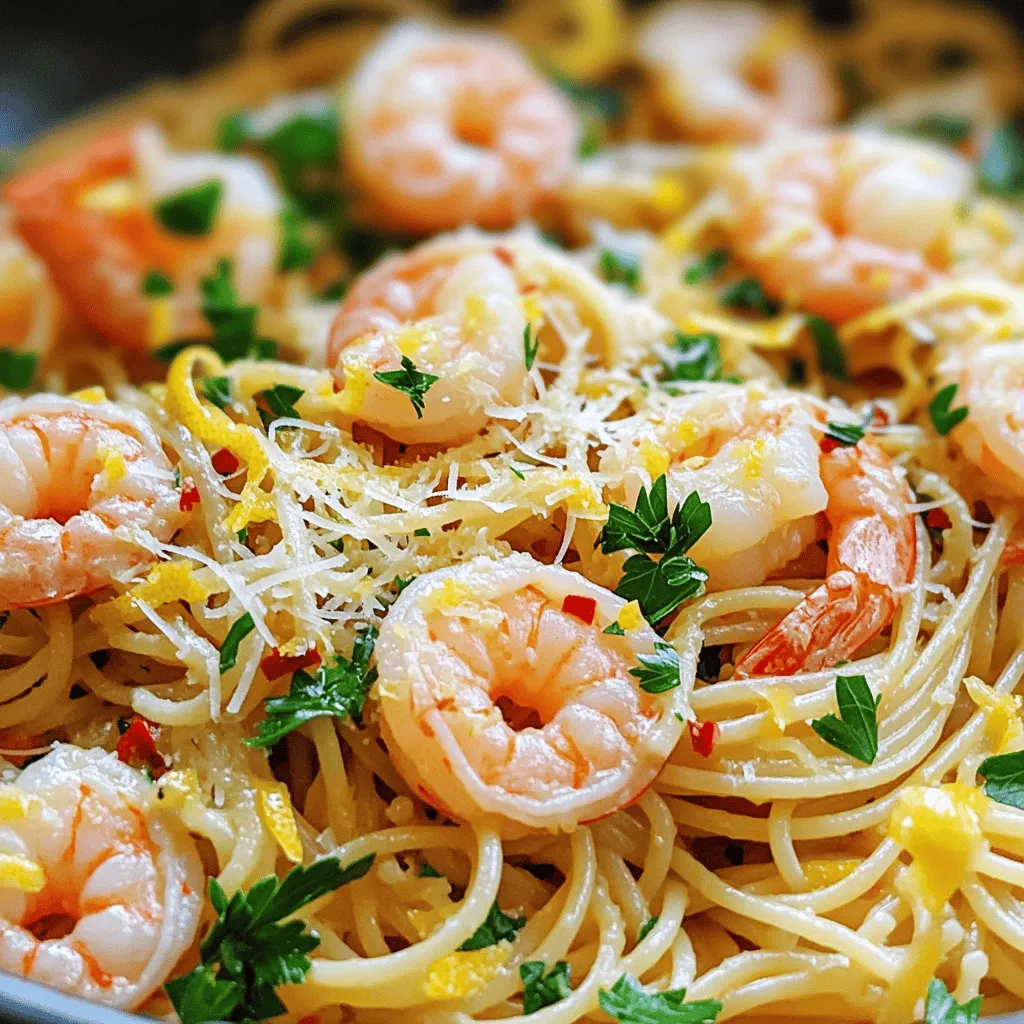
Lemon Garlic Shrimp Pasta Refreshing and Simple Delight
Looking for a dish that’s light yet full of flavor? My Lemon Garlic Shrimp Pasta is the answer. This recipe
Read more…
Peach Upside Down Mini Cakes Delightful and Simple Treat
Craving a sweet treat that’s both delightful and easy to make? Look no further! In this guide, I’ll show you
Read more…
Crispy Rice and Spicy Tuna Bites Tasty Flavor Treat
Welcome to a world of flavor with my Crispy Rice and Spicy Tuna Bites! If you love a crispy crunch
Read more…
Brown Butter S’mores Cookies Delightful and Simple Treat
Are you ready to elevate your cookie game? Brown Butter S’mores Cookies are a delightful mix of rich, nutty flavor
Read more…
Cinnamon Roll French Toast Bites Tasty Breakfast Treat
If you love breakfast treats, you’re in for a real delight! Cinnamon Roll French Toast Bites are a fun twist
Read more…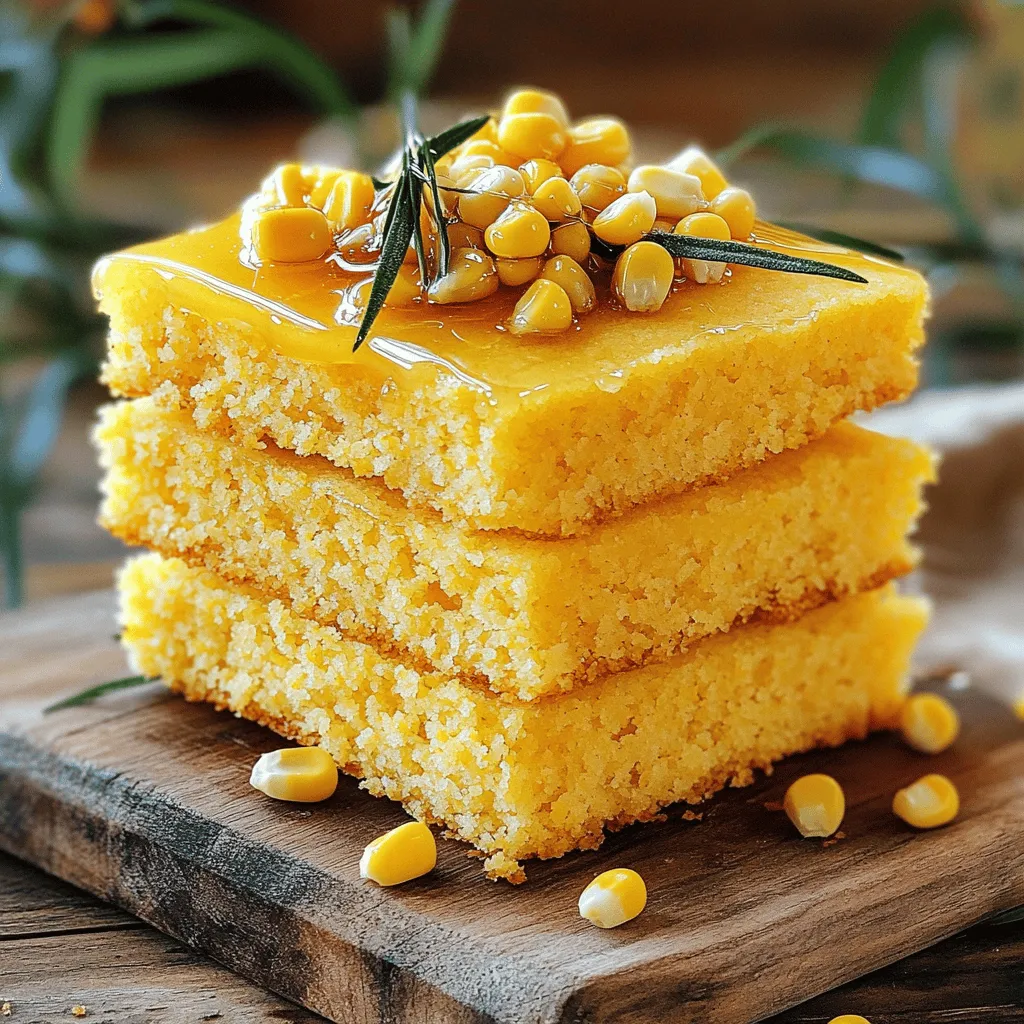
Layered Cornbread Cake with Honey Butter Delight
Get ready to elevate your dessert game with my Layered Cornbread Cake with Honey Butter Delight! This scrumptious cake combines
Read more…
Honey Garlic Skillet Chicken Thighs Flavorful Dinner
Looking for a quick and tasty dinner? Honey Garlic Skillet Chicken Thighs will impress everyone at your table. This dish
Read more…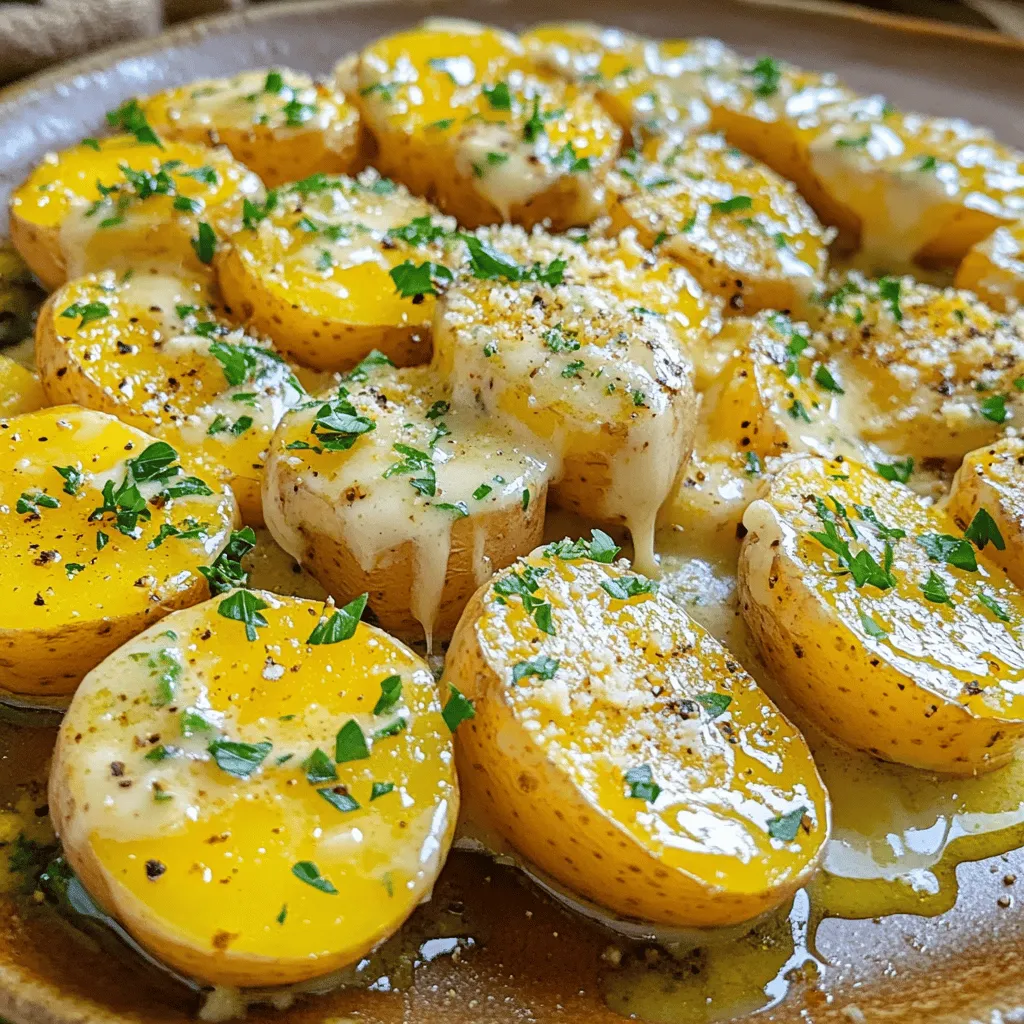
Creamy Garlic Sauce Baby Potatoes Delightful Dish
If you’re looking for a side dish that’s rich, creamy, and full of flavor, you’ve found it! Creamy Garlic Sauce
Read more…browse recipes


![- 1 pound fresh okra, trimmed - 2 cups distilled white vinegar - 1 cup water - 3 tablespoons sugar - 2 tablespoons kosher salt - 4 cloves garlic, sliced - 2 teaspoons red pepper flakes - 2-4 fresh jalapeños, sliced (adjust for heat preference) - 1 teaspoon mustard seeds - 1 teaspoon black peppercorns - 1 teaspoon dill seeds When making spicy refrigerator pickled okra, you want to ensure you have fresh ingredients. Start with the okra. Choose bright green pods that are firm to the touch. Avoid any that look soft or bruised. Next, distilled white vinegar plays a key role in the pickling process. It adds the sharp tang you crave. The water helps balance the brine's strength, making it more palatable. Now, let’s talk seasoning. Sugar balances the vinegar's tartness. Kosher salt adds depth and enhances flavors. The sliced garlic brings a lovely aroma and taste to your pickles. For the spice lovers, red pepper flakes and fresh jalapeños bring the heat. You can adjust the jalapeño quantity based on how spicy you want your okra. Mustard seeds, black peppercorns, and dill seeds add unique flavors that complement the okra well. For the full experience, follow the [Full Recipe]. Enjoy your pickling adventure! Start by washing the okra under cold water. This step cleans off dirt and bacteria. After washing, trim the stems but keep the pods intact. Keeping the pods whole helps them stay crunchy. If you cut them too much, they may become mushy when pickled. Next, you will make the brine. In a medium saucepan, mix 2 cups of distilled white vinegar, 1 cup of water, 3 tablespoons of sugar, and 2 tablespoons of kosher salt. Heat this mixture on medium heat. Stir until the sugar and salt dissolve completely. This step is key for great flavor. Once it’s dissolved, remove it from the heat. Now, it’s time to pack the jars. Use clean, sterilized jars for best results. Start by placing a layer of okra in the jar. Then, add slices of fresh jalapeños. You can sprinkle fresh dill if you like. Repeat layering until the jars are packed tightly. This helps ensure the flavors mix well. Carefully pour the cooled brine over the okra. Make sure the brine covers the okra completely. This step is very important for a good pickle. Leave about half an inch of space at the top of the jar. Finally, seal the jars with tight-fitting lids. Store them in the fridge right away. Let the okra pickle for at least 24 hours before enjoying. The longer they sit, the better they taste. Check out the Full Recipe for all the details! To get the best flavor from your spicy refrigerator pickled okra, let it sit for at least 24 hours. This time allows the flavors to blend. The longer you wait, the better the taste. You can let it pickle for up to a week for a stronger flavor. You can enhance the flavor by adding more spices. Consider using different herbs or even a splash of pickle juice from other pickles. This can give your okra a unique twist. Experiment with your favorite spices to make it your own. Pickled okra is great on its own but also shines in dishes. You can serve it as a crunchy snack or an appetizer. It pairs well with cheese and crackers. Feel free to chop it up and toss it in salads for a zesty kick. Another fun way to use pickled okra is in cocktails. Try adding it to a Bloody Mary for extra flavor. It adds a nice crunch and a spicy touch that elevates your drink. Presentation matters when serving pickled okra. Use a colorful decorative bowl to catch the eye. You can also serve it with a small dish of the brine for dipping. This adds a fun element to your meal. For a beautiful touch, use whole okra pods as a garnish. Lay a few on top or around the bowl. This not only looks pretty but shows off the vibrant green color of the okra. A little effort in presentation makes a big difference! {{image_2}} You can change the heat of your spicy refrigerator pickled okra easily. Start by adjusting the number of jalapeños you use. For milder pickles, add just one jalapeño. Want more heat? Try four or even more. You can also tweak the red pepper flakes. Less means less heat. More means a spicier bite. If you want to explore other spicy ingredients, consider adding a dash of cayenne pepper or even some sliced serrano peppers. Both will give your pickled okra a unique twist and a nice kick. To change the flavor of your pickles, think about adding fresh herbs. Thyme and oregano work well. Just a little can add a lot of depth to the flavor. You can also play with different types of vinegar. While distilled white vinegar is standard, apple cider vinegar or rice vinegar can add a subtle sweetness and a different taste profile. Try mixing it up! Each vinegar brings its own character. Experimenting can lead to a fun and tasty surprise. Don't limit your pickling to just okra. You can use other vegetables too! Carrots, cucumbers, and green beans are all great options. They soak up the brine nicely and will taste amazing. Want to get creative? Try combining different vegetables in one jar. Just make sure they have similar cooking times. This way, they will pickle evenly. The mix of colors and flavors will make for an eye-catching and tasty treat! You should refrigerate spicy pickled okra for up to two months. This keeps the flavors fresh and bright. After two months, the taste may fade. Look out for signs of spoilage, like mold or a bad smell. If you notice these, it's time to discard the jar. Always seal your jars tightly. This helps keep air out and flavors in. Store your jars in the fridge at a temperature below 40°F (4°C). This coolness slows bacteria growth and keeps your okra safe to eat. There are many fun ways to use pickled okra. You can toss it in salads for a pop of flavor. Try adding it to sandwiches or wraps for a crunchy bite. To extend shelf life, always use clean utensils when serving. This prevents bacteria from getting into the jar. For more ideas, check the [Full Recipe]. To pickle okra, you need at least 24 hours. This time allows the okra to soak up the brine's flavors. However, if you wait longer, the taste will deepen. I often recommend keeping them for at least three days for a better taste. You can use frozen okra, but it may not be as crunchy. Frozen okra may lose some of its texture during freezing. It’s best to use fresh okra for the best results. If you do use frozen, thaw them first and drain any excess water. If the brine doesn’t cover the okra, you can add more brine. Simply mix equal parts of vinegar and water, then pour it into the jar until the okra is submerged. You can also press the okra down gently to ensure they are packed tightly, which might help the brine cover them. To boost the flavor, add more spices. I love using coriander seeds or bay leaves. You can also experiment with herbs like thyme or oregano. If you crave more heat, add more jalapeños or red pepper flakes. In this guide, we explored how to pickle okra step by step. We covered essential ingredients, from fresh okra to a mix of spices. You learned how to prepare the okra, make the brine, and pack the jars tightly. We shared tips for perfect pickling and serving ideas. Pickled okra adds flavor and zest to your meals. Experiment with spices and vegetables to find your favorite twist. Happy pickling!](https://mysavedrecipe.com/wp-content/uploads/2025/06/3c770cf1-cede-4fe9-b320-586c604f0b59.webp)
Spicy Refrigerator Pickled Okra Flavorful and Easy Recipe
If you crave a burst of flavor, you need to try my Spicy Refrigerator Pickled Okra! This easy recipe transforms fresh okra into a…
My Latest Desserts

Chocolate Chip Pumpkin Cream Cheese Muffins Delight
If you love the cozy flavors of fall, you’re in for a real treat! Chocolate Chip Pumpkin Cream Cheese Muffins Read Full Recipe-
Streusel Pumpkin Cream Cheese Muffins Delightful Treat
If you love pumpkin flavors, you will adore these Streusel Pumpkin Cream Cheese Muffins. They mix rich pumpkin with creamy Read Full Recipe -
Easy Pumpkin Cream Cheese Muffins Tasty Fall Treat
Fall is here, and that means it’s time for warm, cozy treats! You’ll love these Easy Pumpkin Cream Cheese Muffins. Read Full Recipe -
Pumpkin Cream Cheese Muffins Delightful and Simple Recipe
Get ready to enjoy a treat that combines the warmth of pumpkin with creamy cheese! This simple recipe for pumpkin Read Full Recipe -
Pumpkin Pie Crinkle Cookies Charming Autumn Treat
Get ready to embrace autumn with a delightful twist on a classic favorite! Pumpkin Pie Crinkle Cookies combine the warm Read Full Recipe -
Pumpkin Cheesecake Cookies Irresistible Fall Treat
Welcome to the season of cozy flavors and pumpkin delights! If you crave a treat that combines the rich taste Read Full Recipe -
Chocolate Chip Pumpkin Cookies Flavorful Fall Treat
Are you ready to bake something special this fall? Chocolate chip pumpkin cookies blend sweet chocolate with warm pumpkin spice Read Full Recipe -
Pumpkin Butter Snickerdoodles Irresistible Cookie Treat
Looking for a new fall favorite? These Pumpkin Butter Snickerdoodles are the perfect cookie treat! With soft centers and a Read Full Recipe -
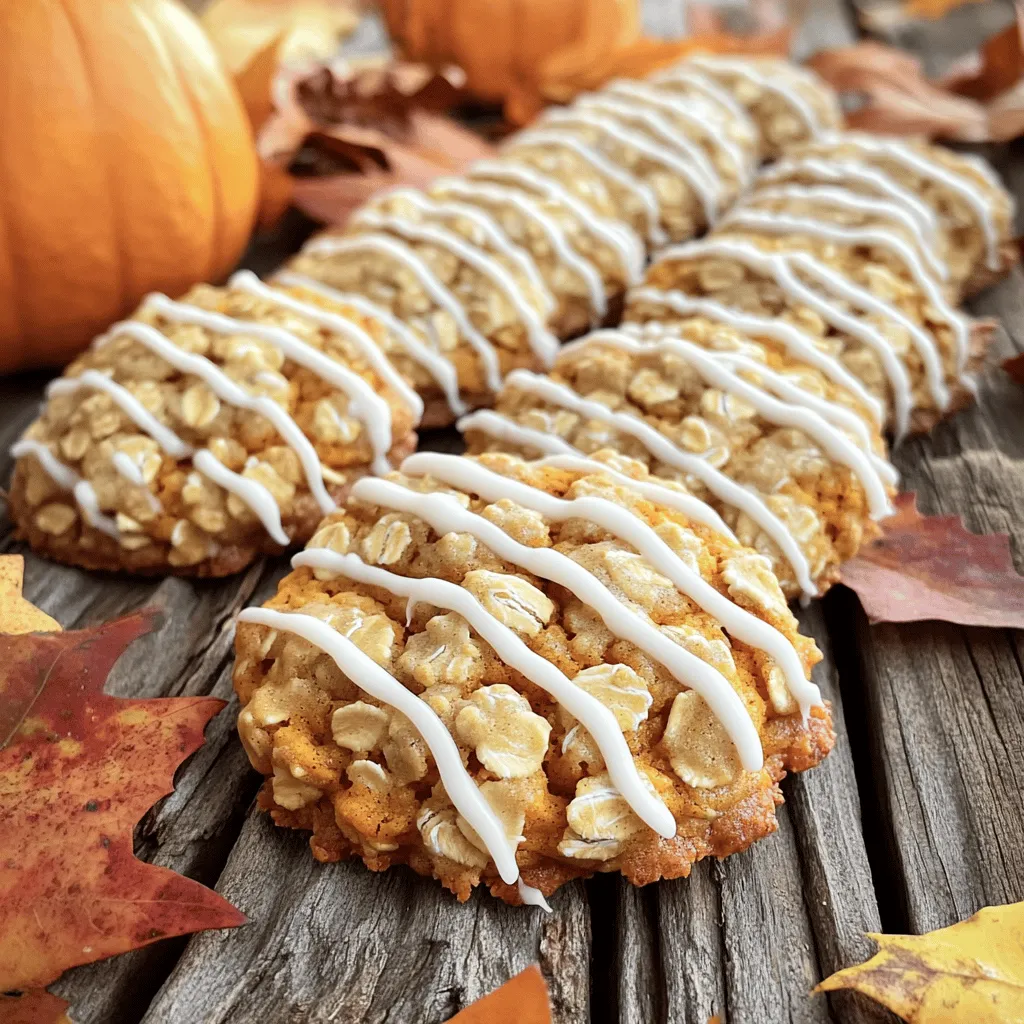
Pumpkin & Oatmeal Cookies with Icing Delight
If you’re looking for a delightful treat that combines the warm flavors of fall, you’re in the right place! In Read Full Recipe -
Pumpkin Churro Bites Tasty and Easy Dessert Treat
Are you ready to take your dessert game to the next level? These Pumpkin Churro Bites are here to impress! Read Full Recipe


My Latest Recipes

hey,
i’m !
I’m so happy you’re here!
Food is my passion, and perfecting each dish is my craft. I can’t wait for you to try them let’s dive into this delicious journey side by side.


Stuffed Yellow Squash with Beef Flavorful Recipe
Are you ready to spice up your dinner routine? This delicious Stuffed Yellow Squash with Beef recipe is simple, tasty, and packed with healthy…
. To keep your stuffed yellow squash fresh, first let it cool. After cooling, store leftovers in the fridge. Wrap each squash half tightly in plastic wrap. You can also place them in an airtight container. This keeps moisture in and prevents odors from mixing. The dish stays fresh for about 3-4 days in the fridge. Use glass or plastic containers that seal tightly. They are great for storing your squash. Glass containers let you see the food inside. They are also easy to clean. Choose containers that fit the size of your leftovers. Avoid using aluminum foil for long-term storage. It can react with the food and change the taste. To enjoy the flavors again, reheat leftovers carefully. The best method is to use an oven. Preheat the oven to 350°F (175°C). Place the stuffed squash in a baking dish. Cover with foil to keep moisture in. Heat for about 15-20 minutes until warm. This keeps the squash tender and the filling moist. You can also use a microwave for quick reheating. Place the squash on a microwave-safe plate. Cover it with a damp paper towel to keep it from drying out. Heat in short bursts, about 1-2 minutes at a time. Check the temperature to avoid overheating. The oven gives a better result, but the microwave is faster. Choose the method that works best for you. Can I use frozen squash? Yes, you can use frozen squash. Just thaw it before using. Frozen squash may change the texture a bit, but it still tastes good. How long does the dish last in the fridge? Stuffed yellow squash lasts about three to four days in the fridge. Store it in an airtight container to keep it fresh. Can I prepare this in advance? Absolutely! You can prepare the filling a day before. Just store it in the fridge. When ready, stuff the squash and bake. What can I serve with stuffed squash? Stuffed squash pairs well with a fresh salad or crusty bread. You could also serve it with rice or quinoa for a complete meal. What temperature should the beef be cooked to? Cook the beef to an internal temperature of 160°F (71°C). This ensures it’s safe to eat and full of flavor. Can I bake the stuffed squash without the cheese? Yes, you can bake it without cheese. The dish will still taste great! If you want, add a sprinkle of herbs for extra flavor. This dish combines yellow squash, ground beef, and quinoa into a tasty meal. We covered gathering fresh ingredients, preparing, and cooking the squash perfectly. I shared tips for serving and storing leftovers, plus ways to adapt the recipe. Remember, feel free to change the meat or add veggies. With these steps and tricks, you can enjoy a hearty meal. Test the recipe, impress your friends, and dive into the flavors!](https://mysavedrecipe.com/wp-content/uploads/2025/07/02a96845-252a-46e0-b429-cb18401ca88a.webp)
