Latest & Greatest
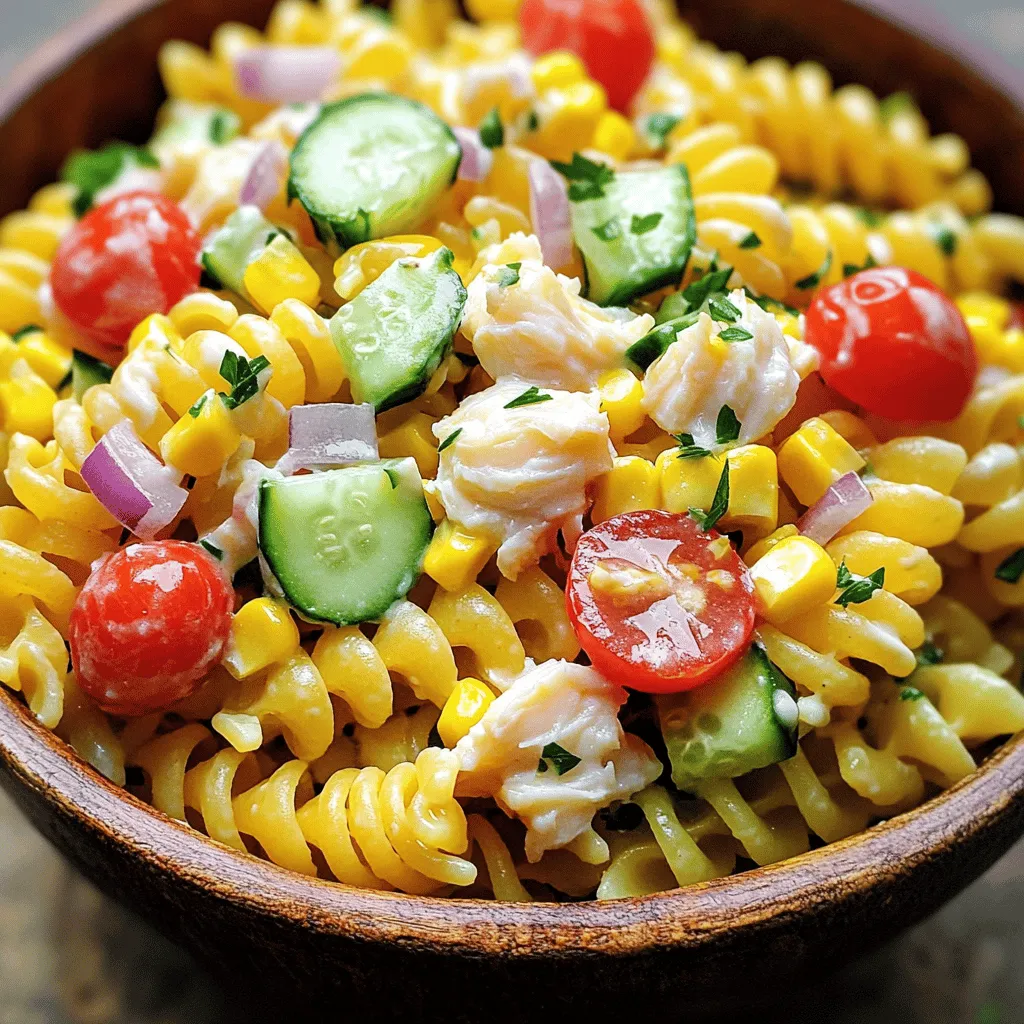
Super Easy Crab Pasta Salad Fresh and Flavorful Meal
Craving a fresh and flavorful meal that’s super easy to make? You’re in the right place! My Super Easy Crab
Read more…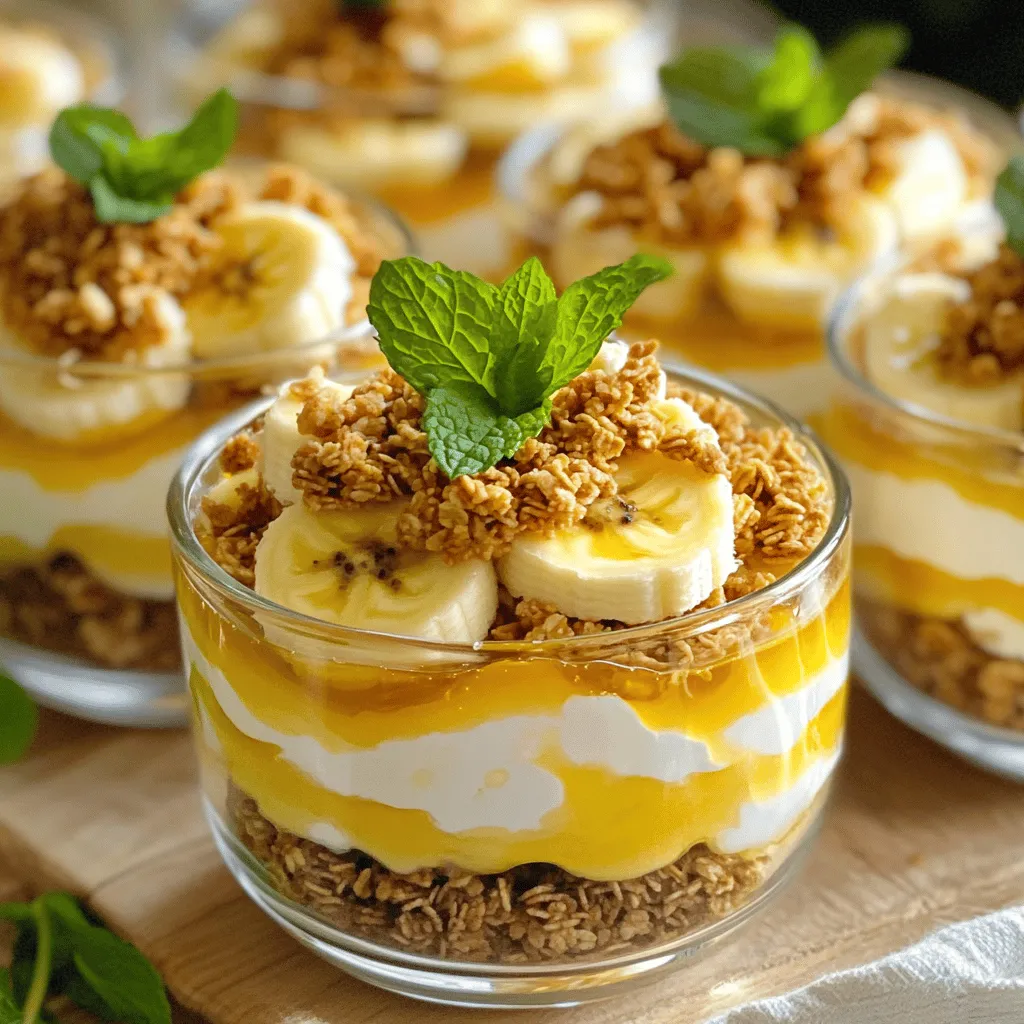
Creamy Banana Dessert Simple and Delicious Treat
Looking for a quick and tasty dessert? This Creamy Banana Dessert is your answer! You can whip it up using
Read more…
Crab Stuffed Cheddar Bay Biscuit Savory Delight Recipe
Crab Stuffed Cheddar Bay Biscuits combine rich flavors with a flaky texture. Imagine biting into a warm, buttery biscuit filled
Read more…
No-Bake Orange Creamsicle Cheesecake Delight Recipe
If you’re craving a sweet, creamy treat, this No-Bake Orange Creamsicle Cheesecake Delight is for you! It brings together bright
Read more…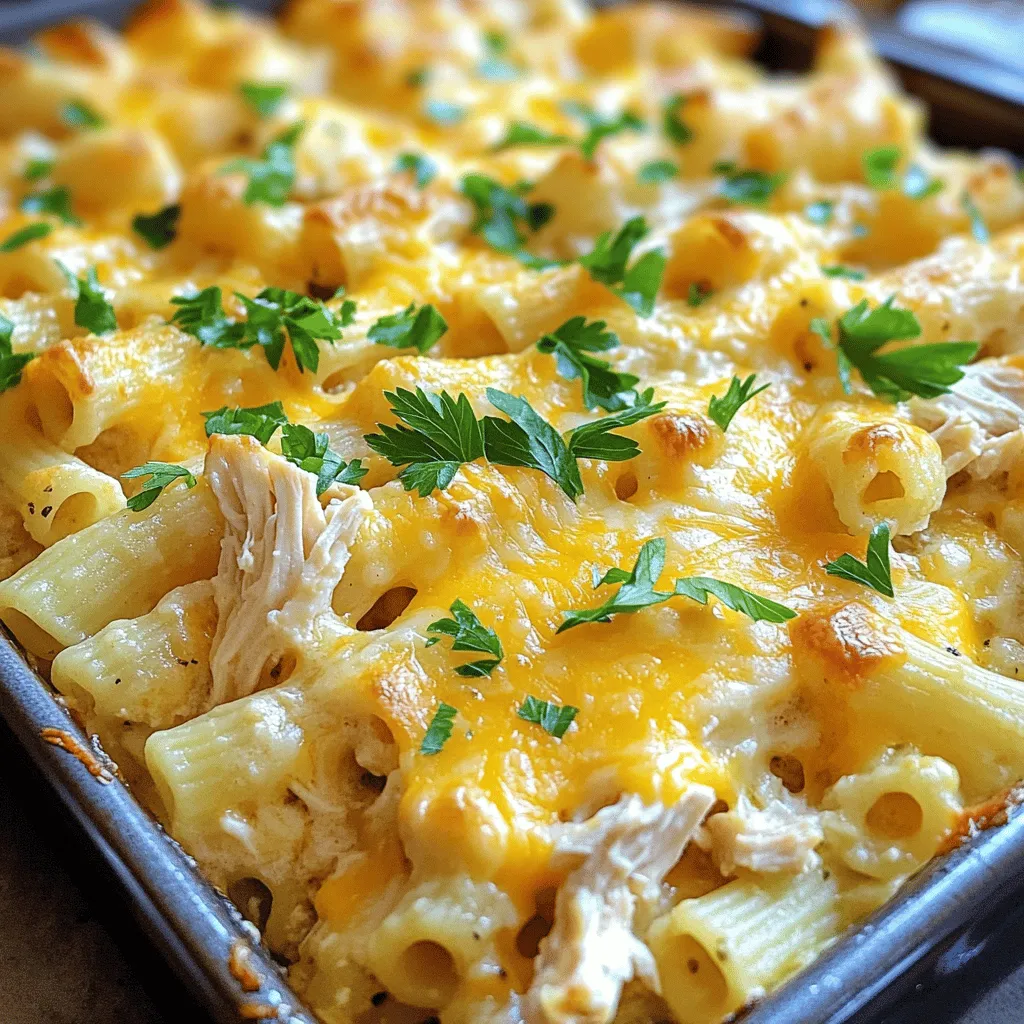
Crack Chicken Baked Ziti Flavor-Packed Comfort Dish
Welcome to the world of Crack Chicken Baked Ziti, where comfort meets flavor! If you’re craving a dish that’s easy
Read more…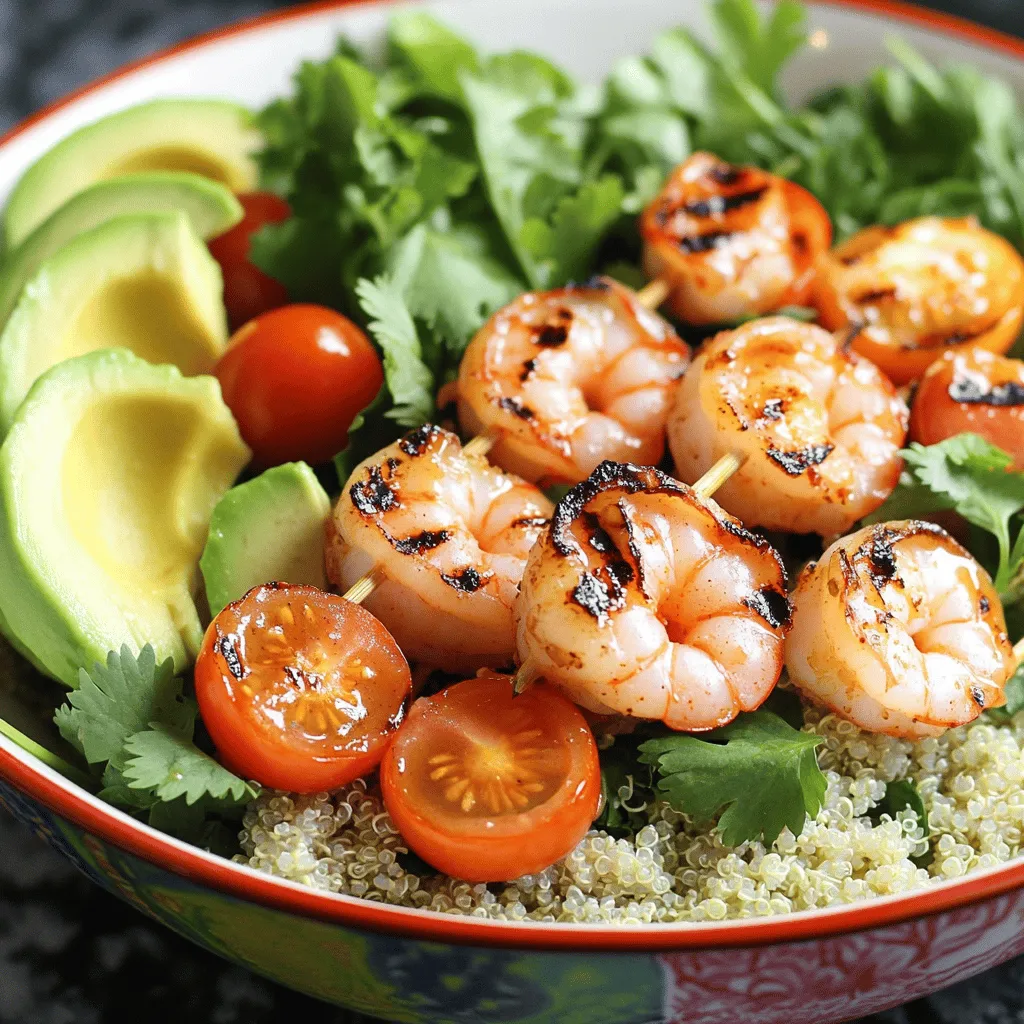
Grilled Shrimp Bowl with Garlic Sauce Flavor Boost
Dive into the delicious world of flavors with my Grilled Shrimp Bowl with Garlic Sauce! This dish combines fresh shrimp
Read more…
Chicken Taco Casserole Delightful Easy Weeknight Meal
Are you looking for a quick, tasty meal that everyone will love? Chicken Taco Casserole is your answer! This dish
Read more…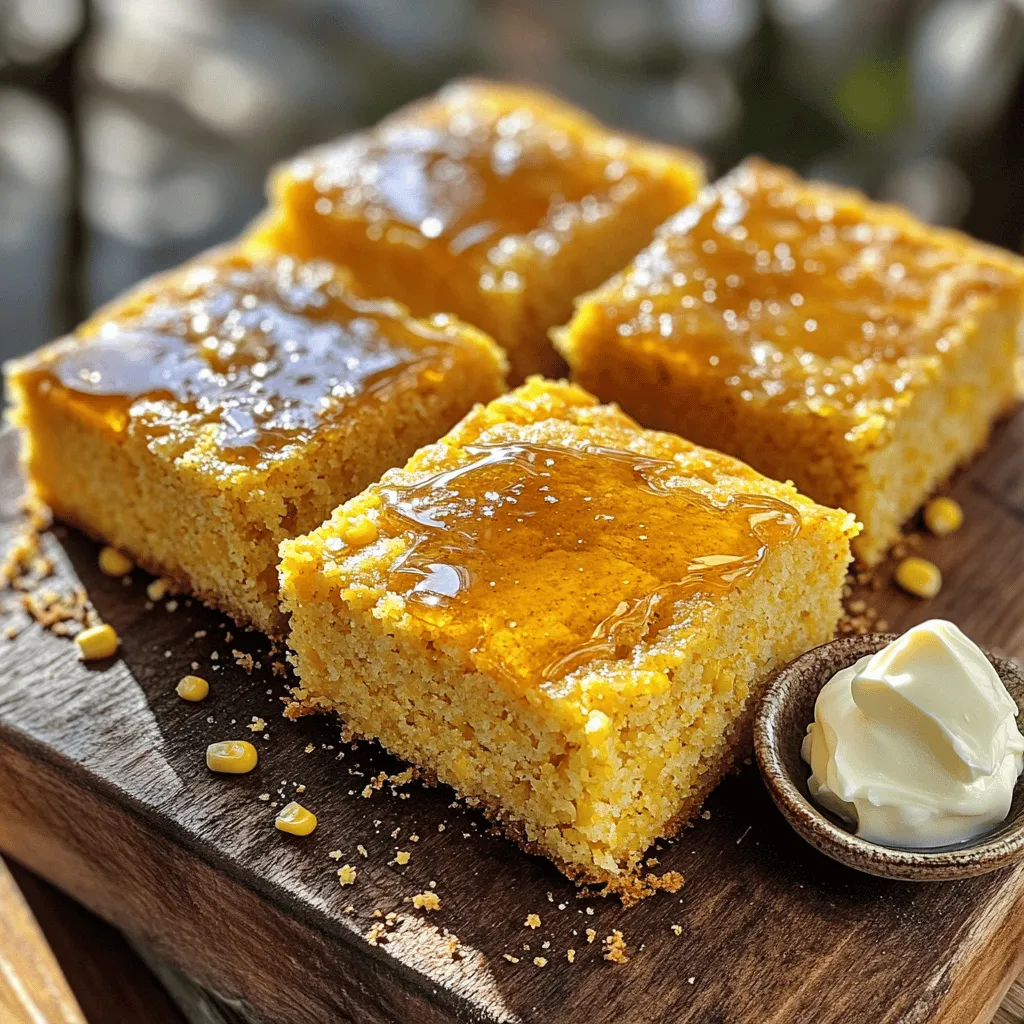
Sweet Cornbread Delight With Simple Baking Tips
Do you crave something warm, sweet, and oh-so-delicious? This Sweet Cornbread Delight is just what you need! With simple baking
Read more…browse recipes
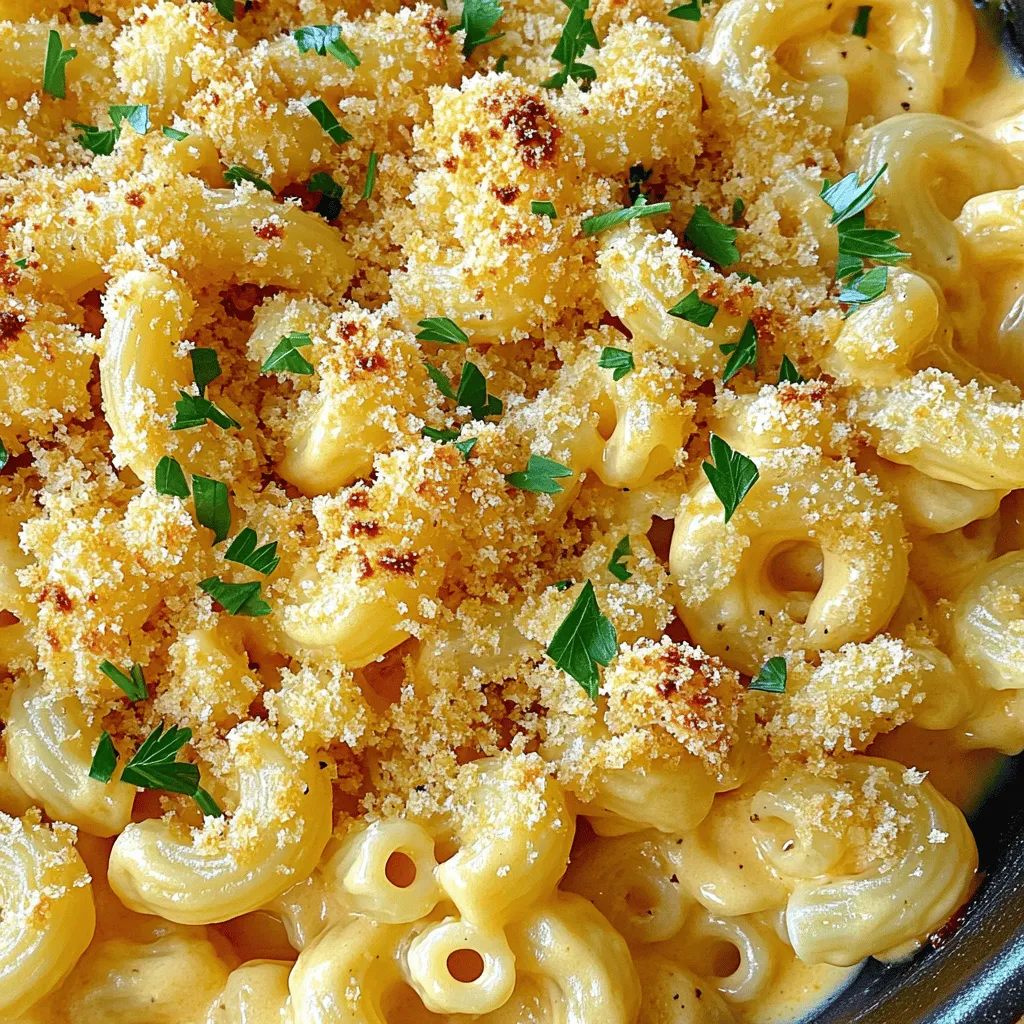
Baked Macaroni and Cheese Simple Comfort Food Guide
Baked macaroni and cheese is the ultimate comfort food. It’s creamy, cheesy, and so easy to make! In this guide, I’ll share my best…
My Latest Desserts
Chocolate Chip Pumpkin Cream Cheese Muffins Delight
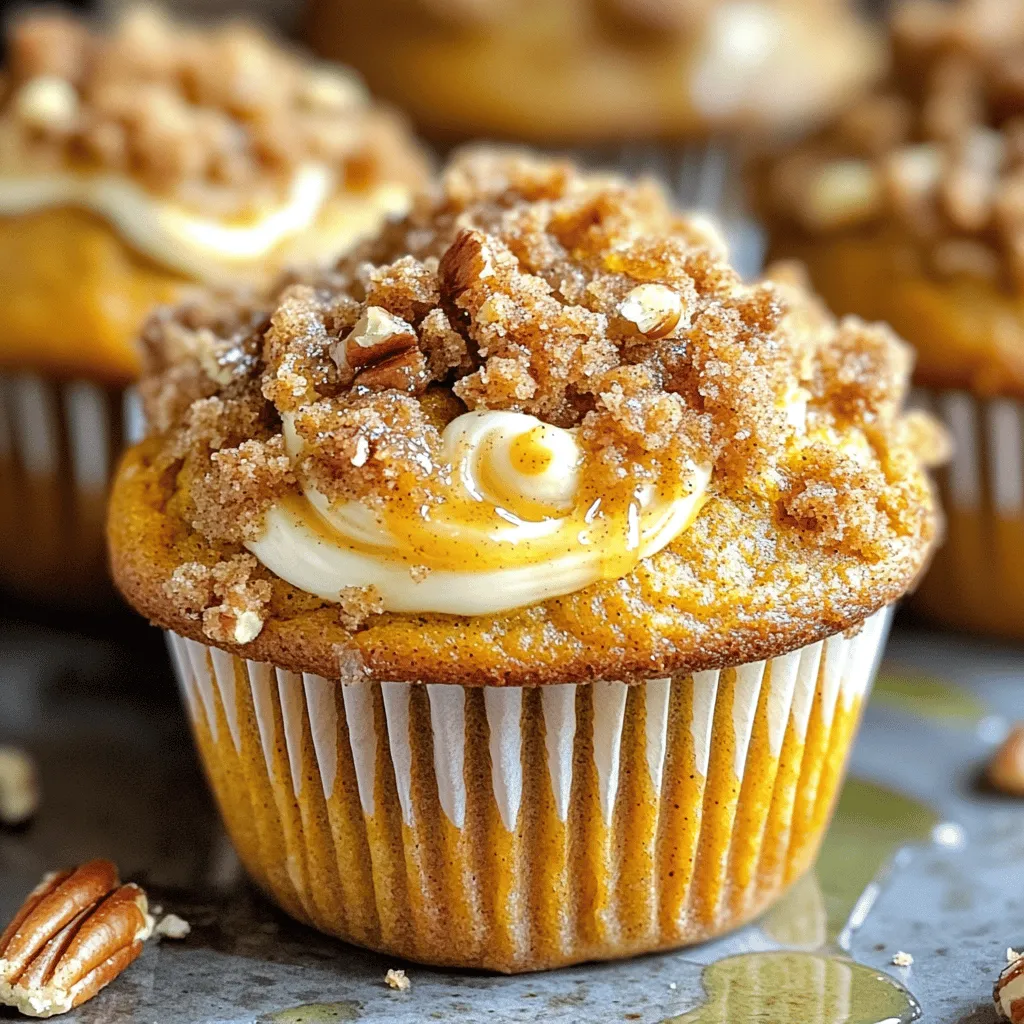
If you love the cozy flavors of fall, you’re in for a real treat! Chocolate Chip Pumpkin Cream Cheese Muffins Read Full RecipeStreusel Pumpkin Cream Cheese Muffins Delightful Treat
If you love pumpkin flavors, you will adore these Streusel Pumpkin Cream Cheese Muffins. They mix rich pumpkin with creamy Read Full RecipeEasy Pumpkin Cream Cheese Muffins Tasty Fall Treat
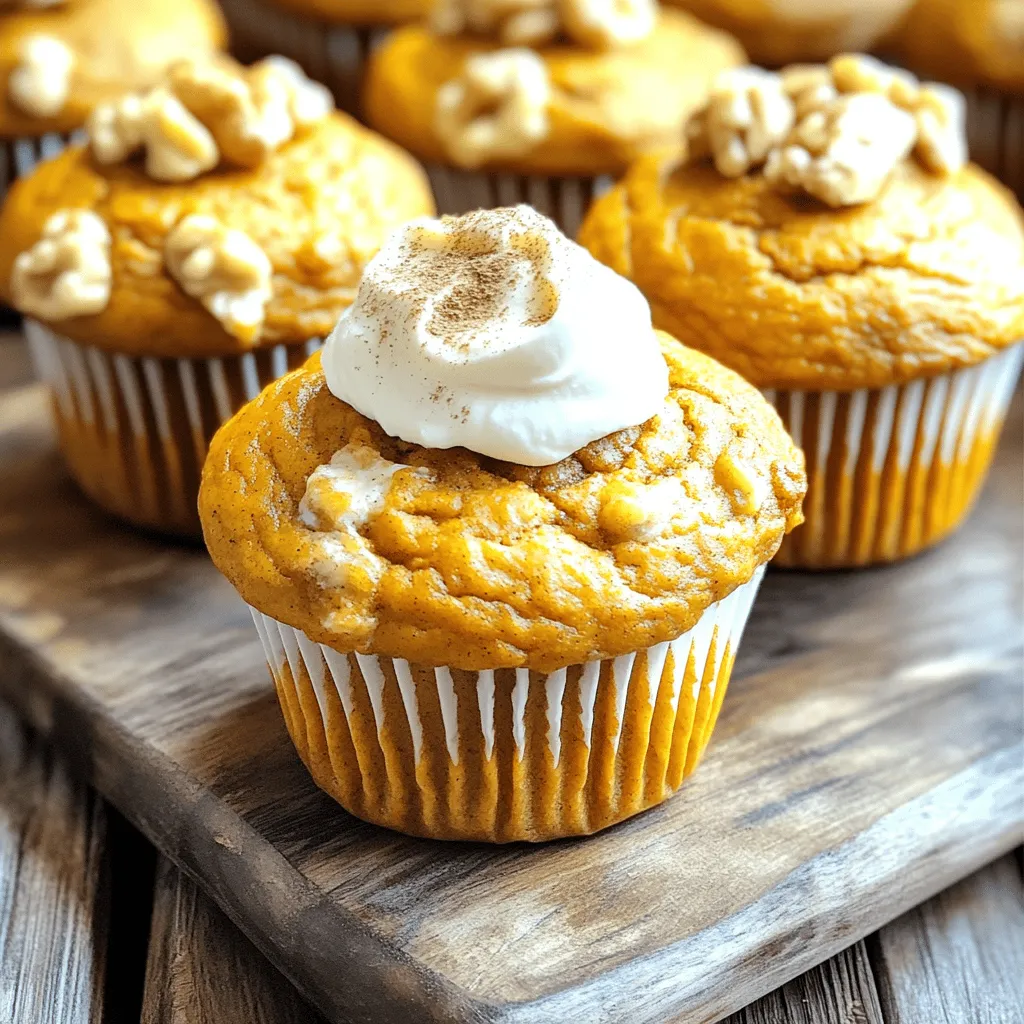
Fall is here, and that means it’s time for warm, cozy treats! You’ll love these Easy Pumpkin Cream Cheese Muffins. Read Full RecipePumpkin Cream Cheese Muffins Delightful and Simple Recipe
Get ready to enjoy a treat that combines the warmth of pumpkin with creamy cheese! This simple recipe for pumpkin Read Full RecipePumpkin Pie Crinkle Cookies Charming Autumn Treat
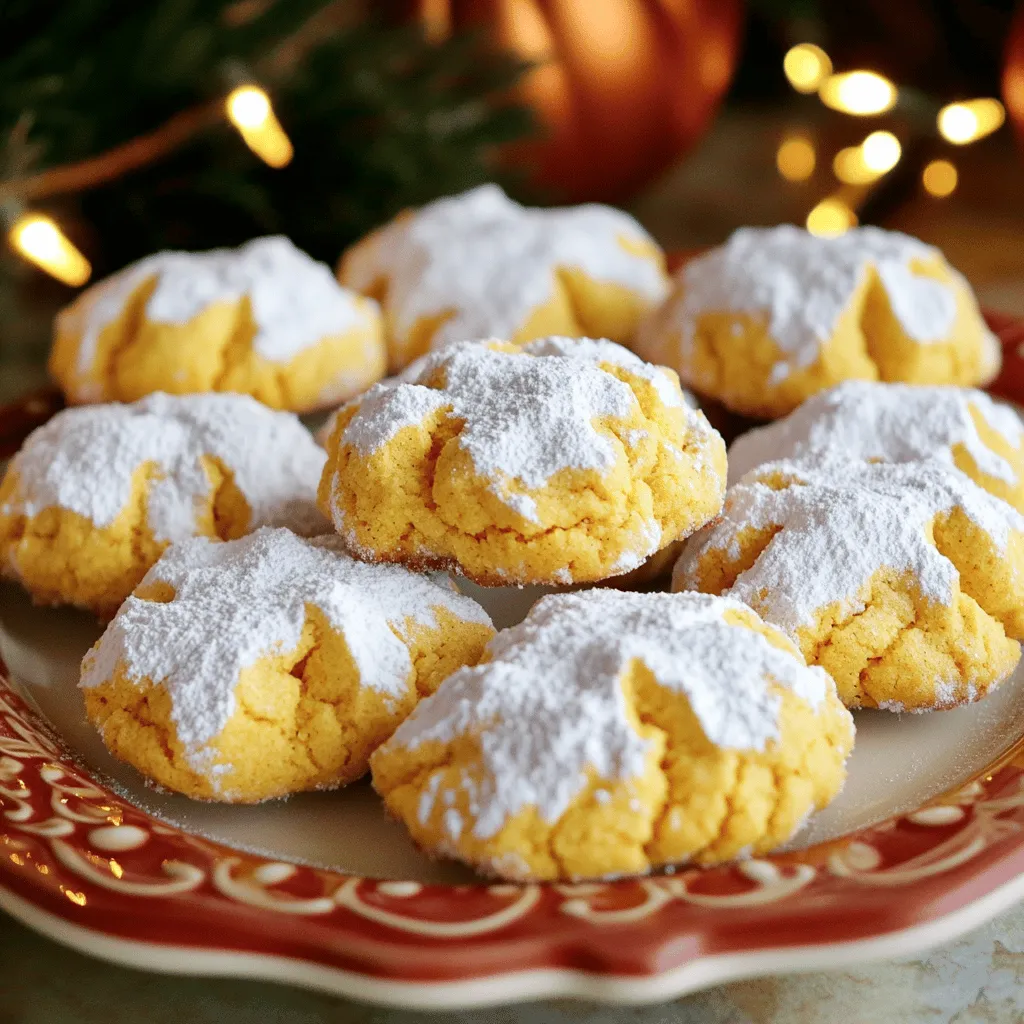
Get ready to embrace autumn with a delightful twist on a classic favorite! Pumpkin Pie Crinkle Cookies combine the warm Read Full RecipePumpkin Cheesecake Cookies Irresistible Fall Treat
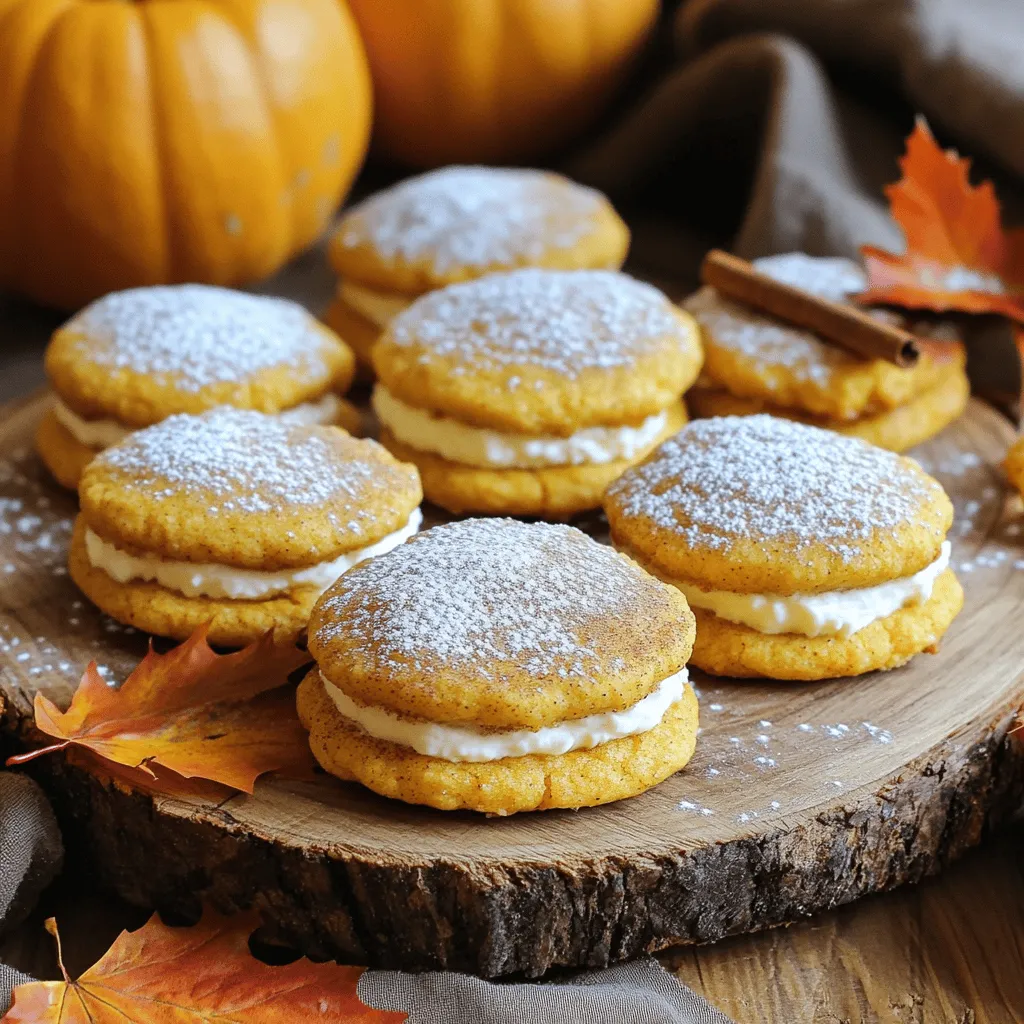
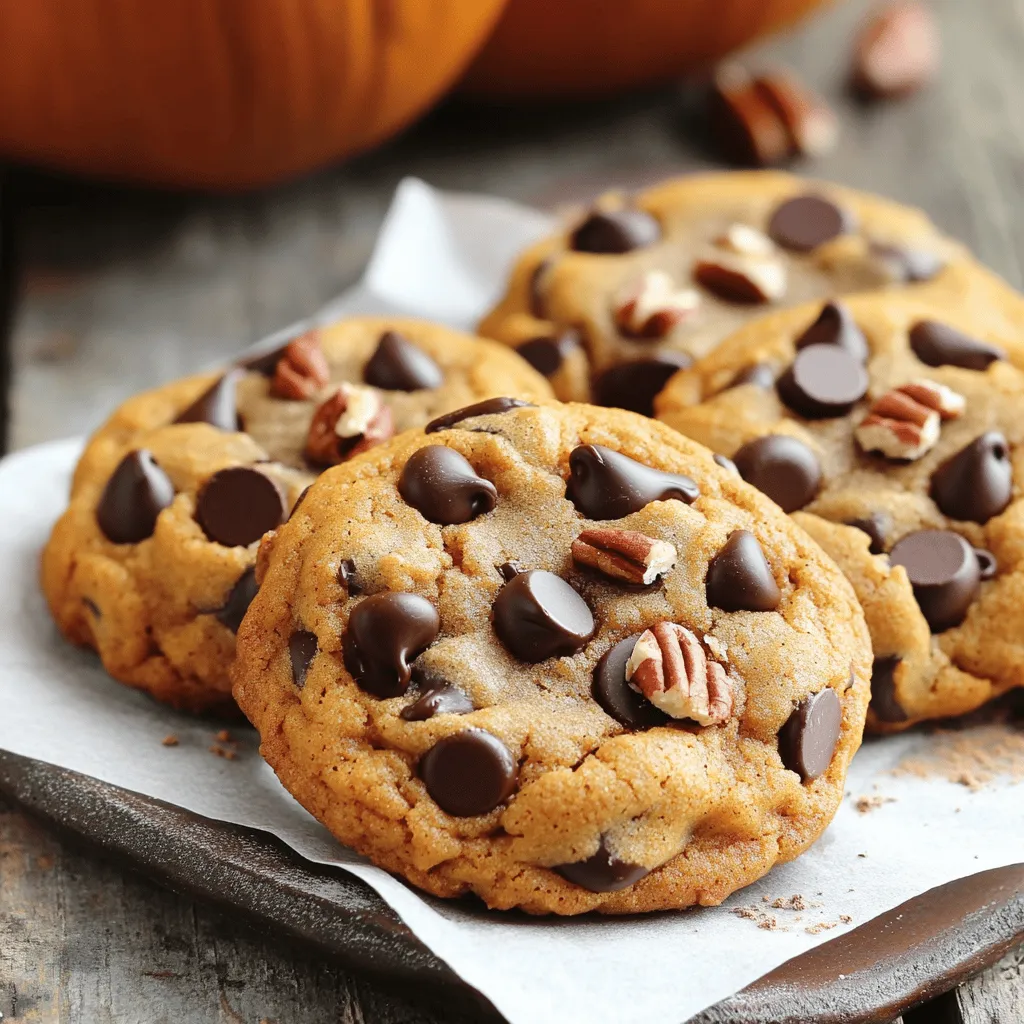
Welcome to the season of cozy flavors and pumpkin delights! If you crave a treat that combines the rich taste Read Full RecipeChocolate Chip Pumpkin Cookies Flavorful Fall Treat
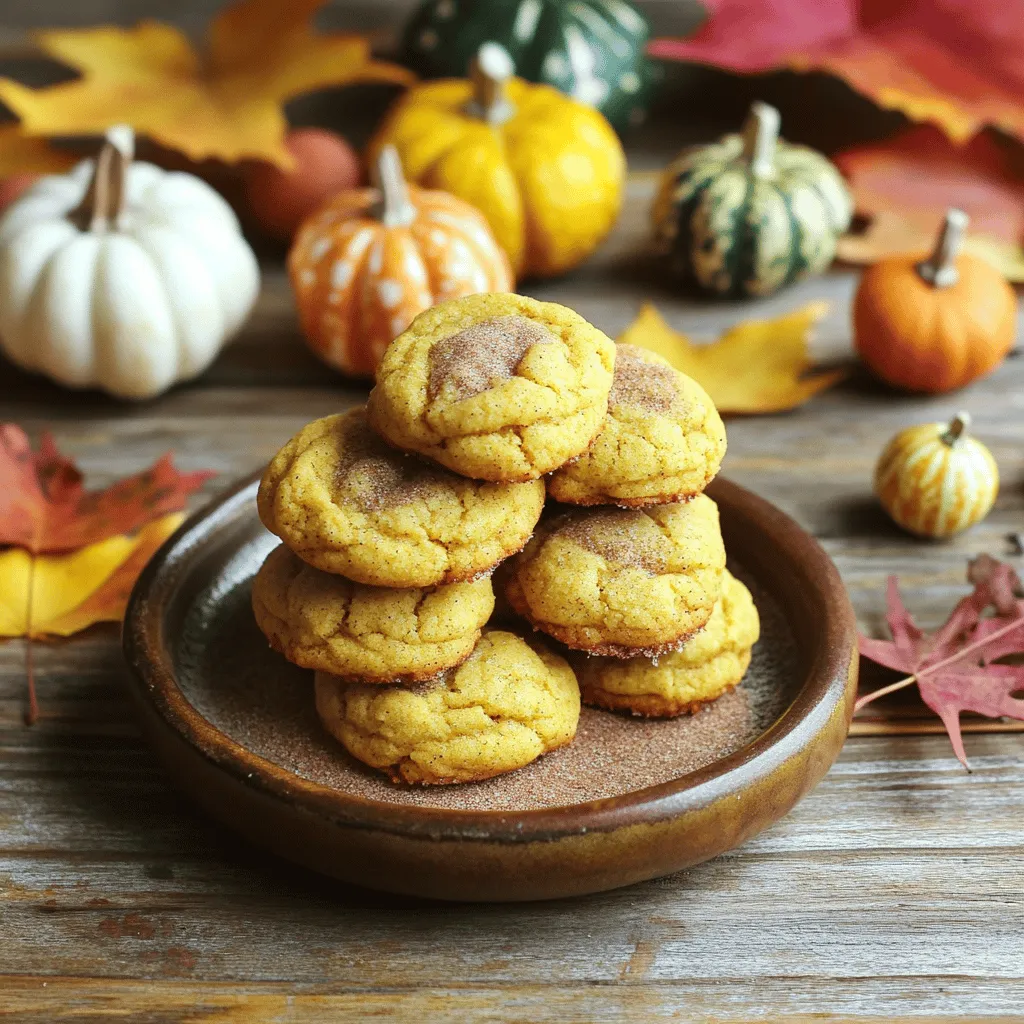
Are you ready to bake something special this fall? Chocolate chip pumpkin cookies blend sweet chocolate with warm pumpkin spice Read Full RecipePumpkin Butter Snickerdoodles Irresistible Cookie Treat
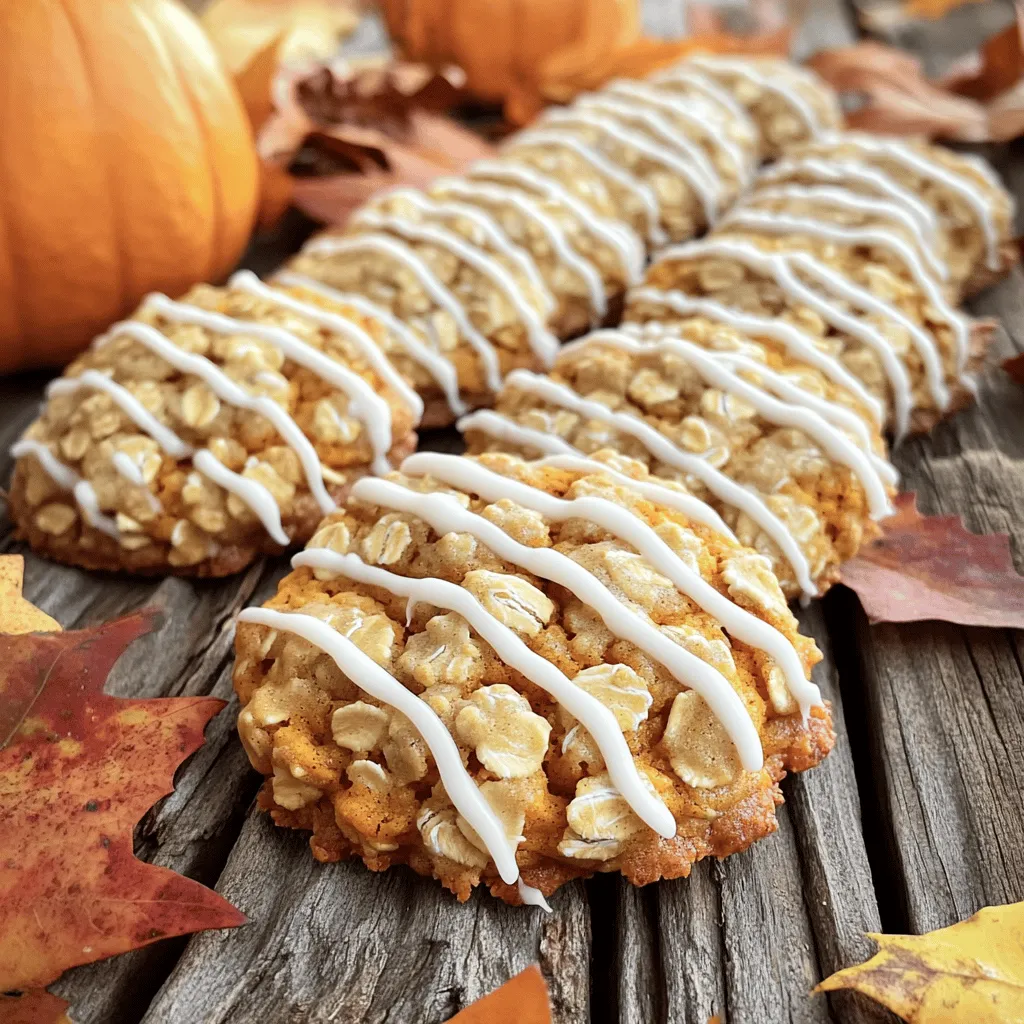
Looking for a new fall favorite? These Pumpkin Butter Snickerdoodles are the perfect cookie treat! With soft centers and a Read Full RecipePumpkin & Oatmeal Cookies with Icing Delight
If you’re looking for a delightful treat that combines the warm flavors of fall, you’re in the right place! In Read Full RecipePumpkin Churro Bites Tasty and Easy Dessert Treat
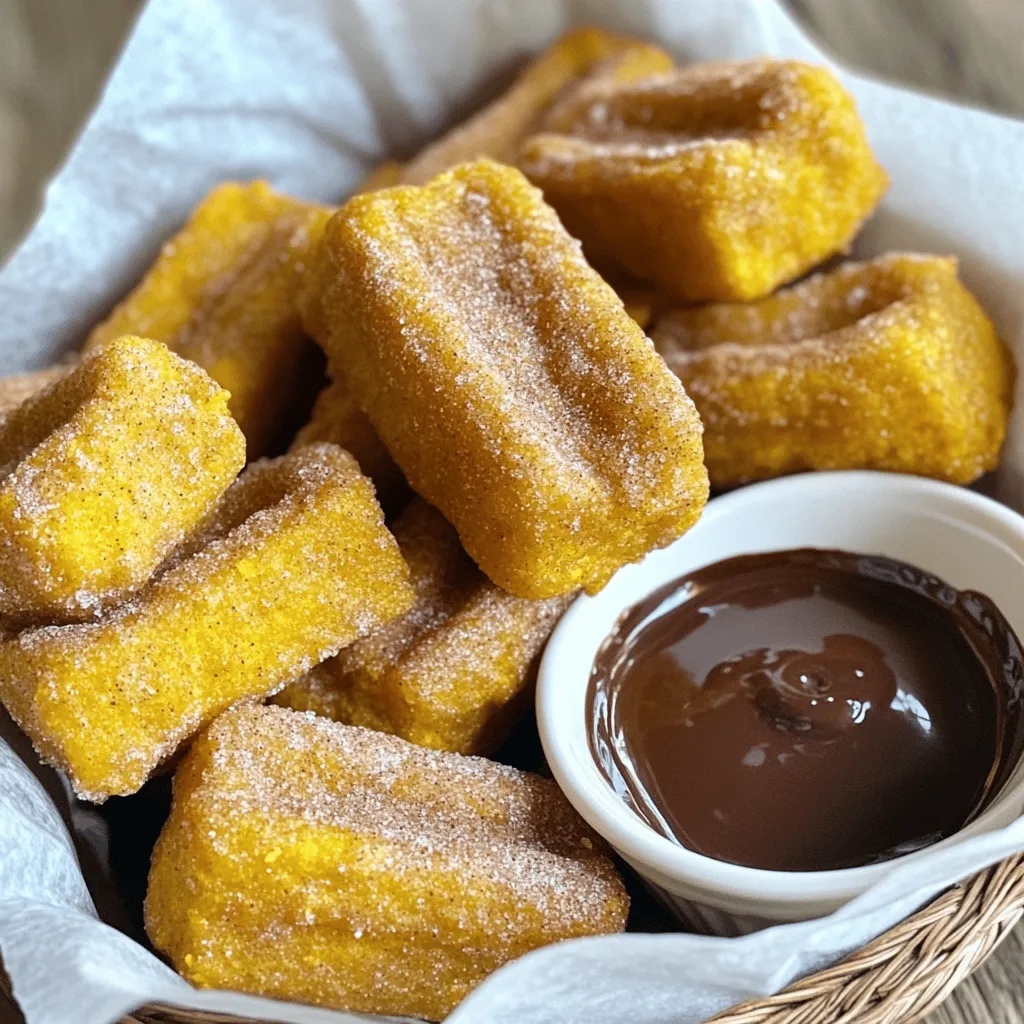
Are you ready to take your dessert game to the next level? These Pumpkin Churro Bites are here to impress! Read Full Recipe
My Latest Recipes
hey,
i’m !
I’m so happy you’re here!
Food is my passion, and perfecting each dish is my craft. I can’t wait for you to try them let’s dive into this delicious journey side by side.
Chocolate Dipped Strawberries Easy and Delicious Treat
If you’re looking for a quick and tasty dessert, you’ve come to the right place! Chocolate dipped strawberries are not only easy to make,…









![- 2 cups cooked pasta (penne or rotini) - 1 cup marinara sauce - 1 cup pizza sauce - 1 cup mozzarella cheese, shredded - 1 cup pepperoni slices - 1/2 cup bell peppers, diced (red and green) - 1 teaspoon dried oregano - 1 teaspoon garlic powder - Fresh basil leaves for garnish When making Easy Pizza Pasta Bake, you want to choose your main ingredients wisely. Start with cooked pasta, either penne or rotini. They hold sauces well. Next, marinara sauce adds a rich flavor. Pizza sauce brings in that classic pizza taste. Mix them together to create a base that’s both familiar and comforting. For the best pizza experience, add mozzarella cheese. It melts beautifully and gives that gooey texture we all love. Pepperoni slices add a savory bite. Don't forget the bell peppers. They give color and a sweet crunch. Seasoning is key! Dried oregano and garlic powder enhance the flavor of the dish. Fresh basil leaves add a pop of color and freshness. If you want to make this dish even more exciting, consider adding mushrooms or olives. Now you have the full picture of what goes into this dish. For the complete recipe, check the [Full Recipe]. - Preheat your oven to 350°F (175°C). - In a large bowl, combine the cooked pasta, marinara sauce, and pizza sauce. Stir until mixed well. - Add the cheese, pepperoni, bell peppers, mushrooms, and olives to the pasta. - Season with oregano, garlic powder, salt, and pepper. Mix everything until it looks colorful and tasty. - Transfer the mixture to a greased baking dish. Spread it out evenly. - Cover the dish with aluminum foil and bake for 25 minutes. - Remove the foil and bake for another 10 to 15 minutes, until the cheese is bubbly and golden. This dish is fun to make and tastes great. For the full recipe, check the section above. Enjoy your meal! - Best pasta options for baking: I love using penne or rotini. They hold sauce well and add great texture. These shapes allow for a better mix of flavors and make every bite a delight. - How to achieve golden, bubbly cheese: For the best cheese topping, add a bit more mozzarella before baking. This extra layer gives the dish a nice, golden look. Bake it covered first, then uncover for the last part. This helps the cheese get bubbly and brown without drying out the pasta. - Presentation tips for the dish: Serve the pasta bake right from the dish for a cozy look. Add fresh basil on top for a pop of color. It makes the dish feel special and fresh. - Pairing ideas: This bake goes great with a simple side salad or warm breadsticks. A light salad balances the richness and adds freshness. Breadsticks are perfect for dipping into any extra sauce. - Suggestions for additional toppings: You can spice it up with more toppings. Try adding cooked sausage, fresh spinach, or even jalapeños for heat. Each topping adds a unique twist and makes it your own. - How to customize the recipe to your taste: Don’t hesitate to mix flavors. You can swap out sauces, use different cheeses, or even add veggies you love. Make it fun! The more you personalize it, the more you’ll enjoy your meal. For the full recipe, check out the detailed instructions in the recipe section. {{image_2}} You can easily make this dish vegetarian. Swap the pepperoni for your favorite veggies. Bell peppers, mushrooms, and spinach work great. You can also use alternative cheese options. Try using vegan cheese or ricotta for a creamy touch. For a gluten-free version, use gluten-free pasta. There are many options, like rice or chickpea pasta. Make sure to check the sauce labels too. Some sauces contain gluten, so look for certified gluten-free brands. Want to take it up a notch? You can add different meats. Sausage and chicken are great options. They add richness and depth to the dish. Spice it up with red pepper flakes or Italian seasoning. These add heat and extra flavor. Don't be afraid to mix and match! You can create a new favorite every time you make it. For the full recipe, check [Full Recipe]. To store leftovers properly, let the pasta bake cool down. Place it in an airtight container. This keeps the flavors fresh. Use glass or plastic containers that seal well. You can store it in the fridge for up to three days. Freezing the pasta bake is easy. First, let it cool completely. Then, wrap it tightly in plastic wrap. For best results, cover that with aluminum foil. This helps protect it from freezer burn. You can freeze it for up to three months. When ready to eat, thaw it overnight in the fridge. For reheating, the oven works best. Preheat it to 350°F (175°C). Place the pasta bake in a covered dish. Bake for about 20 minutes. This keeps the texture nice. You can also use the microwave for quick reheating. Just make sure to cover it to avoid dryness. Enjoy your cheesy pizza pasta bake warm and delicious! This dish takes about 15 minutes to prep and around 35 minutes to bake. In total, you will spend about 50 minutes from start to finish. This makes it a great option for busy weeknights or family get-togethers. Yes, you can prepare the Easy Pizza Pasta Bake ahead of time. You can mix the pasta with sauces and toppings. Store it in the fridge for up to 24 hours before baking. Just cover it tightly with foil or plastic wrap. If you want to keep it longer, you can freeze it for up to three months. Just thaw it overnight before baking. If you don’t have marinara sauce, you can use several alternatives. Pizza sauce works well because it adds a nice flavor. You can also try Alfredo sauce for a creamy twist. Another option is pesto, which gives the dish a fresh taste. Just make sure the sauce you choose pairs well with the other flavors. Absolutely! You can make the Easy Pizza Pasta Bake dairy-free. Use dairy-free cheese or skip the cheese altogether. For creaminess, consider adding cashew cream or coconut cream. These options keep the dish rich while catering to dietary needs. Just check the labels to ensure they are dairy-free. You now know how to make an Easy Pizza Pasta Bake. With simple ingredients and easy steps, it’s a dish anyone can master. Customize it to fit your taste with different toppings or sauces. Store leftovers correctly for later enjoyment. This recipe is fun to make and share. I hope you enjoy this dish as much as I do. Happy cooking!](https://mysavedrecipe.com/wp-content/uploads/2025/07/7f71e629-b6fb-46f0-b2de-6285b389047d-300x300.webp)

. To make cream soda donut holes from scratch, follow these steps: 1. Preheat the Oven: Set your oven to 350°F (175°C). 2. Grease the Pan: Use cooking spray on a mini muffin tin or donut hole pan. 3. Mix Dry Ingredients: In a bowl, whisk together the flour, sugar, baking powder, and salt. 4. Prepare Wet Ingredients: In another bowl, mix the eggs, milk, cream soda, melted butter, and vanilla until smooth. 5. Combine: Pour the wet mix into the dry mix. Stir gently, but don’t over-mix. 6. Fill the Pan: Spoon the batter into the prepared pan, filling each spot about two-thirds full. 7. Bake: Bake for 12-15 minutes until golden. A toothpick should come out clean. 8. Cool and Coat: Let them cool for five minutes. Roll the warm donut holes in powdered sugar. Add sprinkles if you like. This recipe makes about 24 donut holes. These bites are sweet, fluffy, and bursting with cream soda flavor. You can find cream soda donut holes at local bakeries or specialty shops. Some grocery stores may carry them in their bakery section. If you prefer online shopping, try platforms like Amazon or local delivery services. You can also check websites that specialize in gourmet treats. Yes, you can prepare these donut holes ahead of time. You can bake them a day before your event. Store them in an airtight container at room temperature. For longer storage, freeze them. To freeze, place them in a single layer on a baking sheet. Once frozen, transfer them to a zip-top bag. When ready to enjoy, thaw them at room temperature. You can reheat them in the oven for a few minutes to restore their warmth and texture. In this blog post, we covered how to make delicious cream soda donut holes. We discussed essential ingredients and key flavor enhancers that give them a unique taste. I shared step-by-step instructions, tips for perfect results, and variations for different diets and flavors. Remember, you can always store these treats for later or even freeze them. With these easy methods, you can enjoy baking fun treats. Don’t be afraid to get creative and try new variations. Your donut holes will delight friends and family!](https://mysavedrecipe.com/wp-content/uploads/2025/07/35e6bc4e-749b-460c-b9bb-8388b3f2e612-300x300.webp)
