Latest & Greatest
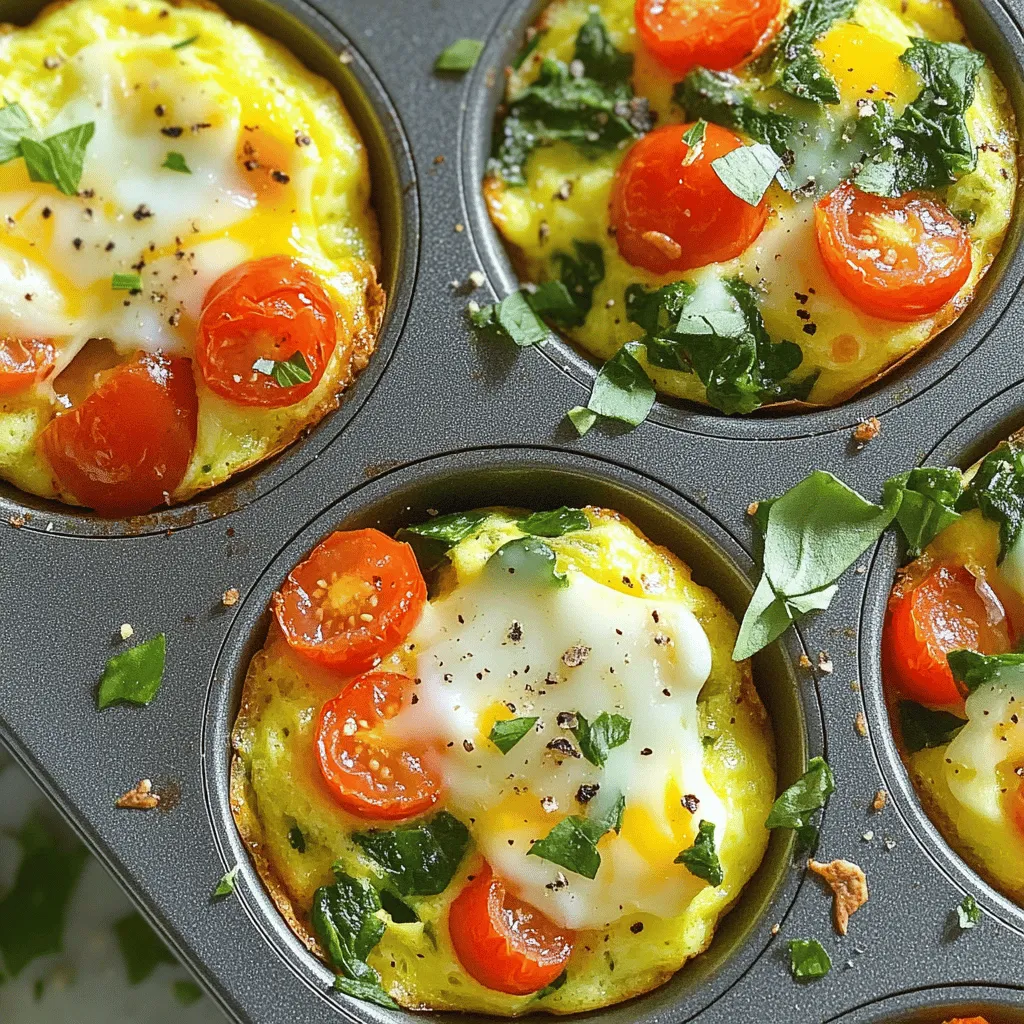
Egg Muffins with Veggies Tasty and Simple Recipe
Are you looking for a quick, healthy breakfast? Look no further! My Egg Muffins with Veggies are easy to make
Read more…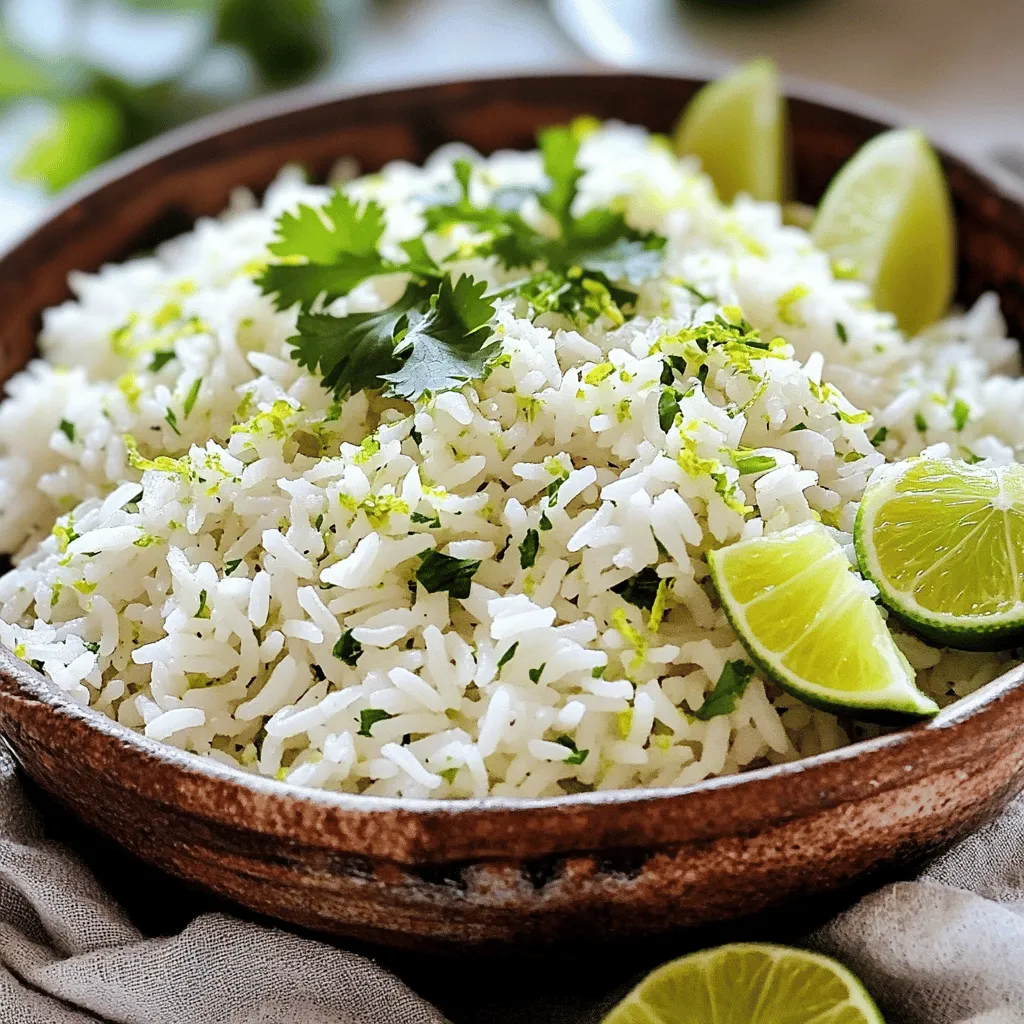
Lime Cilantro Rice Fresh and Flavorful Side Dish
Looking for a fresh and flavorful side dish? Lime Cilantro Rice is your answer! This bright, zesty dish pairs perfectly
Read more…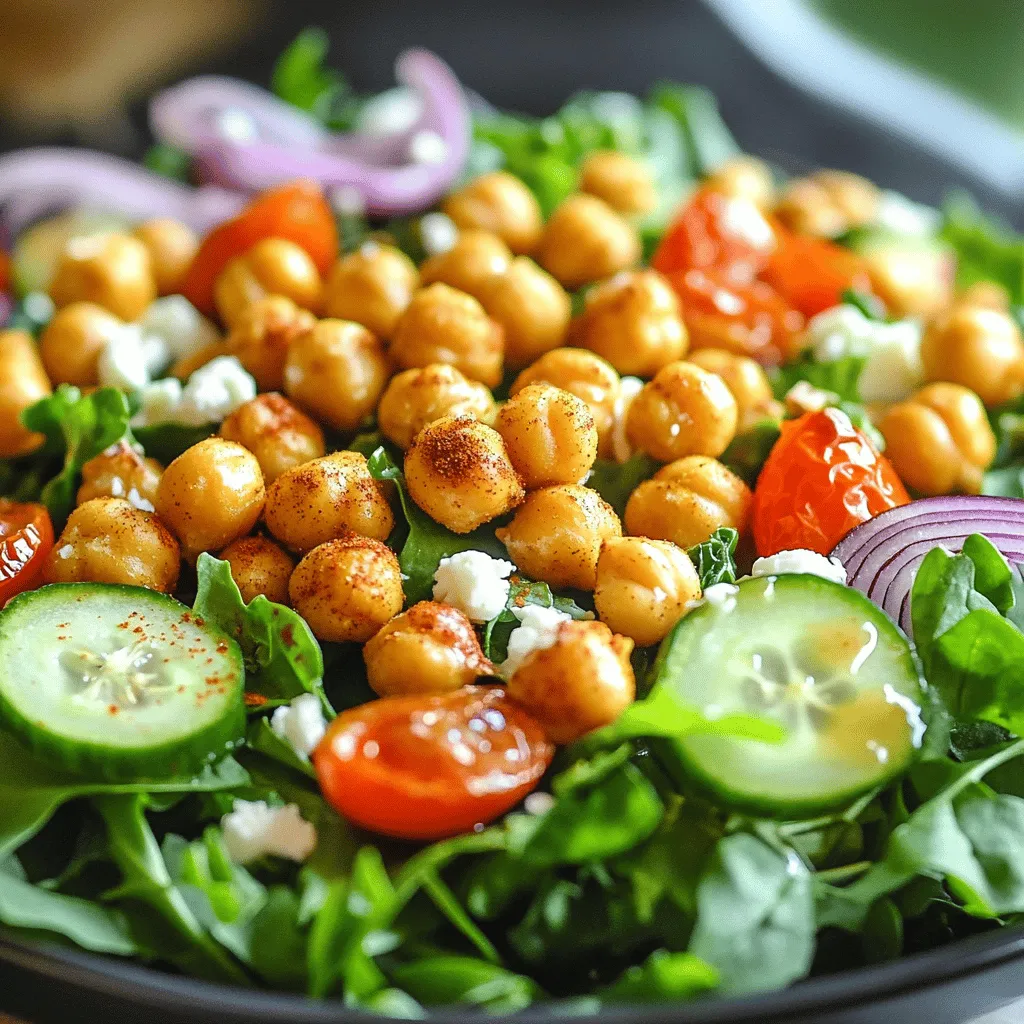
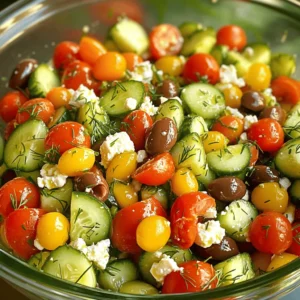
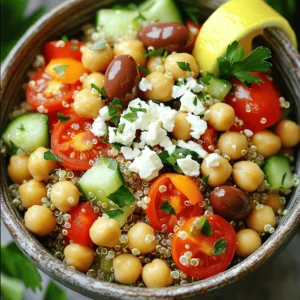
Crispy Chickpea Salad Flavorful and Nutritious Dish
Are you ready to spice up your mealtime? This Crispy Chickpea Salad is both flavorful and nutritious, making it the
Read more…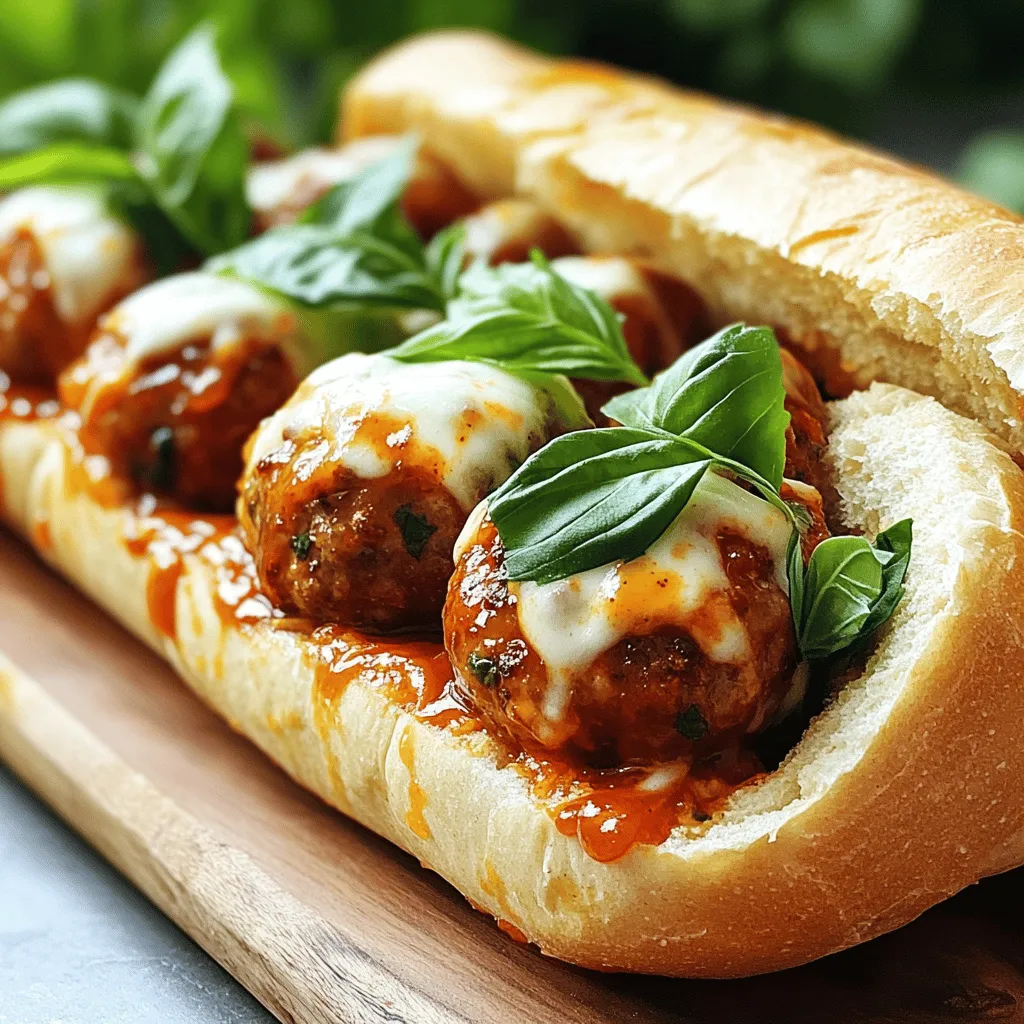
Sweet and Spicy Meatball Subs Tasty Comfort Food
Looking for a comfort food delight? Sweet and Spicy Meatball Subs are the answer! In this post, I’ll show you
Read more…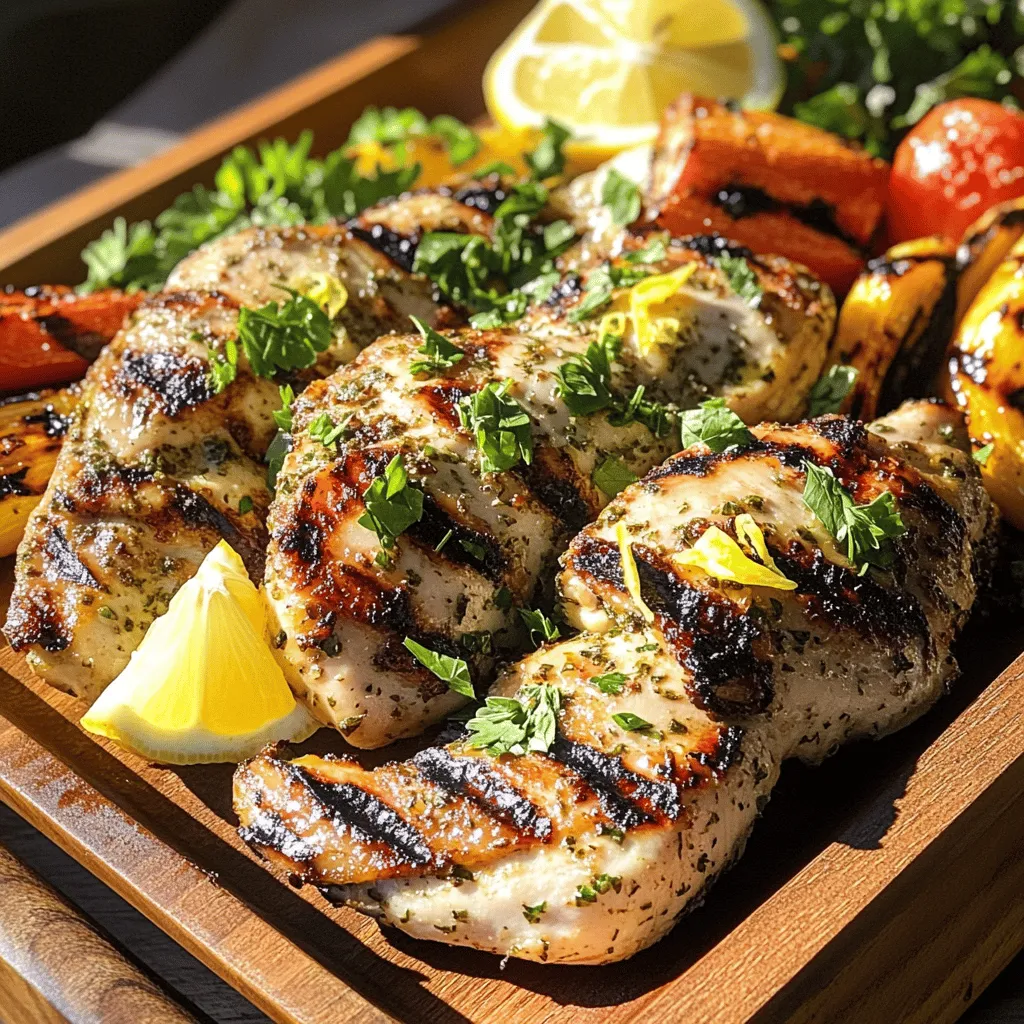
Lemon Herb Grilled Chicken Recipe Simple and Tasty
Ready to spice up your dinner routine? This Lemon Herb Grilled Chicken recipe is simple and bursting with flavor! With
Read more…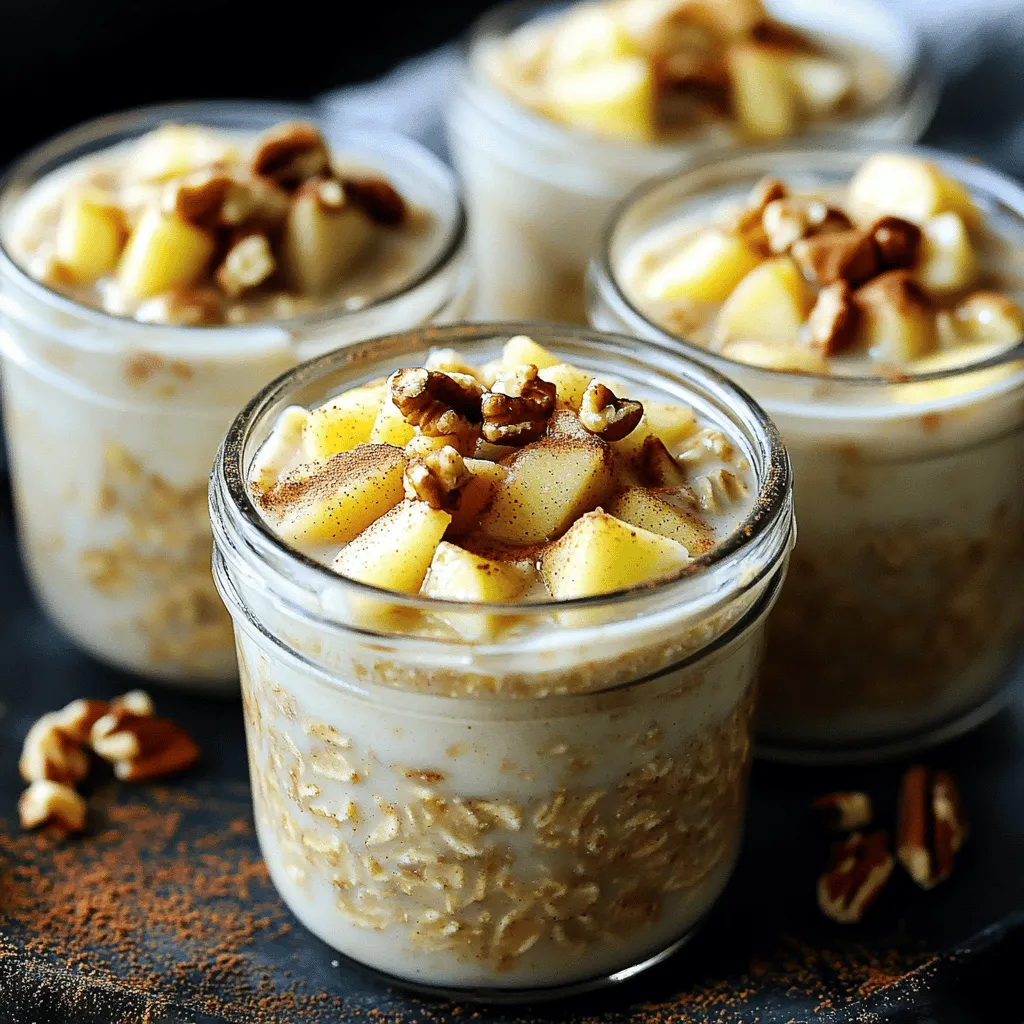
Apple Cinnamon Overnight Oats Tasty and Simple Recipe
Start your mornings with a delightful twist: Apple Cinnamon Overnight Oats! If you crave a quick, healthy breakfast, this recipe
Read more…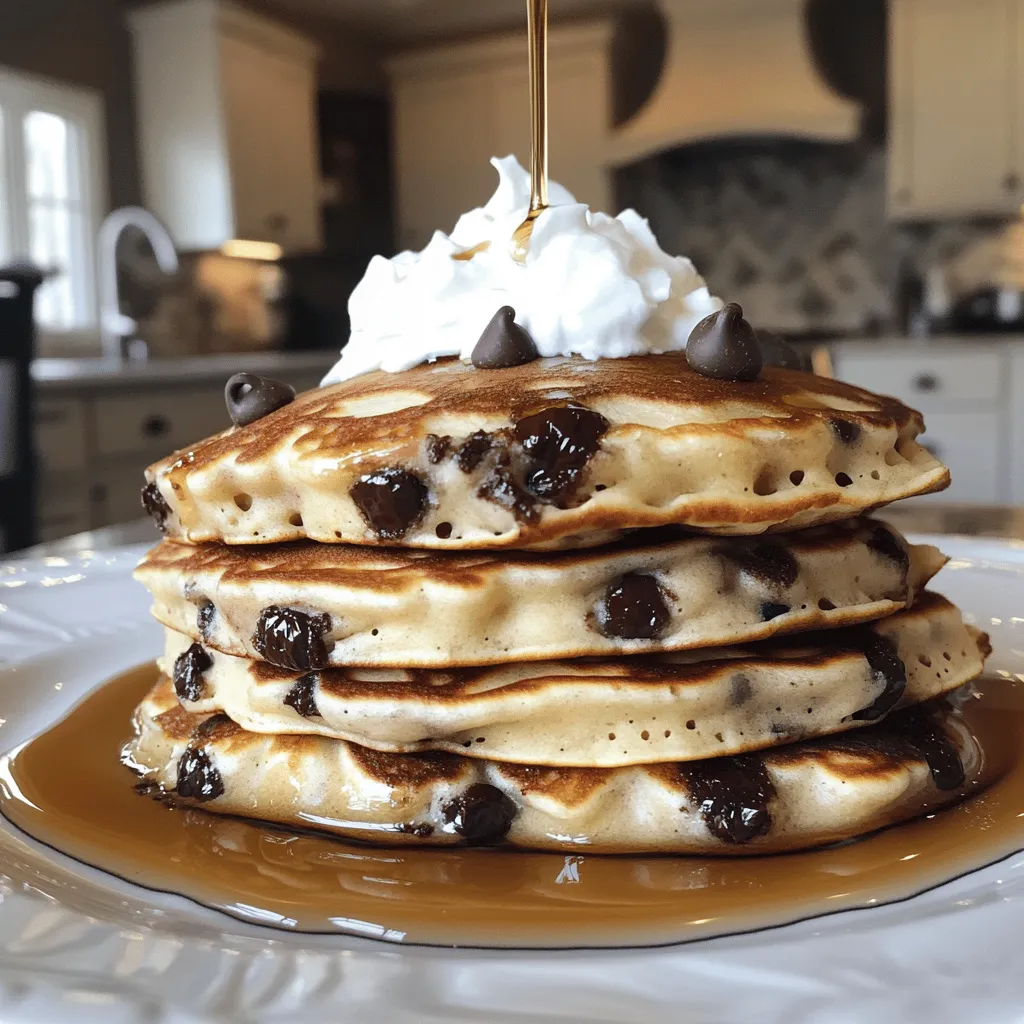
Chocolate Chip Pancakes Fluffy and Delicious Recipe
If you crave a breakfast that warms your heart and fills your stomach, you’ve come to the right place! In
Read more…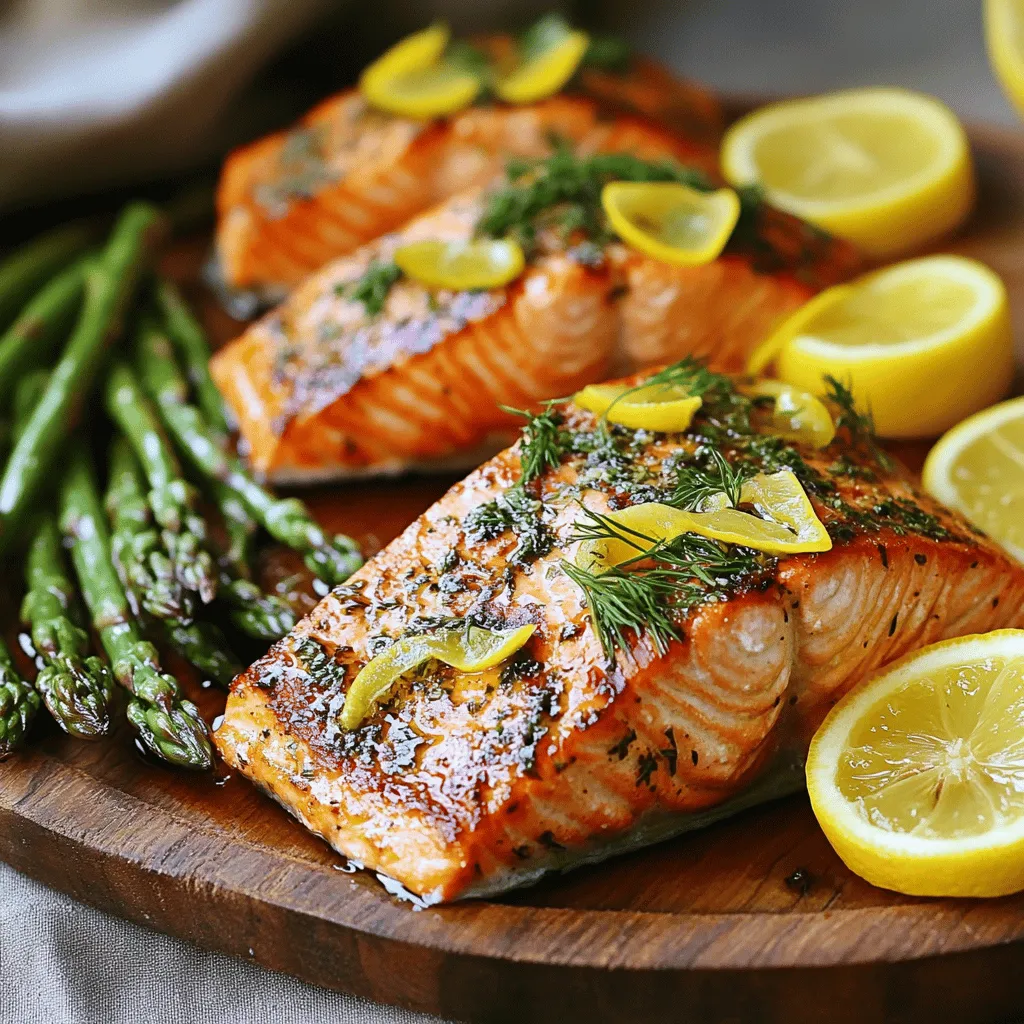
Lemon Herb Grilled Salmon Recipe for Flavorful Meals
Ready to elevate your weeknight meals? This Lemon Herb Grilled Salmon recipe is simple, tasty, and perfect for any occasion.
Read more…browse recipes
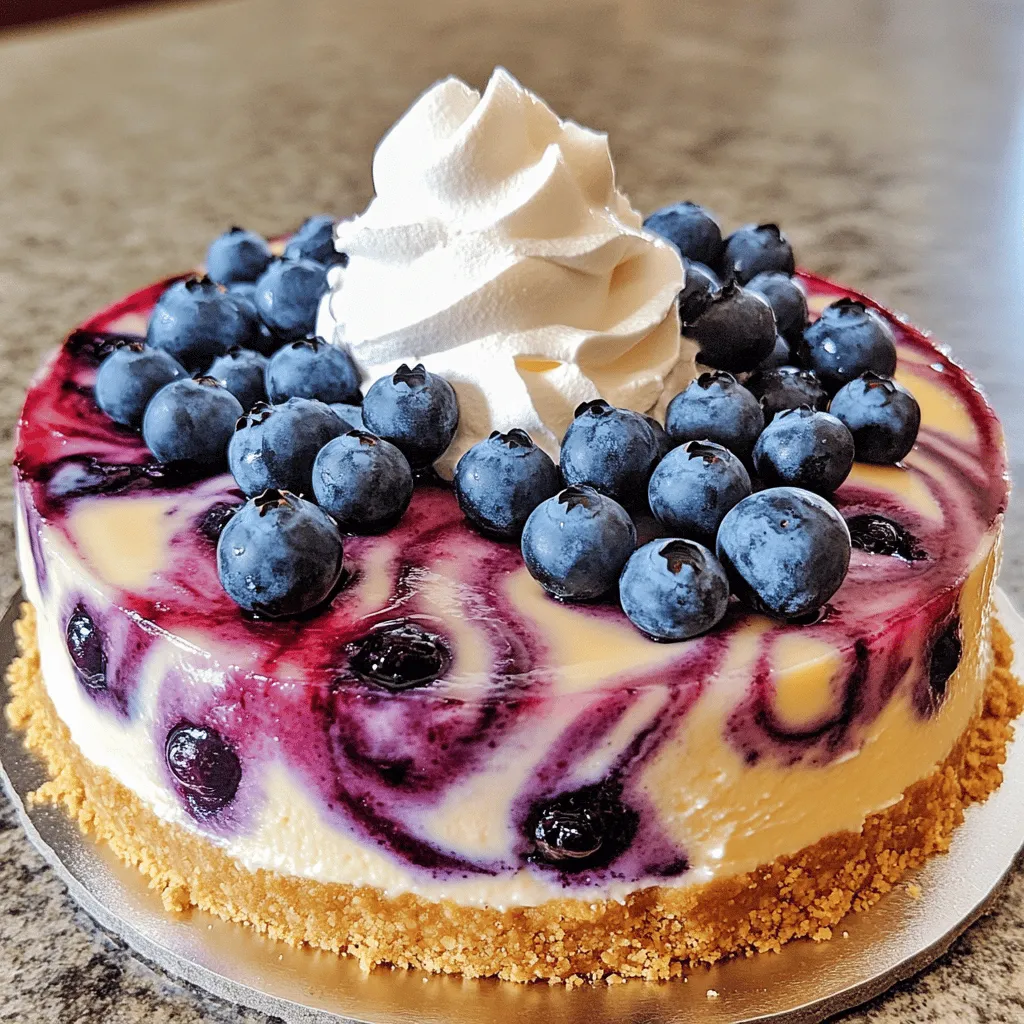
Blueberry Swirl Cheesecake Delightful and Simple Recipe
If you love dessert, you need to try my Blueberry Swirl Cheesecake. It’s creamy, tangy, and loaded with fresh blueberries. Plus, it’s simple to…
My Latest Desserts

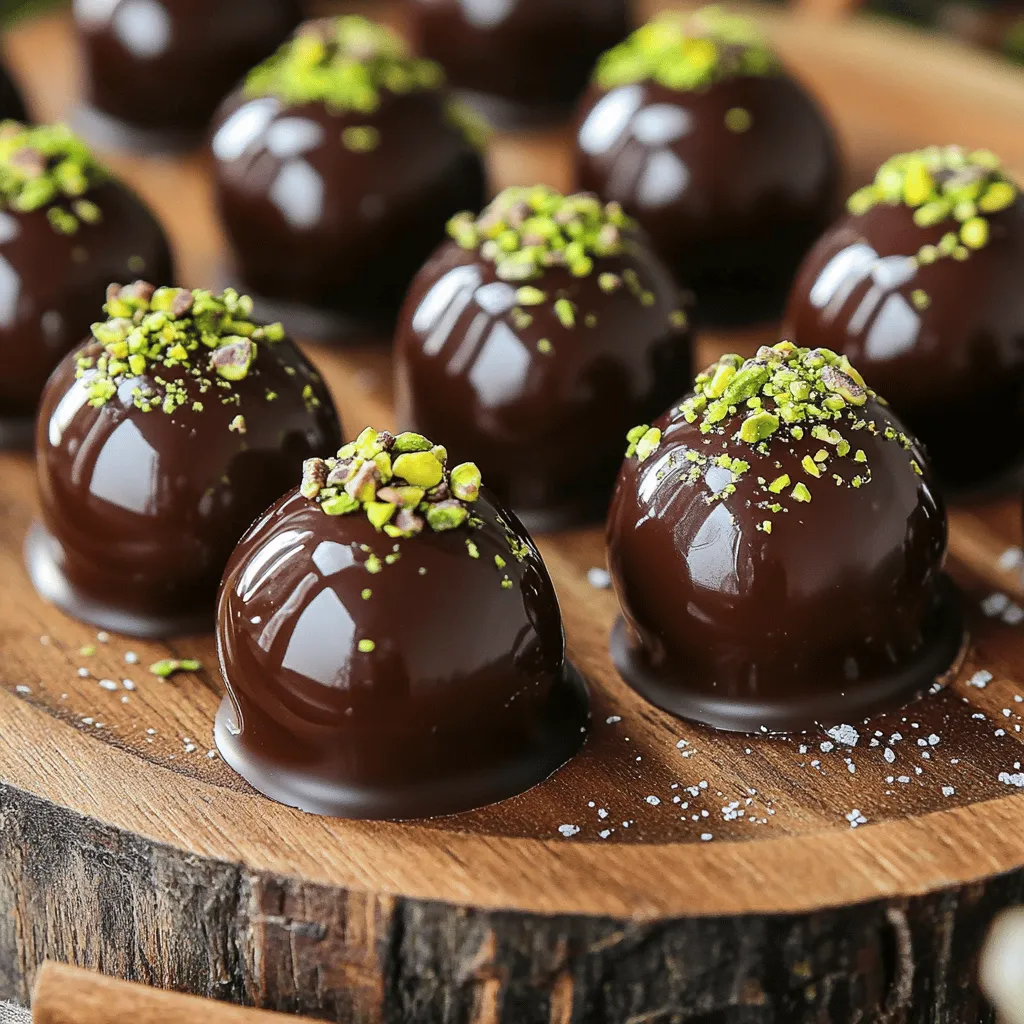
Chocolate Covered Cherries with Pistachio Dust Delight
Get ready to treat your taste buds with my “Chocolate Covered Cherries with Pistachio Dust Delight.” This sweet snack combines Read Full Recipe-
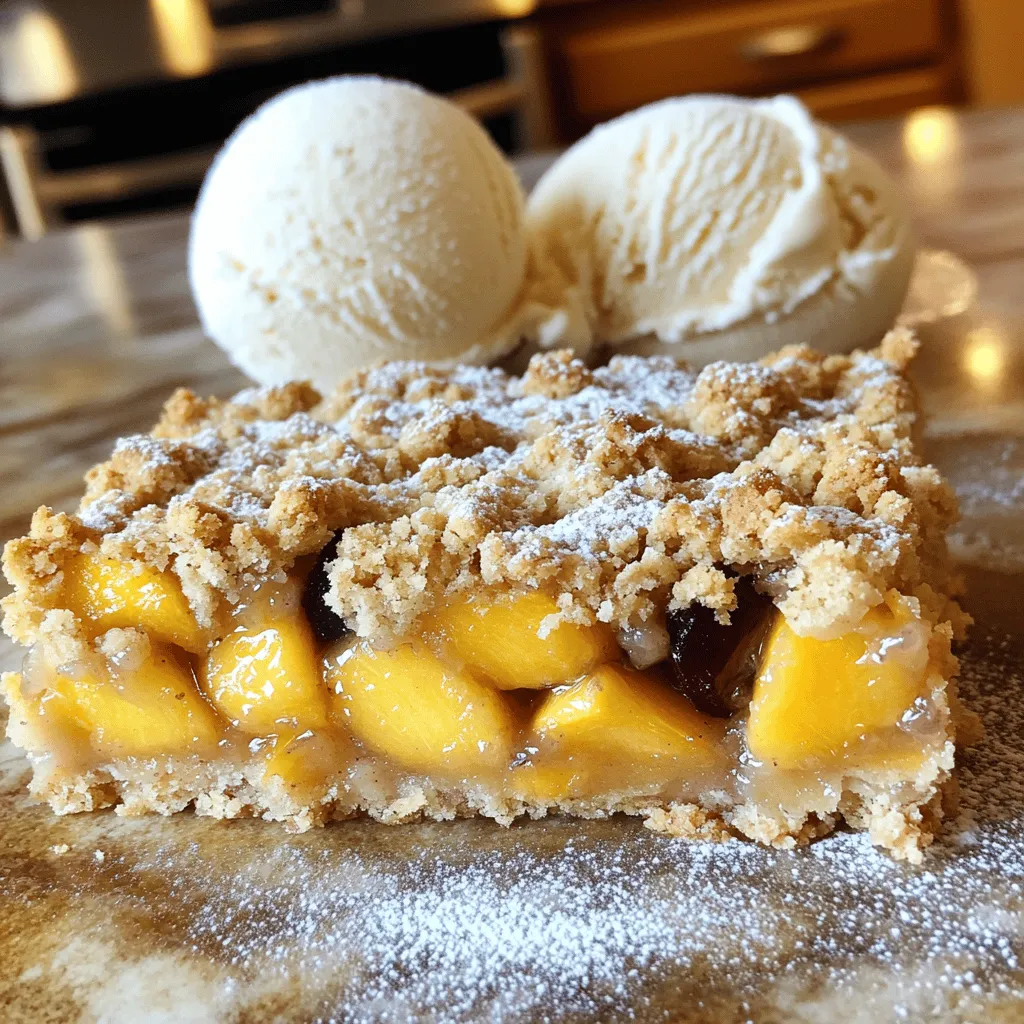
Peach Plum Crumble Bars Irresistible Sweet Treat
Are you ready for a dessert that combines the sweetness of peaches and plums? My Peach Plum Crumble Bars are Read Full Recipe -
Watercolor Buttercream Cupcakes Delightful Recipe Guide
Are you ready to bring some color to your baking? In this guide, I’ll show you how to make stunning Read Full Recipe -
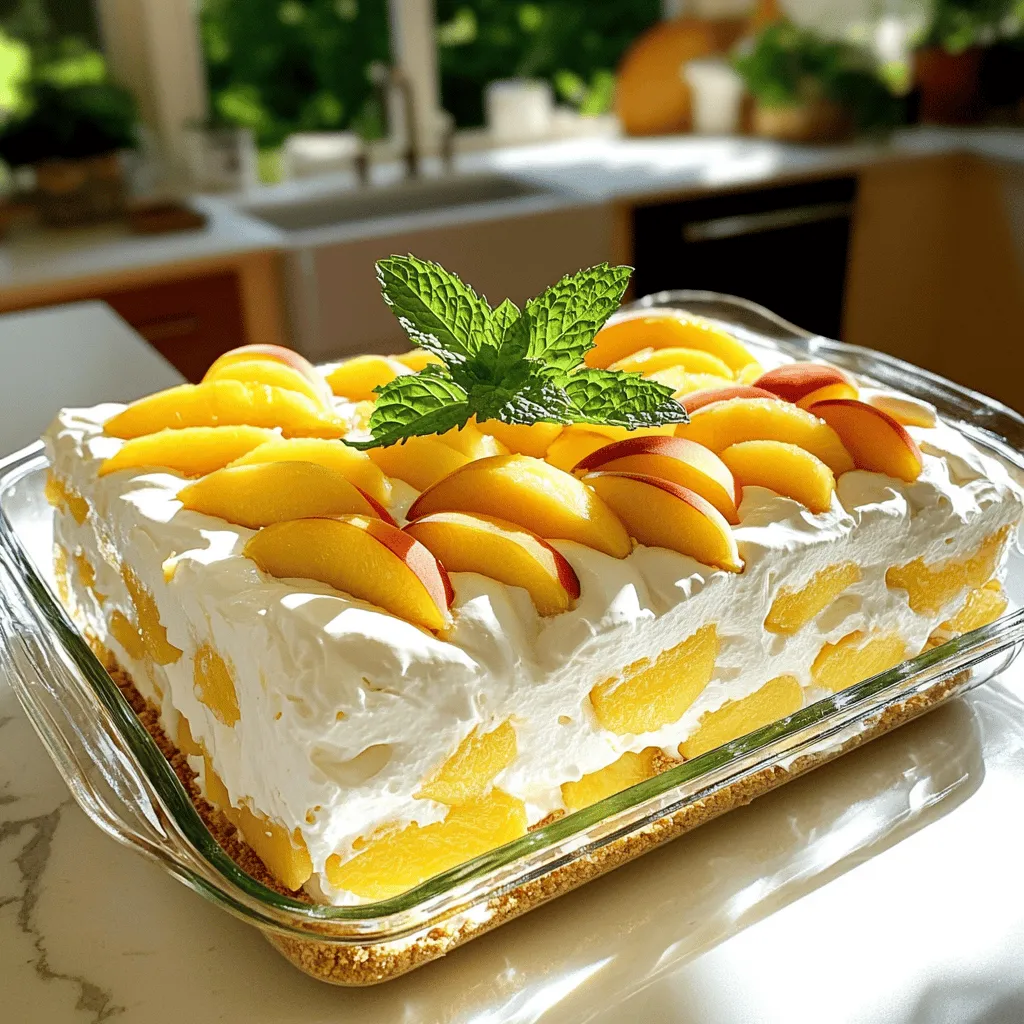
No-Bake Peach Icebox Cake Simple and Refreshing Treat
If you’re seeking a sweet, cool treat that’s simple to make, it’s time to try my No-Bake Peach Icebox Cake. Read Full Recipe -
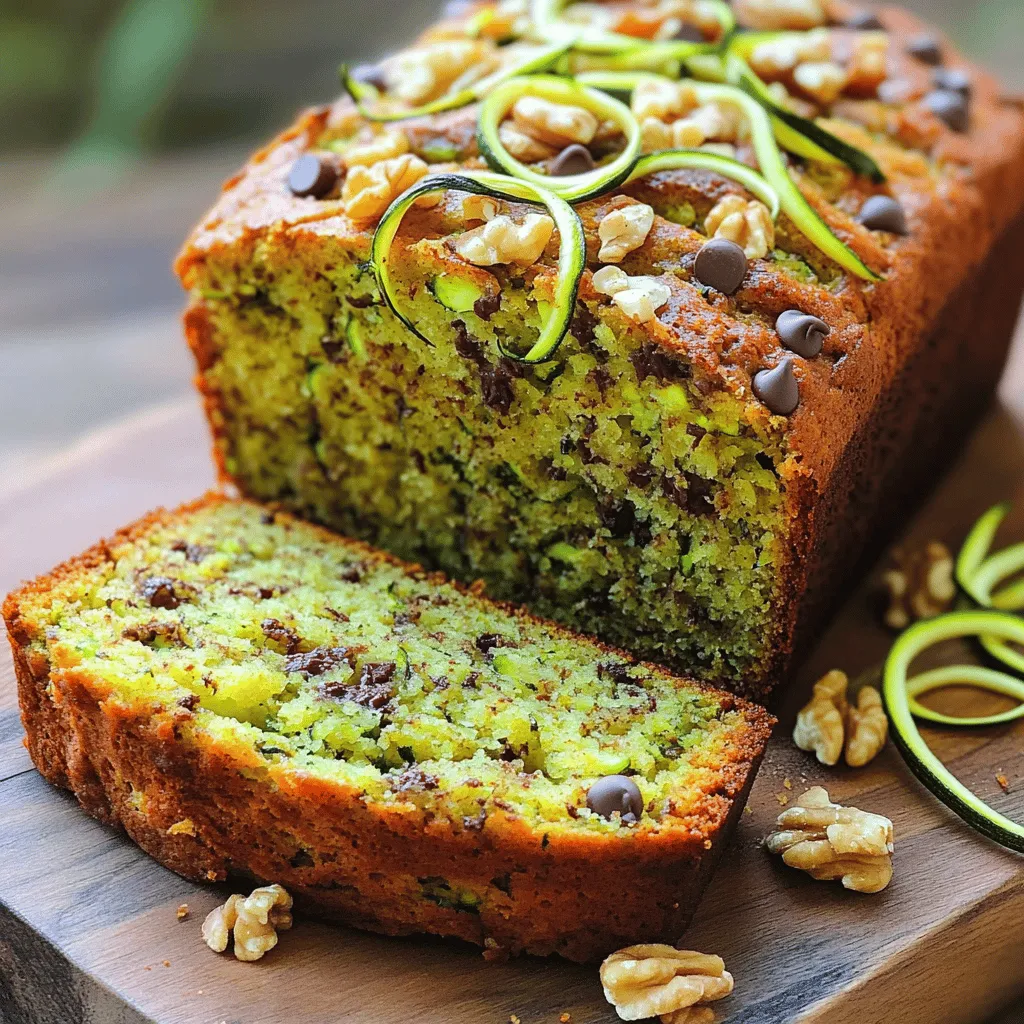
The Best Zucchini Bread Irresistible and Easy Recipe
Are you ready to bake the best zucchini bread that’s both irresistible and easy? This simple recipe combines fresh, grated Read Full Recipe -
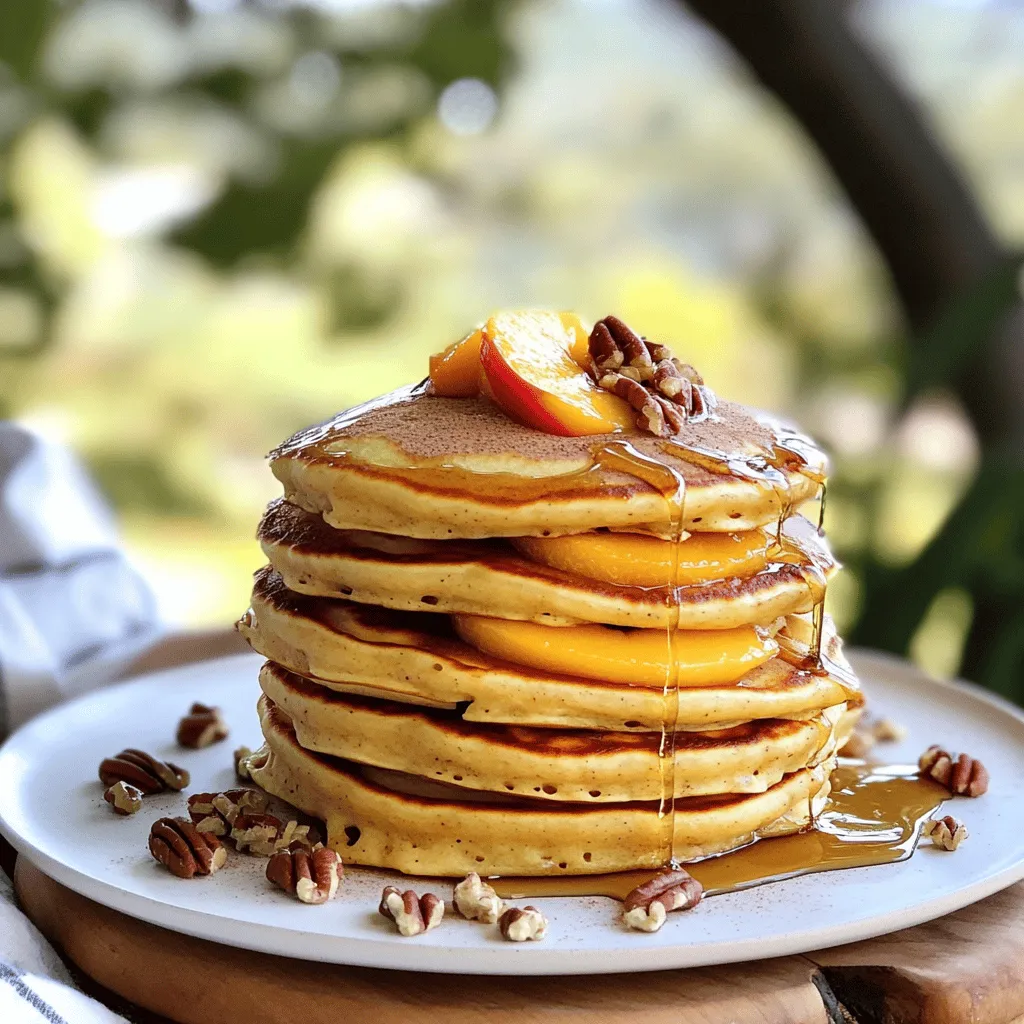
Peach Cobbler Pancakes Delicious and Simple Recipe
Are you ready to bring a burst of flavor to your breakfast table? Peach Cobbler Pancakes are the perfect blend Read Full Recipe -
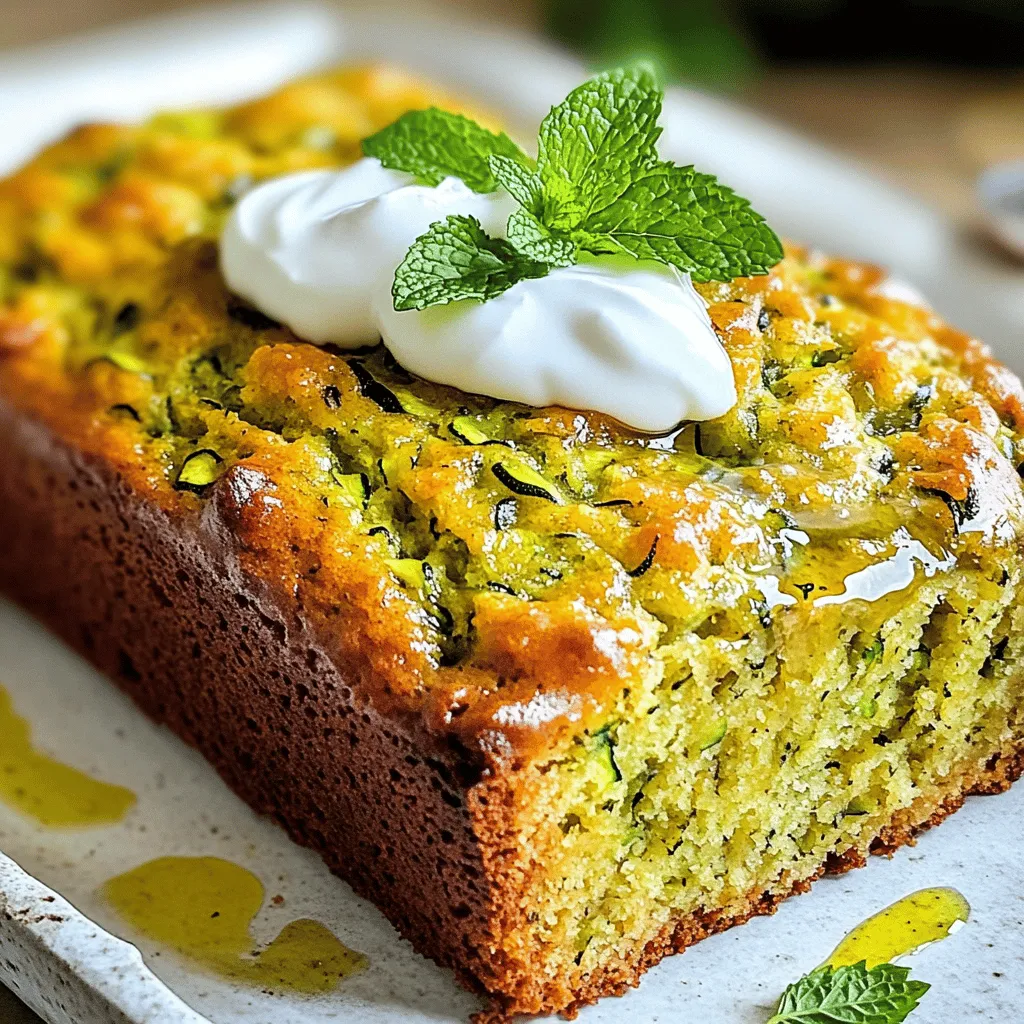
Olive Oil Zucchini Bread Moist and Flavorful Recipe
Welcome to your new favorite treat: Olive Oil Zucchini Bread! This recipe gives you a moist, flavorful loaf that’s perfect Read Full Recipe -
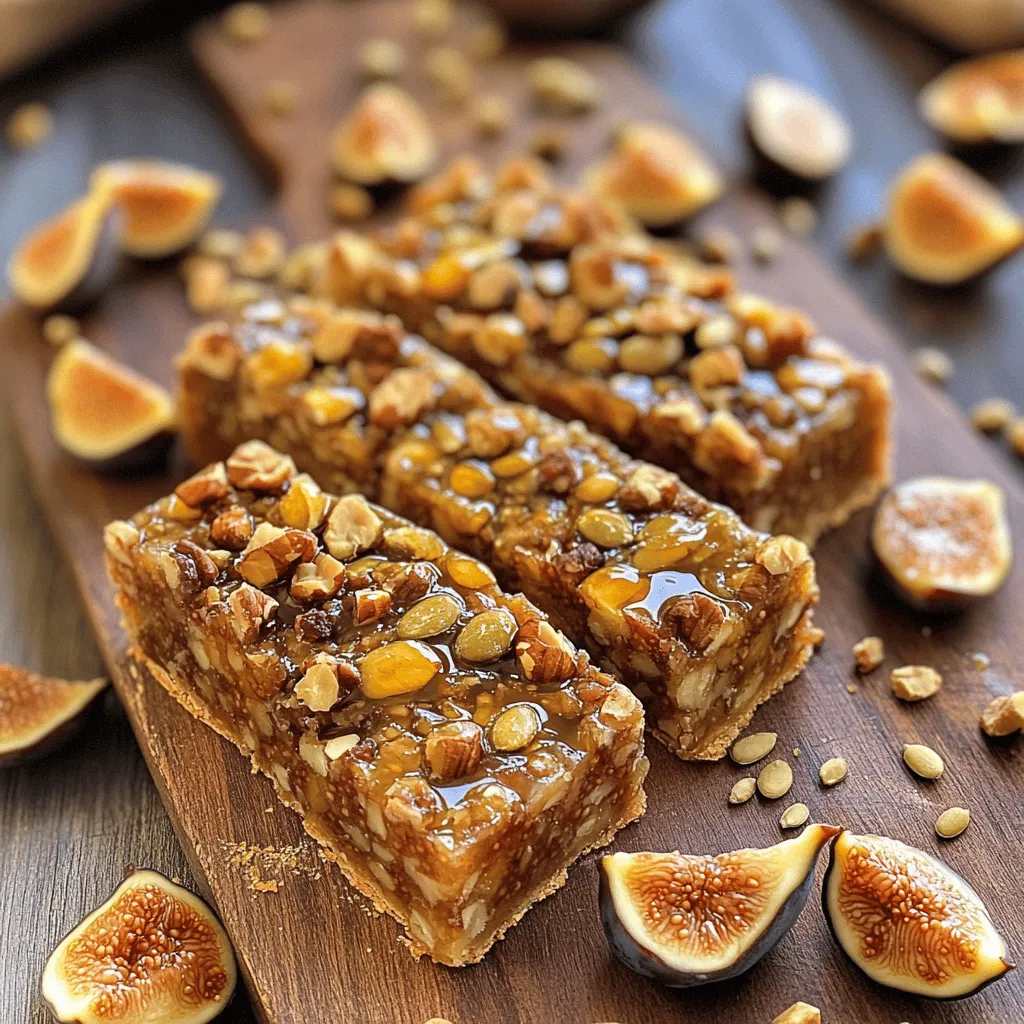
Fig and Walnut Bars Healthy and Flavorful Snack
If you’re searching for a tasty yet healthy snack, Fig and Walnut Bars are a perfect choice! Packed with nutritious Read Full Recipe -
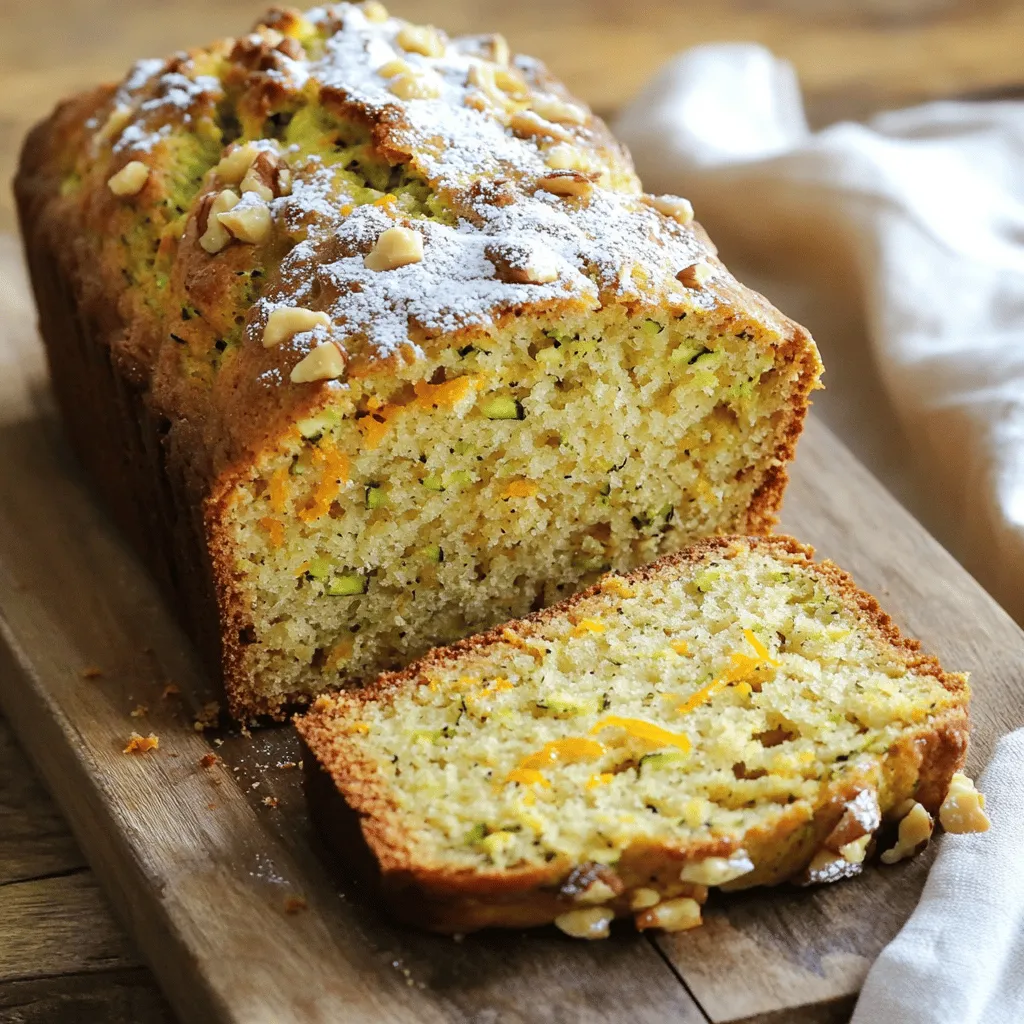
Zucchini Orange Bread Delightful and Easy to Bake
Are you ready to bake something truly delightful? This Zucchini Orange Bread combines fresh zucchini and bright orange zest for Read Full Recipe -
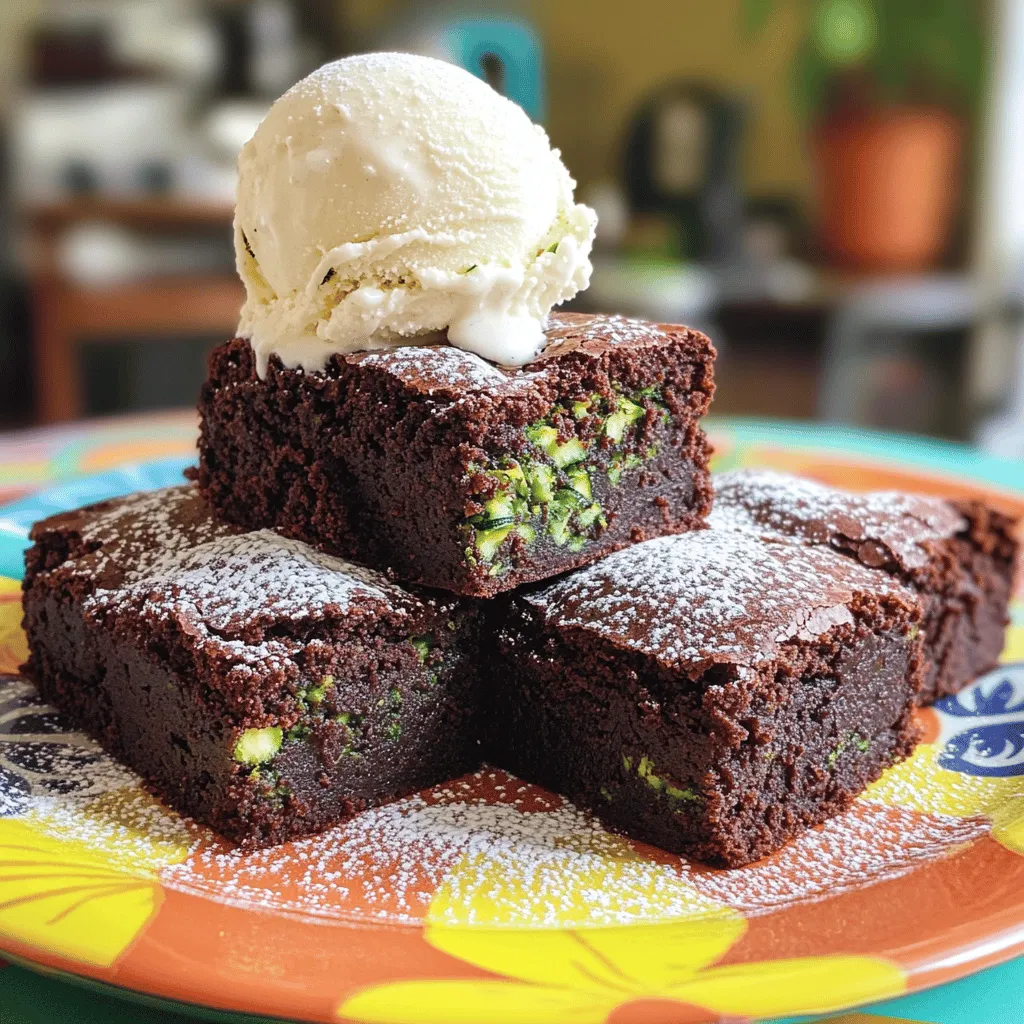
Zucchini Brownies for Kids Healthy and Tasty Delight
Are you looking for a new treat that kids will love while sneaking in some veggies? Look no further! These Read Full Recipe

My Latest Recipes

hey,
i’m !
I’m so happy you’re here!
Food is my passion, and perfecting each dish is my craft. I can’t wait for you to try them let’s dive into this delicious journey side by side.
![- 1 pound large shrimp, peeled and deveined - 4 tablespoons unsalted butter - 2 tablespoons honey - 4 cloves garlic, minced - 2 tablespoons low sodium soy sauce - 1 tablespoon lemon juice - 1 teaspoon red pepper flakes (optional) - Salt and pepper to taste - Chopped fresh parsley for garnish - Calories per serving: About 250 - Macronutrient breakdown: - Carbohydrates: 10g - Fats: 16g - Proteins: 21g - Possible allergens: Shellfish, soy sauce This meal is simple, tasty, and quick to make. You can whip it up in just 15 minutes! The shrimp becomes sweet and savory from honey and soy sauce. Garlic adds a lovely aroma. Each bite is a burst of flavor. You get protein and healthy fats too. The dish is not only delicious but also easy to adjust for your taste. Use less honey if you want it less sweet. Add more red pepper flakes for extra heat. To start, you need to prep your shrimp. Rinse the shrimp under cold water. Remove the shell and the tail. Next, use a small knife to make a shallow cut along the back. This helps you see and remove the dark vein inside. Rinse the shrimp again to get rid of any debris. For measuring your ingredients, use measuring spoons for liquids like honey and soy sauce. For solid ingredients, like butter, use a kitchen scale if you have one. This helps you get the right amounts and keeps your dish balanced. First, melt the butter in a large skillet over medium heat. Wait until it starts to bubble. Then, add the minced garlic and stir it for 1-2 minutes. You want the garlic to smell good but not brown. Next, make the honey garlic sauce. Stir in the honey, soy sauce, and lemon juice. Mix it well until smooth. Now, add the shrimp to the skillet. Make sure they are all coated with the sauce. Cook the shrimp for 2-3 minutes on one side. Flip them over and cook for another 2-3 minutes. They are done when they turn pink and opaque. Season with salt, pepper, and red pepper flakes if you like heat. Honey Garlic Butter Shrimp pairs well with rice or steamed vegetables. You can also serve it with a fresh salad for a light meal. For plating, use a large, shallow bowl. Place the shrimp in the center and drizzle some sauce on top. Garnish with chopped parsley for a pop of color. This makes your dish look fancy and inviting. For the complete instructions, check out the Full Recipe. To perfect the sweetness, add more honey bit by bit. If you want more salt, use soy sauce. For a thicker sauce, let it cook longer on low heat. This allows the sauce to reduce and become rich. Stir well to mix all flavors together. Use a non-stick or cast-iron skillet for best results. These types help the shrimp cook evenly. Set your heat to medium. This ensures the butter melts but doesn't burn. A steady heat cooks shrimp just right without drying them out. Do not overcook shrimp. They can become tough and rubbery if cooked too long. Cook them until they are pink and opaque, about 4-6 minutes total. Also, always measure your sauce ingredients. Skipping this can lead to an unbalanced flavor in your dish. {{image_2}} You can swap honey for maple syrup or agave. These options work well in the sauce. If you want to try something different, use chicken or tofu instead of shrimp. Both cook nicely in the honey garlic sauce. For a zesty twist, add lime or orange juice. The citrus brightens the dish. You can also mix in ginger or sesame oil for extra depth. These spices will add layers of flavor that make each bite exciting. You can serve this dish over rice or noodles. This adds heartiness and helps soak up the sauce. If you want to include veggies, try adding bell peppers or snap peas. They add color and nutrition, making the meal even better. For the complete recipe, check out the Full Recipe. To keep your Honey Garlic Butter Shrimp fresh, store it in an airtight container. This helps lock in flavors and moisture. Place the container in the fridge within two hours of cooking. The dish stays good for up to three days. If you want to enjoy it later, make sure to label the container with the date. Reheat shrimp gently to prevent overcooking. The best method is using a skillet on low heat. Add a splash of water or broth to keep it moist. Stir occasionally until heated through. Aim for a serving temperature of 145°F for safety and taste. Yes, you can freeze Honey Garlic Butter Shrimp! Place it in a freezer-safe bag or container. Remove as much air as possible to prevent freezer burn. It can last for up to three months. When you're ready to eat, thaw it overnight in the fridge. Reheat using a skillet for the best results. Cooking shrimp takes about 4 to 6 minutes. The time depends on their size. For large shrimp, cook them for 2 to 3 minutes on each side. They turn pink and opaque when done. Overcooking makes shrimp tough, so keep an eye on them! Yes, you can prep this dish a bit early! Peel and devein the shrimp in advance. You can also mix the sauce and store it in the fridge. Just cook the shrimp and sauce together when you're ready to eat. This makes dinner quick and easy. Several sides pair well with this dish. Here are some popular options: - Steamed rice - Garlic bread - Roasted vegetables - Salad with fresh greens These sides balance the sweet and savory flavors of the shrimp. For a detailed guide, check out the [Full Recipe] for Honey Garlic Butter Shrimp. This recipe will help you create a tasty meal with ease! In this post, we explored making Honey Garlic Butter Shrimp with easy steps and tips. We covered main and additional ingredients, cooking techniques, and helpful variations. Remember, perfect shrimp should be tender, not overcooked. Feel free to swap ingredients to match your taste. Store any leftovers properly, and enjoy the meal later. Cooking shrimp can be simple and fun. I hope this guide inspires you to try this dish and impress yourself or your guests. Happy cooking!](https://mysavedrecipe.com/wp-content/uploads/2025/05/fc2856e5-4f28-409d-ad98-9ca96b82f7a4-300x300.webp)
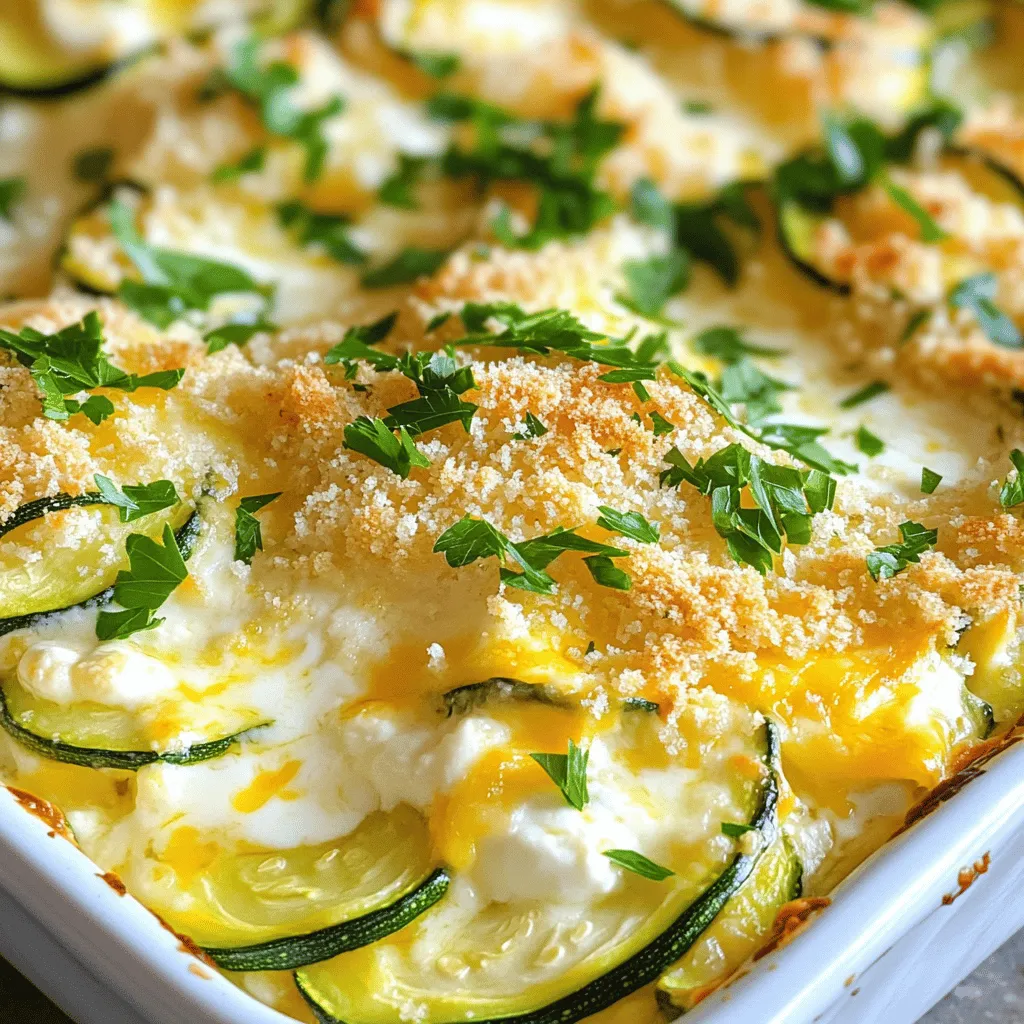
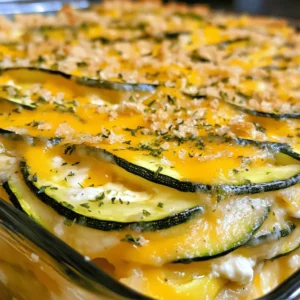
Creamy Cheesy Zucchini Casserole Simple and Delicious
Are you ready for a dish that combines creamy goodness with cheesy delight? My Creamy Cheesy Zucchini Casserole is here to please! Zucchini never…