


Latest & Greatest
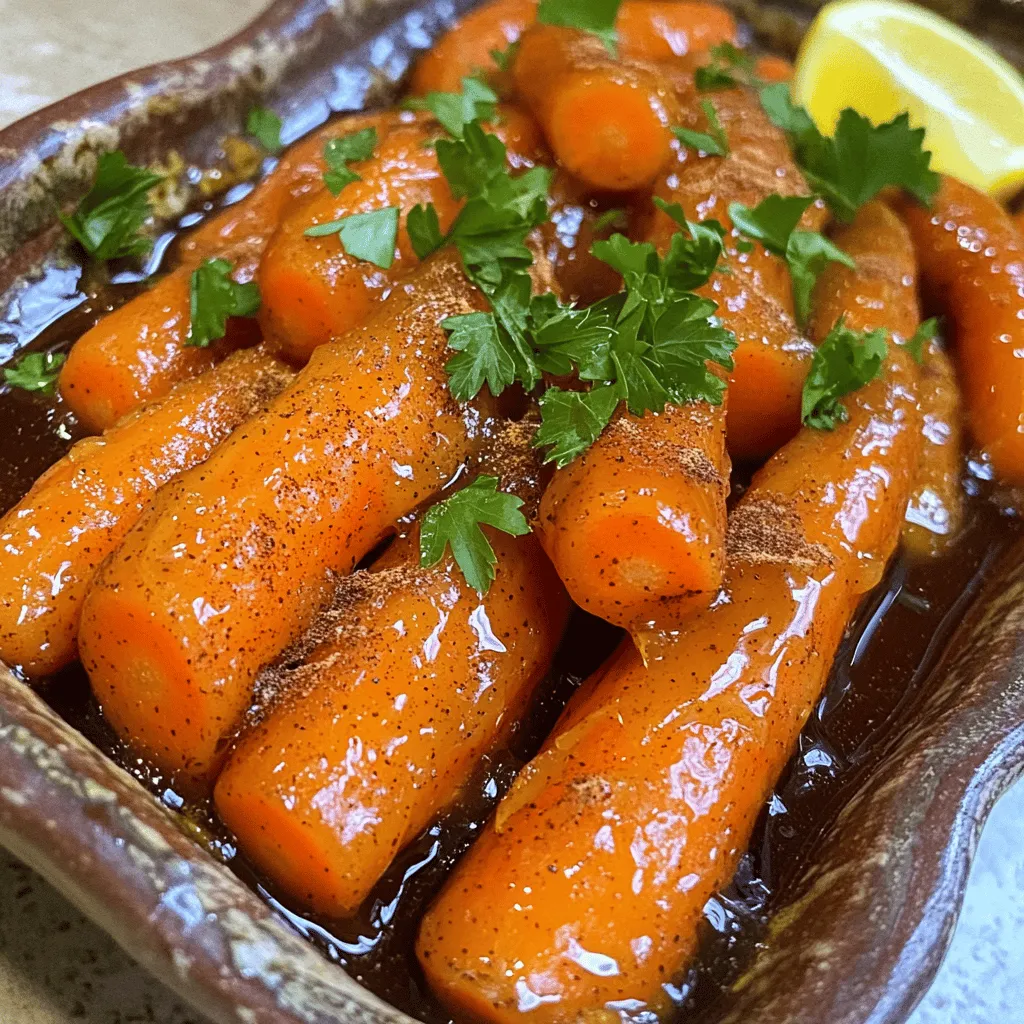
Maple Glazed Carrots Sweet and Simple Side Dish
Looking for an easy side dish that dazzles the taste buds? Maple glazed carrots are sweet, simple, and perfect for
Read more…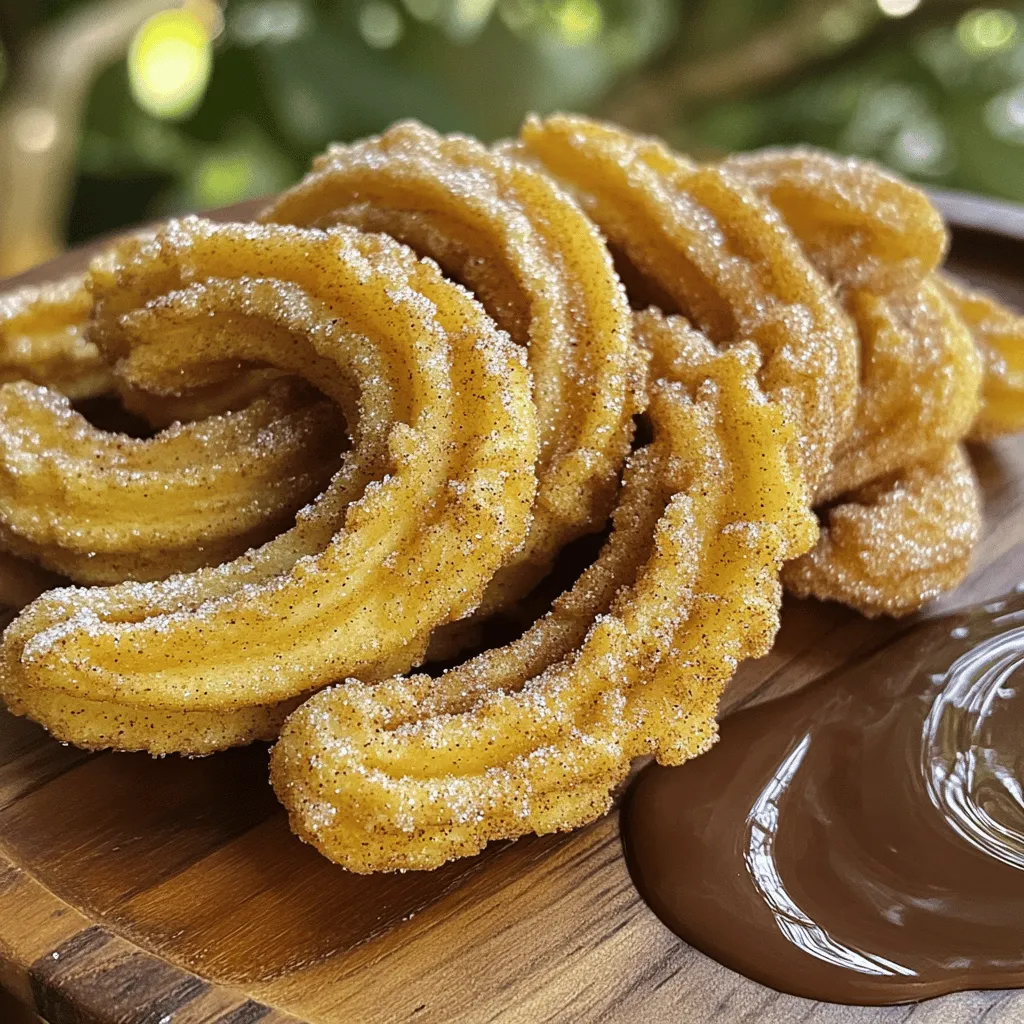
Cinnamon Sugar Churros Crispy and Sweet Delight
Are you ready to indulge in a sweet and crispy treat? These Cinnamon Sugar Churros are the perfect blend of
Read more…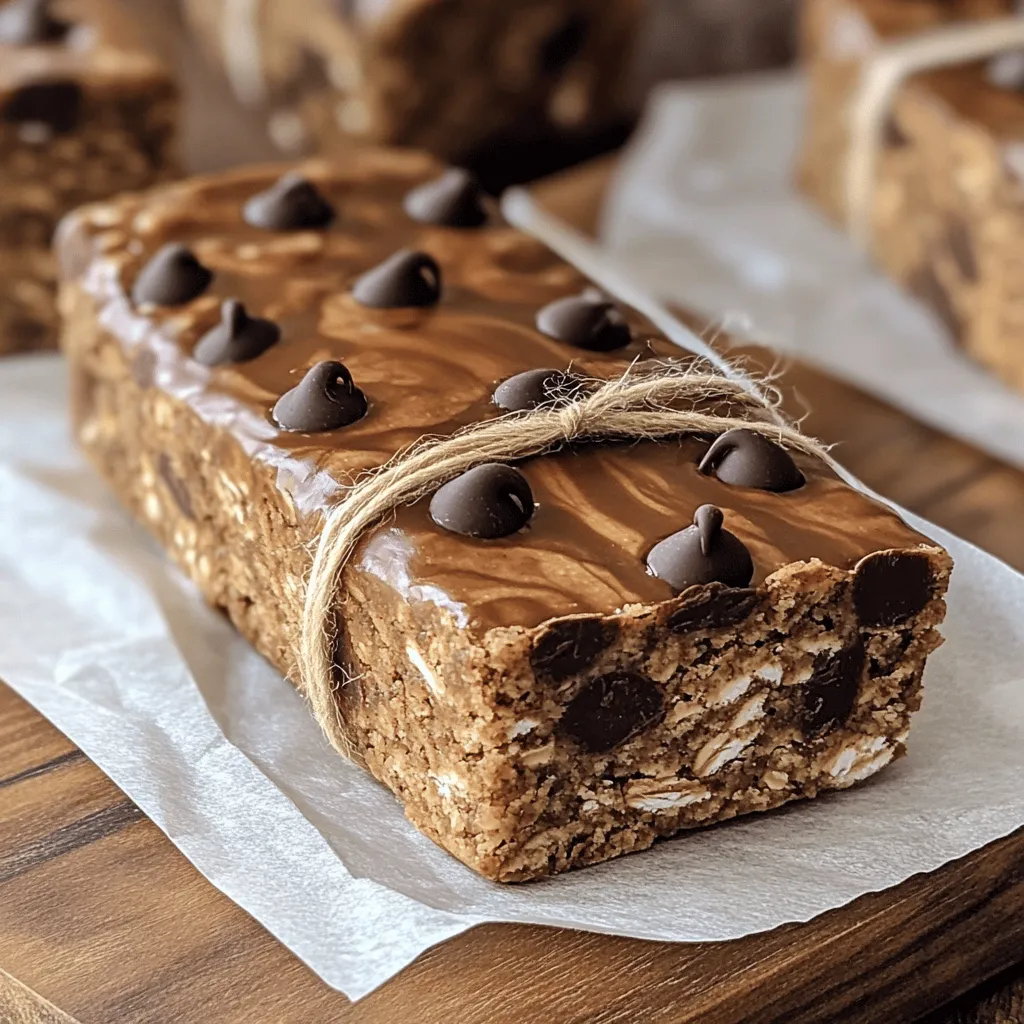
Mocha Chip Protein Bars Energizing and Nutritious Snack
Looking for a delicious snack that fuels your day? These Mocha Chip Protein Bars are your answer! Packed with wholesome
Read more…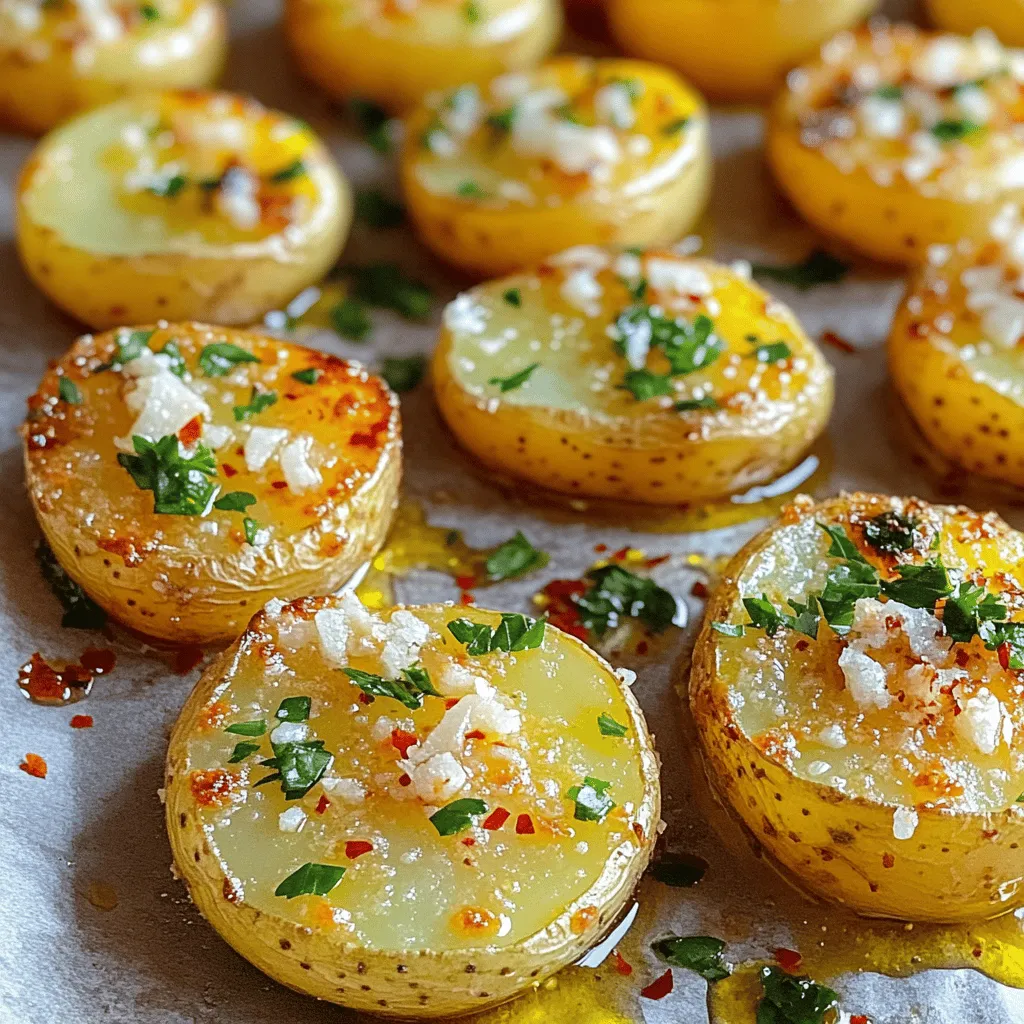
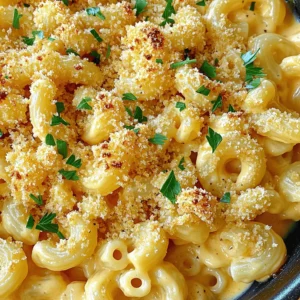
Garlic Parmesan Roasted Potatoes Simple and Tasty Dish
Are you ready to elevate your side dish game? Garlic Parmesan Roasted Potatoes are simple, tasty, and perfect for any
Read more…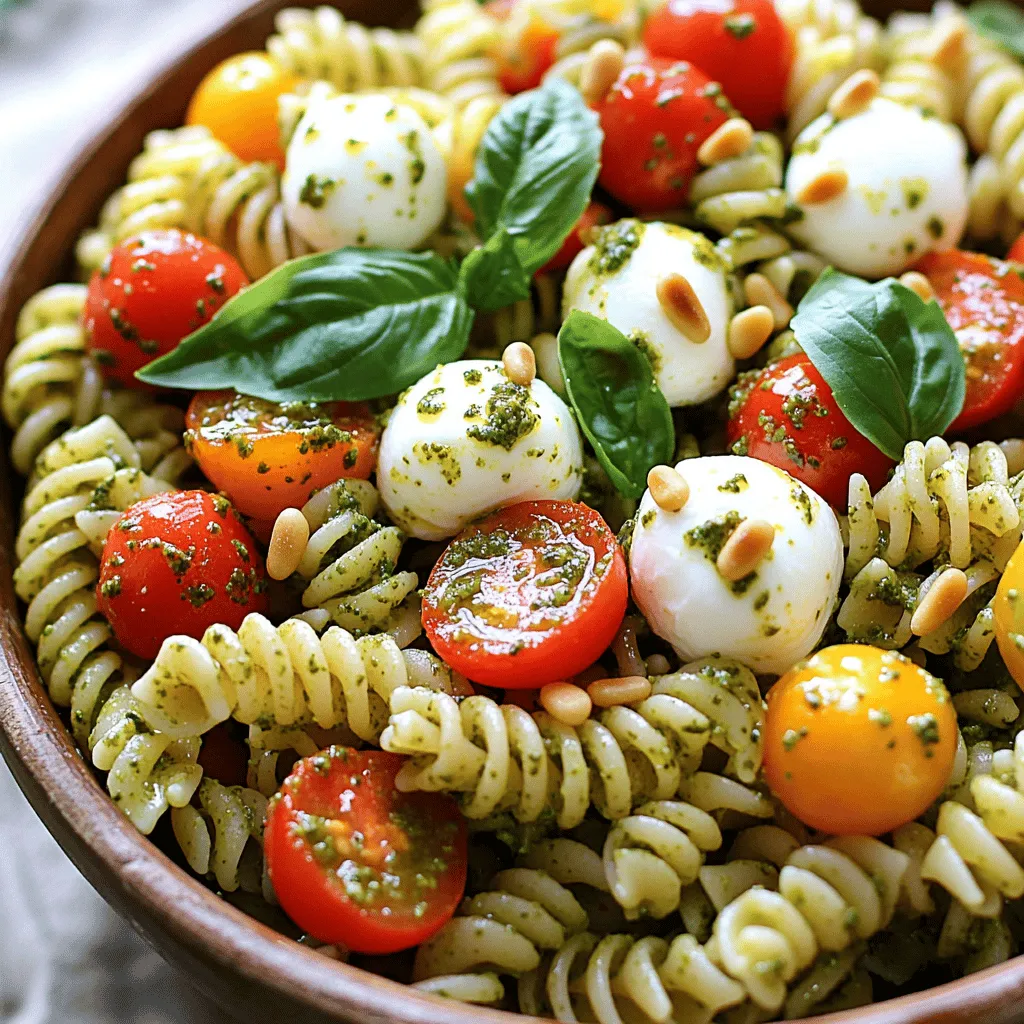
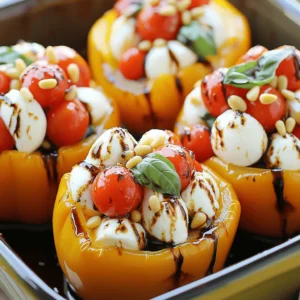
Pesto Caprese Pasta Salad Fresh and Flavorful Delight
If you’re craving a dish that delivers fresh, vibrant flavors, look no further than Pesto Caprese Pasta Salad. This salad
Read more…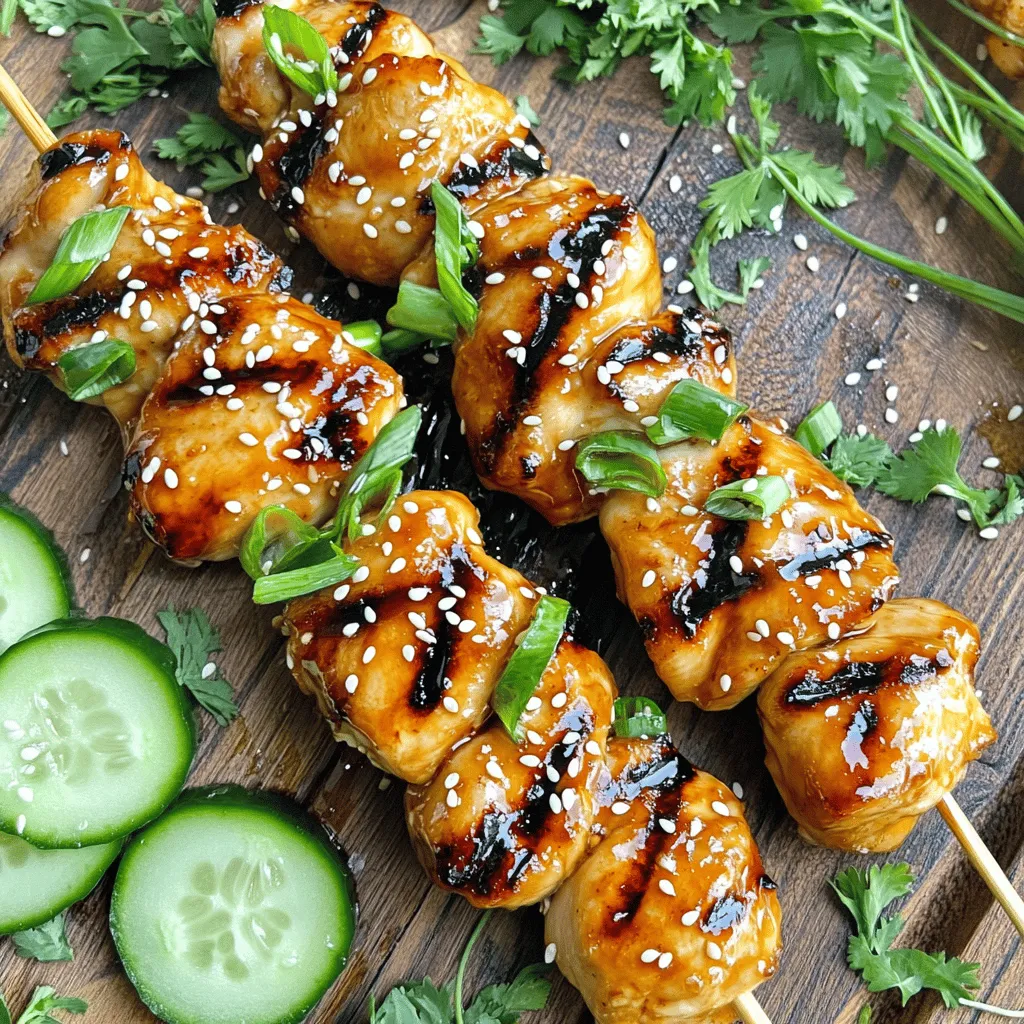
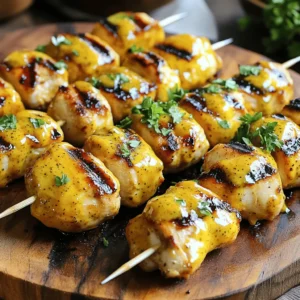
Teriyaki Chicken Skewers Flavorful Grilling Delight
Get ready to fire up your grill! Teriyaki Chicken Skewers are a tasty treat anyone can make. With juicy chicken
Read more…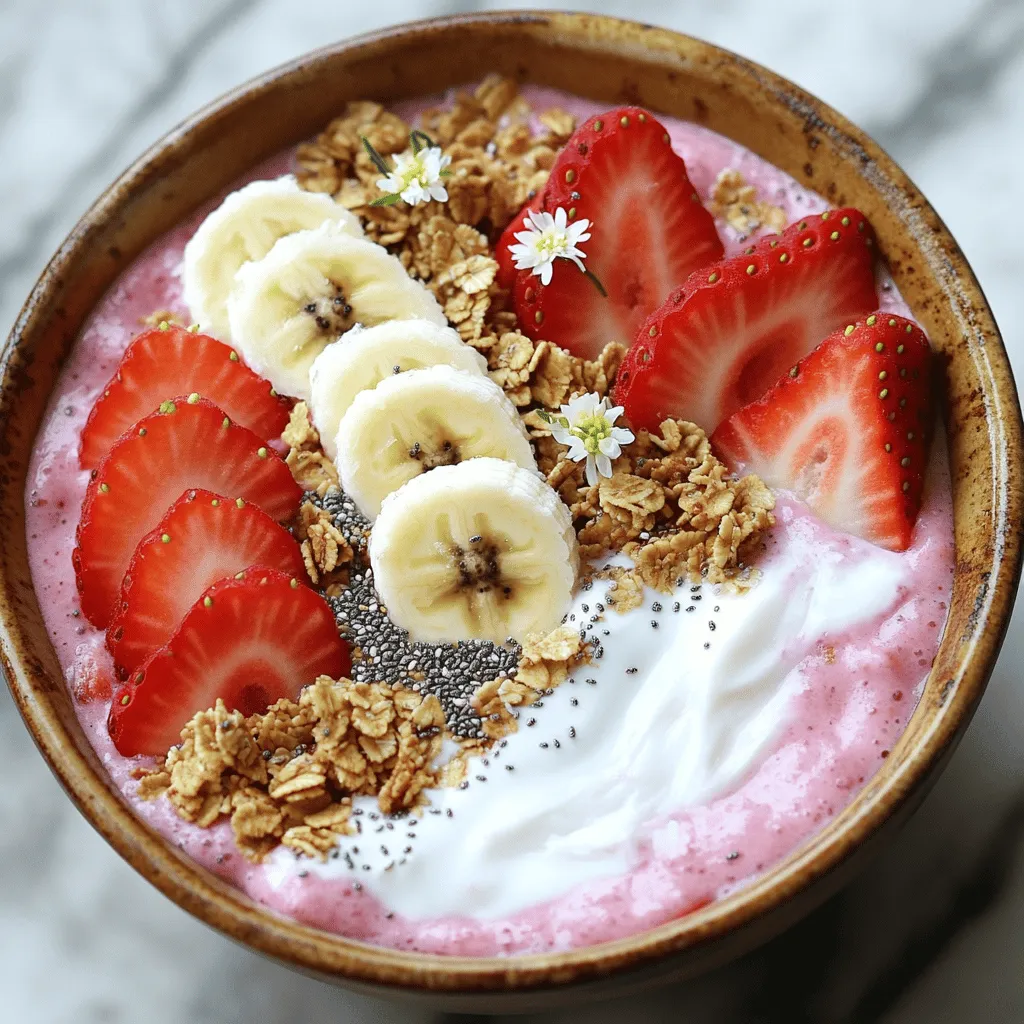
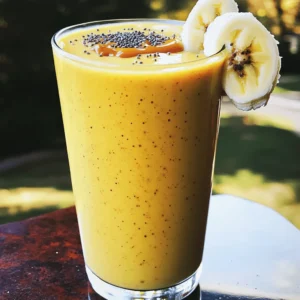
Strawberry Banana Smoothie Bowl Tasty and Simple Recipe
Looking for a quick and tasty breakfast? You’ll love this Strawberry Banana Smoothie Bowl! It’s simple to make and packed
Read more…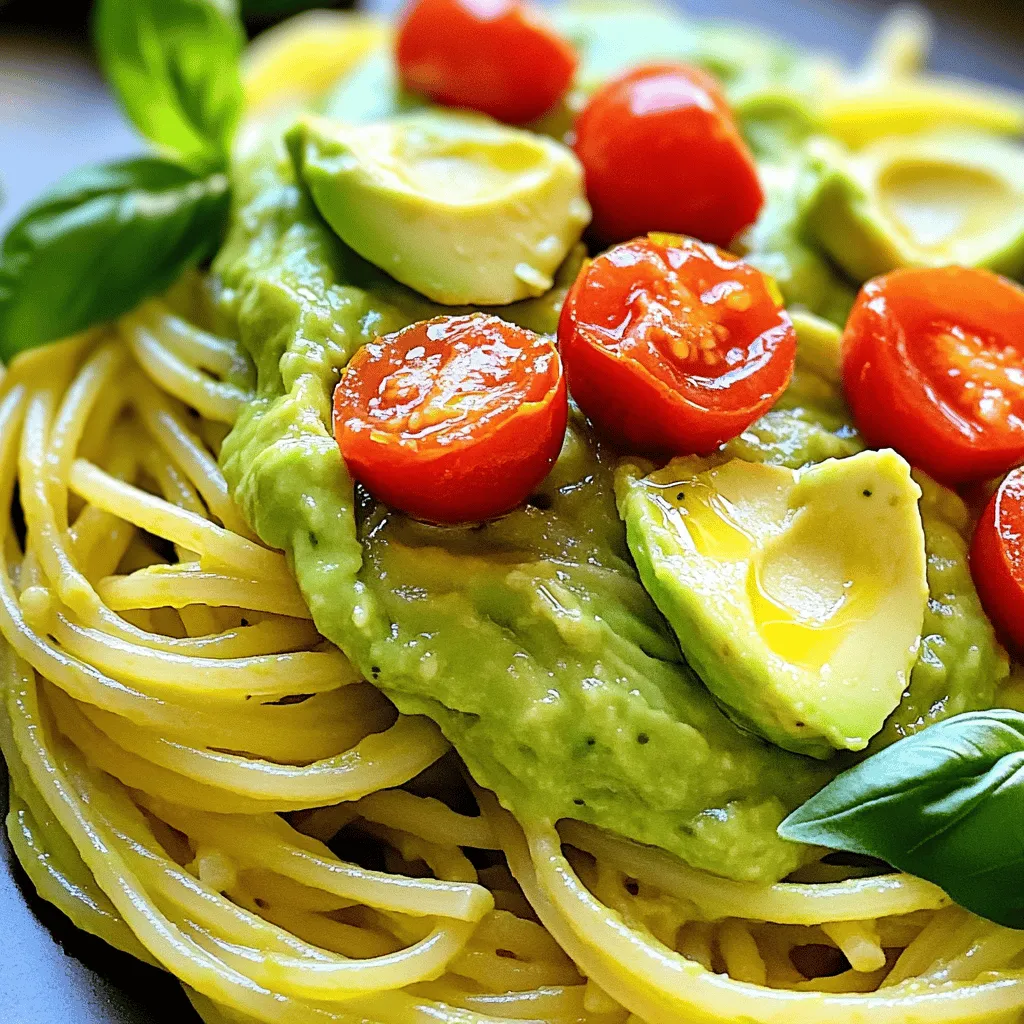
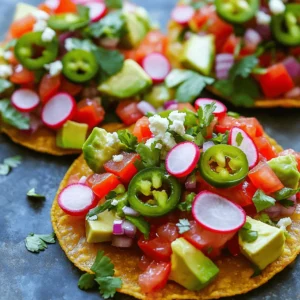
Creamy Avocado Pasta Quick and Easy Recipe Guide
If you love quick and tasty meals, this creamy avocado pasta is for you! Made with fresh avocados, garlic, and
Read more…browse recipes
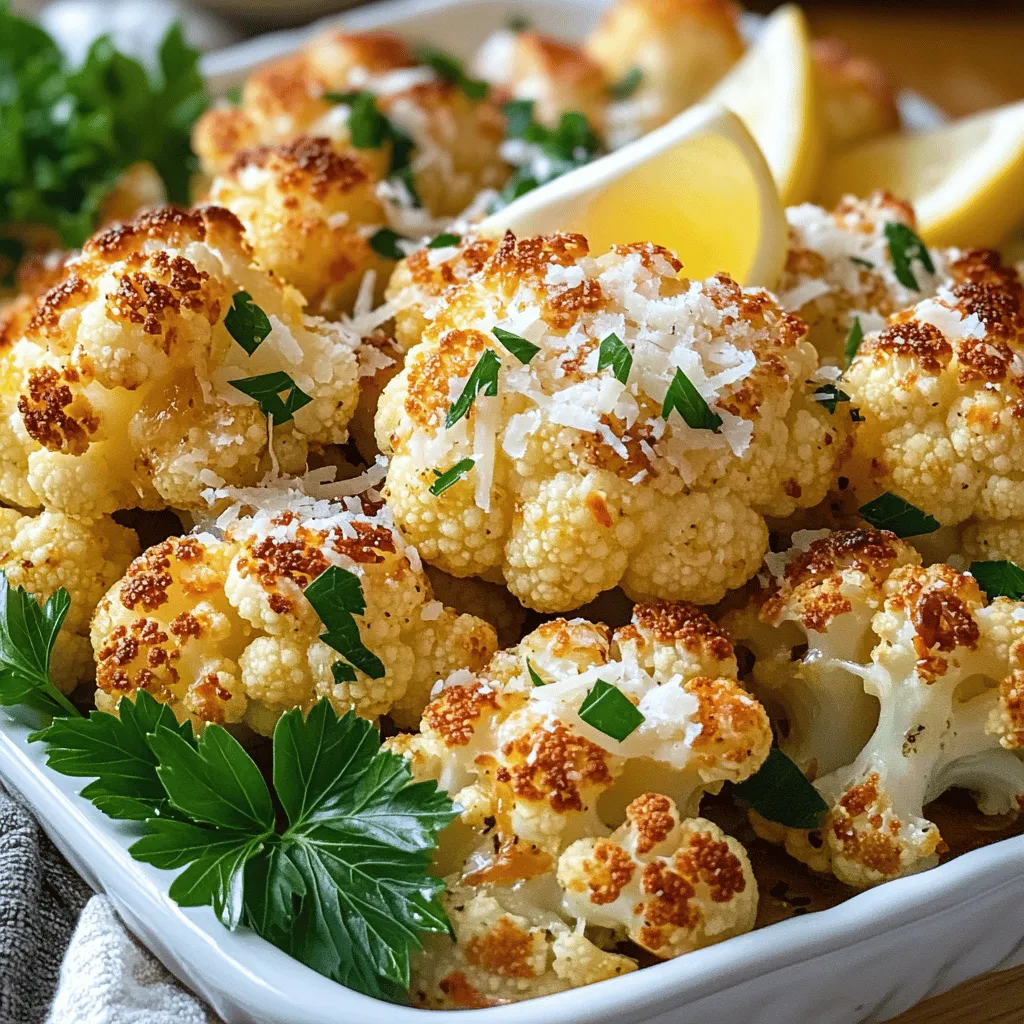
Garlic Parmesan Roasted Cauliflower Easy Flavorful Side
If you want a side dish that’s both easy and packed with flavor, I have just the recipe for you! Garlic Parmesan Roasted Cauliflower…
My Latest Desserts

Chocolate Covered Cherries with Pistachio Dust Delight
Get ready to treat your taste buds with my “Chocolate Covered Cherries with Pistachio Dust Delight.” This sweet snack combines Read Full Recipe-
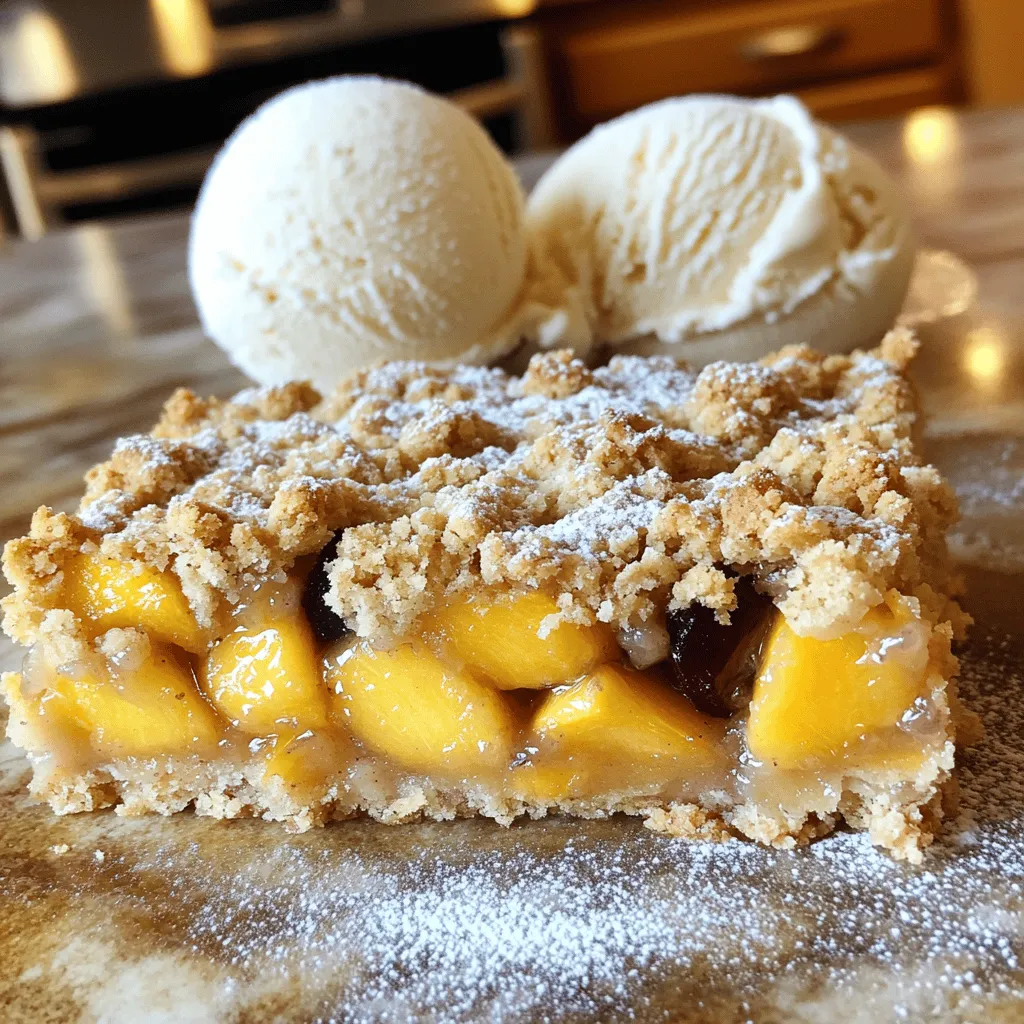
Peach Plum Crumble Bars Irresistible Sweet Treat
Are you ready for a dessert that combines the sweetness of peaches and plums? My Peach Plum Crumble Bars are Read Full Recipe -
Watercolor Buttercream Cupcakes Delightful Recipe Guide
Are you ready to bring some color to your baking? In this guide, I’ll show you how to make stunning Read Full Recipe -
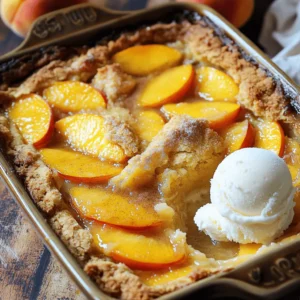
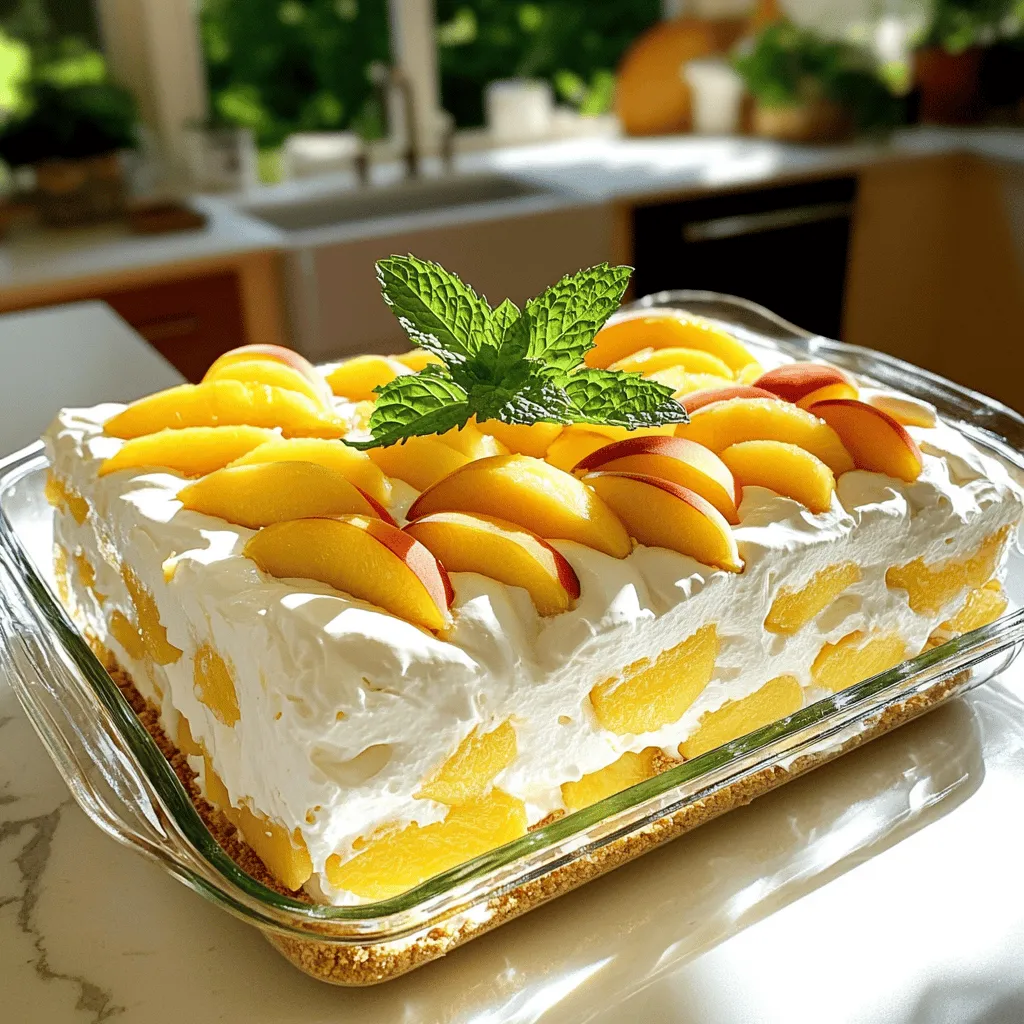
No-Bake Peach Icebox Cake Simple and Refreshing Treat
If you’re seeking a sweet, cool treat that’s simple to make, it’s time to try my No-Bake Peach Icebox Cake. Read Full Recipe -
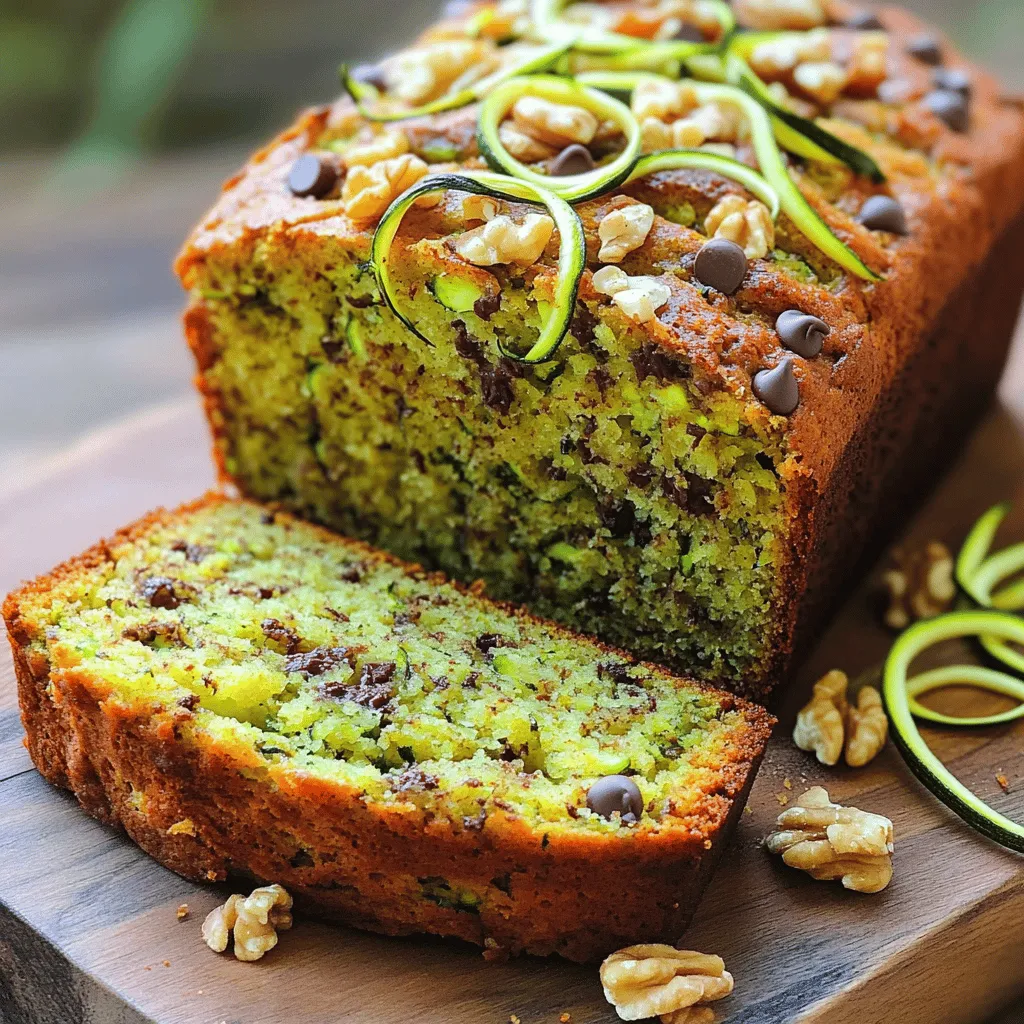
The Best Zucchini Bread Irresistible and Easy Recipe
Are you ready to bake the best zucchini bread that’s both irresistible and easy? This simple recipe combines fresh, grated Read Full Recipe -
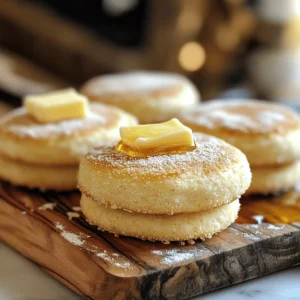
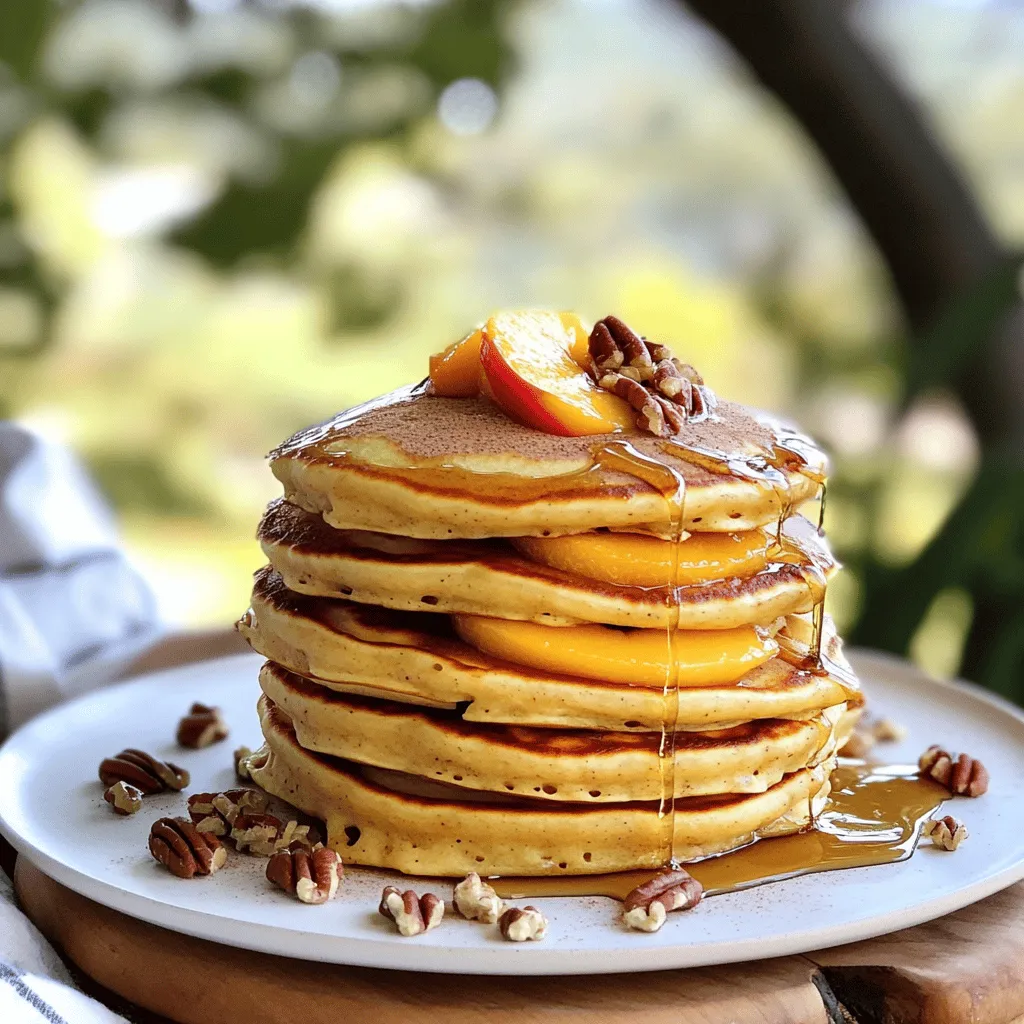
Peach Cobbler Pancakes Delicious and Simple Recipe
Are you ready to bring a burst of flavor to your breakfast table? Peach Cobbler Pancakes are the perfect blend Read Full Recipe -
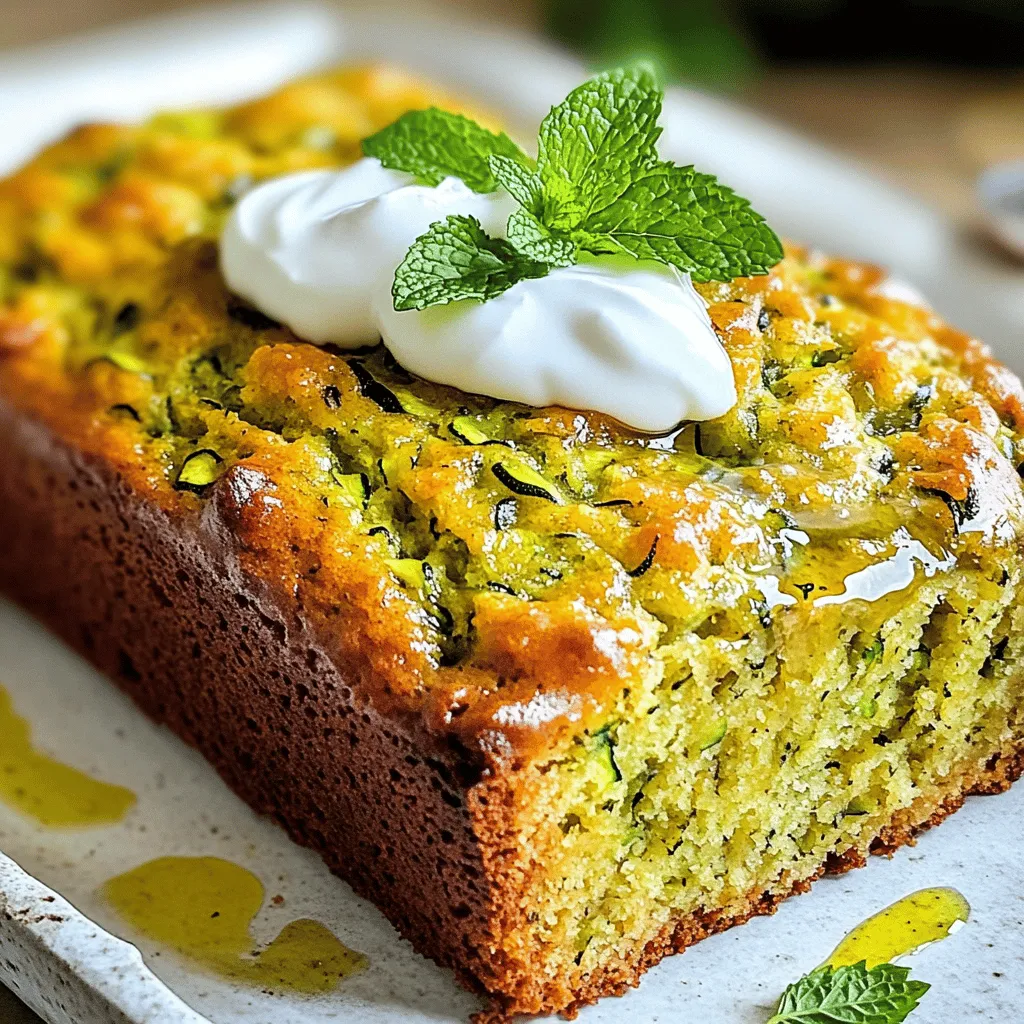
Olive Oil Zucchini Bread Moist and Flavorful Recipe
Welcome to your new favorite treat: Olive Oil Zucchini Bread! This recipe gives you a moist, flavorful loaf that’s perfect Read Full Recipe -
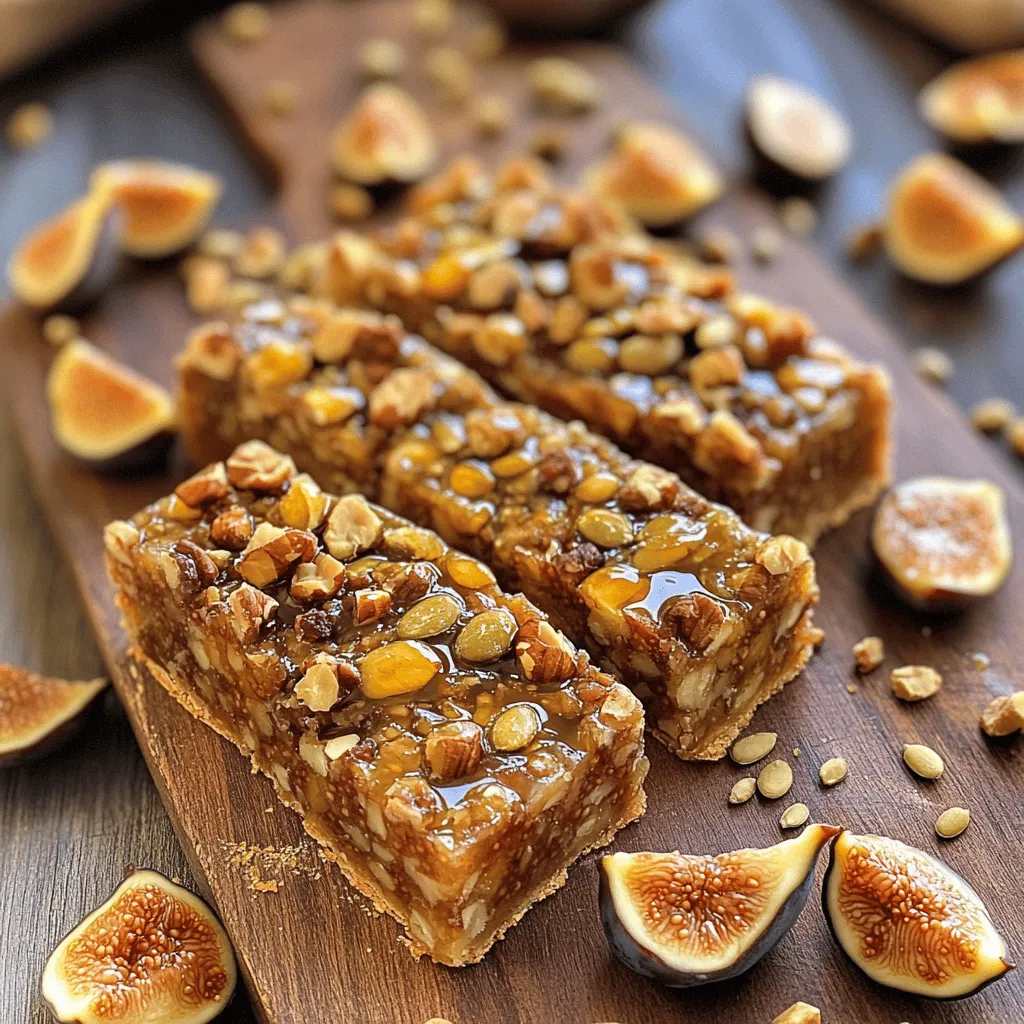
Fig and Walnut Bars Healthy and Flavorful Snack
If you’re searching for a tasty yet healthy snack, Fig and Walnut Bars are a perfect choice! Packed with nutritious Read Full Recipe -
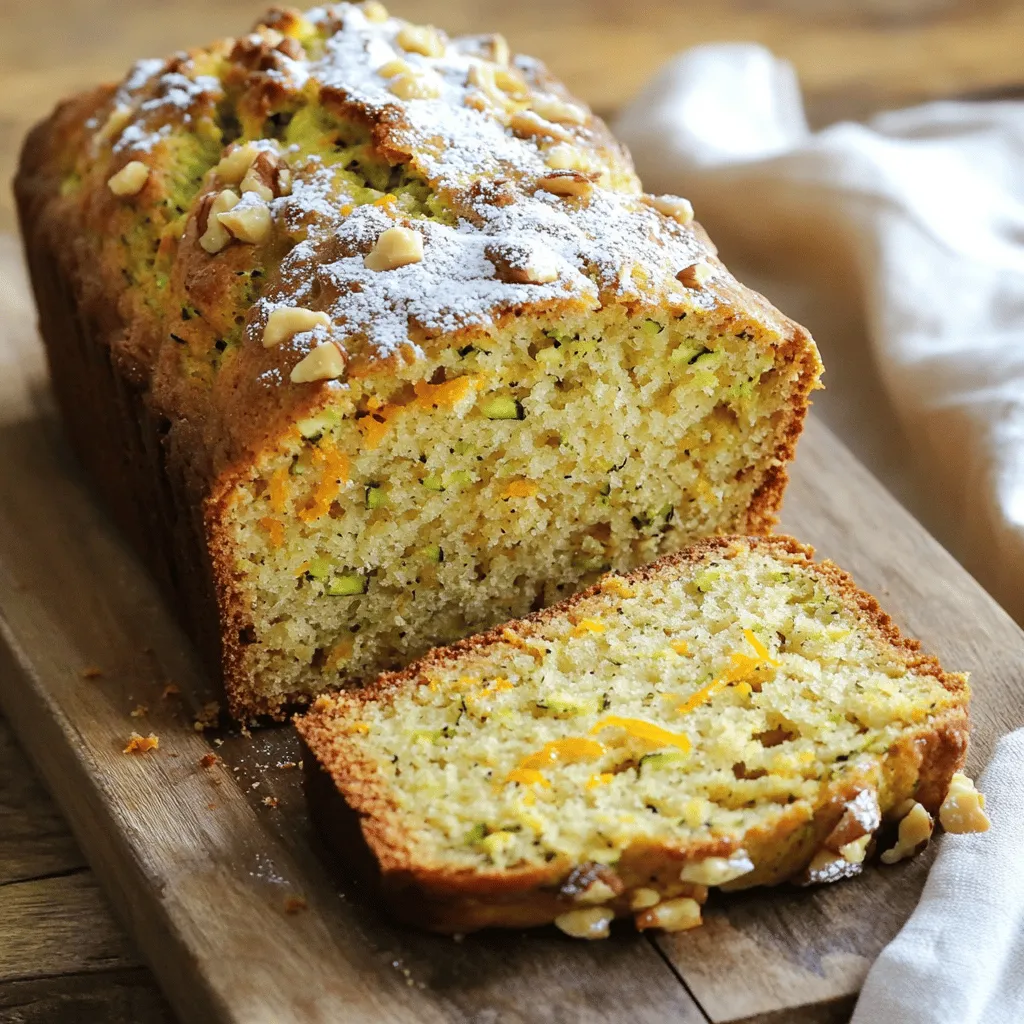
Zucchini Orange Bread Delightful and Easy to Bake
Are you ready to bake something truly delightful? This Zucchini Orange Bread combines fresh zucchini and bright orange zest for Read Full Recipe -
Zucchini Brownies for Kids Healthy and Tasty Delight
Are you looking for a new treat that kids will love while sneaking in some veggies? Look no further! These Read Full Recipe


My Latest Recipes

hey,
i’m !
I’m so happy you’re here!
Food is my passion, and perfecting each dish is my craft. I can’t wait for you to try them let’s dive into this delicious journey side by side.

Honey Mustard Chicken Tenders Delightful and Easy Meal
Are you ready to create a tasty meal that’s simple and satisfying? My Honey Mustard Chicken Tenders are easy to make and packed with…
![For Honey Mustard Chicken Tenders, you will need: - 1 pound (450g) chicken breast tenders - 1/4 cup honey - 1/4 cup Dijon mustard - 2 tablespoons olive oil - 1 teaspoon garlic powder - 1 teaspoon onion powder - 1/2 teaspoon smoked paprika - Salt and pepper to taste - 1 cup Panko breadcrumbs - 1/2 cup all-purpose flour - 2 large eggs Each ingredient plays a key role in the flavor and texture of the dish. Here’s a quick breakdown: - Chicken Breast Tenders: The star of the dish, tender and juicy. - Honey and Dijon Mustard: They create a perfect sweet and tangy glaze. - Olive Oil: Adds moisture and helps the coating crisp up in the oven. - Spices: Garlic powder, onion powder, and smoked paprika give depth. - Panko Breadcrumbs: They provide a light and crispy texture. - All-Purpose Flour and Eggs: These help the breadcrumbs stick well to the chicken. If you want to mix things up or have dietary needs, consider these swaps: - Chicken: You can use tofu or tempeh for a plant-based option. - Honey: Maple syrup works great if you want a vegan choice. - Dijon Mustard: Yellow mustard gives a milder taste if you prefer. - Panko Breadcrumbs: Regular breadcrumbs can be used, but they won’t be as crunchy. - Olive Oil: Avocado oil is a good substitute for a different flavor. Using these ingredients, you will create a dish that is both tasty and easy to make. For the full recipe, check the detailed instructions to guide you through the process. First, gather all your ingredients. You will need chicken breast tenders, honey, Dijon mustard, olive oil, garlic powder, onion powder, smoked paprika, salt, and pepper. You also need Panko breadcrumbs, all-purpose flour, and eggs. Preheat your oven to 400°F (200°C). Line a baking sheet with parchment paper to keep the chicken from sticking. In a medium bowl, whisk together honey, Dijon mustard, olive oil, garlic powder, onion powder, smoked paprika, salt, and pepper. This mixture will be your marinade. Set aside half of it for dipping later. Place the chicken tenders in a large bowl. Pour the marinade over them and toss to coat. Let the chicken sit for at least 15 minutes. This step helps the flavors sink in. Set up your breading station. Use three shallow bowls. Put all-purpose flour in one, whisk the eggs in another, and add Panko breadcrumbs to the last. Take each marinated chicken tender and dip it in the flour first. Shake off any extra flour. Then, dip it in the egg. Lastly, coat it with Panko breadcrumbs. Press gently so the crumbs stick well. Arrange the breaded chicken tenders on your baking sheet in a single layer. This makes sure they cook evenly. Now it’s time to bake. Place the baking sheet in your preheated oven. Bake the chicken tenders for 15 to 20 minutes. They should be golden and crispy when done. Use a meat thermometer to check. The internal temperature should reach 165°F (75°C). Once cooked, take them out and serve warm. Don’t forget to enjoy them with the reserved honey mustard dipping sauce. For the complete recipe, check out the [Full Recipe]. Marinating chicken tenders makes them juicy and full of taste. I suggest marinating for at least 15 minutes. For even more flavor, try to marinate them for an hour or overnight. Use a sealed bag to coat the tenders well in the marinade. This keeps them moist and adds depth to each bite. You can cook honey mustard chicken tenders in three ways. Each method gives a different texture and taste. - Oven: Preheat your oven to 400°F (200°C). This method offers a crispy coating with less oil. Bake for 15-20 minutes. - Air Fryer: Set your air fryer to 400°F (200°C) and cook for about 10-12 minutes. This method is quick and makes the tenders very crisp. - Pan-Frying: Heat oil in a skillet over medium heat. Cook the tenders for about 4-5 minutes on each side. This gives a rich flavor and nice golden color. Choose the method that fits your time and taste. Honey mustard chicken tenders pair well with many sides. Try serving them with: - Fresh salad for a light meal - Crispy fries for a fun treat - Creamy coleslaw for added crunch - Steamed veggies for a healthy touch For a dip, use the reserved honey mustard sauce. This adds a sweet and tangy kick that everyone loves. Enjoy your meal! {{image_2}} To make spicy honey mustard chicken tenders, add hot sauce to the marinade. A tablespoon or two will add heat without losing the sweet flavor. You can also use spicy mustard instead of Dijon. This twist gives a nice kick to your meal. Serve it with a cooling dip, like ranch or yogurt, to balance the heat. If you need a gluten-free version, swap regular flour and breadcrumbs for gluten-free ones. Use almond flour or coconut flour for breading. Make sure your mustard and honey are also gluten-free. This way, everyone can enjoy the dish without worry. Using an air fryer cooks chicken tenders quickly. It gives a crispy texture with less oil. This method is also great for busy nights. The oven takes a bit longer, but it can cook more tenders at once. You can choose based on your needs and time. Both methods will yield tasty chicken tenders. For the full recipe, check out the Honey Mustard Chicken Tenders section. After enjoying your honey mustard chicken tenders, you may have some left. To store them, let the chicken cool to room temperature. Place the tenders in an airtight container. You can keep them in the fridge for up to three days. For best taste, eat them within this time. To reheat the chicken tenders, preheat your oven to 350°F (175°C). Place the tenders on a baking sheet lined with parchment paper. Heat them for about 10-15 minutes. This method helps keep the coating crispy. You can also use a microwave, but the coating may become soft. If you want to save some chicken tenders for later, freezing works well. Allow the tenders to cool completely. Then, place them in a freezer-safe bag. Remove as much air as possible before sealing. These tenders can stay in the freezer for up to three months. When you’re ready to eat, thaw them in the fridge overnight before reheating. Enjoy your tasty meal anytime! You can make Honey Mustard Chicken Tenders healthier by swapping some ingredients. Use whole wheat flour instead of all-purpose flour. Try baked tenders instead of fried. You can also reduce the honey or use a sugar substitute. Adding more spices can enhance flavor without adding calories. Serve with a side of veggies for a balanced meal. Yes, you can use regular mustard instead of Dijon. Regular mustard will give a different taste, but it still works. It may be less sweet, so you might want to add a touch more honey. The texture and flavor may change, but it will still taste great. Feel free to experiment with other mustard types too! The best dipping sauces for chicken tenders include ranch, barbecue, and the honey mustard mix. Each sauce adds a unique flavor. If you love spicy food, try adding hot sauce to your honey mustard. You can also mix yogurt with herbs for a fresh option. Each choice can change your meal experience! This post covered simple recipes for Honey Mustard Chicken Tenders. We discussed ingredients, preparation steps, and cooking methods. You learned tips for flavor and storage. Variations for spicy or gluten-free options help you customize. As you try these recipes, remember to enjoy cooking and be creative. You can make each dish your own. Happy cooking!](https://mysavedrecipe.com/wp-content/uploads/2025/06/8428b306-c463-48f3-b3f2-b164fd3574db.webp)
