Latest & Greatest

Honey Mustard Glazed Carrots Flavorful and Easy Side
Looking for a quick and tasty side dish? Honey Mustard Glazed Carrots are the answer! This dish is easy to
Read more…
Strawberry Shortcake Trifle Delightful and Easy Recipe
Get ready to enjoy a fresh twist on a classic dessert with my Strawberry Shortcake Trifle! This delightful and easy
Read more…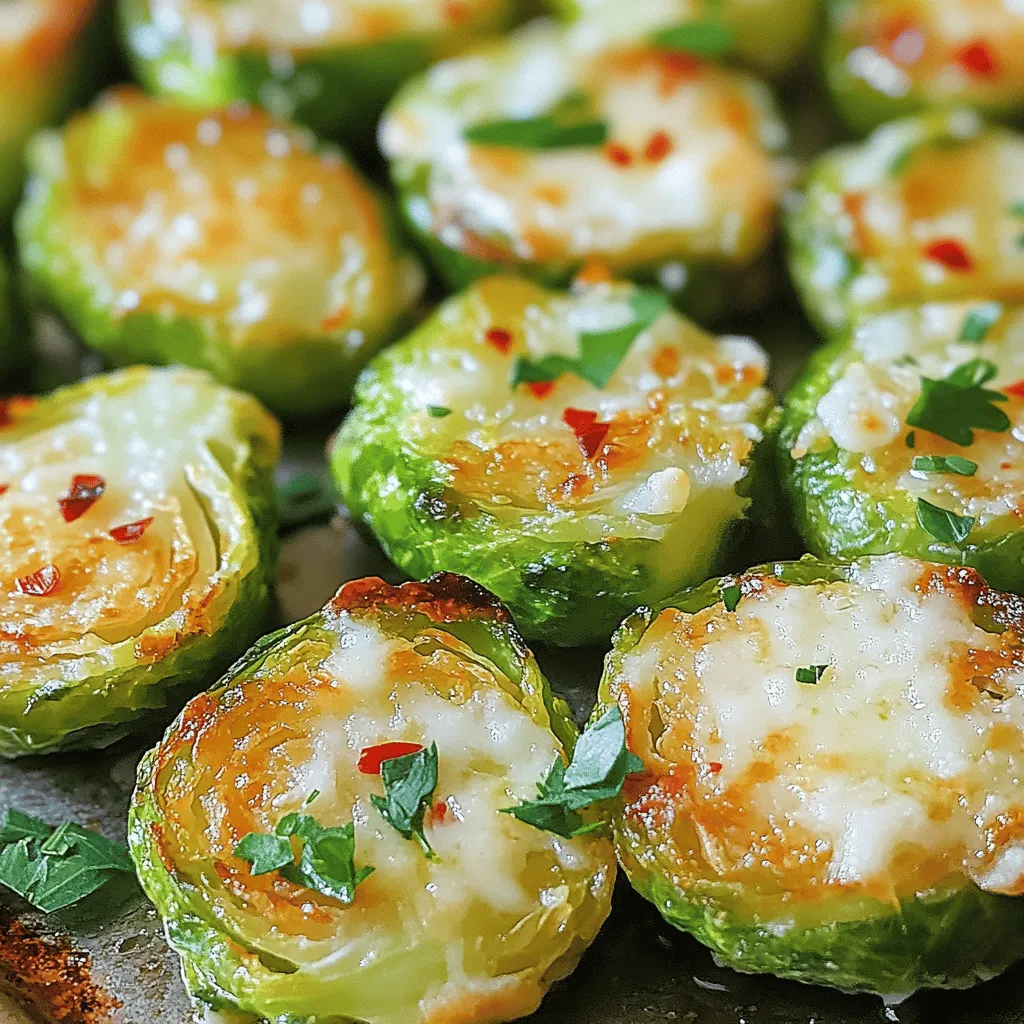
Garlic Parmesan Roasted Brussels Sprouts Flavor Boost
Looking for a tasty side dish that doesn’t skimp on flavor? Garlic Parmesan Roasted Brussels Sprouts are here to save
Read more…
Savory Spinach Artichoke Dip Bites Delightful Snack
Get ready for a savory snack that will steal the show! These Spinach Artichoke Dip Bites combine fresh spinach, artichokes,
Read more…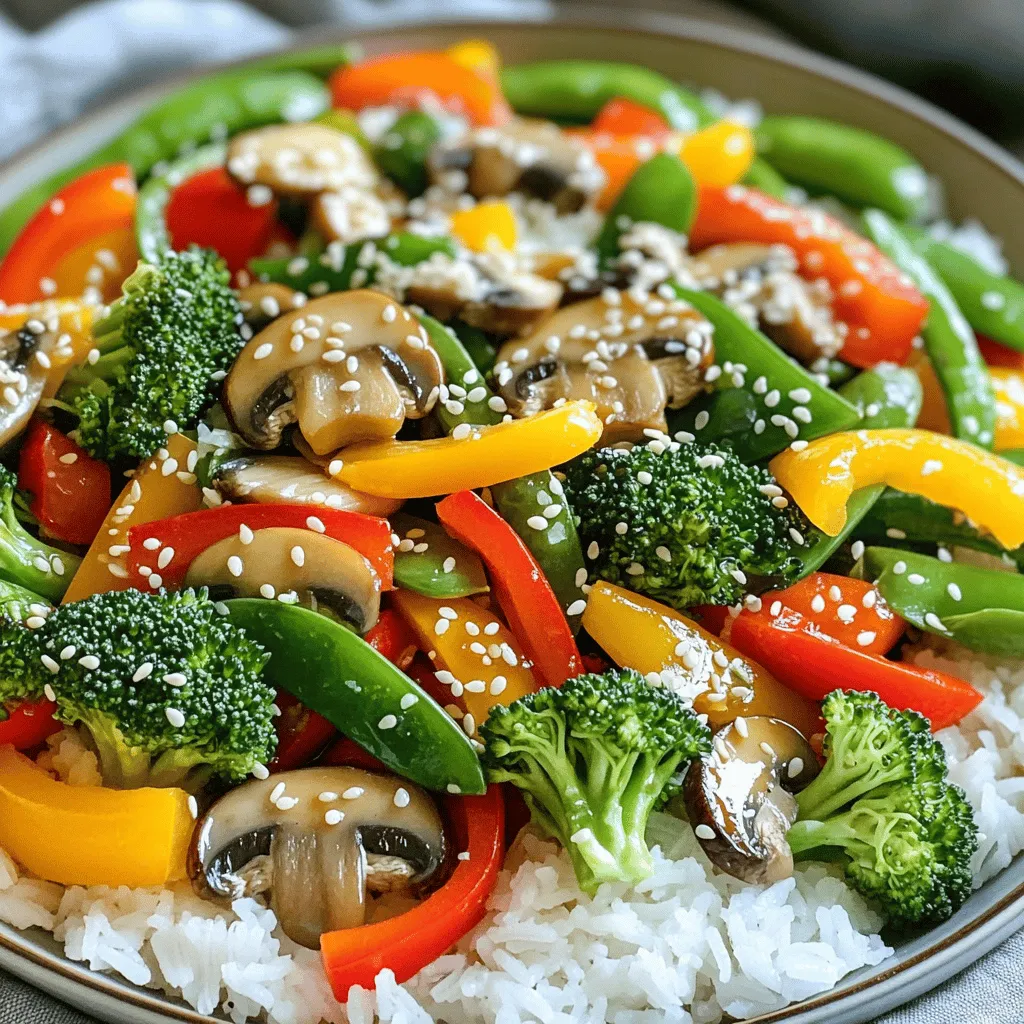
Quick and Easy Vegetable Stir Fry Delightful Dish
Are you craving a simple way to enjoy fresh veggies? My Quick and Easy Vegetable Stir Fry Delightful Dish is
Read more…
Coconut Lime Shrimp Zesty and Flavorful Delight
Are you ready to experience a burst of flavor in every bite? My Coconut Lime Shrimp is your new go-to
Read more…
Cinnamon Roll Casserole Delightful Breakfast Recipe
Imagine waking up to a warm, gooey cinnamon roll casserole that’s easy to make and full of flavor. This delightful
Read more…
Easy No-Bake Tiramisu Delightful and Simple Recipe
Are you craving a rich, creamy dessert without turning on the oven? Look no further! I’ll show you how to
Read more…browse recipes


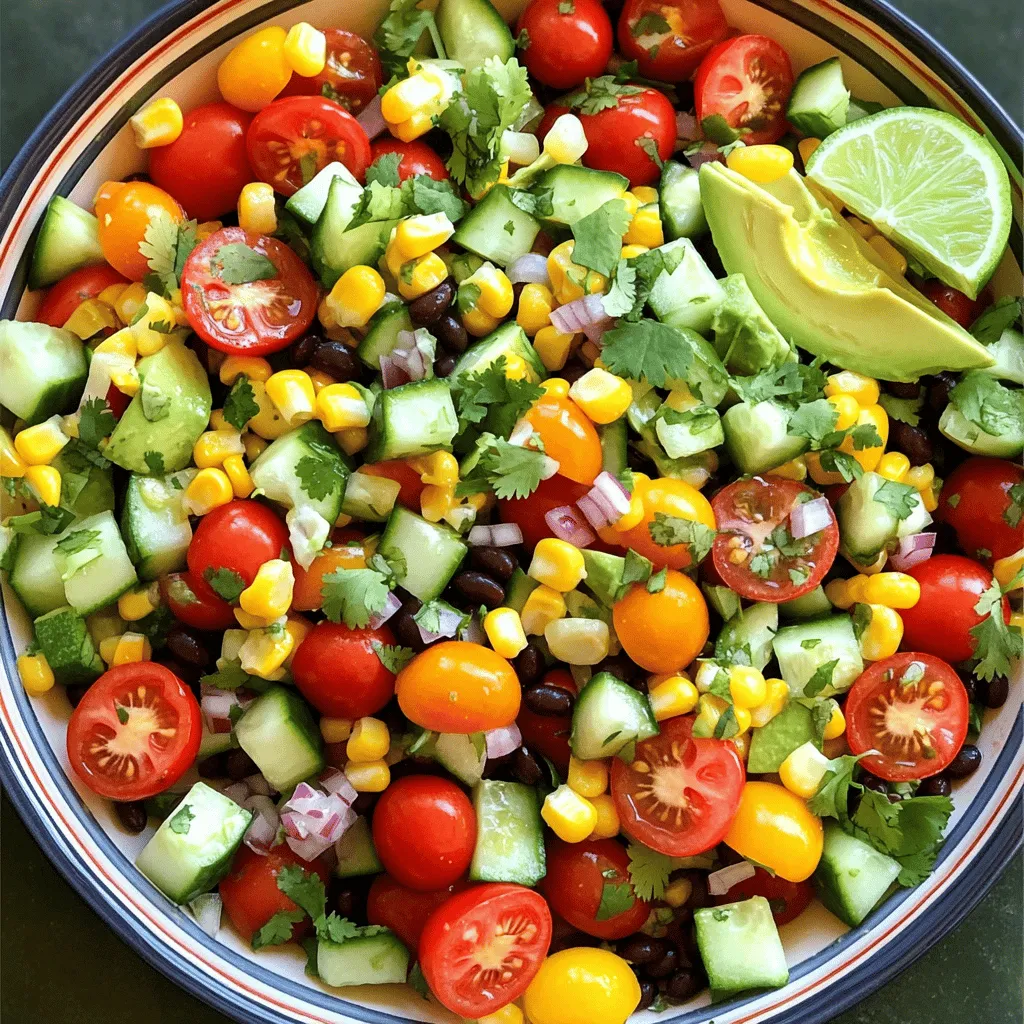
Mexican Chopped Salad Simple and Fresh Recipe
Looking for a fresh and simple dish that bursts with flavor? This Mexican Chopped Salad is your answer. Packed with vibrant veggies and a…
My Latest Desserts

No-Bake Peach Icebox Cake Simple and Refreshing Treat
If you’re seeking a sweet, cool treat that’s simple to make, it’s time to try my No-Bake Peach Icebox Cake. Read Full Recipe-
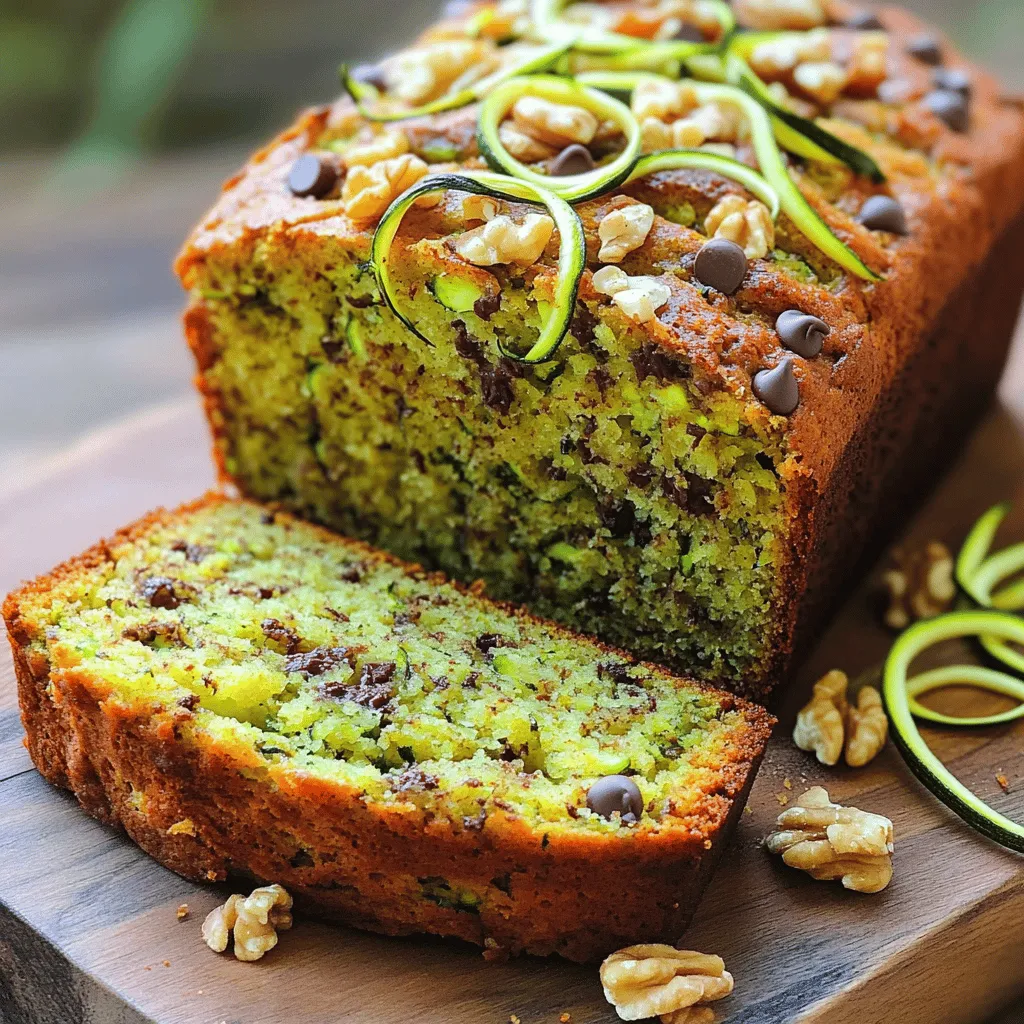
The Best Zucchini Bread Irresistible and Easy Recipe
Are you ready to bake the best zucchini bread that’s both irresistible and easy? This simple recipe combines fresh, grated Read Full Recipe -
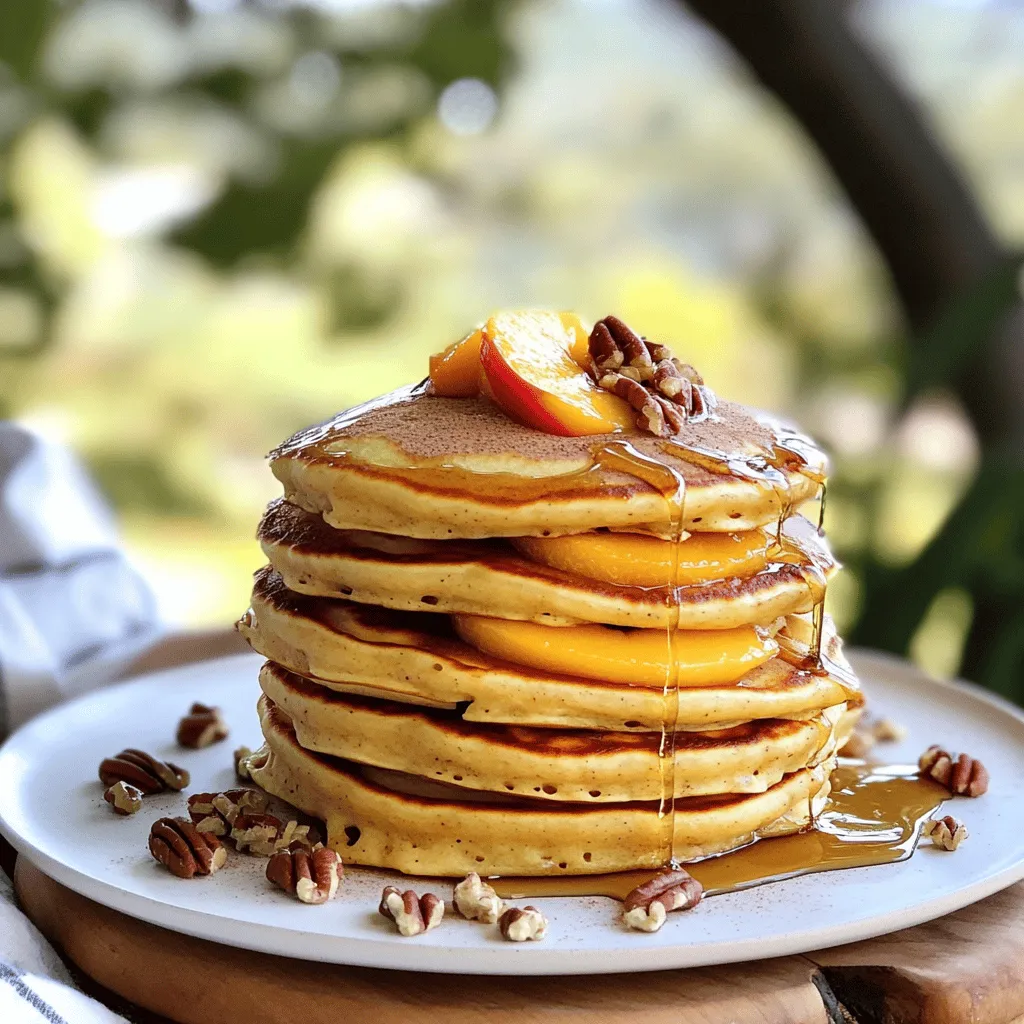
Peach Cobbler Pancakes Delicious and Simple Recipe
Are you ready to bring a burst of flavor to your breakfast table? Peach Cobbler Pancakes are the perfect blend Read Full Recipe -
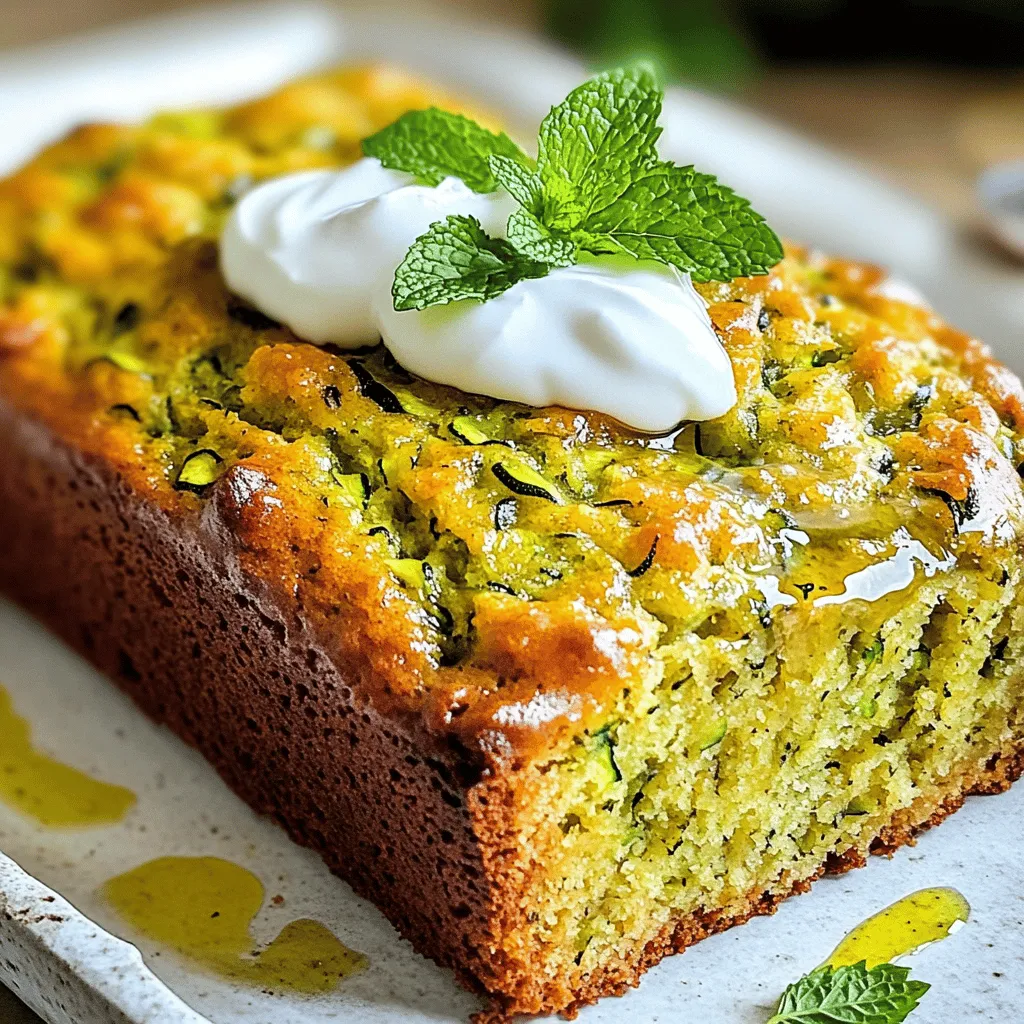
Olive Oil Zucchini Bread Moist and Flavorful Recipe
Welcome to your new favorite treat: Olive Oil Zucchini Bread! This recipe gives you a moist, flavorful loaf that’s perfect Read Full Recipe -
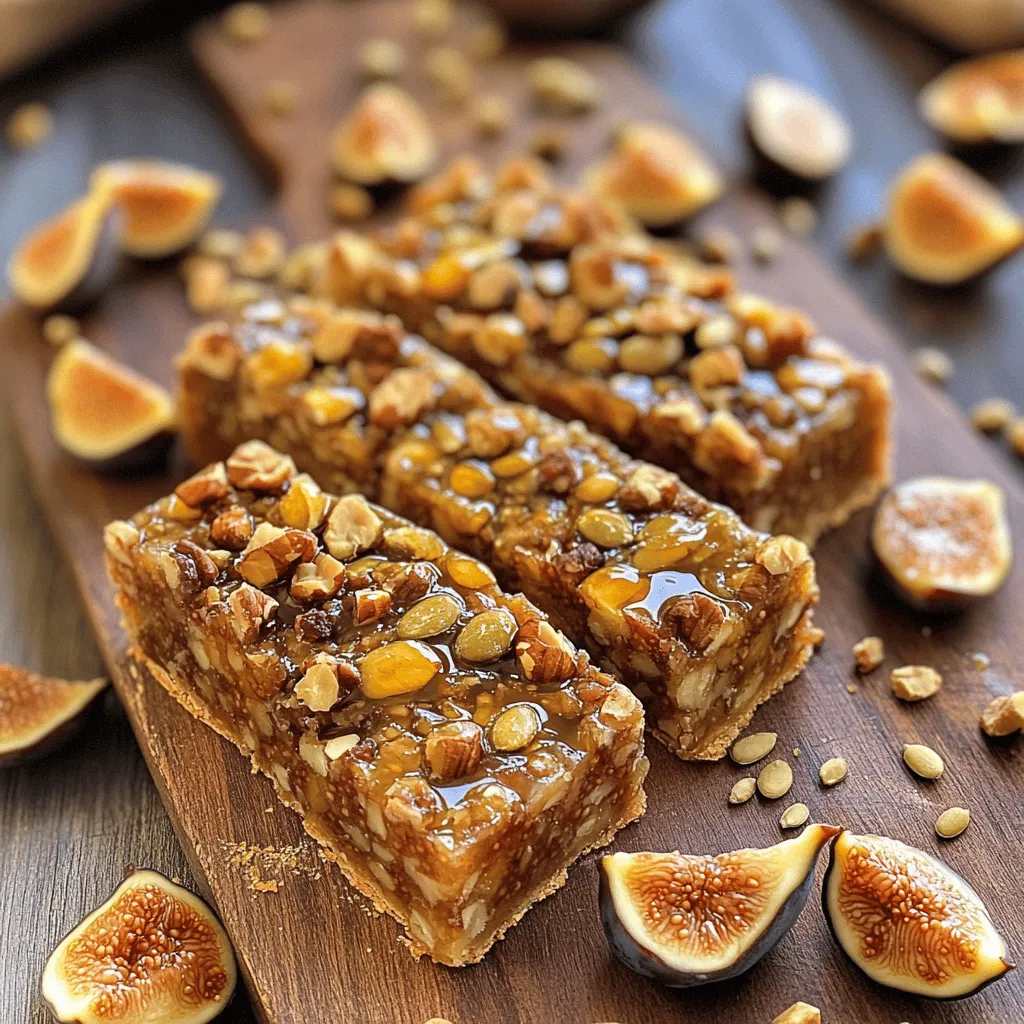
Fig and Walnut Bars Healthy and Flavorful Snack
If you’re searching for a tasty yet healthy snack, Fig and Walnut Bars are a perfect choice! Packed with nutritious Read Full Recipe -
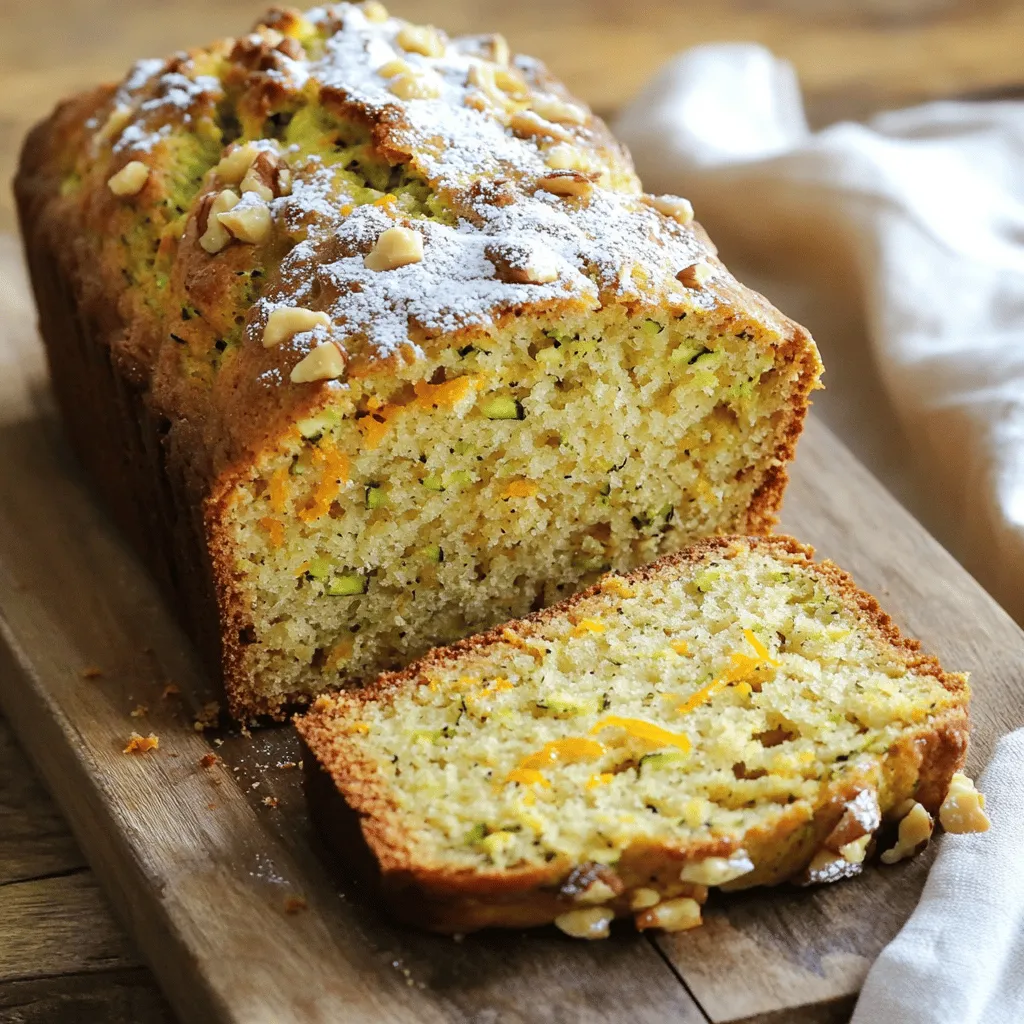
Zucchini Orange Bread Delightful and Easy to Bake
Are you ready to bake something truly delightful? This Zucchini Orange Bread combines fresh zucchini and bright orange zest for Read Full Recipe -
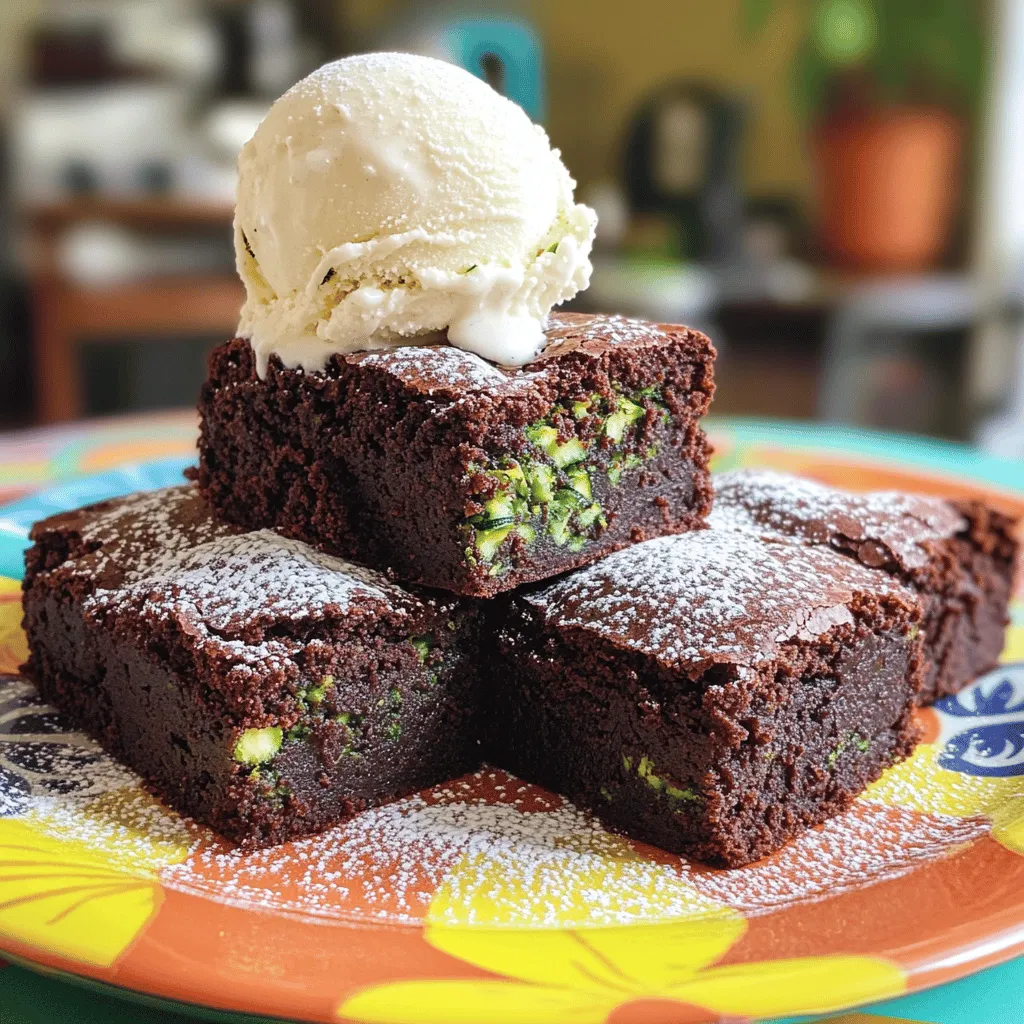
Zucchini Brownies for Kids Healthy and Tasty Delight
Are you looking for a new treat that kids will love while sneaking in some veggies? Look no further! These Read Full Recipe -
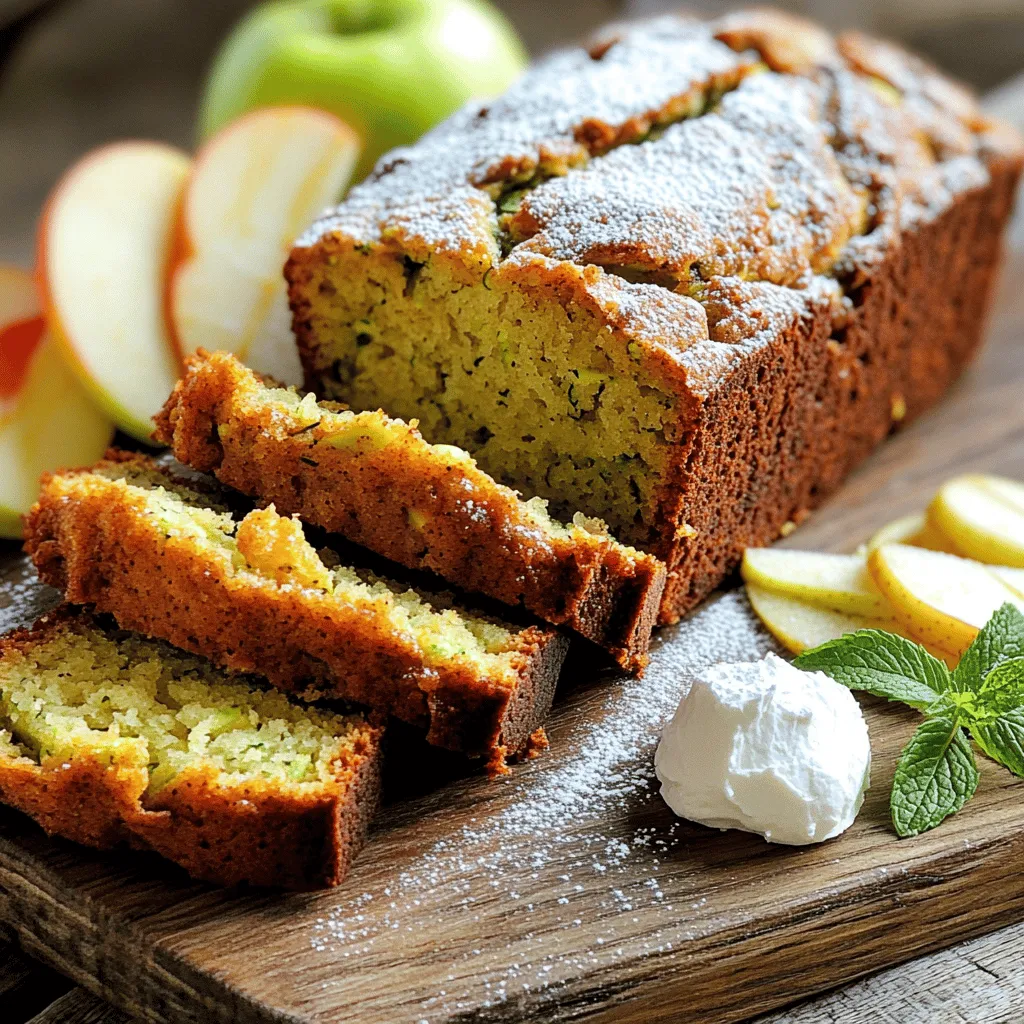
Apple Zucchini Bread Irresistibly Moist Delight
If you love baking delicious bread, you’re in for a treat! This Apple Zucchini Bread is not just within reach; Read Full Recipe -
Peach Cobbler Cheesecake Delightful Flavor Awaits
Are you ready to indulge in a dessert that combines the best of two worlds? This Peach Cobbler Cheesecake brings Read Full Recipe -
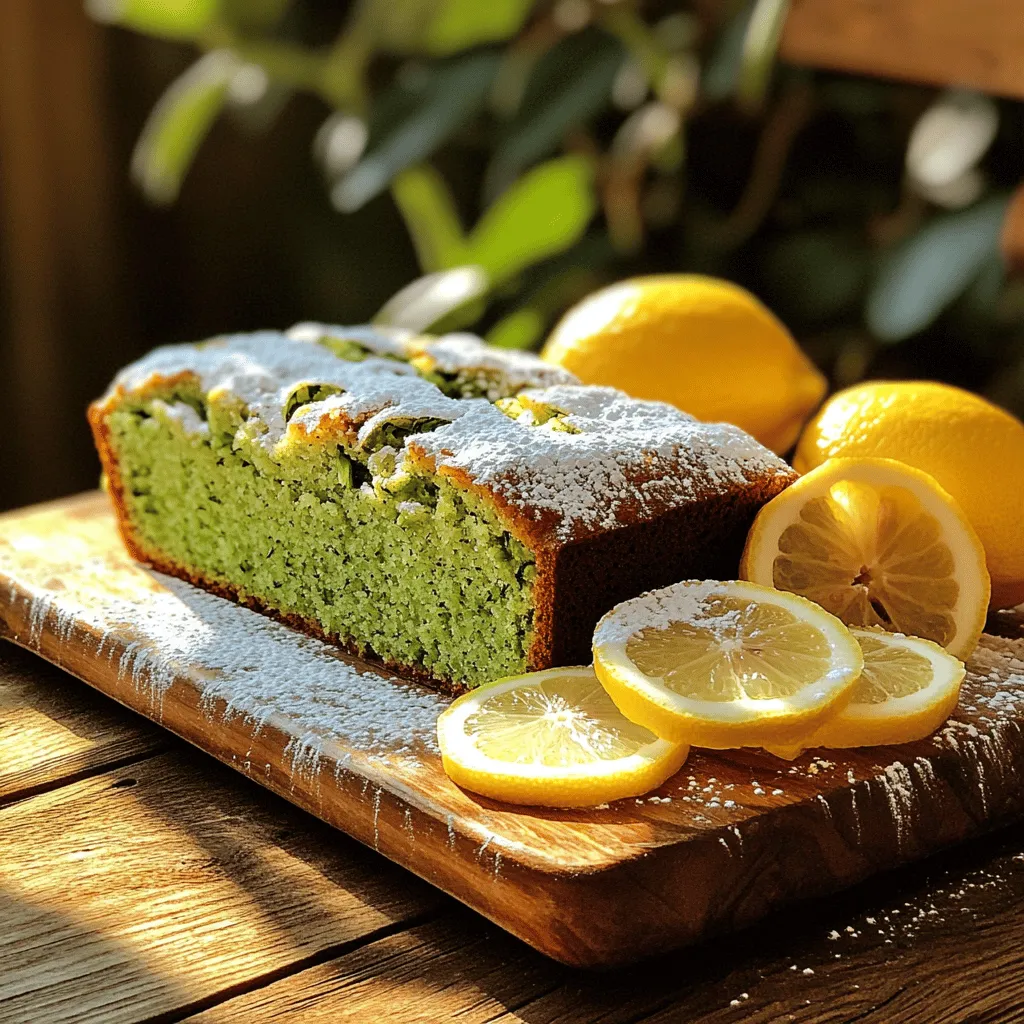
Lemon Zucchini Bread Fresh and Flavorful Delight
If you’re craving a tasty, moist loaf that brightens up your day, you’ve found it! My Lemon Zucchini Bread is Read Full Recipe


My Latest Recipes

hey,
i’m !
I’m so happy you’re here!
Food is my passion, and perfecting each dish is my craft. I can’t wait for you to try them let’s dive into this delicious journey side by side.

![Let's dive into the ingredients for this Four Cheese Mac and Cheese. Each one adds a layer of flavor and creaminess that makes this dish a delight. Here’s what you will need: - 8 oz elbow macaroni - 2 tablespoons unsalted butter - 2 tablespoons all-purpose flour - 2 cups whole milk - 1 teaspoon garlic powder - 1 teaspoon onion powder - 1 teaspoon Dijon mustard - 1 cup sharp cheddar cheese, shredded - 1 cup Gruyère cheese, shredded - 1 cup mozzarella cheese, shredded - ½ cup crumbled blue cheese - Salt and pepper to taste - ½ cup breadcrumbs - 2 tablespoons fresh parsley, chopped (for garnish) This blend of cheeses creates a rich and creamy texture. The sharp cheddar brings a bold flavor. Gruyère adds a nutty taste, while mozzarella gives that gooey stretch. Blue cheese offers a tangy kick that balances the creaminess. The pasta serves as the perfect base to soak up all that cheesy goodness. You can find the full recipe to help you make this dish shine. - Boil a large pot of salted water. - Add 8 oz elbow macaroni and cook until al dente. - This usually takes about 7-8 minutes. - Drain the pasta and set it aside. - In the same pot, melt 2 tablespoons of unsalted butter over medium heat. - Once melted, whisk in 2 tablespoons of all-purpose flour. - Stir this mix constantly for about 2 minutes until it's light golden. - Now, gradually add 2 cups of whole milk, whisking until smooth. - Keep stirring until the sauce thickens, which takes about 5-7 minutes. - Stir in 1 teaspoon each of garlic powder, onion powder, and Dijon mustard. - Season the sauce with salt and pepper to taste. - Remove the pot from heat and slowly add the cheeses: 1 cup sharp cheddar, 1 cup Gruyère, 1 cup mozzarella, and ½ cup crumbled blue cheese. - Stir until the cheese melts and the sauce is smooth. - Add the cooked macaroni to the cheese sauce, mixing well to coat. - Preheat your oven to 350°F (175°C) and pour the mac and cheese into a greased baking dish. - For a crunchy topping, mix ½ cup breadcrumbs with a little olive oil, then sprinkle over the mac and cheese. - Bake for about 25-30 minutes until the top is golden brown and crispy. You can find the Full Recipe for more in-depth steps. Enjoy your creamy and rich delight! To make a creamy cheese sauce, start with room temperature cheese. Cold cheese does not melt well. When you add it to the sauce, it can clump. Stir constantly as you cook. This helps the sauce stay smooth and avoids lumps. If you find lumps, whisk it harder until you get a smooth texture. Preheating your oven is key. Set it to 350°F (175°C) before you bake. This ensures even cooking. Once it’s in the oven, check for doneness. You want a golden top, not a burnt one. Baking time is about 25-30 minutes. Keep an eye on it as it cooks. When it's time to serve, add a sprinkle of fresh parsley on top. This adds color and freshness. You can also pair your mac and cheese with a side salad or some garlic bread. This balances the richness of the dish. For more excitement, try a crunchy topping with your favorite herbs. For the full recipe, check out the [Full Recipe]. {{image_2}} You can swap out cheeses to make your mac and cheese unique. Try using a mix of creamy brie or tangy goat cheese. Aged cheeses can add a bolder taste. The sharpness of aged cheddar or a nutty Gruyère can really enhance the flavor. Mixing different cheeses gives you a fun twist on this classic dish. Adding extras can take your mac and cheese to the next level. Cooked bacon adds a nice crunch and smoky flavor. You can also toss in some veggies like spinach or tomatoes for freshness. If you crave more spice, add some chili powder or smoked paprika. These add-ins will make your dish even more exciting. If you want a gluten-free option, you can easily adapt this recipe. Use gluten-free pasta instead of regular macaroni. For the cheese sauce, swap out regular flour for cornstarch or gluten-free flour. This way, everyone can enjoy a creamy and rich delight. Check out the Full Recipe for more tips! To keep your Four Cheese Mac and Cheese fresh, store it in an airtight container in the fridge. This helps prevent moisture loss and keeps the flavors intact. Aim to enjoy it within 3-5 days for the best quality. After that, the taste may fade, and the texture can change. If you want to save some for later, cooling it completely before freezing is key. Once cool, transfer it to a freezer-safe container. This way, you can enjoy it for a few months. When you're ready to eat it, thaw it in the fridge overnight. This ensures even reheating and keeps it tasty. For the best results, reheat your mac and cheese in the oven. This method helps restore the crispy topping that makes it so good. If you prefer the microwave, add a splash of milk to keep it moist. This simple trick brings back some creaminess and prevents it from drying out. Enjoy the rich, cheesy goodness again! The best cheese for mac and cheese is a mix of flavors and textures. I love using: - Sharp cheddar cheese for a strong flavor - Gruyère cheese for its nutty taste - Mozzarella cheese for creaminess - Blue cheese for a bold kick This blend creates a rich and complex taste. You can also try other cheeses like fontina or gouda for fun variations. Yes, you can make this recipe ahead of time. Here’s how: - Prep the dish: Follow the recipe until you mix in the cheese and macaroni. - Store: Place it in a greased baking dish. Cover it tightly with foil and keep it in the fridge. - Reheat: When ready to serve, preheat the oven. Bake it for 30-40 minutes at 350°F (175°C). This way, you save time and still enjoy a delicious meal. To make mac and cheese creamy, follow these tips: - Use room temperature cheese: This helps the cheese melt smoothly without clumps. - Don’t rush the sauce: Cook it slowly, stirring constantly. This helps prevent lumps. - Add milk gradually: Pour in the milk a little at a time. This keeps the sauce smooth and creamy. These steps will ensure your mac and cheese is a rich delight every time. For the full recipe, check out the Four Cheese Mac and Cheese. This recipe offers a simple guide to making delicious mac and cheese. We covered the necessary ingredients, how to cook the pasta, and how to create a tasty cheese sauce. Tips like using room temperature cheese help you get a smooth sauce. You can also make this dish your own with different cheeses and add-ins. Finally, the right storage and reheating methods keep your leftovers fresh. Enjoy making this classic dish that never gets old!](https://mysavedrecipe.com/wp-content/uploads/2025/06/53821f7b-4c15-43be-a674-0c4f5797072a-300x300.webp)


Coconut Curry Chicken Flavorful and Satisfying Meal
If you’re searching for a meal that’s both flavorful and satisfying, look no further! Coconut Curry Chicken bursts with rich tastes and comforting aromas.…