Latest & Greatest
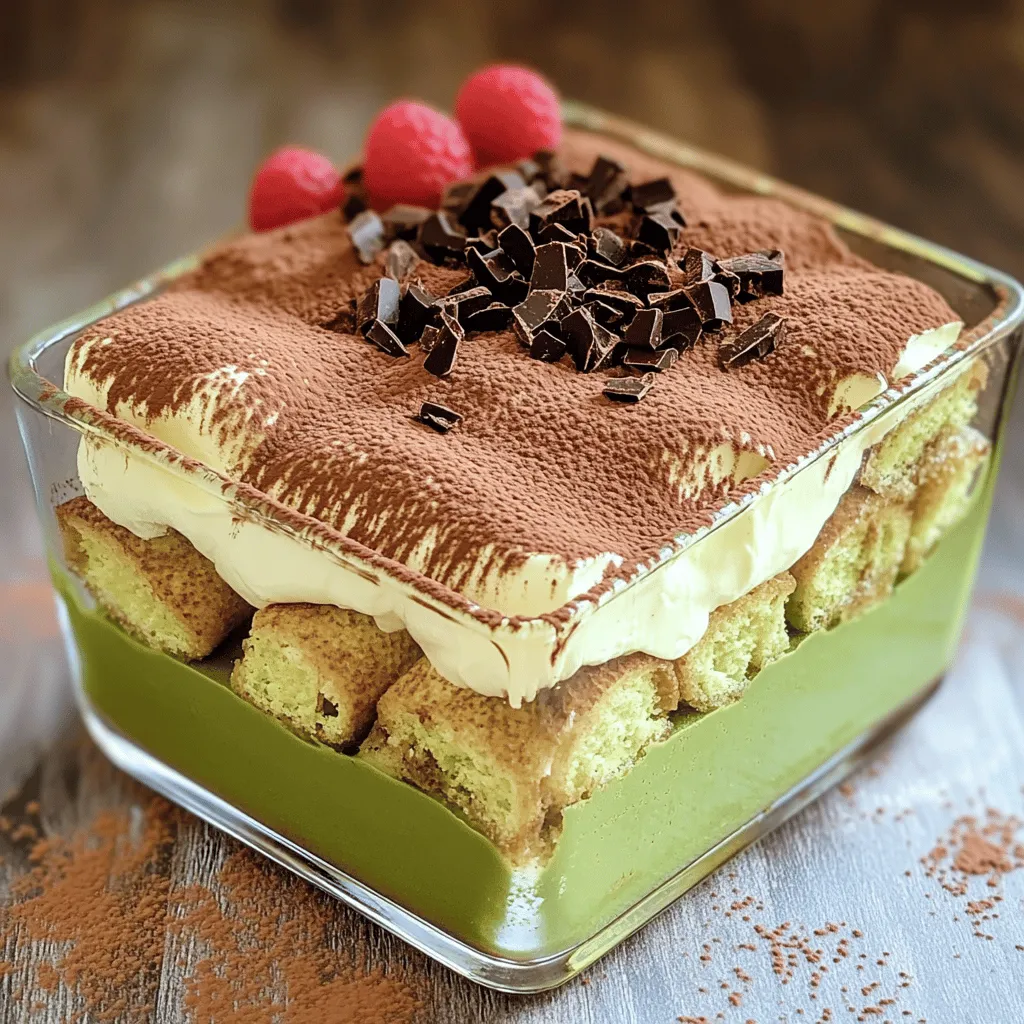
Easy No-Bake Tiramisu Delightful and Simple Recipe
Are you craving a rich, creamy dessert without turning on the oven? Look no further! I’ll show you how to
Read more…
Mango Sorbet Refreshing Dessert for Hot Days
Escape the heat with a refreshing mango sorbet that’s easy to make! This dessert is creamy, fruity, and perfect for
Read more…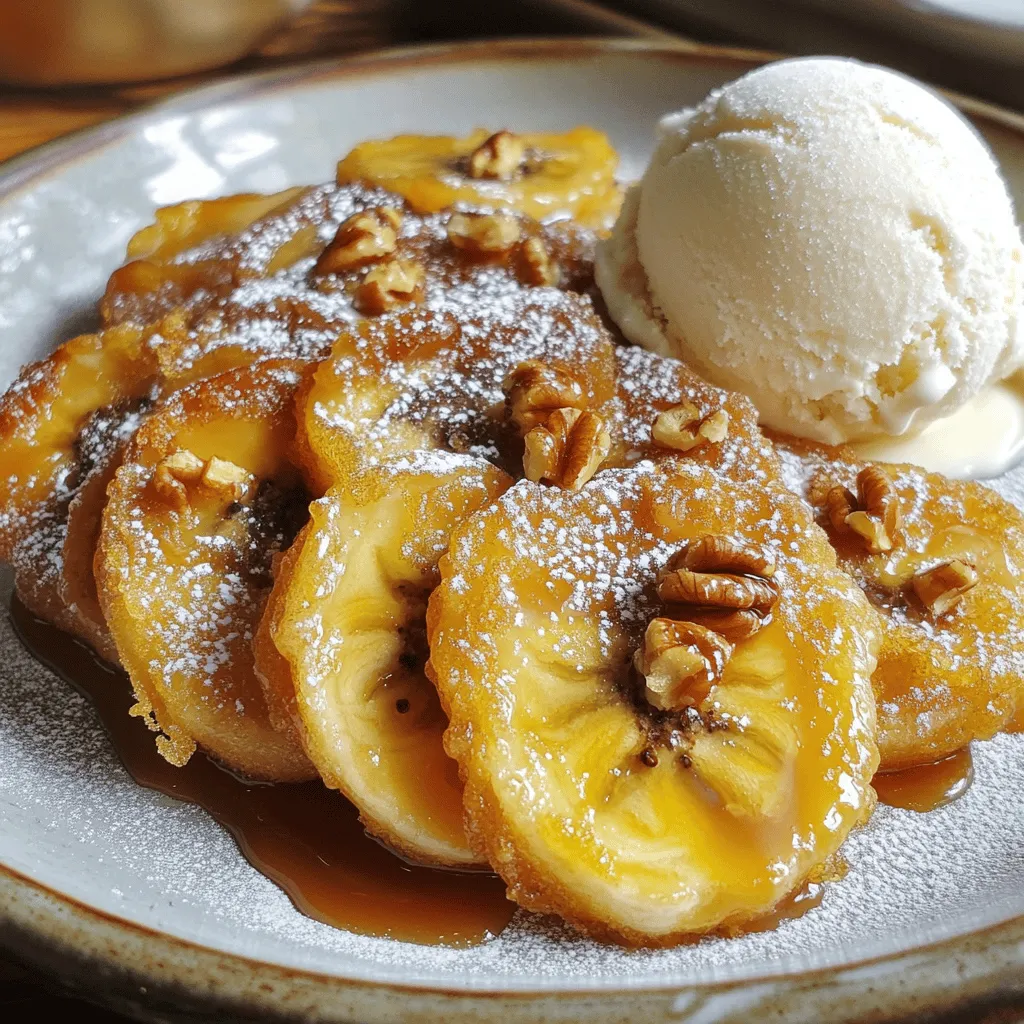
Fried Banana With Brown Sugar Crispy Delight Recipe
Are you ready to indulge in a crispy sweet treat? Fried bananas with brown sugar are a simple delight you
Read more…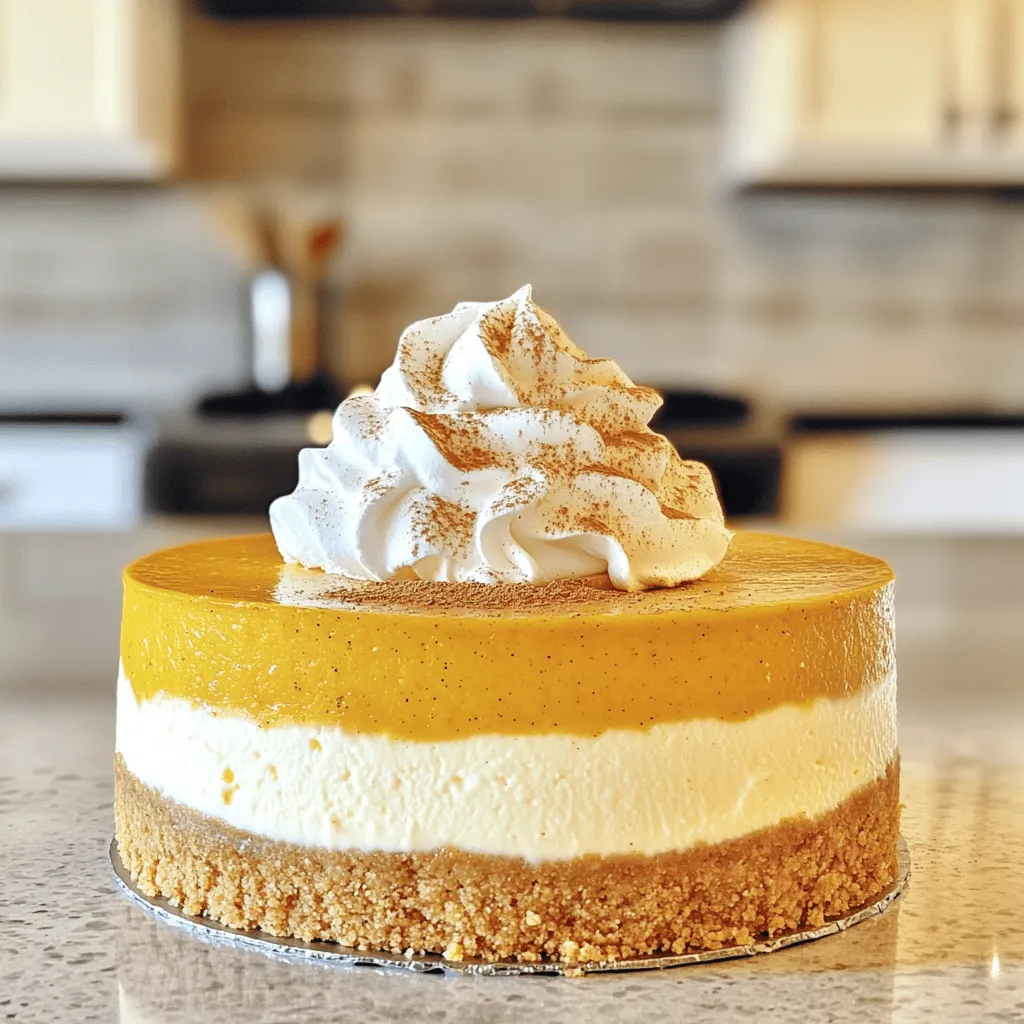
Best Pumpkin Cheesecake Easy to Make Delight
Get ready to impress your friends and family with the best pumpkin cheesecake you’ve ever tasted! This easy, delicious dessert
Read more…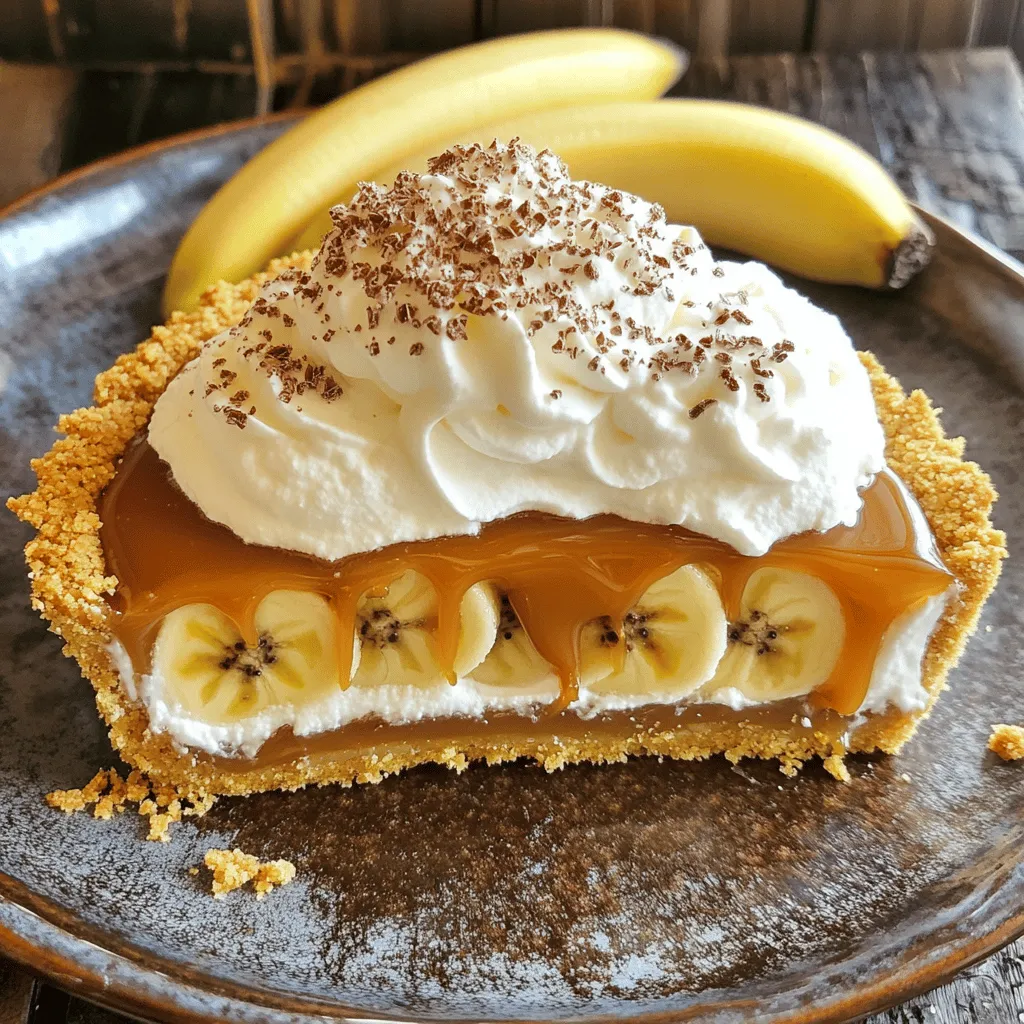
Easy Banoffee Pie with Caramel and Cream Recipe
Do you crave a sweet treat that’s both easy and delightful? Let me show you how to make the perfect
Read more…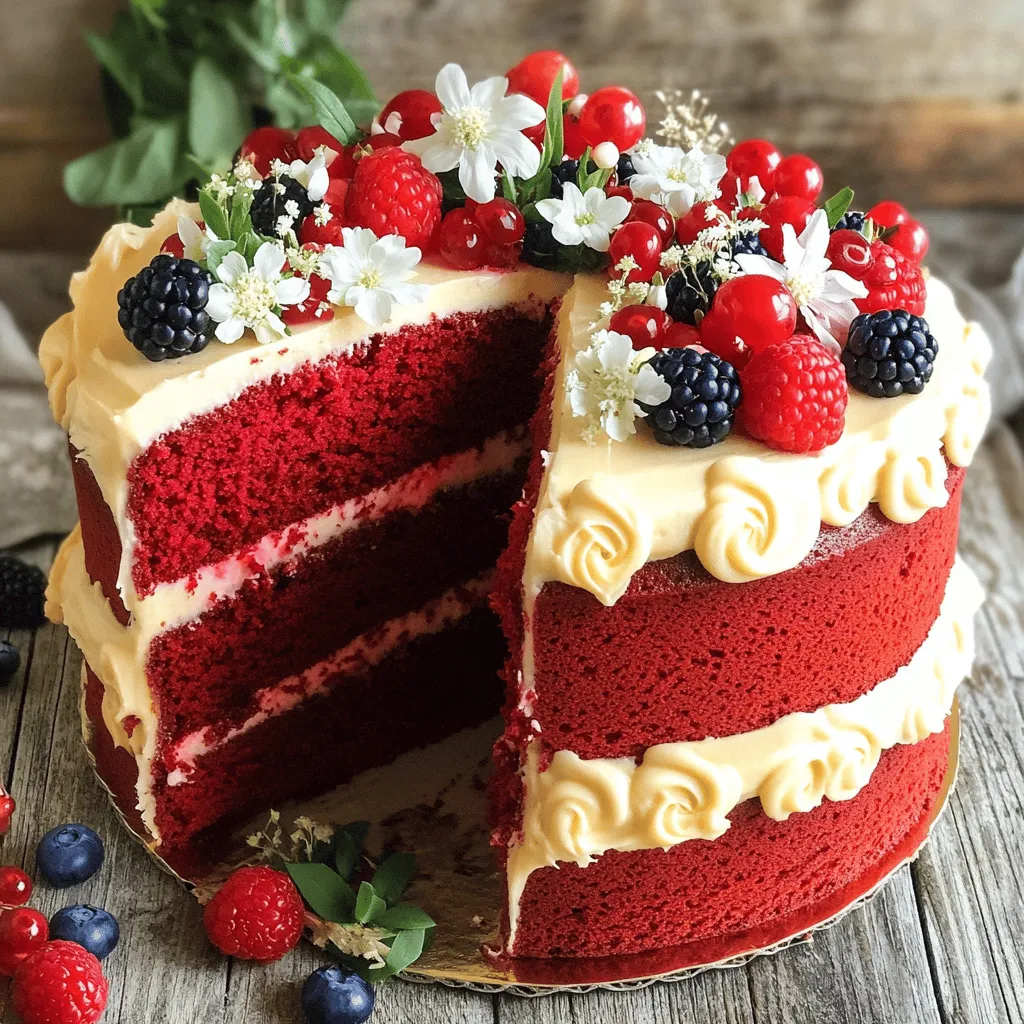
Red Velvet Cake Irresistible Treat for Any Occasion
If you’re craving something sweet, let me introduce you to the magic of Red Velvet Cake. This vibrant treat isn’t
Read more…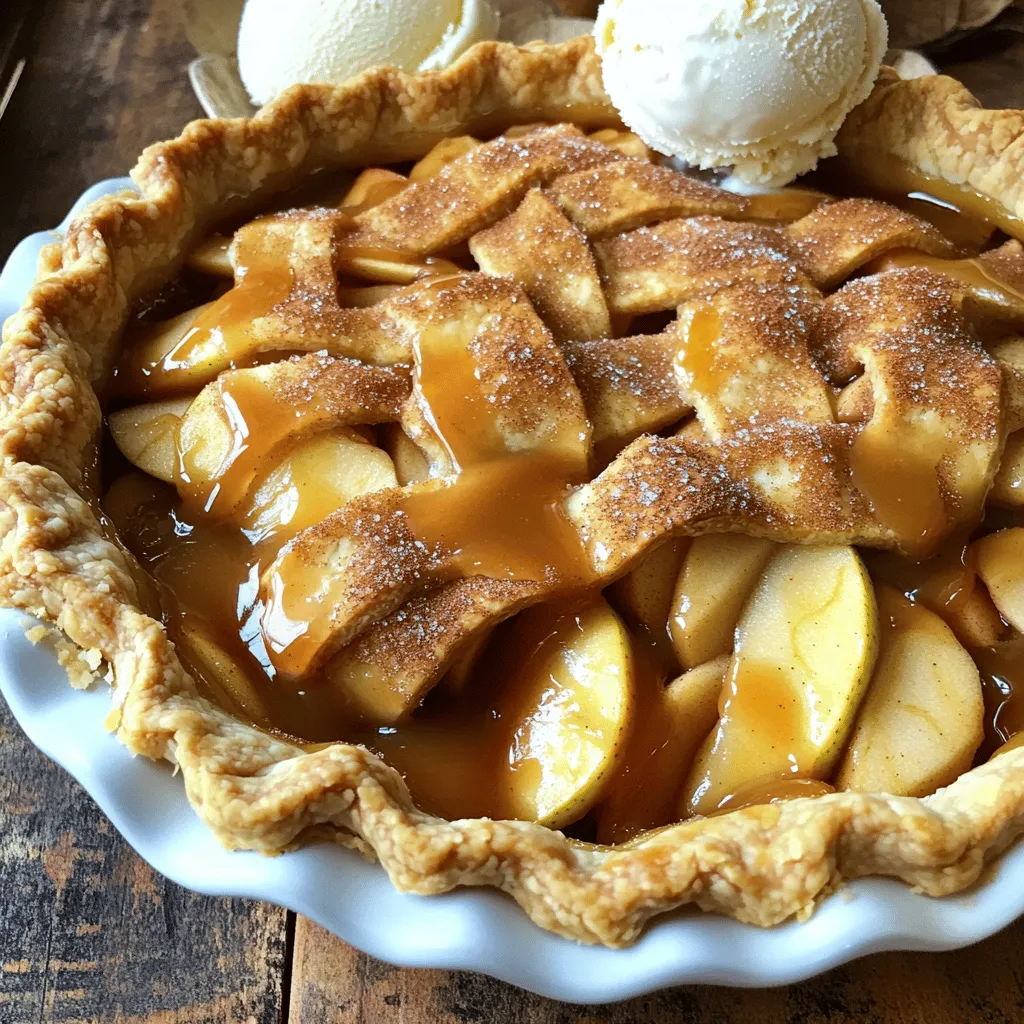
Apple Pie Delight with Cinnamon and Caramel Toppings
If you love the warm, sweet taste of apple pie, you’re in for a treat! My Apple Pie Delight with
Read more…
Crockpot Mexican Chicken Flavorful and Simple Dish
Are you ready to spice up your dinner routine? My Crockpot Mexican Chicken is a simple, flavorful dish that will
Read more…browse recipes
. - Overmixing batter: This can make the texture tough. Mix just until smooth. - Not cooling properly: Let the cheesecakes cool before chilling. This helps set their shape. - Use room temperature ingredients: Cold cream cheese will not mix well. It needs to be soft. - Avoid overbaking: Bake until the centers are slightly jiggly. They will firm up as they cool. - Best served chilled: Chilling enhances the flavors and makes them refreshing. - Pair with homemade whipped cream: A dollop of whipped cream adds richness and a nice touch. Enjoy these tips to make the best mini lemon blueberry cheesecakes. Check out the Full Recipe for more details! {{image_2}} You can easily switch things up with your mini lemon blueberry cheesecakes. Instead of blueberries, try using raspberries or strawberries. These fruits add a nice twist to your dessert. You can also add chocolate chips or nuts. Dark chocolate adds richness, while nuts give a lovely crunch. Just fold them into the batter gently. If you need a gluten-free option, use gluten-free graham cracker crumbs. These work just like regular crumbs for the crust. For a dairy-free twist, substitute cream cheese with a dairy-free cream cheese. You can also use cashew cream for a smooth texture. These choices keep the flavor tasty for everyone. If you’re hosting a larger gathering, you can double the recipe. This will give you about 24 mini cheesecakes. To make one full cheesecake, use a 9-inch springform pan. Simply pour the batter into the pan after mixing. Bake it for 45-55 minutes instead of 20-25 minutes. This will create a lovely, creamy cheesecake that everyone will love. For more details, check the Full Recipe. To keep your mini lemon blueberry cheesecakes fresh, refrigerate them right away. Place them in an airtight container. This keeps moisture in and prevents them from drying out. They stay fresh for about 3 to 4 days. If you want to enjoy them longer, use plastic wrap before sealing. This adds an extra layer of protection. You can freeze mini cheesecakes for later enjoyment. First, let them cool completely. Then, wrap each cheesecake tightly in plastic wrap. After that, put them in a freezer-safe bag or container. This prevents freezer burn. They can last up to 2 months in the freezer. When you're ready to eat them, take them out and thaw in the fridge overnight. This keeps their texture smooth and creamy. Mini cheesecakes are best eaten within a week. After that, they may still be safe but lose quality. Look for changes in texture or smell to tell if they've gone bad. If they become watery or smell sour, it’s time to toss them. Enjoy these treats while they’re at their best! You can tell mini cheesecakes are done by looking for visual cues. The edges should be set, while the center may jiggle slightly. A toothpick test works well too; insert it into the center. If it comes out clean or with a few moist crumbs, they are ready. Keep an eye on the baking time. They usually bake for 20-25 minutes at 325°F (160°C). Yes, you can make the cheesecake batter in advance. Store it in the fridge for up to 24 hours. Just keep it in a sealed container. When you're ready to bake, give it a quick stir. This helps to mix any ingredients that may have settled. It's a great way to save time on busy days. If you need a substitute for sour cream, there are several options. Greek yogurt works well and gives a similar tang. You could also use cream cheese thinned with a bit of milk. Another option is buttermilk, which adds moisture and flavor. Choose what fits your taste or what you have on hand. This blog post shared how to make tasty mini cheesecakes. You learned about key ingredients, like graham cracker crumbs and cream cheese, and how fresh blueberries add flavor. I provided step-by-step instructions for perfecting your cheesecakes and offered tips to avoid common mistakes. Whether you're making variations for special diets or just for fun, you'll impress your friends. Remember to store them well for freshness. Enjoy your baking adventure and savor every bite of your delicious creation!](https://mysavedrecipe.com/wp-content/uploads/2025/07/afd2eeb2-324e-43dd-bdee-e695502af599.webp)
Mini Lemon Blueberry Cheesecakes Irresistible Treat
If you’re craving a sweet, zesty treat, you’re in the right place! Mini lemon blueberry cheesecakes are a perfect blend of creamy and tart…
My Latest Desserts
Chocolate Covered Cherries with Pistachio Dust Delight
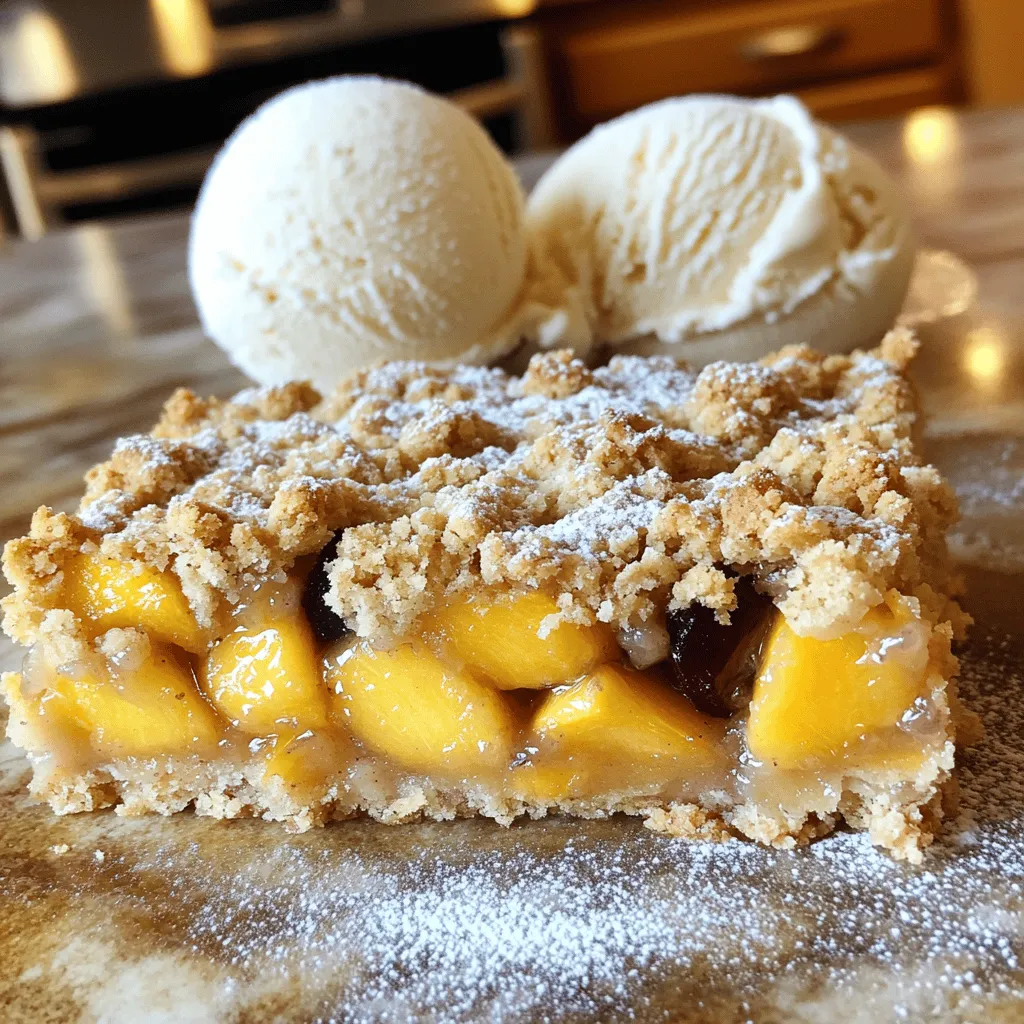
Get ready to treat your taste buds with my “Chocolate Covered Cherries with Pistachio Dust Delight.” This sweet snack combines Read Full RecipePeach Plum Crumble Bars Irresistible Sweet Treat
Are you ready for a dessert that combines the sweetness of peaches and plums? My Peach Plum Crumble Bars are Read Full RecipeWatercolor Buttercream Cupcakes Delightful Recipe Guide
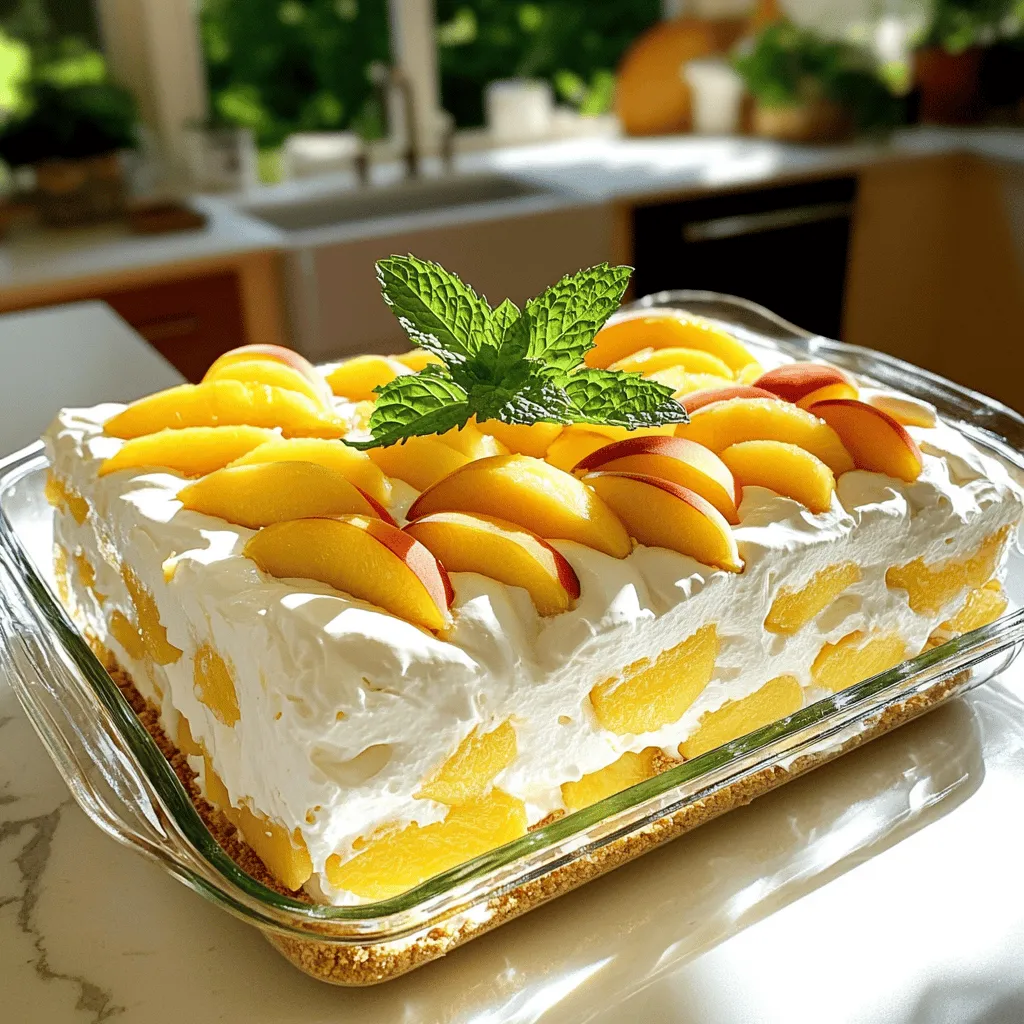
Are you ready to bring some color to your baking? In this guide, I’ll show you how to make stunning Read Full RecipeNo-Bake Peach Icebox Cake Simple and Refreshing Treat
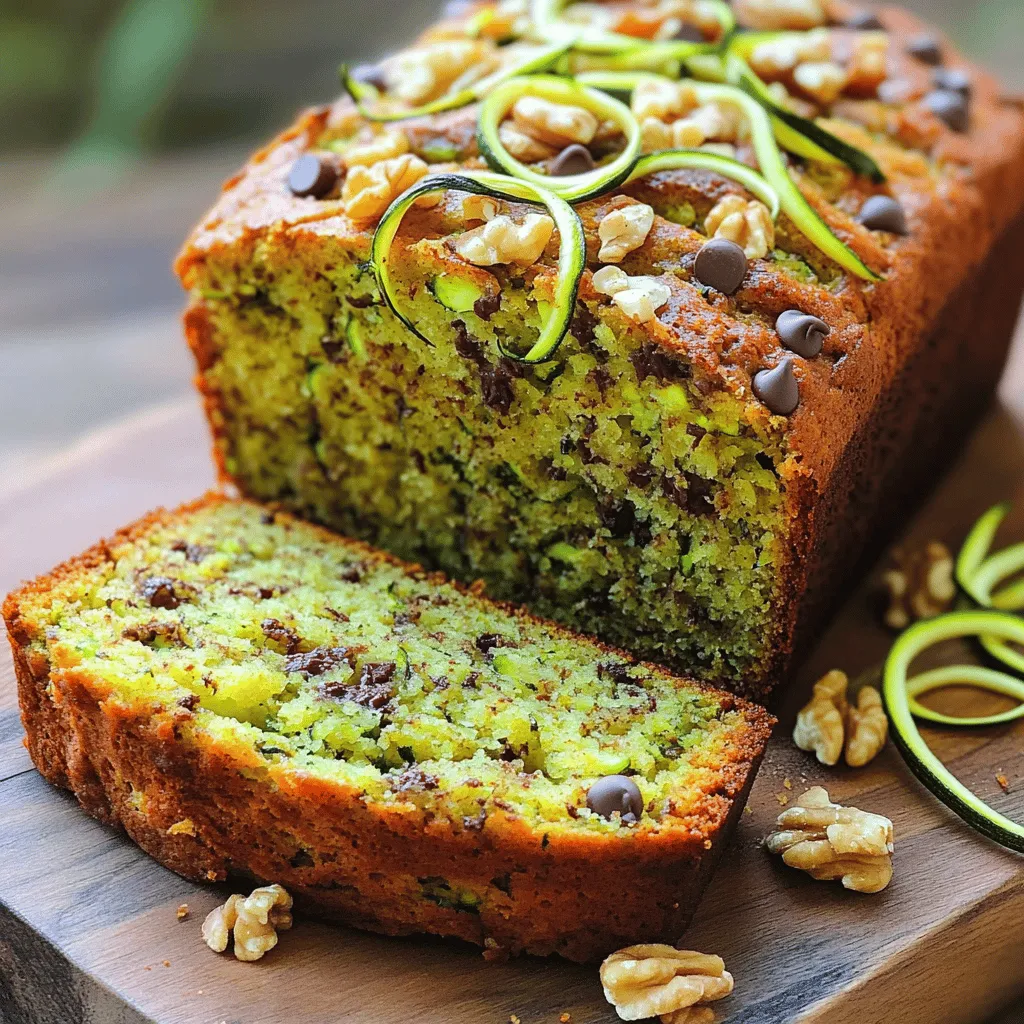
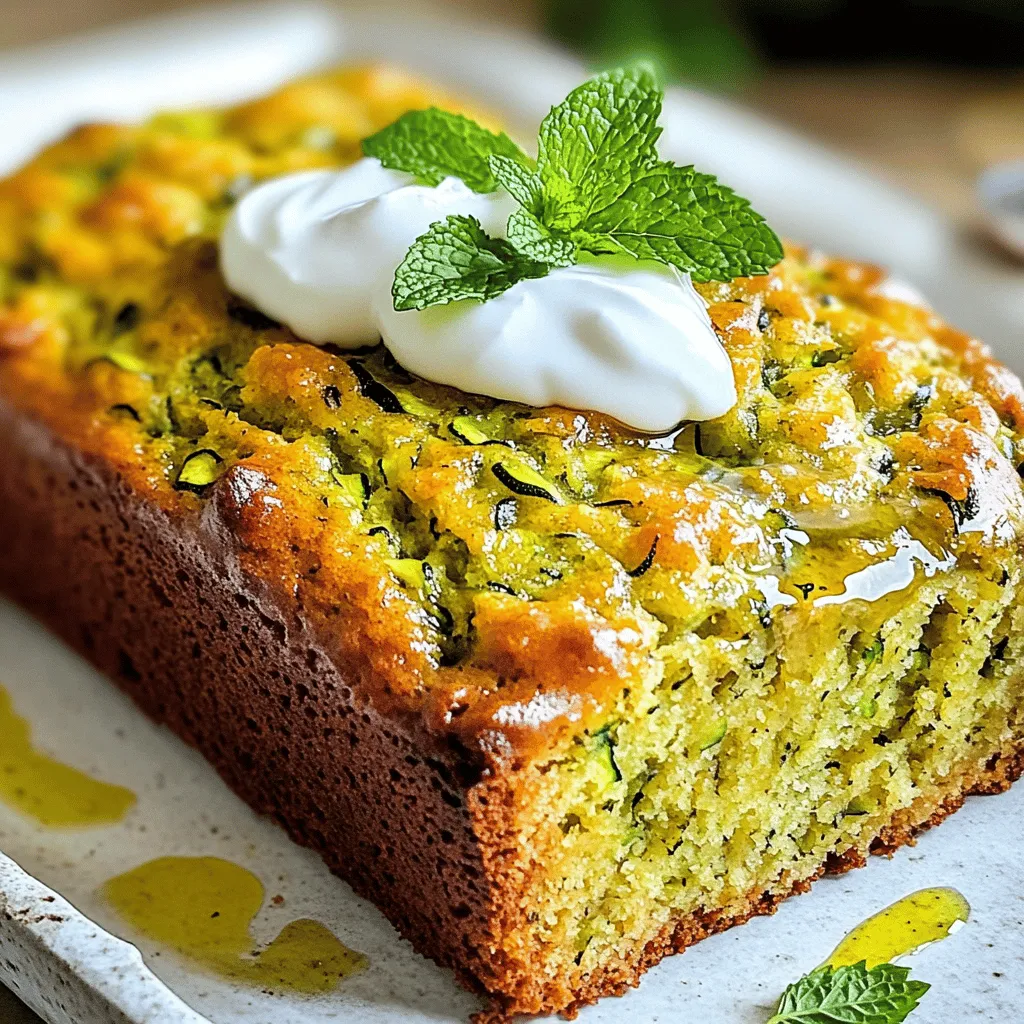
If you’re seeking a sweet, cool treat that’s simple to make, it’s time to try my No-Bake Peach Icebox Cake. Read Full RecipeThe Best Zucchini Bread Irresistible and Easy Recipe
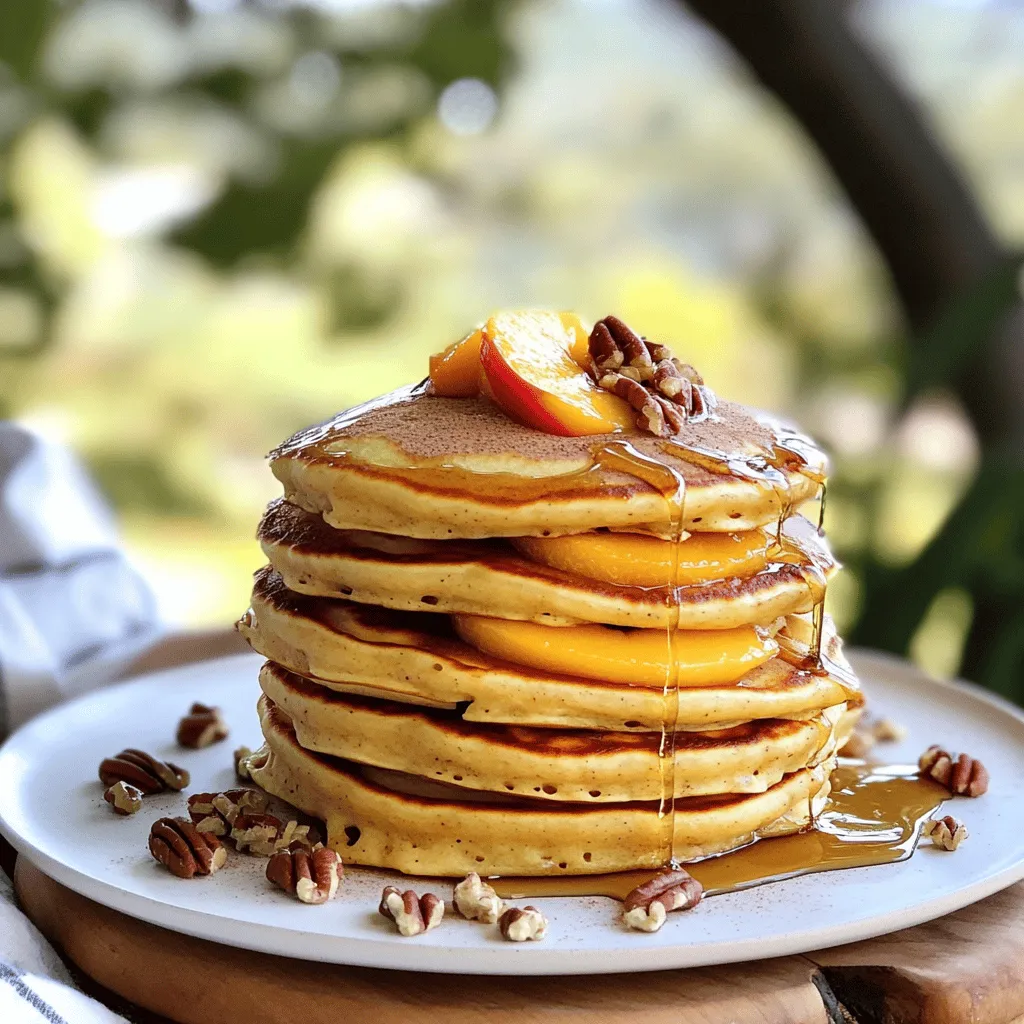
Are you ready to bake the best zucchini bread that’s both irresistible and easy? This simple recipe combines fresh, grated Read Full RecipePeach Cobbler Pancakes Delicious and Simple Recipe
Are you ready to bring a burst of flavor to your breakfast table? Peach Cobbler Pancakes are the perfect blend Read Full RecipeOlive Oil Zucchini Bread Moist and Flavorful Recipe
Welcome to your new favorite treat: Olive Oil Zucchini Bread! This recipe gives you a moist, flavorful loaf that’s perfect Read Full RecipeFig and Walnut Bars Healthy and Flavorful Snack
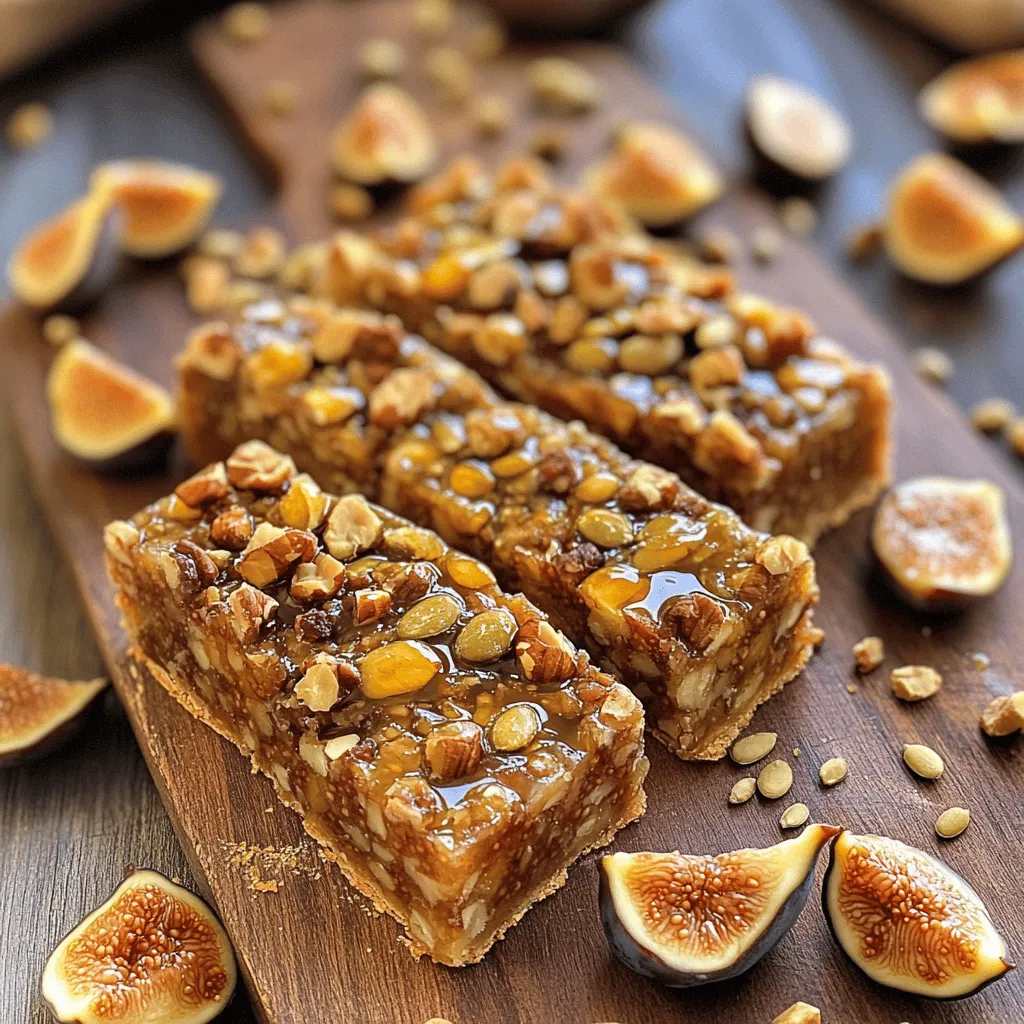
If you’re searching for a tasty yet healthy snack, Fig and Walnut Bars are a perfect choice! Packed with nutritious Read Full RecipeZucchini Orange Bread Delightful and Easy to Bake
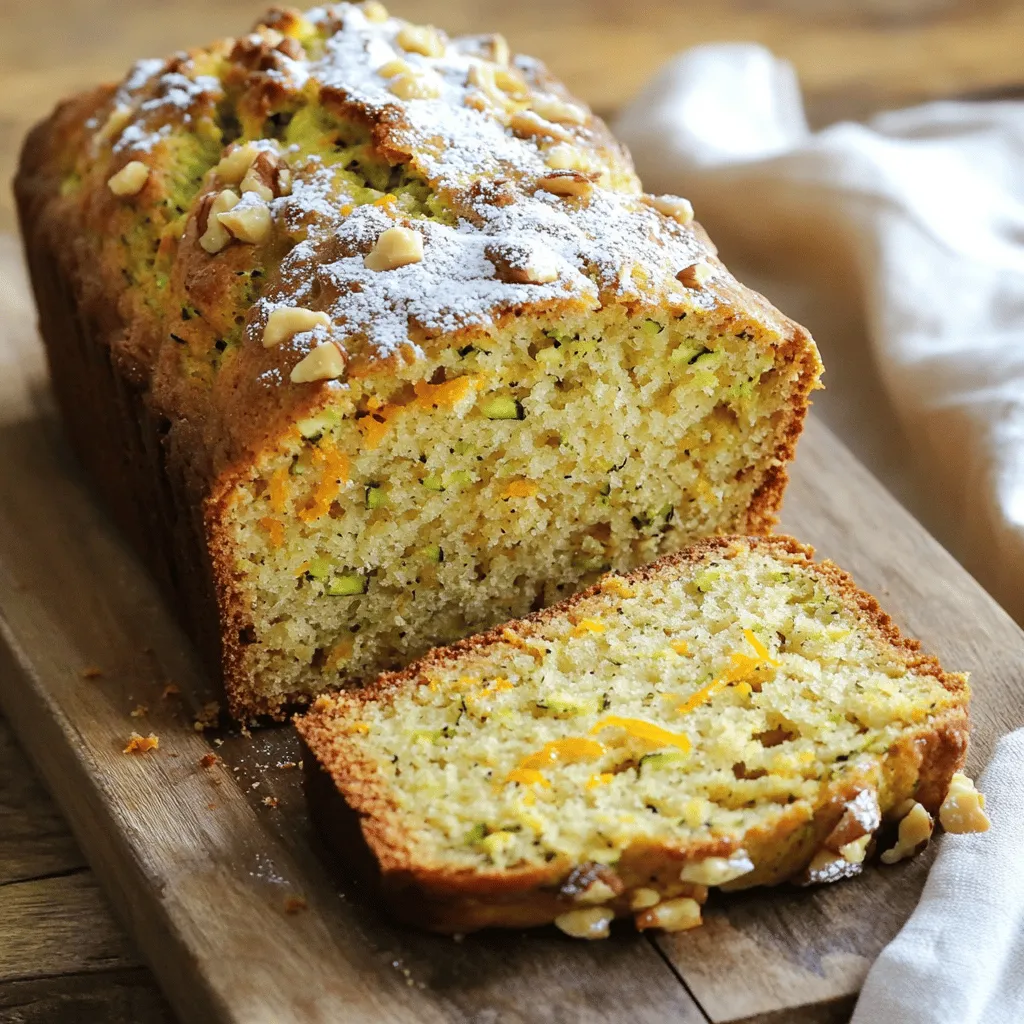
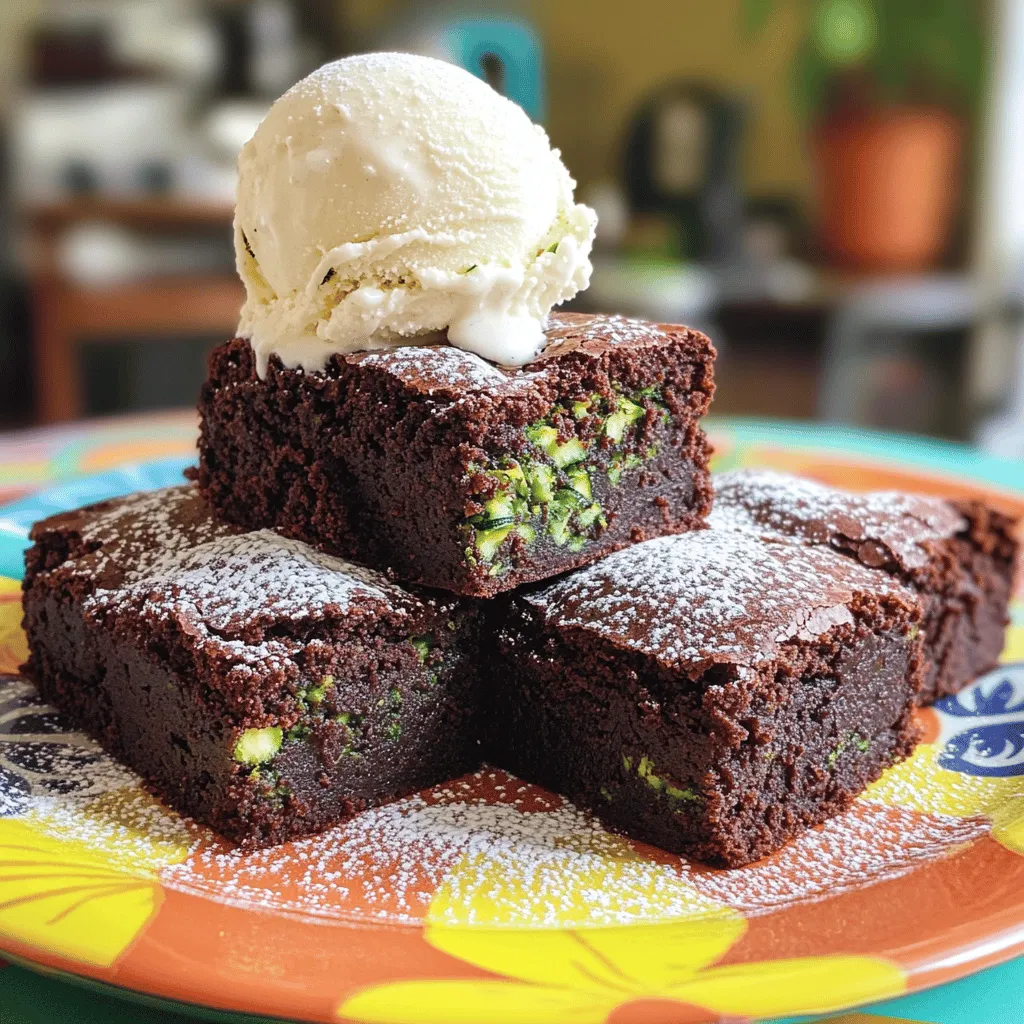
Are you ready to bake something truly delightful? This Zucchini Orange Bread combines fresh zucchini and bright orange zest for Read Full RecipeZucchini Brownies for Kids Healthy and Tasty Delight
Are you looking for a new treat that kids will love while sneaking in some veggies? Look no further! These Read Full Recipe
My Latest Recipes
hey,
i’m !
I’m so happy you’re here!
Food is my passion, and perfecting each dish is my craft. I can’t wait for you to try them let’s dive into this delicious journey side by side.
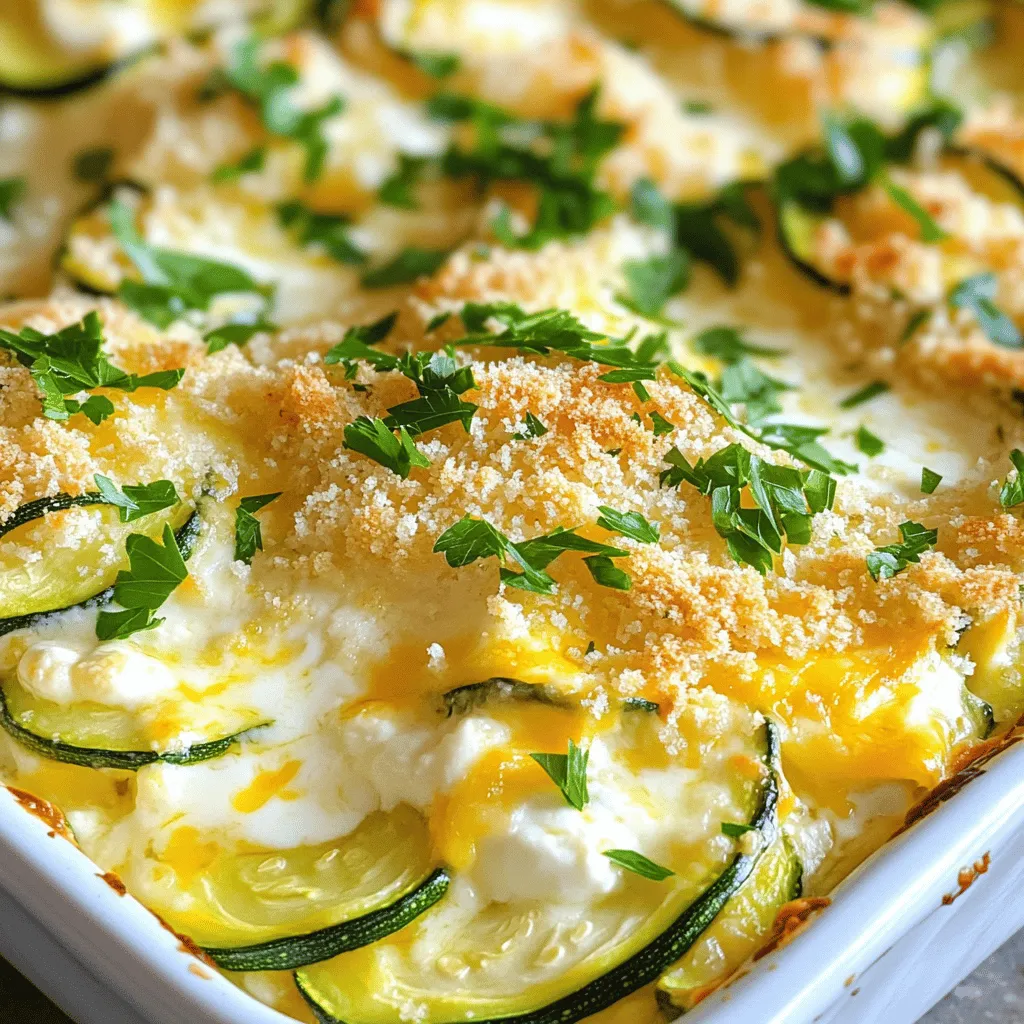
Creamy Cheesy Zucchini Casserole Simple and Delicious
Are you ready for a dish that combines creamy goodness with cheesy delight? My Creamy Cheesy Zucchini Casserole is here to please! Zucchini never…









![- 1 can (15 oz) chickpeas - 1 tablespoon olive oil - Spices: smoked paprika, ground cumin, chili powder, cayenne pepper - Toppings: shredded red cabbage, avocado, cilantro, feta cheese (optional) These ingredients create a tasty base for your spicy chickpea tacos. Chickpeas give you protein and fiber. Olive oil adds healthy fat and helps the spices stick. You can serve the tacos with various sauces and sides for extra flavor. Try adding hot sauce for heat. A side of rice or a simple salad works well too. To enhance nutrition, add more veggies. Chopped tomatoes or diced bell peppers add color. They also boost vitamins. You can mix and match to suit your taste. For the full recipe, check the complete details to create these delicious tacos. First, preheat your oven to 400°F (200°C). This step is key for crispy chickpeas. Next, you need to mix the chickpeas with olive oil and spices. In a large bowl, add the drained chickpeas. Pour in one tablespoon of olive oil. Then, add one teaspoon of smoked paprika, one teaspoon of ground cumin, and half a teaspoon of chili powder. If you like heat, add a quarter teaspoon of cayenne pepper. Finish with salt and pepper to taste. Toss everything well to coat the chickpeas evenly. Now, spread the chickpeas on a baking sheet in a single layer. This helps them roast evenly. Place the baking sheet in the oven and roast for about 20 to 25 minutes. Stir them halfway through to ensure they get crispy all around. You’ll know they are done when they turn golden and crunchy. While the chickpeas are roasting, it’s time to warm your tortillas. You can do this in a skillet over medium heat. Heat each tortilla for about 30 seconds on each side. This makes them soft and easy to fold. Keeping them warm means they won’t crack when you fill them. Once the chickpeas are crisp, take them out of the oven. Start building your taco by laying a generous amount of crispy chickpeas onto each tortilla. Next, top them with shredded red cabbage for crunch. Add sliced avocado for creaminess and sprinkle with fresh cilantro. For extra flavor, drizzle lime juice over the top. If you want it creamier, add crumbled feta cheese. Now your tacos are ready to enjoy! For the full recipe, check out the [Full Recipe]. To adjust the spice levels in your tacos, start by tasting the spices as you mix. If you like it hot, add more cayenne pepper. For milder tacos, use less. You can also add more lime juice to balance the heat. Remember, everyone has different preferences, so taste as you go. It’s fun to find the right mix for you! To keep your roasted chickpeas fresh, store them in an airtight container. They will stay crunchy for about three days. If they lose their crunch, try reheating them in the oven for a few minutes. For tacos, assemble only what you will eat. Store leftover toppings separately to keep them fresh. You can use leftovers for salads or wraps, too! To elevate the taste of your tacos, consider adding more toppings. Fresh mango or pineapple can give a sweet kick. You might sprinkle some jalapeños for extra heat. Try adding a dollop of yogurt or sour cream for creaminess. Mix in some spices like coriander or garlic powder to the chickpeas for added depth. There are endless ways to make your tacos unique! For the full recipe, refer to the [Full Recipe]. {{image_2}} For a plant-based twist, use lentils instead of chickpeas. Lentils cook fast and pack protein. You can also try black beans or pinto beans for a different flavor. If you want a meat-like texture, consider jackfruit. It soaks up spices well and has a fun, pulled texture. Add some sautéed mushrooms for a hearty bite. To change the taste, mix up the spices. Try adding garlic powder or onion powder for depth. A splash of soy sauce or tamari can add a savory kick. If you like citrus, replace lime with lemon or orange juice. For a smoky flavor, try adding chipotle powder. This gives your tacos a unique twist that excites the taste buds. When it comes to tortillas, you have options. Corn tortillas are gluten-free and add a nice texture. Flour tortillas are soft and chewy, making them a favorite for many. You can even use lettuce wraps for a low-carb version. Look for gluten-free tortillas made from almond or coconut flour for a new taste. Each tortilla type brings its own flair to your spicy chickpea tacos. Store leftover chickpeas in an airtight container. Keep them in the fridge for up to five days. For longer storage, freeze them in a freezer-safe bag. Make sure to remove as much air as possible. This method helps keep their flavor and texture. To keep tortillas fresh, store them in a sealed bag. Place them in the fridge for up to a week. For longer storage, you can freeze them. Just wrap each tortilla in plastic wrap before placing them in the freezer. This way, they won’t stick together. Reheat chickpeas in the oven or microwave. For the oven, set it to 350°F (175°C). Spread the chickpeas on a baking sheet and heat for about 10 minutes. If using a microwave, heat in short bursts of 30 seconds. Stir in between to avoid uneven heating. For tortillas, warm them in a skillet. Heat each side for about 20 to 30 seconds. This keeps them soft and pliable, perfect for making tacos. Enjoy your tasty Spicy Chickpea Tacos with all the right textures! Yes, you can prep the chickpeas and toppings in advance. - Cook the chickpeas and store them in a container. - Keep the tortillas wrapped in foil or a bag. - Prepare toppings like cabbage and avocado, but slice avocados just before serving. Chickpeas are very versatile. Here are some great additions: - Fresh tomatoes for a juicy bite. - Diced red onion for a sharp flavor. - Sliced jalapeños for added heat. - Corn for sweetness and crunch. If you love heat, try these tips: - Add more cayenne pepper to the chickpeas. - Drizzle hot sauce on top before serving. - Include fresh chopped jalapeños as a topping. - Use spicy salsa for extra kick. Yes, they can be gluten-free! - Use corn tortillas, which are naturally gluten-free. - Check labels on any packaged ingredients. - Swap out feta cheese for a dairy-free option if needed. For the full recipe, check out the details provided. In this blog post, we covered how to make tasty Spicy Chickpea Tacos. We went through the main ingredients, including chickpeas, olive oil, and spices. You learned step-by-step instructions for preparation and roasting, plus tips for perfect spice levels and leftovers. Remember, these tacos are versatile; feel free to swap ingredients to suit your taste. With their bold flavors and fun assembly, Spicy Chickpea Tacos are a dish you can enjoy any time. Try making them your own with different toppings or sauces. Enjoy!](https://mysavedrecipe.com/wp-content/uploads/2025/05/819b49e6-de89-4c88-9862-24012c8d226d-300x300.webp)
