Latest & Greatest
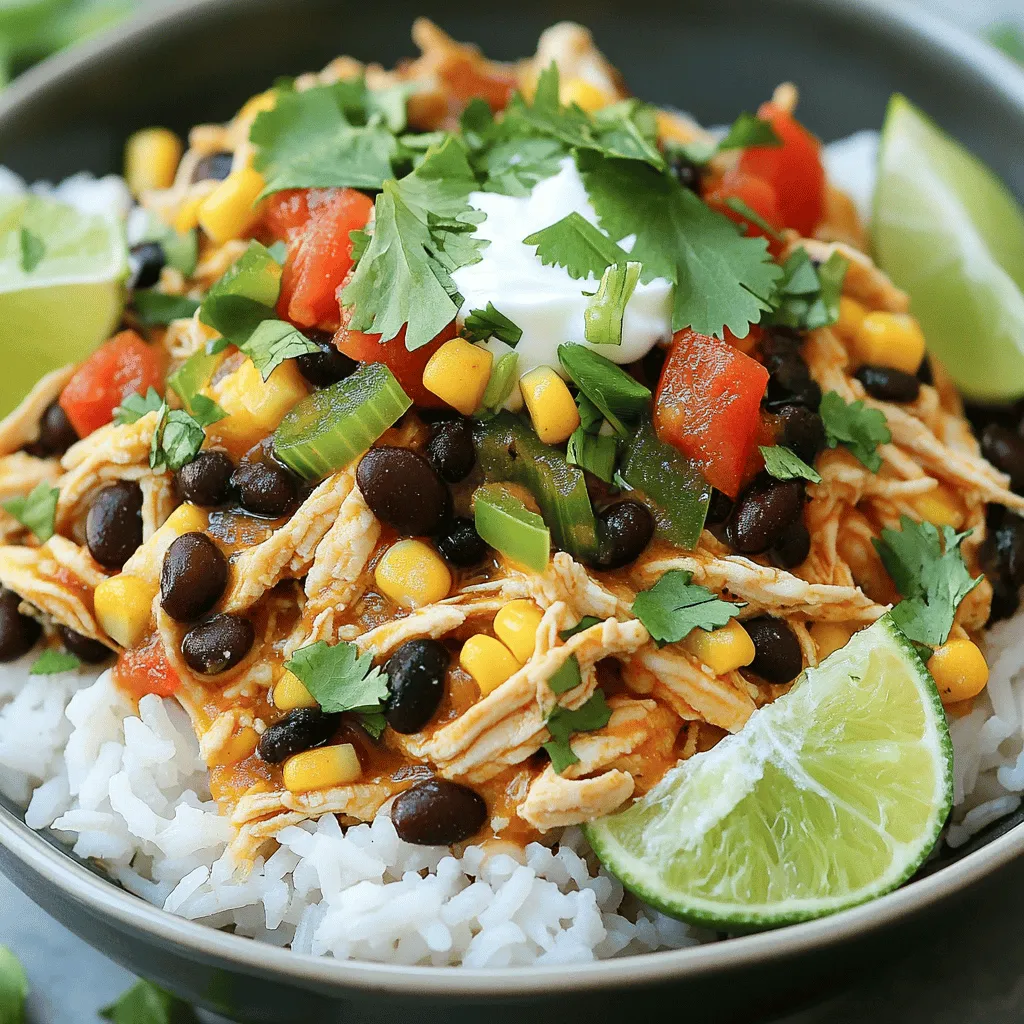
Crockpot Mexican Chicken Flavorful and Simple Dish
Are you ready to spice up your dinner routine? My Crockpot Mexican Chicken is a simple, flavorful dish that will
Read more…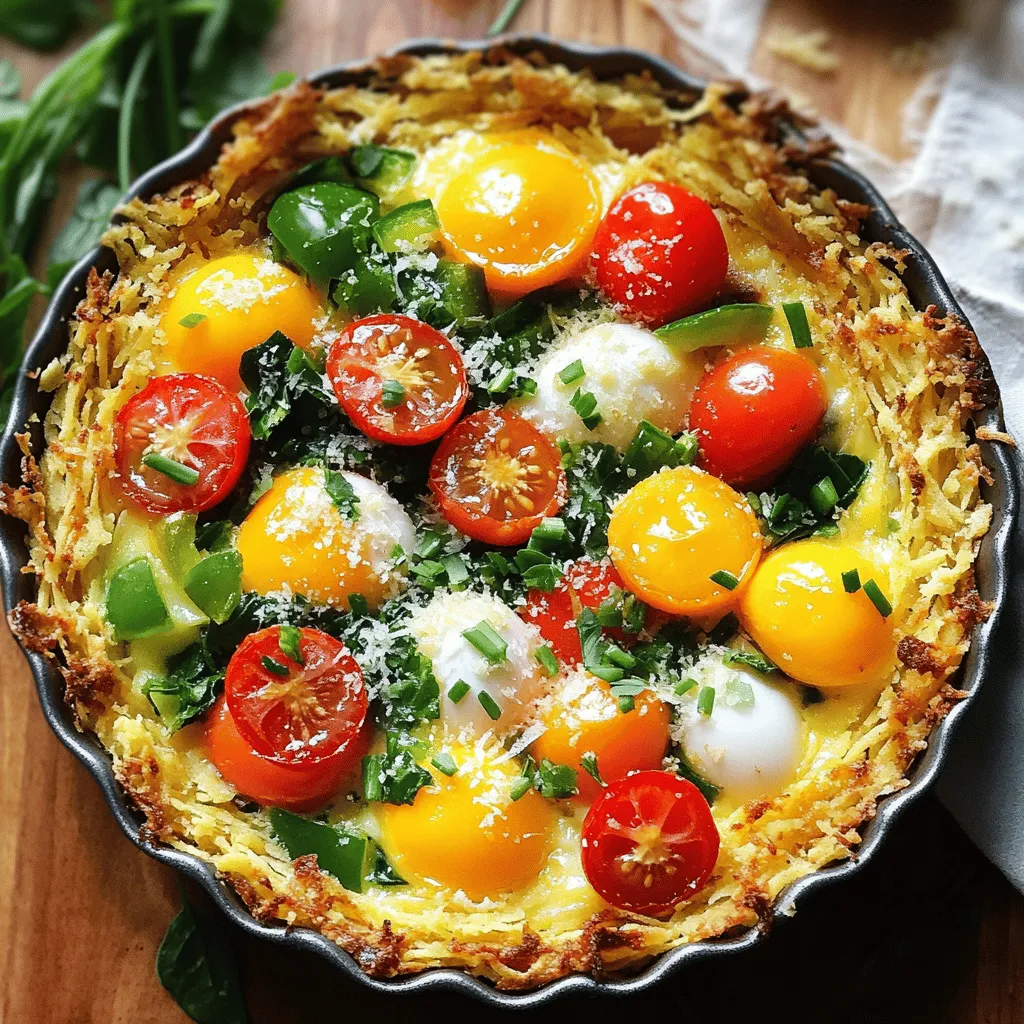
Spring Hash Brown Crust Quiche Flavorful and Easy Recipe
Spring brings fresh flavors, and this Spring Hash Brown Crust Quiche is a perfect way to enjoy them! With a
Read more…browse recipes


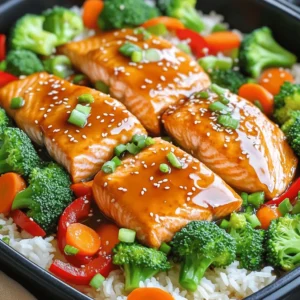

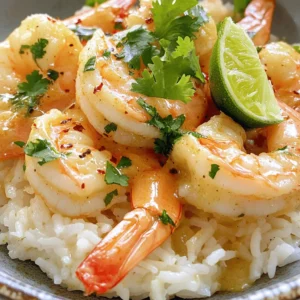
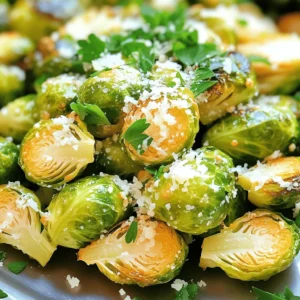
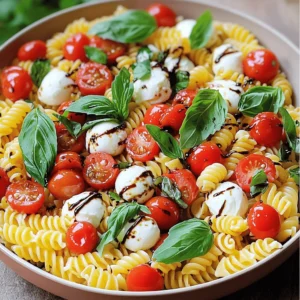
![- 4 boneless chicken thighs - 1 cup pineapple juice - 2 tablespoons soy sauce - 2 tablespoons honey - 1 teaspoon grated ginger - 2 cloves garlic, minced - 1 teaspoon sesame oil - 1 bell pepper (red or yellow), sliced - 1 cup cherry tomatoes, halved - Fresh cilantro, for garnish - Salt and pepper to taste - 1 cup jasmine rice - 1 cup coconut milk - 1/2 cup water - Pinch of salt When I make Hawaiian chicken with coconut rice, I start with fresh, simple ingredients. Each one plays a big role in the dish. For the chicken, I use boneless thighs. They stay juicy and tender. Pineapple juice adds a sweet and tangy flavor. Soy sauce brings in some salty depth. Honey adds sweetness and helps caramelize the chicken. Grated ginger and minced garlic offer warmth and spice. Sesame oil gives a nutty taste. I love to add colorful bell peppers and cherry tomatoes for a fresh crunch. Finally, I always garnish with fresh cilantro for a burst of flavor. For the coconut rice, I choose jasmine rice. It has a lovely aroma and texture. The creamy coconut milk replaces water for cooking. A pinch of salt enhances the taste. This combination makes the rice rich and delicious. You can find the full recipe for Hawaiian chicken with coconut rice. I promise you will enjoy every bite! To start, gather your marinade ingredients. You will need pineapple juice, soy sauce, honey, grated ginger, minced garlic, and sesame oil. Mix these in a bowl. Once combined, add the boneless chicken thighs. Make sure the chicken is well-coated in the marinade. Cover the bowl and refrigerate it. Let it sit for at least 30 minutes. For more flavor, marinate for up to 2 hours. Now, it’s time to prepare the coconut rice. First, rinse the jasmine rice under cold water. Do this until the water runs clear. This step removes extra starch. Next, in a medium saucepan, combine coconut milk, water, and a pinch of salt. Bring this mixture to a gentle boil. After that, add the rinsed rice. Stir it once, then cover the pan. Reduce the heat to low and simmer for about 15-20 minutes. The rice should absorb all the liquid. When done, fluff the rice with a fork and let it sit. For the chicken, heat a grill pan or skillet over medium-high heat. Take the marinated chicken out of the fridge. Remove it from the marinade, but save that for later. Season the chicken with salt and pepper. Cook the chicken for about 5-7 minutes on each side. Use a meat thermometer to check that the internal temperature reaches 165°F (75°C). This ensures it is fully cooked. In the last few minutes of cooking, add sliced bell pepper and halved cherry tomatoes to the pan. Pour the reserved marinade over the chicken and veggies. This step boosts the flavor. Cook for another 2-3 minutes. The vegetables should soften slightly, and the sauce will thicken. To serve, take a plate and mound a portion of coconut rice in the center. Top it with the cooked chicken and colorful veggies. Drizzle any remaining sauce from the pan on top. Finally, garnish with fresh cilantro for a burst of flavor. Enjoy your Hawaiian Chicken with Coconut Rice! For the complete recipe, refer to the Full Recipe section. For the best flavor, marinate the chicken for at least 30 minutes. If you're in a hurry, 30 minutes works great. However, for the best taste, aim for up to 2 hours. This longer time allows the flavors to soak in deeply. You can use leftover marinade, but make sure to cook it well. Do not use it raw, as it touches raw chicken. You can grill or bake the chicken. Grilling gives it a smoky touch. Baking is a simple way too. If you grill, preheat the grill to medium-high heat. Cook the chicken for about 5-7 minutes on each side. For baking, set your oven to 375°F (190°C). Bake for 25-30 minutes. Always check the chicken's internal temperature. It should reach 165°F (75°C) for safety. To make your coconut rice light and fluffy, fluff it with a fork after cooking. This helps separate the grains. If you want creamier rice, add a bit more coconut milk. Adjust the coconut milk based on your taste. Start with 1 cup, and feel free to add a little more if you like. The balance of coconut milk and water is key to getting it just right. {{image_2}} If you want to mix things up, try different veggies. Instead of bell peppers, use zucchini or snap peas. They add great crunch and color. You can also swap cherry tomatoes for diced carrots or green beans. Seasonal veggies like asparagus or squash work well too. Just keep an eye on cooking times to ensure everything is tender. Feel free to change the protein! Tofu is a fantastic option for a vegetarian twist. Just press it to remove excess water, then cut it into cubes. Cook it for about 8-10 minutes until golden brown. Shrimp is another great choice. Add them to the pan for just 3-4 minutes until they turn pink. This keeps your meal fast and fresh! Want to add some flair? Consider spices like cumin or paprika for warmth. Fresh herbs like basil or mint can brighten the dish. For a sweet and savory twist, add mango or a drizzle of balsamic glaze. These changes can make your Hawaiian chicken with coconut rice even more exciting. Enjoy experimenting with flavors! For the full recipe, check [Full Recipe]. To keep your Hawaiian chicken and coconut rice fresh, store leftovers in the fridge. Place the chicken and rice in airtight containers. This helps keep out air and moisture. Aim to eat the leftovers within three days for the best taste. Use glass or plastic containers that seal well. If you want to save some portions for later, freezing is a great option. Divide the chicken and rice into single servings. Wrap each serving tightly with plastic wrap, then place them in freezer bags. Label each bag with the date. To thaw, move the portions to the fridge overnight. This method keeps the texture nice. When you're ready to eat, you can reheat chicken and rice easily. The best method is to use the stove. Heat a skillet over low heat and add a splash of water or broth to keep it moist. Stir the chicken and rice until warm. Avoid the microwave if you can, as it may dry out the food. Enjoy your delicious meal again! The cooking time for Hawaiian chicken is about 10 to 14 minutes. First, marinate the chicken for at least 30 minutes. After marinating, cook the chicken in a grill pan or skillet over medium-high heat for 5 to 7 minutes on each side. The chicken should reach an internal temperature of 165°F (75°C) for safety. This ensures the chicken stays juicy and flavorful. Yes, you can use brown rice instead of jasmine rice. However, brown rice takes longer to cook. You will need to increase the cooking time to about 40 to 45 minutes. Use a ratio of 1 cup of brown rice to 1 1/4 cups of coconut milk and 1/2 cup of water. This will help keep the rice moist and tasty. To make Hawaiian chicken gluten-free, substitute soy sauce with tamari or coconut aminos. Both options work well without the gluten. Check all other ingredients, like marinades and sauces, to ensure they are gluten-free. This way, you can enjoy your meal without worry. Canned coconut milk works great for this recipe. It adds rich flavor and creaminess. Just shake the can well before opening. Use it in the same amount as fresh coconut milk. For best results, choose a full-fat version for a creamier texture in your rice. For a complete meal, consider these sides: - Grilled vegetables like zucchini or asparagus - A fresh green salad with vinaigrette - Pineapple or mango salsa for a fruity kick - Steamed broccoli or green beans for color and crunch These sides complement the flavors of the Hawaiian chicken and coconut rice perfectly. For the full recipe, check out the earlier section! This blog post shares a simple and tasty Hawaiian Chicken with Coconut Rice recipe. You learned about essential ingredients, step-by-step instructions, and helpful tips for the best results. We also covered variations for flavors and how to store leftovers. By following these steps, you can create a meal that delights your taste buds. Enjoy cooking and experimenting with this dish! You’ll impress family and friends with your new skills.](https://mysavedrecipe.com/wp-content/uploads/2025/07/2cec77f5-cde2-4bf2-a443-c528752c27ed.webp)
Hawaiian Chicken with Coconut Rice Flavorful Delight
Are you ready to take your taste buds on a tropical trip? In this article, I’ll show you how to make Hawaiian Chicken with…
My Latest Desserts

Cream Soda Donut Holes Delightful Dessert Recipe
Are you ready to enjoy a fun twist on a classic treat? Cream Soda Donut Holes are sweet, fluffy, and Read Full Recipe-
Cookie Dough Bars Delightful Recipe for a Sweet Treat
If you’ve ever craved the rich, sweet goodness of cookie dough, then you’re in for a treat! My recipe for Read Full Recipe -
Chocolate Covered Cherries with Pistachio Dust Delight
Get ready to treat your taste buds with my “Chocolate Covered Cherries with Pistachio Dust Delight.” This sweet snack combines Read Full Recipe -
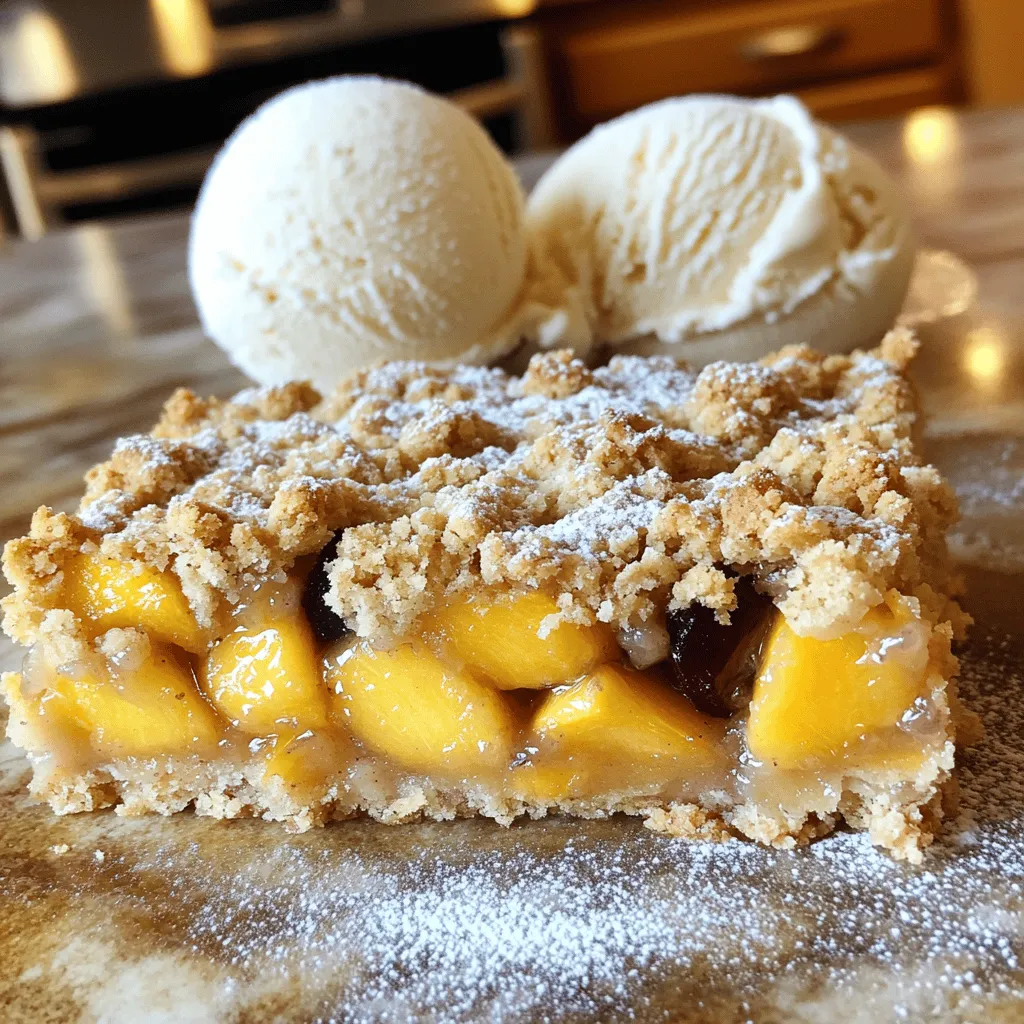
Peach Plum Crumble Bars Irresistible Sweet Treat
Are you ready for a dessert that combines the sweetness of peaches and plums? My Peach Plum Crumble Bars are Read Full Recipe -
Watercolor Buttercream Cupcakes Delightful Recipe Guide
Are you ready to bring some color to your baking? In this guide, I’ll show you how to make stunning Read Full Recipe -
No-Bake Peach Icebox Cake Simple and Refreshing Treat
If you’re seeking a sweet, cool treat that’s simple to make, it’s time to try my No-Bake Peach Icebox Cake. Read Full Recipe -
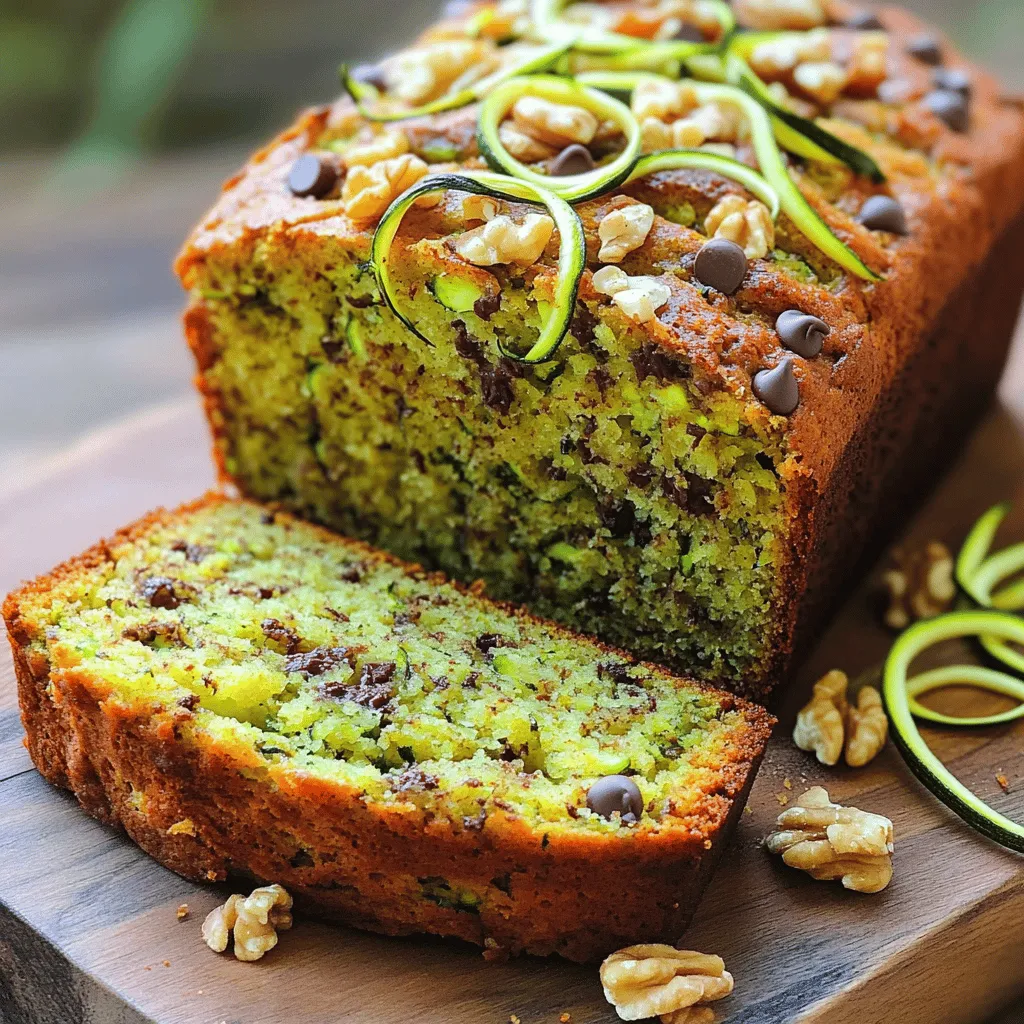
The Best Zucchini Bread Irresistible and Easy Recipe
Are you ready to bake the best zucchini bread that’s both irresistible and easy? This simple recipe combines fresh, grated Read Full Recipe -
Peach Cobbler Pancakes Delicious and Simple Recipe
Are you ready to bring a burst of flavor to your breakfast table? Peach Cobbler Pancakes are the perfect blend Read Full Recipe -
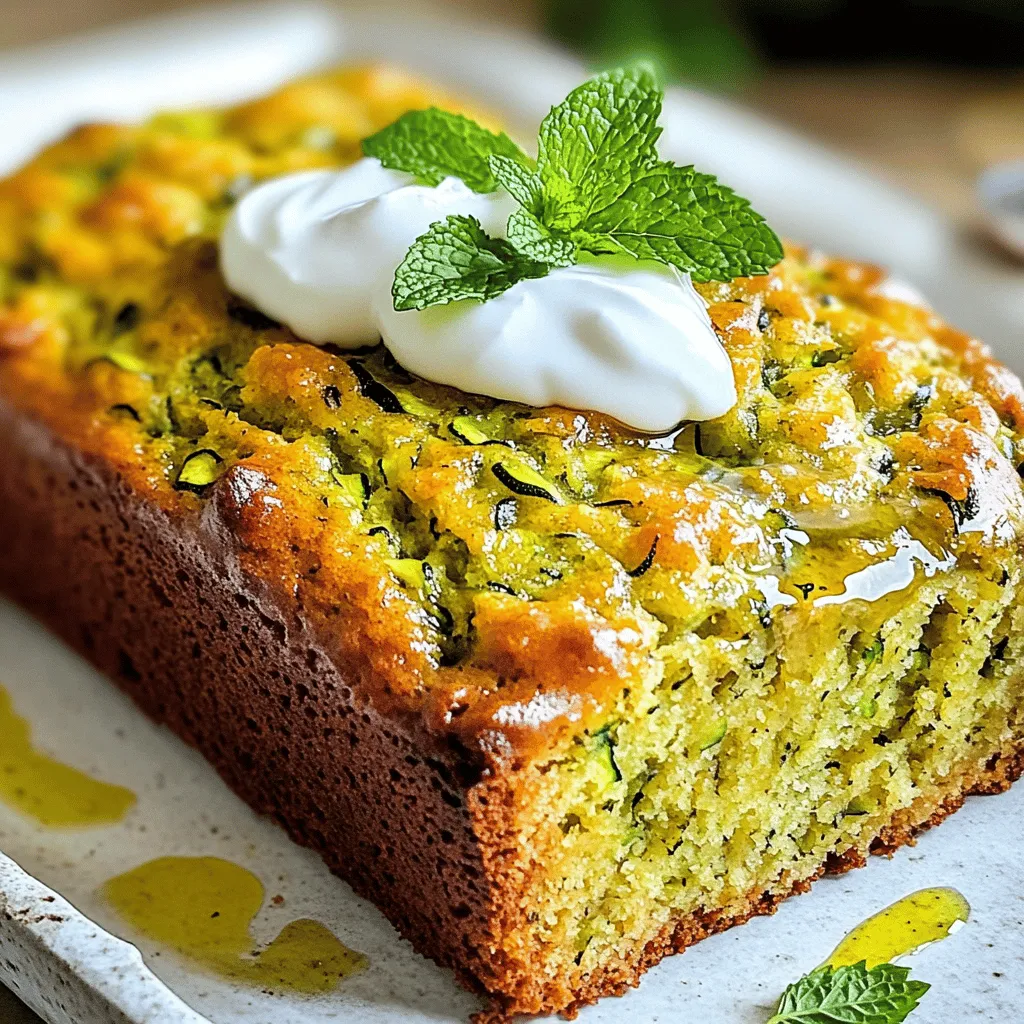
Olive Oil Zucchini Bread Moist and Flavorful Recipe
Welcome to your new favorite treat: Olive Oil Zucchini Bread! This recipe gives you a moist, flavorful loaf that’s perfect Read Full Recipe -
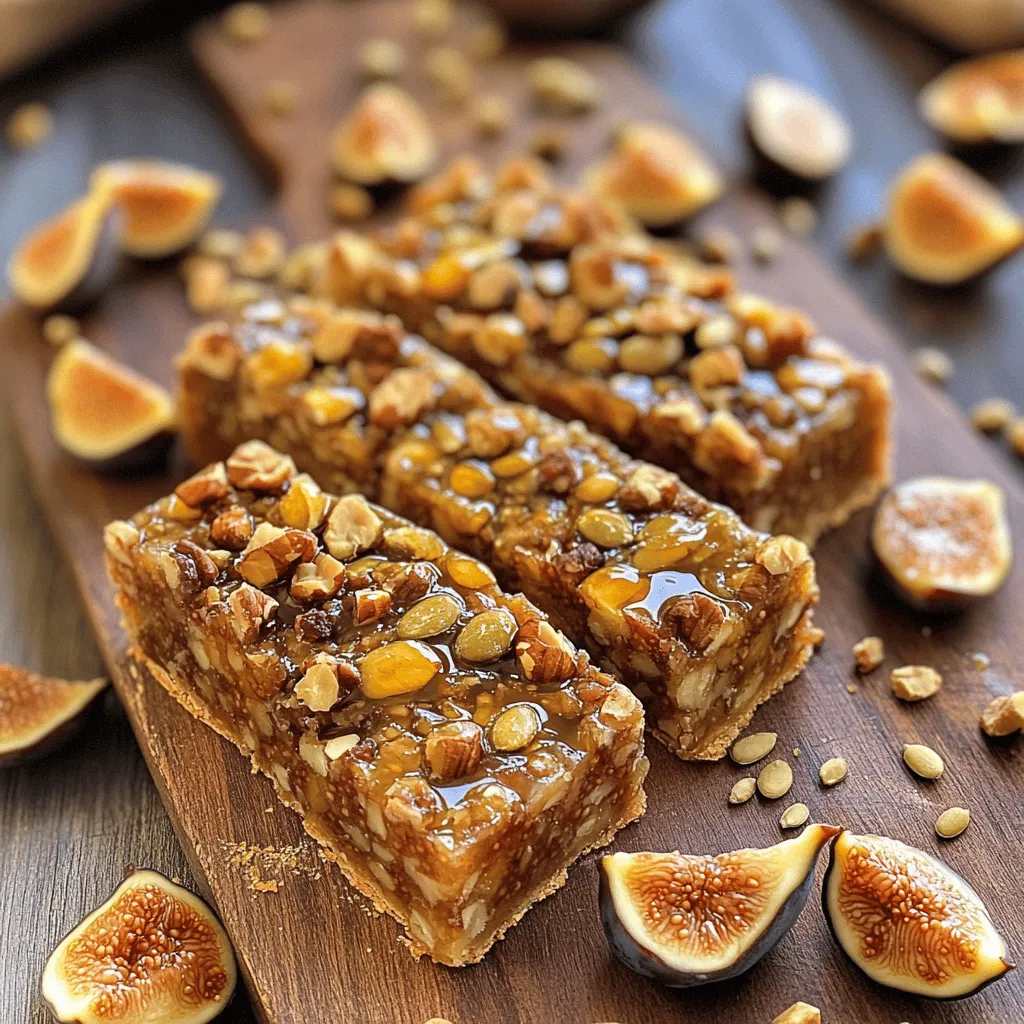
Fig and Walnut Bars Healthy and Flavorful Snack
If you’re searching for a tasty yet healthy snack, Fig and Walnut Bars are a perfect choice! Packed with nutritious Read Full Recipe


My Latest Recipes

hey,
i’m !
I’m so happy you’re here!
Food is my passion, and perfecting each dish is my craft. I can’t wait for you to try them let’s dive into this delicious journey side by side.

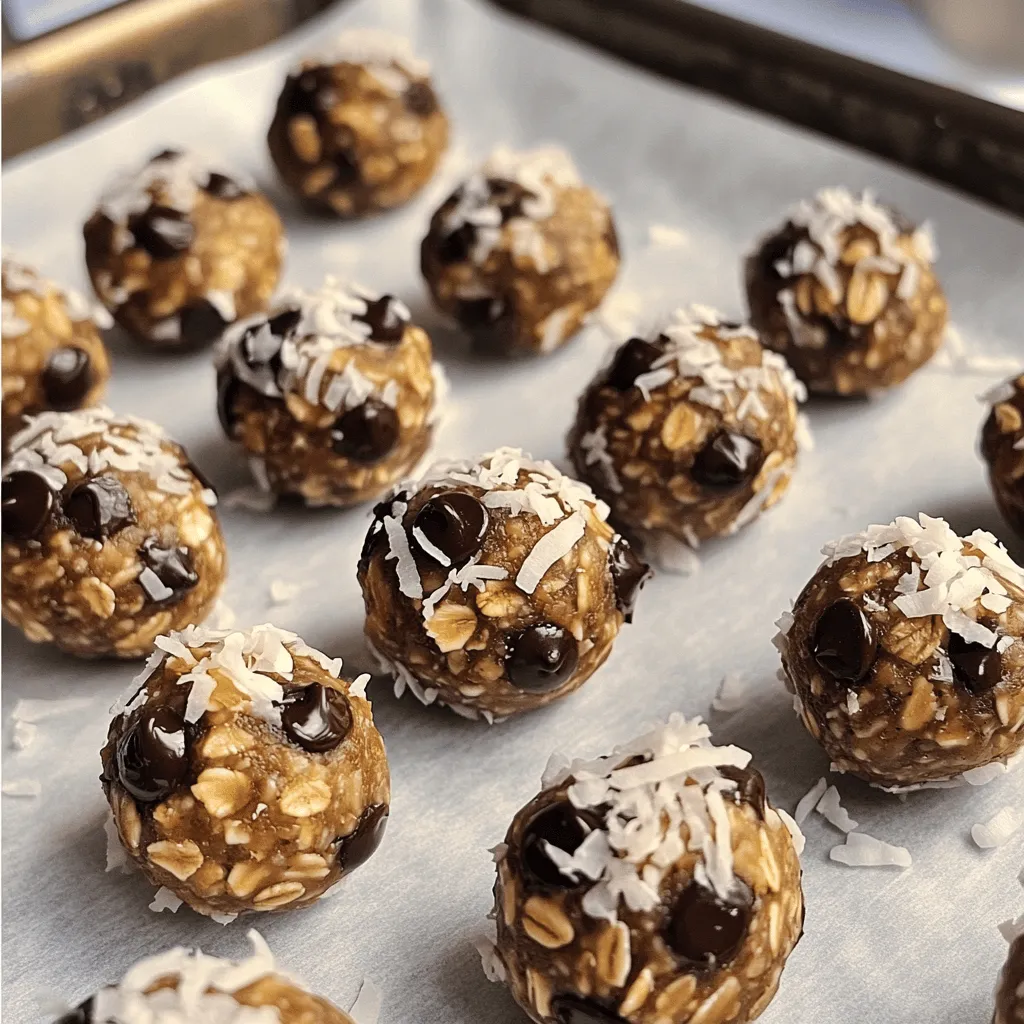
Chocolate Peanut Butter Energy Bites Easy Snack Idea
Looking for a quick and tasty snack? Try my Chocolate Peanut Butter Energy Bites! These bites are easy to make and filled with nutritious…