Latest & Greatest
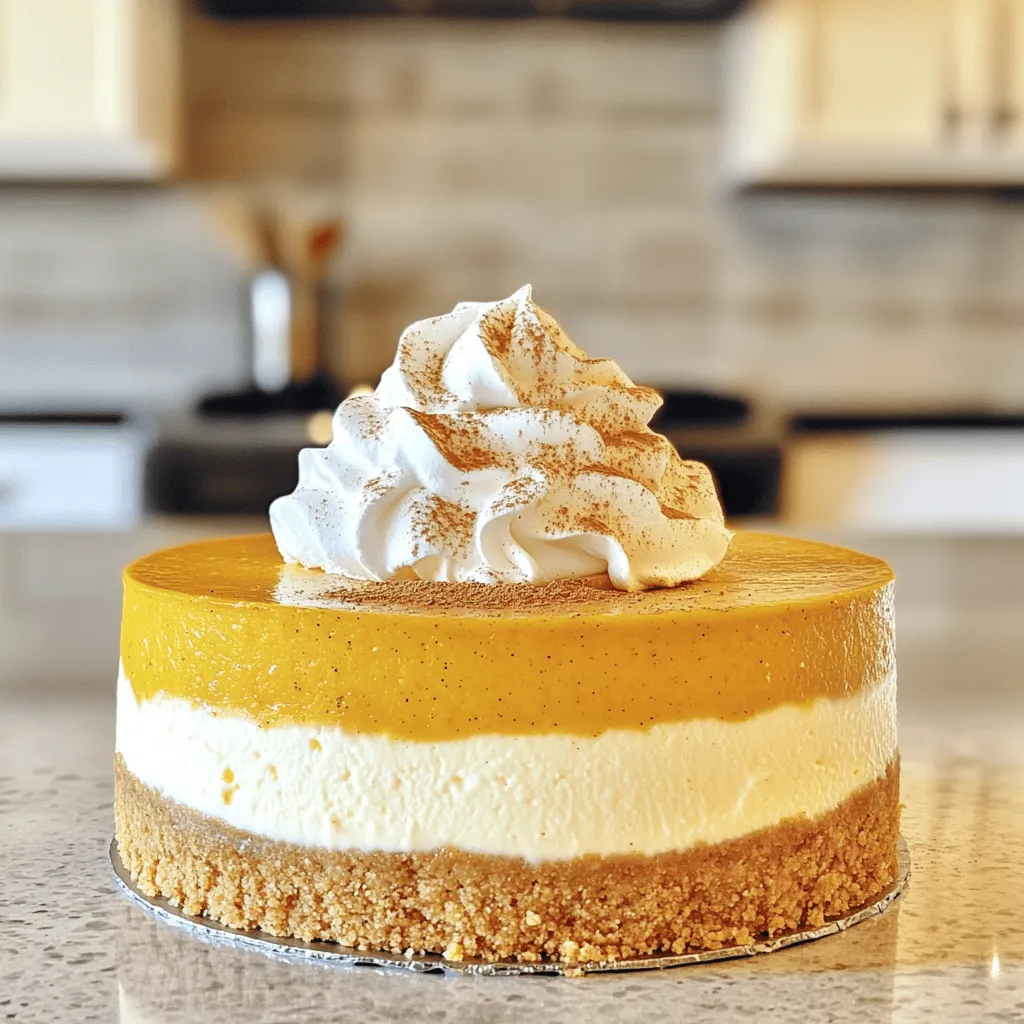
Best Pumpkin Cheesecake Easy to Make Delight
Get ready to impress your friends and family with the best pumpkin cheesecake you’ve ever tasted! This easy, delicious dessert
Read more…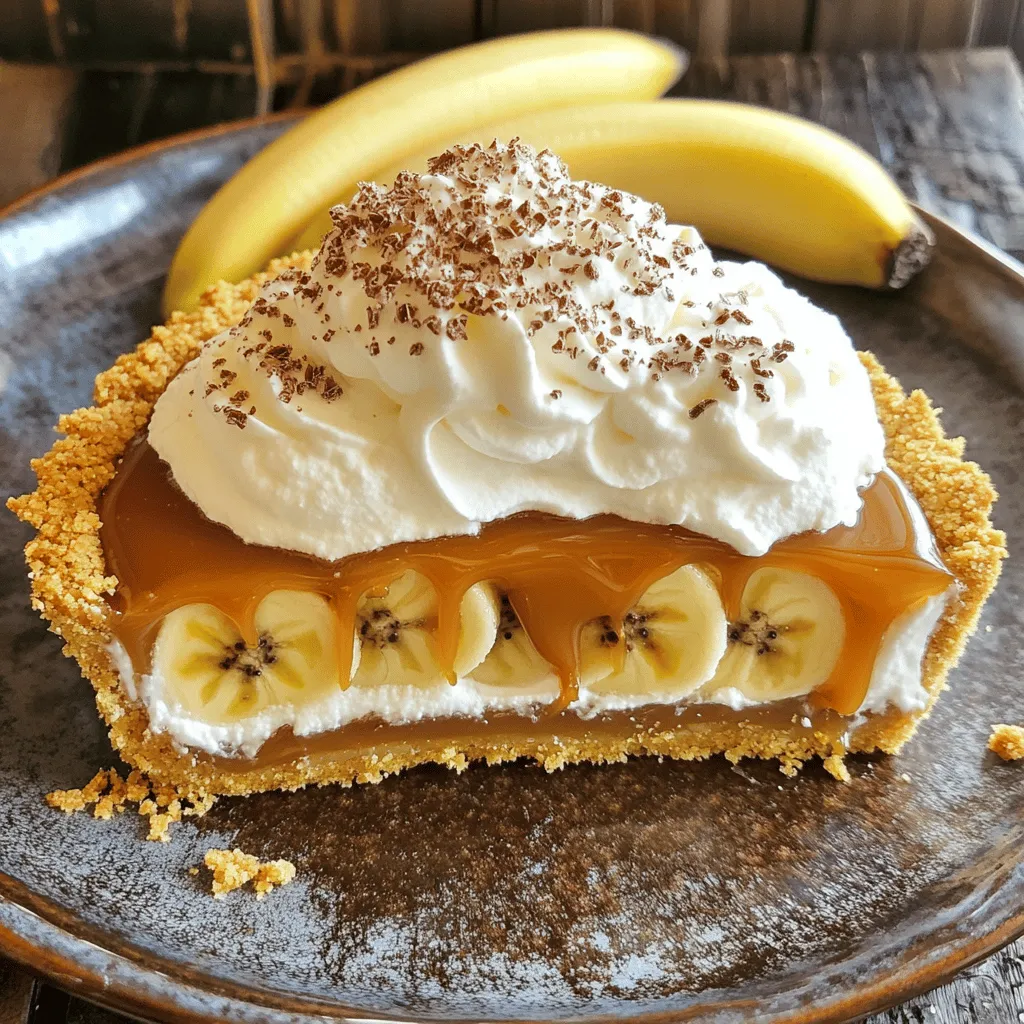
Easy Banoffee Pie with Caramel and Cream Recipe
Do you crave a sweet treat that’s both easy and delightful? Let me show you how to make the perfect
Read more…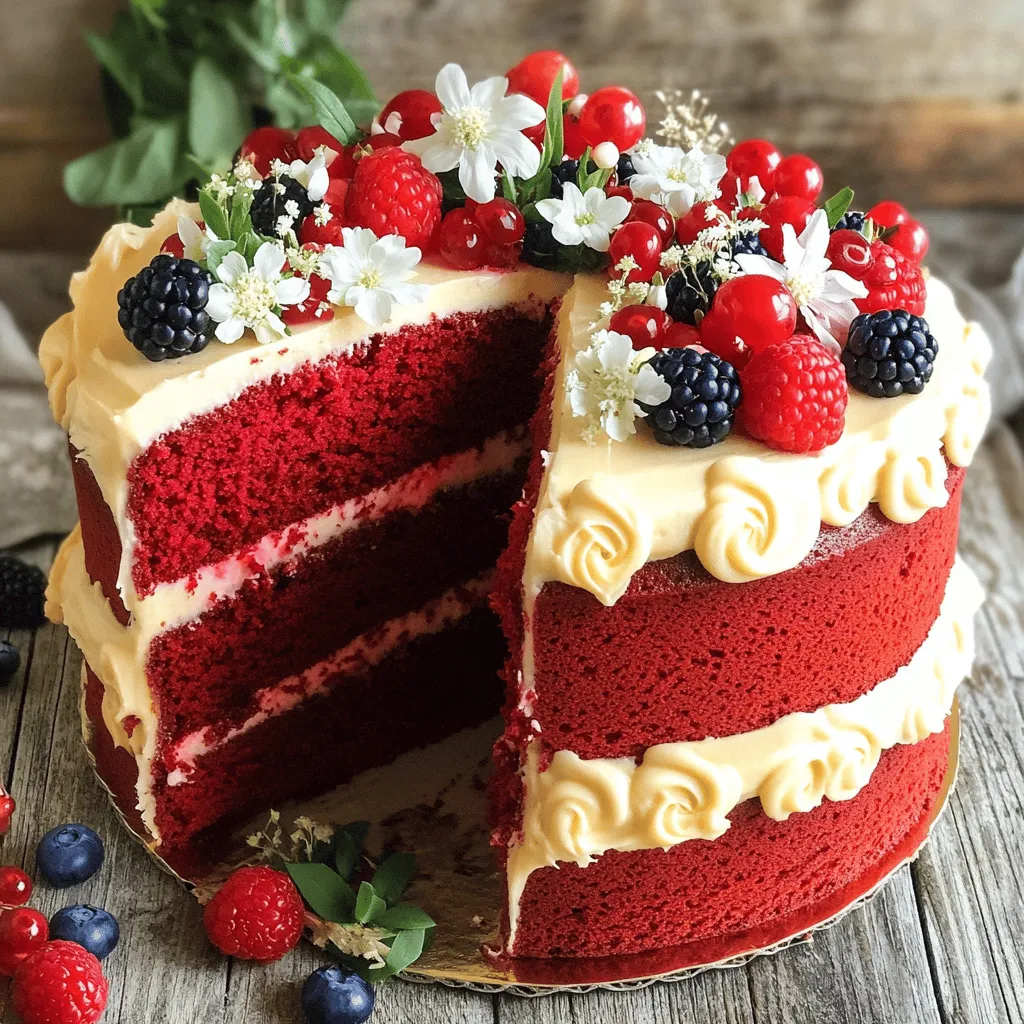
Red Velvet Cake Irresistible Treat for Any Occasion
If you’re craving something sweet, let me introduce you to the magic of Red Velvet Cake. This vibrant treat isn’t
Read more…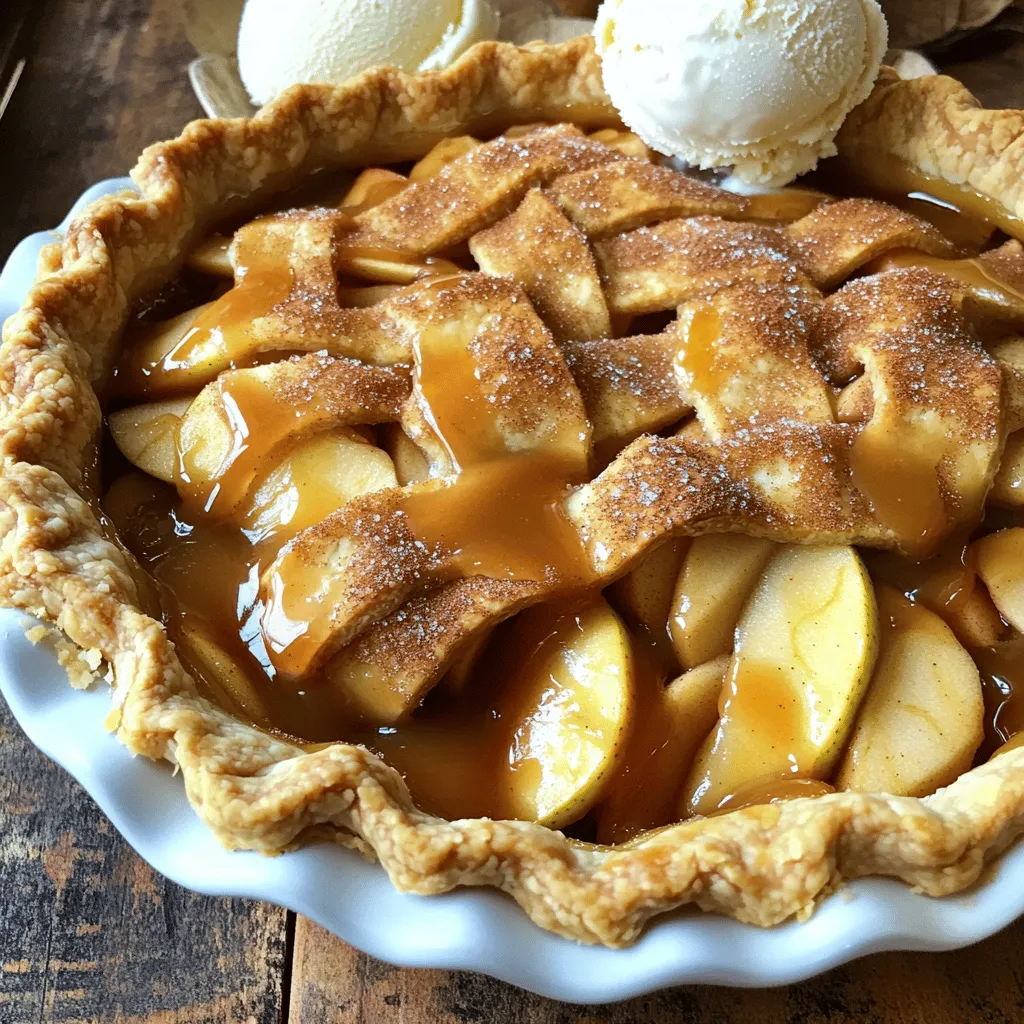
Apple Pie Delight with Cinnamon and Caramel Toppings
If you love the warm, sweet taste of apple pie, you’re in for a treat! My Apple Pie Delight with
Read more…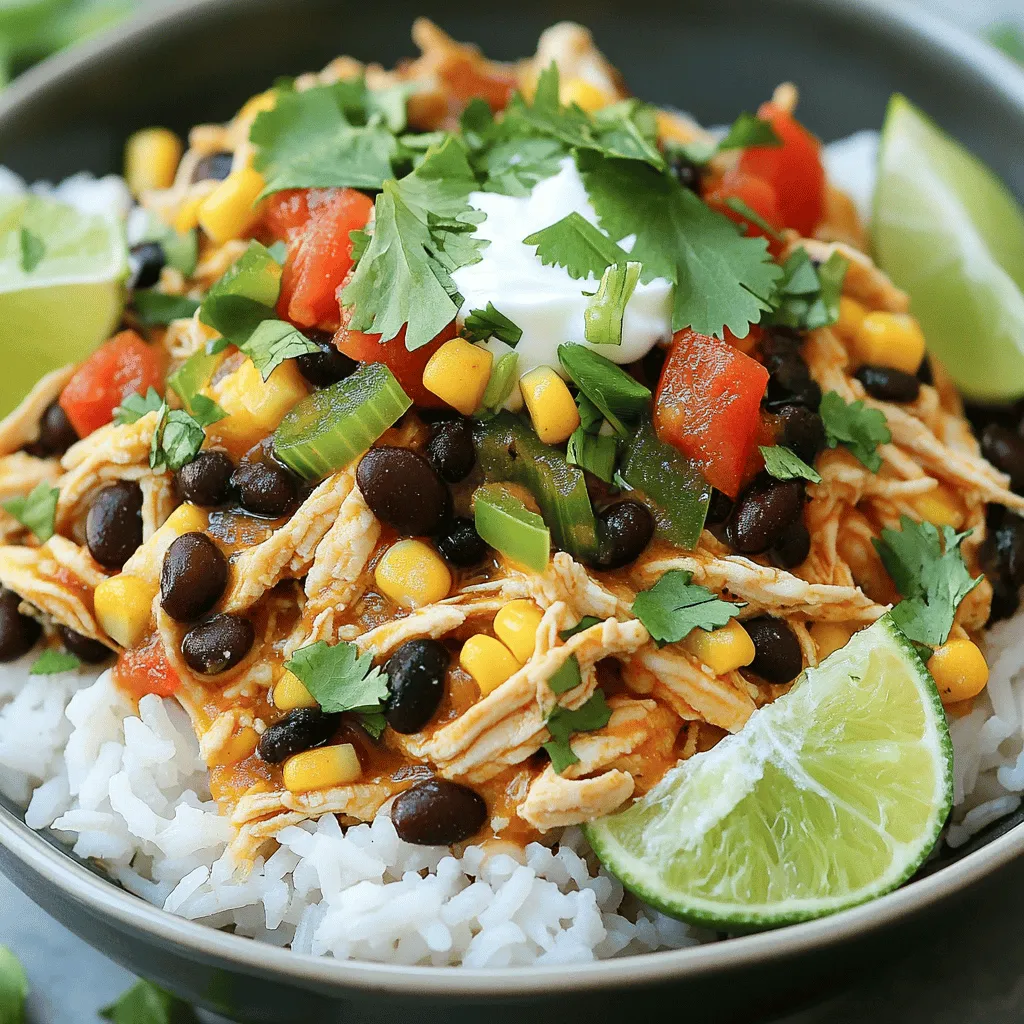
Crockpot Mexican Chicken Flavorful and Simple Dish
Are you ready to spice up your dinner routine? My Crockpot Mexican Chicken is a simple, flavorful dish that will
Read more…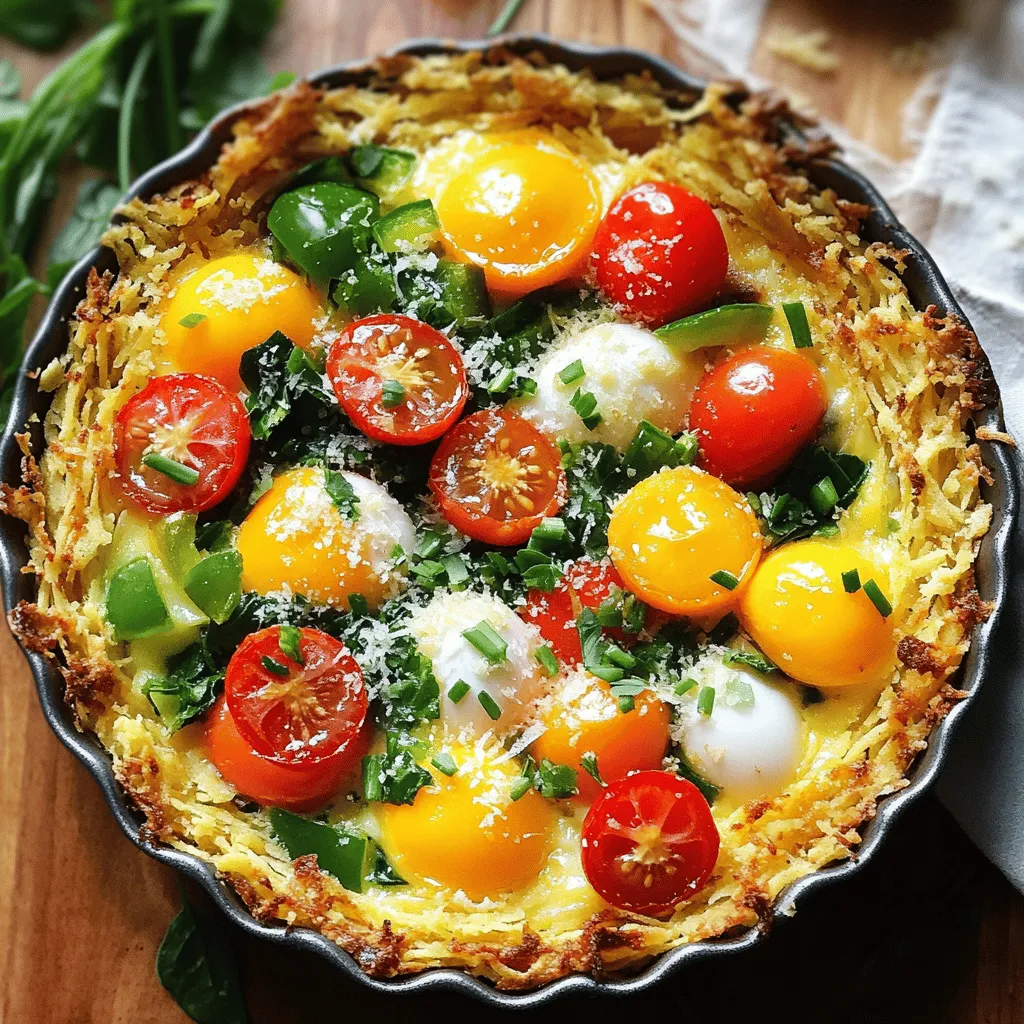
Spring Hash Brown Crust Quiche Flavorful and Easy Recipe
Spring brings fresh flavors, and this Spring Hash Brown Crust Quiche is a perfect way to enjoy them! With a
Read more…browse recipes


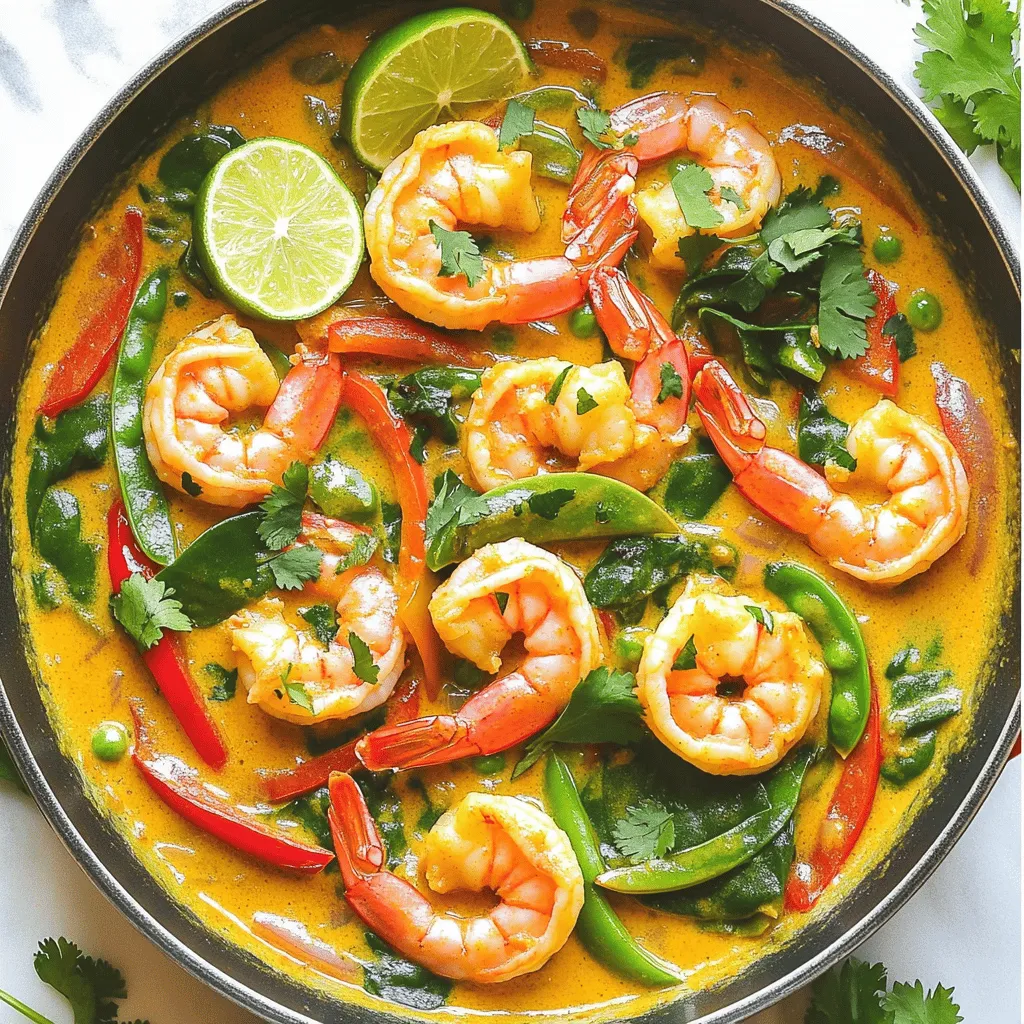
Coconut Curry Shrimp Flavorful and Easy Recipe Guide
Are you ready to dive into a dish that’s bursting with flavor? In this Coconut Curry Shrimp recipe guide, I’ll show you how to…
My Latest Desserts

Pancake Donuts with Maple Glaze Simple and Delicious
Do you love pancakes and donuts? With my pancake donuts topped with maple glaze, you can enjoy both! This simple Read Full Recipe-
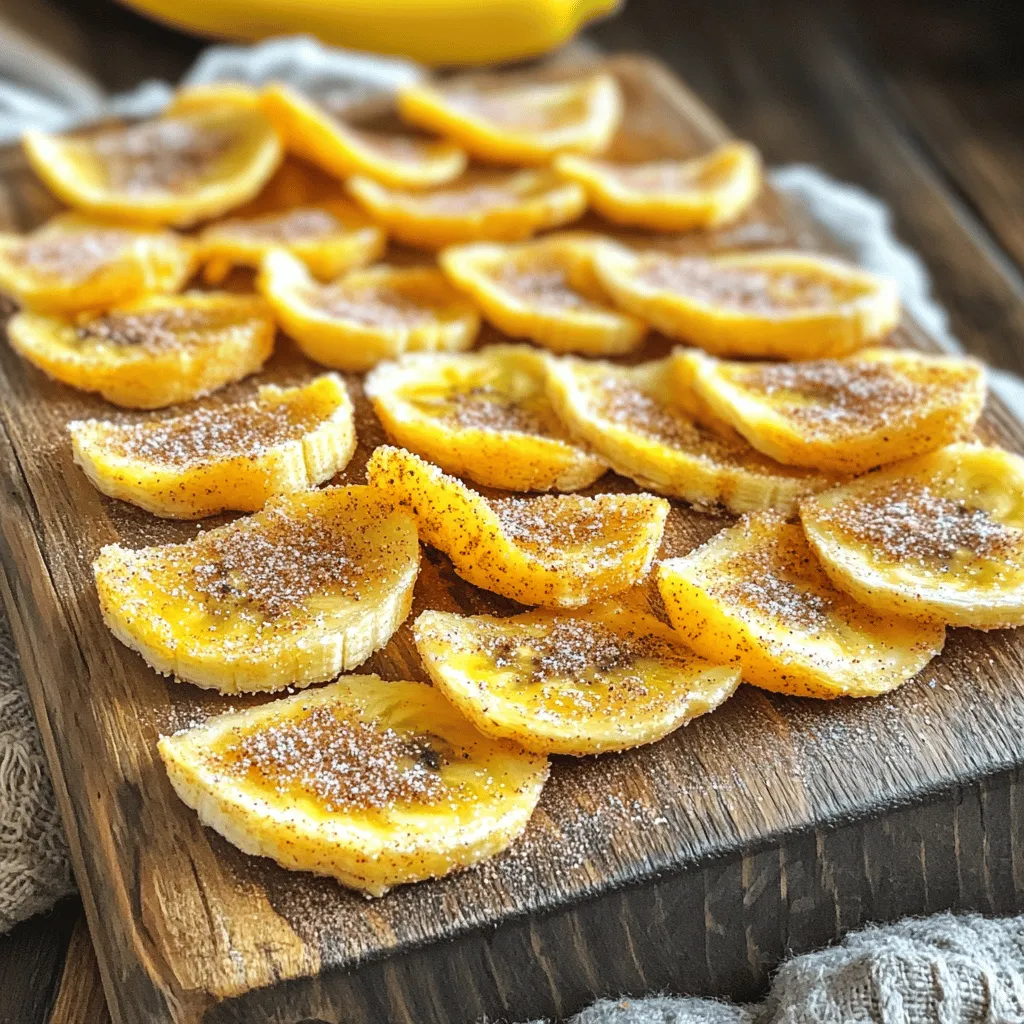
Crispy Cinnamon Sugar Air Fryer Banana Chips Delight
Are you ready for a snack that’s both crunchy and sweet? I’m excited to share my Crispy Cinnamon Sugar Air Read Full Recipe -
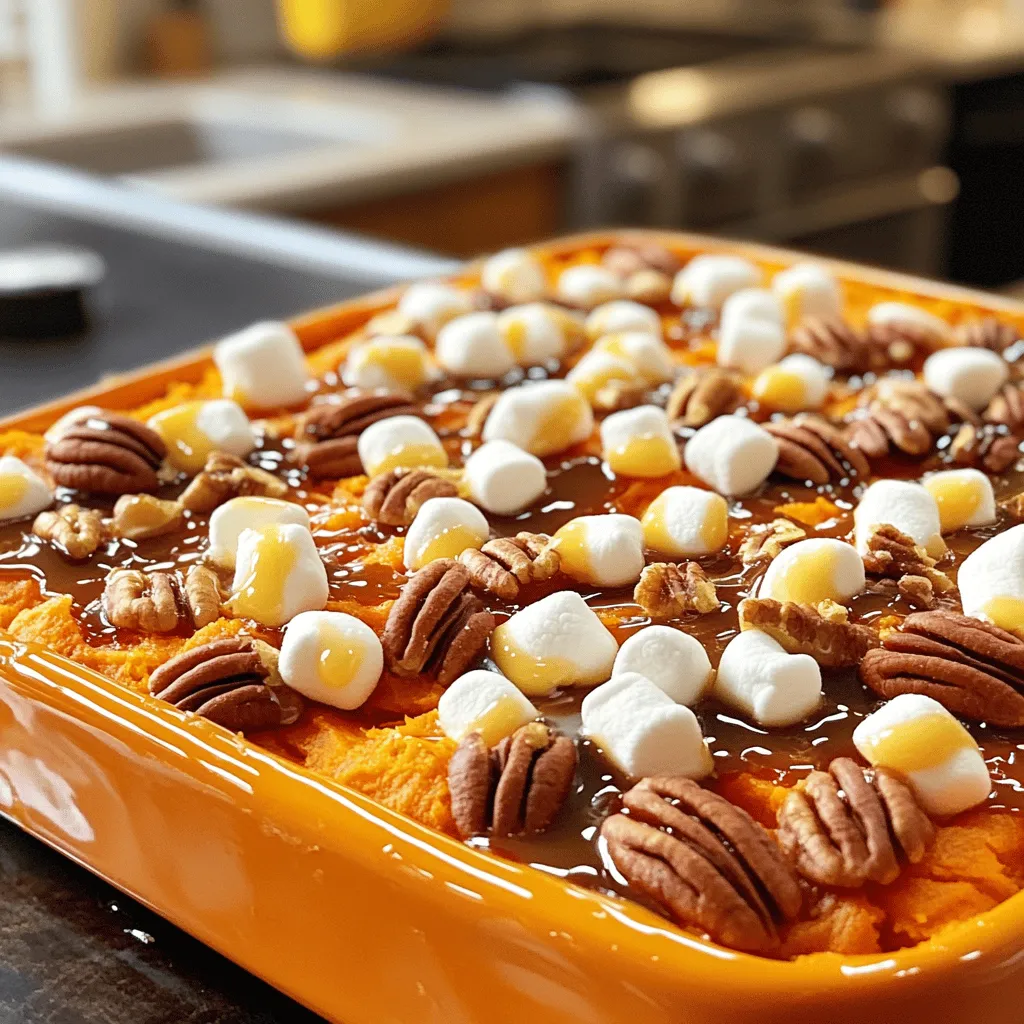
Easy Sweet Potato Casserole Simple and Tasty Recipe
Looking for a sweet, easy dish that steals the show? My Easy Sweet Potato Casserole is just what you need! Read Full Recipe -
Peppermint Chocolate Chip Cookies Festive and Delightful
Get ready to celebrate the season with my Peppermint Chocolate Chip Cookies! These festive treats combine the rich taste of Read Full Recipe -
Chocolate Thumbprint Cookies Irresistible Treat Recipe
If you’re craving a sweet treat, you’ll love chocolate thumbprint cookies! These soft, chewy cookies are easy to make and Read Full Recipe -
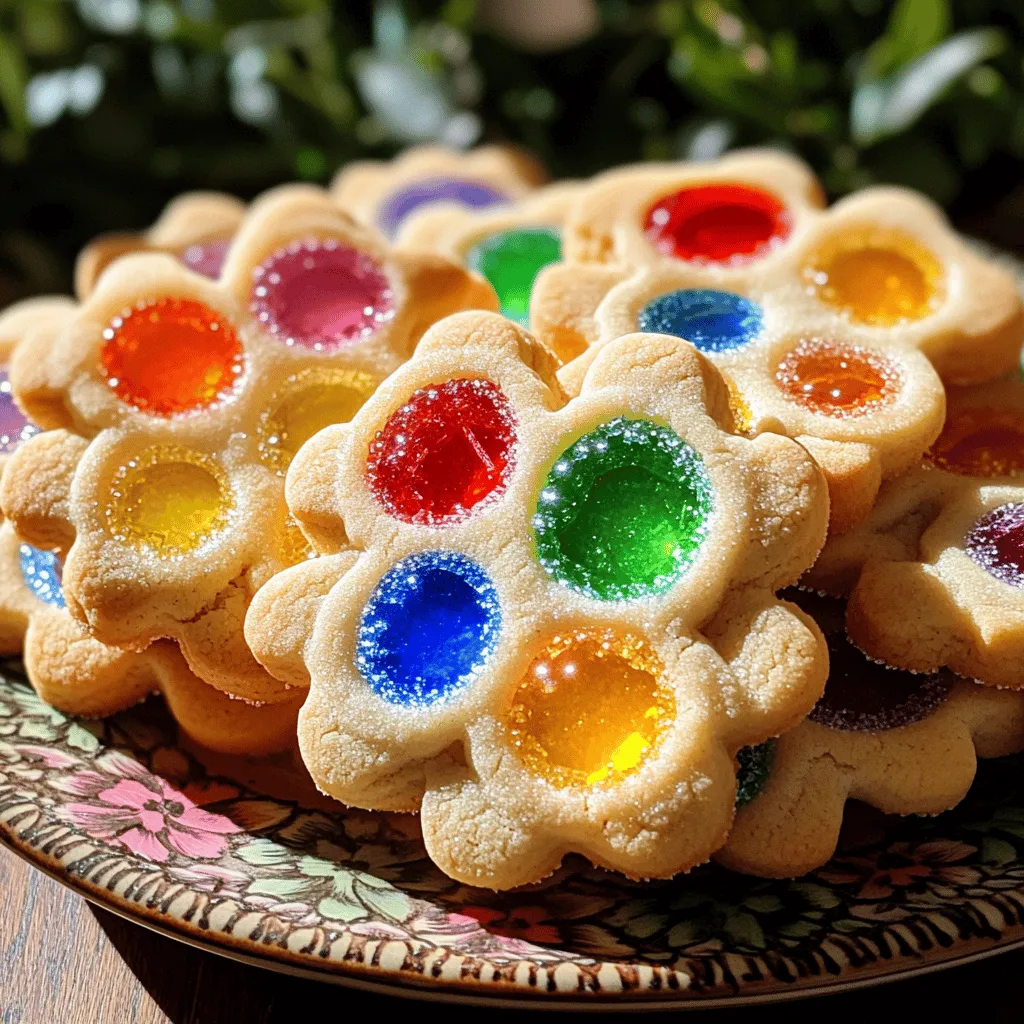
Easy Stained Glass Cookies Simple and Fun Recipe
Get ready to create some beautiful treats with my Easy Stained Glass Cookies! This simple recipe is perfect for kids Read Full Recipe -
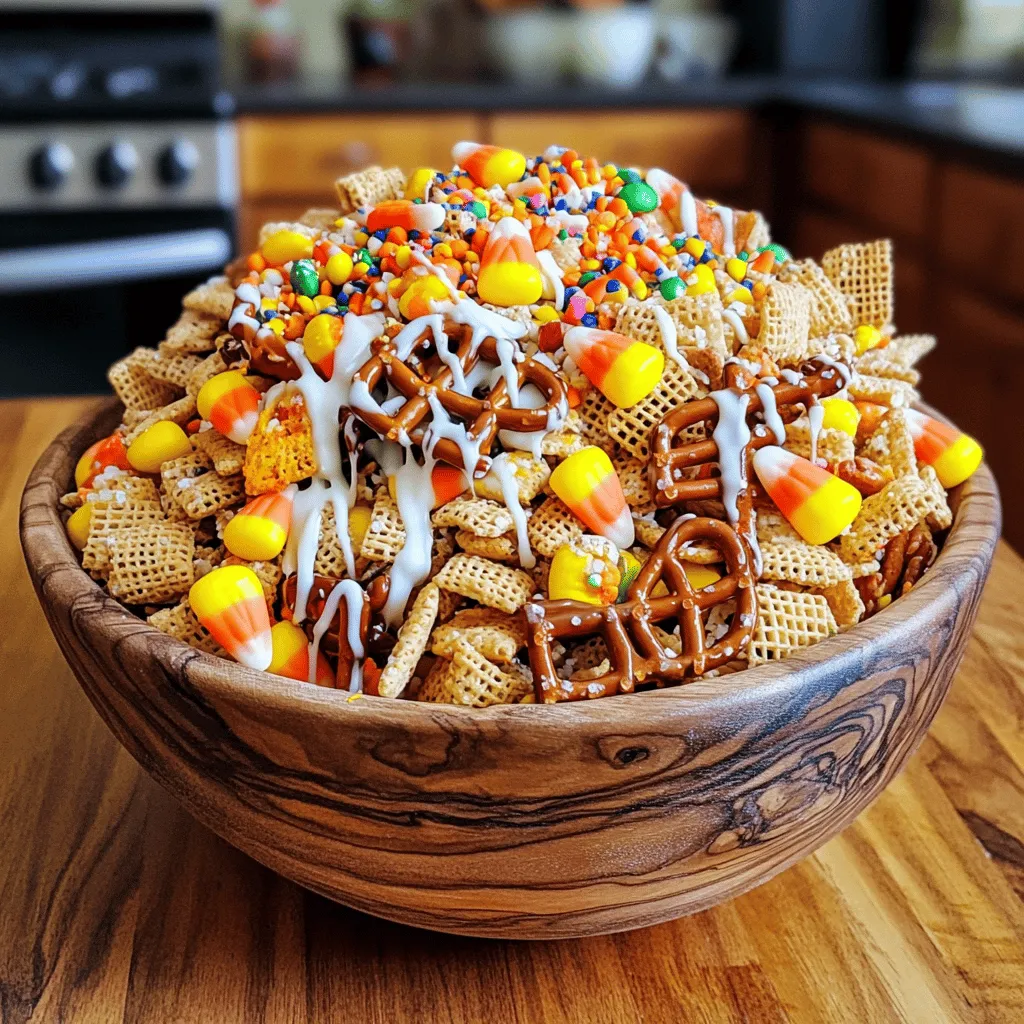
Halloween Chex Mix Fun and Festive Snack Idea
Get ready for a sweet and spooky delight with my Halloween Chex Mix! This fun snack combines crispy Chex cereal, Read Full Recipe -
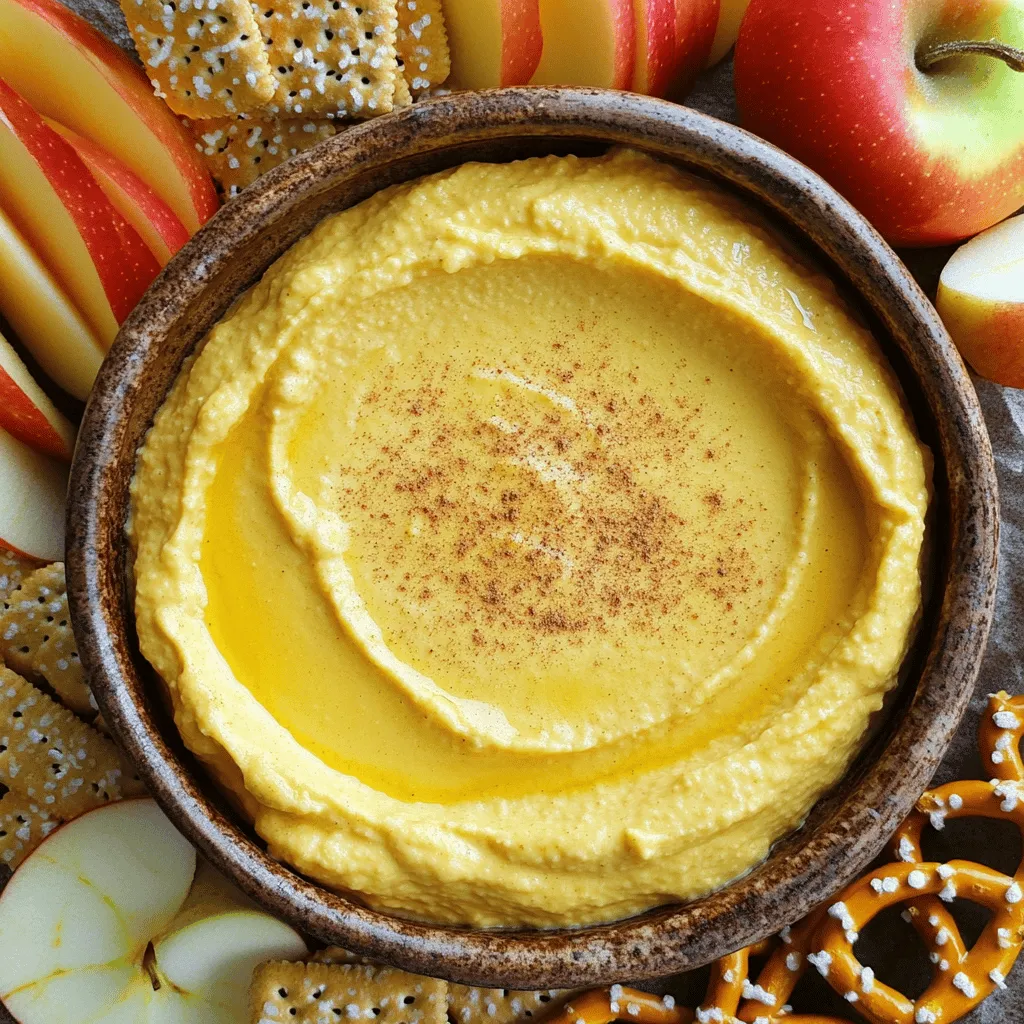
Pumpkin Cheesecake Dip Delightful and Easy Recipe
Fall is here, and nothing screams comfort like my Pumpkin Cheesecake Dip! This delightful treat is easy to make, packed Read Full Recipe -
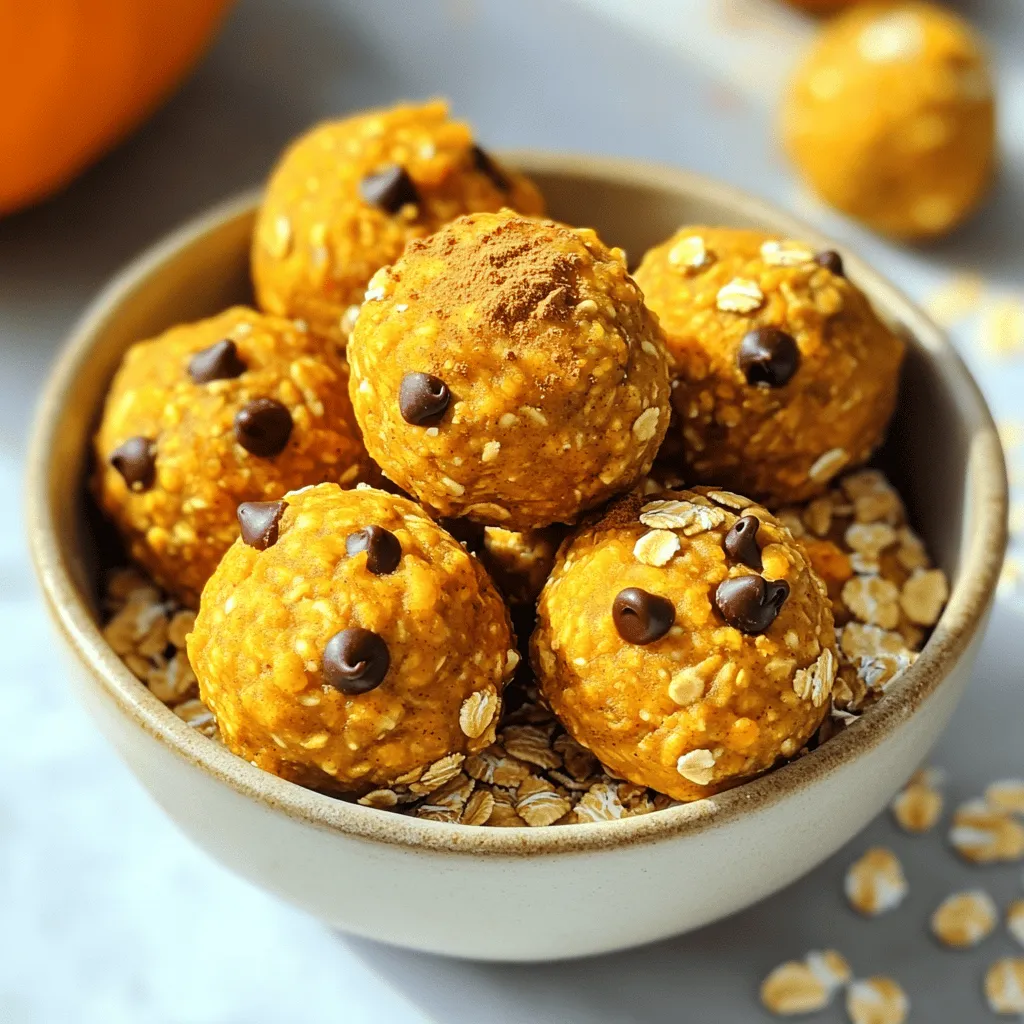
Pumpkin Spice Energy Bites Healthy Power Snack
Looking for a delicious and healthy snack? Pumpkin Spice Energy Bites are the answer! These tasty treats blend fiber-rich oats, Read Full Recipe -
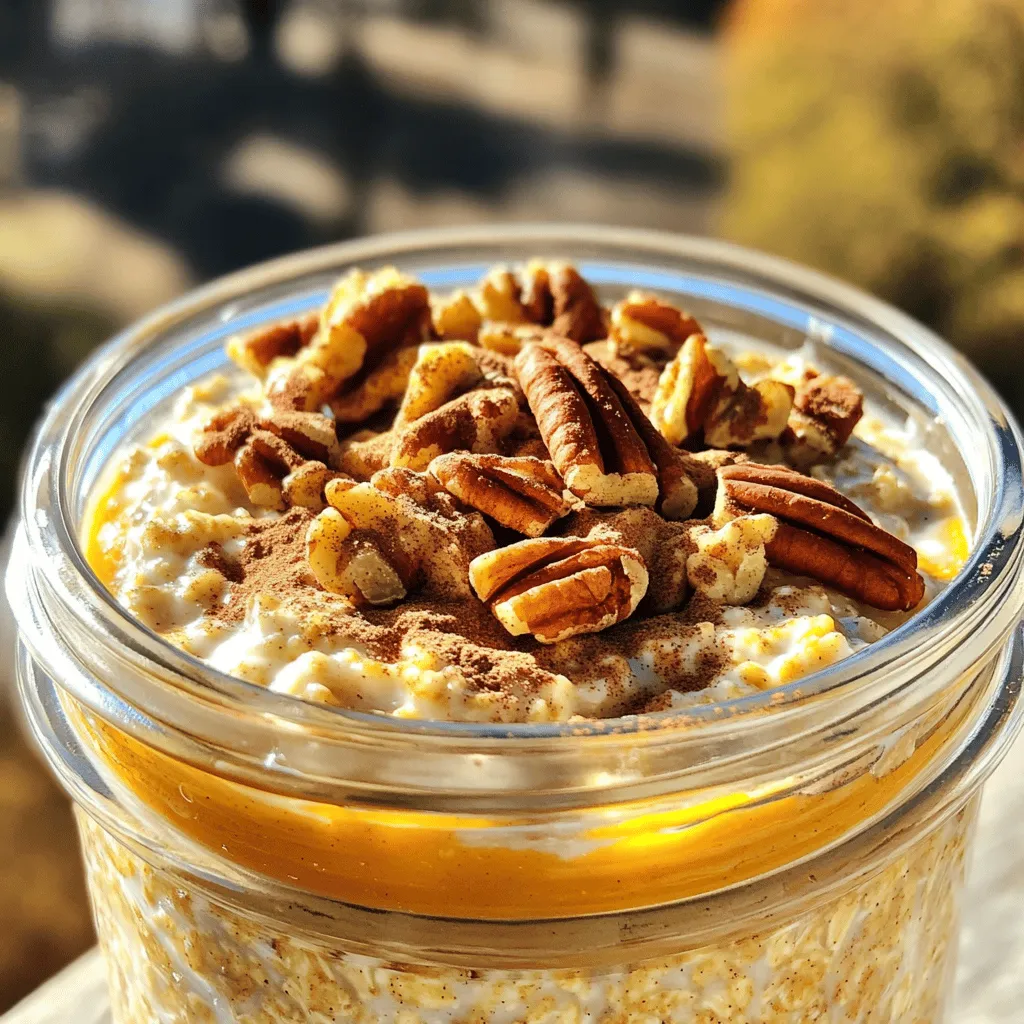
Pumpkin Pie Overnight Oats Flavorful and Nutritious Meal
Looking for a healthy yet tasty breakfast? Pumpkin Pie Overnight Oats combine rich pumpkin flavor with creamy oats. Packed with Read Full Recipe


My Latest Recipes

hey,
i’m !
I’m so happy you’re here!
Food is my passion, and perfecting each dish is my craft. I can’t wait for you to try them let’s dive into this delicious journey side by side.
![To make Linguini with Clam Sauce, gather these simple ingredients: - 12 oz linguini pasta - 2 cans (6.5 oz each) chopped clams in juice - 3 tablespoons olive oil - 3 cloves garlic, minced - 1 small onion, finely chopped - 1 teaspoon red pepper flakes (adjust to taste) - Zest of 1 lemon - 2 tablespoons fresh lemon juice - 1/4 cup fresh parsley, chopped - Salt and black pepper to taste - Grated Parmesan cheese for serving You can swap some ingredients for different flavors: - Use spaghetti instead of linguini for a twist. - Fresh clams can replace canned clams for a fresher taste. - Any cooking oil can work instead of olive oil. - For a milder dish, leave out the red pepper flakes. - If you don’t have fresh lemons, use bottled lemon juice. Choosing fresh ingredients makes your dish shine: - Look for linguini that is firm and free from cracks. - Choose clams that are tightly closed or slightly gaping. - Select garlic that is firm and has no sprouting. - Pick onions that feel heavy and have dry skins. - Fresh parsley should be bright green and fragrant. Using the right ingredients sets the stage for a tasty meal. Enjoy cooking! To start making your linguini with clam sauce, grab a large pot. Fill it with water and add a generous amount of salt. Bring the water to a boil. Cook the linguini as directed on the package until it's al dente. Remember to save one cup of pasta water before draining the pasta. Next, take a large skillet and heat the olive oil over medium heat. Add the finely chopped onion and sauté for about 3 to 4 minutes. You want the onion to become translucent, not brown. Once the onion is ready, stir in the minced garlic and red pepper flakes. Cook for one more minute until the garlic smells good. Then, pour in the chopped clams along with their juice. Bring the mixture to a simmer and let it cook for about 5 minutes. This step helps the flavors come together nicely. After that, add the lemon zest and lemon juice to the sauce. Mix it well. If the sauce feels too thick, use some of that reserved pasta water to loosen it up. Now, it's time to combine everything. Toss the drained linguini directly into the skillet. Make sure every strand gets coated with the clam sauce. Season with salt and black pepper to taste. Finally, take the skillet off the heat and stir in the chopped parsley for a fresh touch. To get perfect pasta, always use plenty of water and salt. This helps the pasta cook evenly. Stir the pasta while it cooks to prevent sticking. Check the cooking time on the package, but taste it a minute early. You want it firm but not hard. If you want to save time, you can start the sauce while the pasta cooks. This way, everything is ready at the same time. Use a large pot for boiling so the pasta has room to move. The right consistency is key for a great linguini with clam sauce. If your sauce is too thick, add more pasta water gradually. This water is starchy and helps the sauce cling to the pasta. Stir well after adding water to see how it changes. If you find your sauce too runny, let it simmer for a couple of minutes. This will help it thicken. Always remember, the sauce should coat the pasta nicely. Aim for a balance where it’s not too dry or too watery. To boost the flavor of your linguini with clam sauce, use fresh herbs. Fresh parsley adds brightness. You can also try fresh basil or even chives for a twist. Adding lemon zest brightens the dish and gives it a fresh taste. For a richer flavor, consider adding a splash of white wine while cooking. This adds depth and pairs well with clams. To save time, prep your ingredients first. Chop the onion and garlic before you start cooking. You can even use pre-minced garlic for quicker prep. Cook the pasta while you make the sauce. This saves time and keeps everything hot. Another tip is to use a large skillet for the sauce. This allows you to mix in the pasta easily without needing extra pots. When sautéing, heat your skillet before adding oil. This helps the oil spread evenly. Use medium heat to avoid burning garlic and onion. Garlic can turn bitter if it cooks too long. Stir often to ensure everything cooks evenly. If you want a golden color, let the onions cook until they are soft and slightly brown. This adds flavor and sweetness to your sauce. Follow these tips for a delicious and quick meal. For a detailed recipe, check out the [Full Recipe]. {{image_2}} You can switch out clams for other seafood. Shrimp and scallops work well in this dish. Both add a sweet flavor and cook quickly. Just sauté them until pink before adding to the sauce. You can also use mussels. They bring a briny taste and look great on the plate. When choosing any seafood, always pick fresh options for the best taste. If you want a vegetarian dish, skip the clams. You can use mushrooms instead. Sauté sliced mushrooms until they are golden brown. They add a nice umami flavor. Another option is to add artichoke hearts. They provide a meaty texture and pair well with lemon. For added richness, consider adding a splash of vegetable broth in place of clam juice. To change the flavor, try adding white wine. It brings a nice acidity to the dish. Just pour in half a cup after cooking the garlic. Let it simmer for a few minutes. You can also try different herbs. Basil or thyme can add new layers of taste. Don’t forget about nuts! A sprinkle of toasted pine nuts can give a delightful crunch. For a spicy kick, add more red pepper flakes or use fresh chili peppers. To keep your leftover linguini with clam sauce fresh, place it in an airtight container. Make sure to cool the dish to room temperature before sealing it. This helps to avoid moisture buildup. Store it in the fridge and eat it within three days. If you want to keep it longer, consider freezing it instead. When you’re ready to enjoy your leftovers, reheat them gently. Use a skillet over medium heat. Add a splash of olive oil or a bit of reserved pasta water to keep it moist. Stir often to avoid burning. You can also microwave it in a bowl with a damp paper towel on top. Heat in short bursts, stirring in between. You can freeze linguini with clam sauce if you want to save some for later. First, cool it completely. Then, portion it into freezer bags or containers. Remove as much air as possible to prevent freezer burn. Label the bags with the date. This dish can stay in the freezer for up to three months. When you’re ready to eat, thaw it overnight in the fridge before reheating. Yes, you can make this dish ahead. Cook the pasta and sauce earlier in the day. Store them in separate containers in the fridge. When ready to serve, reheat the sauce and toss it with the pasta. This method keeps the linguini from getting soggy. Just remember, fresh pasta tastes best when served right after cooking. Linguini with clam sauce pairs well with many sides. Here are some great options: - A fresh green salad - Garlic bread or toasted baguette - Steamed vegetables like broccoli or asparagus - A light white wine, such as Pinot Grigio These sides enhance the meal's flavors and add a nice touch. To adjust the spice level, simply change the red pepper flakes. For less heat, use less than a teaspoon. For more heat, feel free to add more. You can also try adding black pepper for a different kick. Always taste as you go to find the perfect balance for your palate! You learned about key ingredients, cooking steps, and helpful tips for making Linguini with Clam Sauce. I shared substitutions, storage tips, and how to modify the dish to fit your taste. Remember, the right ingredients and techniques make a big difference. Enjoy exploring variations and impress your friends with your cooking skills. With this knowledge, you can create delicious meals any day. Now, get in the kitchen and let the cooking begin!](https://mysavedrecipe.com/wp-content/uploads/2025/06/1e163adb-c0f7-46b6-b52b-9df8874a6ba4-300x300.webp)
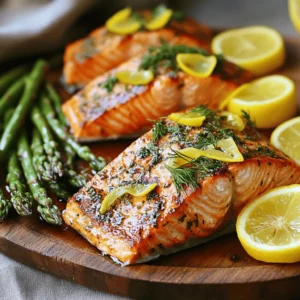
. {{image_2}} You can change the taste of lemon herb grilled chicken easily. Try using lime or orange juice instead of lemon juice. Each citrus brings a new twist. Lime adds a sharp zest, while orange gives a sweet touch. You can also add spices to your marinade. Paprika gives a smoky flavor, while cumin adds warmth. These spices change the dish, making it your own. If you don’t have a grill, you can bake the chicken. Just preheat your oven to 400°F (200°C). Place the marinated chicken in a baking dish. Bake for about 25-30 minutes. This method keeps the chicken juicy and tender. Another fun way to cook is to make lemon herb chicken skewers. Cut the chicken into cubes and thread them onto skewers. Grill or bake them until cooked. This method is great for parties or picnics. You can use lemon herb flavors with tofu too. Marinate firm tofu in the same mix. Grill or bake it until golden. This is a tasty option for vegetarians. Lemon herb flavors also work well with fish. Try grilling salmon or tilapia. The fish absorbs the flavors and turns out delicious. Just adjust the cooking time, as fish cooks faster than chicken. For the full recipe, check out the details above. Enjoy experimenting with these variations! To keep your lemon herb grilled chicken fresh, store it properly. First, let the chicken cool to room temperature. Avoid leaving it out for more than two hours. Place the chicken in airtight containers. You can also use resealable plastic bags. Make sure to remove as much air as possible. For freezing, wrap each piece in plastic wrap, then foil. This helps prevent freezer burn. When reheating, it’s best to use the oven or a skillet. Preheat the oven to 350°F (175°C). Place the chicken on a baking sheet. Cover it with foil to keep it moist. Heat for about 15-20 minutes. If using a skillet, add a splash of water or broth. Cover it and heat on low until warm. This method keeps the chicken juicy and tasty. Lemon herb grilled chicken lasts in the fridge for about 3-4 days. Make sure it is in a sealed container. In the freezer, it can last 2-6 months. For best flavor, eat it within 2 months. Always check for any signs of spoilage before eating. To marinate chicken well, start with a good mix of oil, acid, and herbs. I suggest using olive oil and lemon juice. The oil keeps the chicken juicy, while the acid helps tenderize it. Make sure to coat the chicken fully. Place it in a sealed bag or dish. This allows the flavors to soak in. For best results, marinate for at least 30 minutes to two hours. Overnight is even better! Grilling chicken takes about 12 to 15 minutes. Start by grilling for 6 to 7 minutes on one side. Then flip and grill for another 6 to 7 minutes. Always check the internal temperature. It should reach 165°F (75°C) for safe eating. This time gives the chicken a nice char and keeps it juicy. Yes, you can use dried herbs instead of fresh. Dried herbs have a stronger flavor. Use about one-third of the amount called for fresh herbs. For example, if the recipe calls for 2 teaspoons of fresh rosemary, use about 2/3 teaspoon of dried. However, fresh herbs add a bright taste and aroma that dried can't match. Lemon herb grilled chicken pairs great with many sides. Here are a few ideas: - Grilled vegetables like zucchini or bell peppers - A light salad with mixed greens and lemon vinaigrette - Quinoa or rice pilaf for a filling side - Garlic bread for a crunchy touch These sides complement the chicken's zesty flavors well. Enjoy your meal! For the full recipe, check the earlier section. This blog post covered how to make delicious lemon herb grilled chicken. You learned about the key ingredients, step-by-step instructions, and helpful tips. I shared variations and storage tips to keep your meals fresh. Grilling chicken does not have to be hard. With a few simple steps and some tasty herbs, you can create a meal that impresses everyone. Enjoy cooking and feel free to try your own twist on the flavors!](https://mysavedrecipe.com/wp-content/uploads/2025/04/357e2a24-e806-4f69-9a9e-b850acb3f340-300x300.webp)
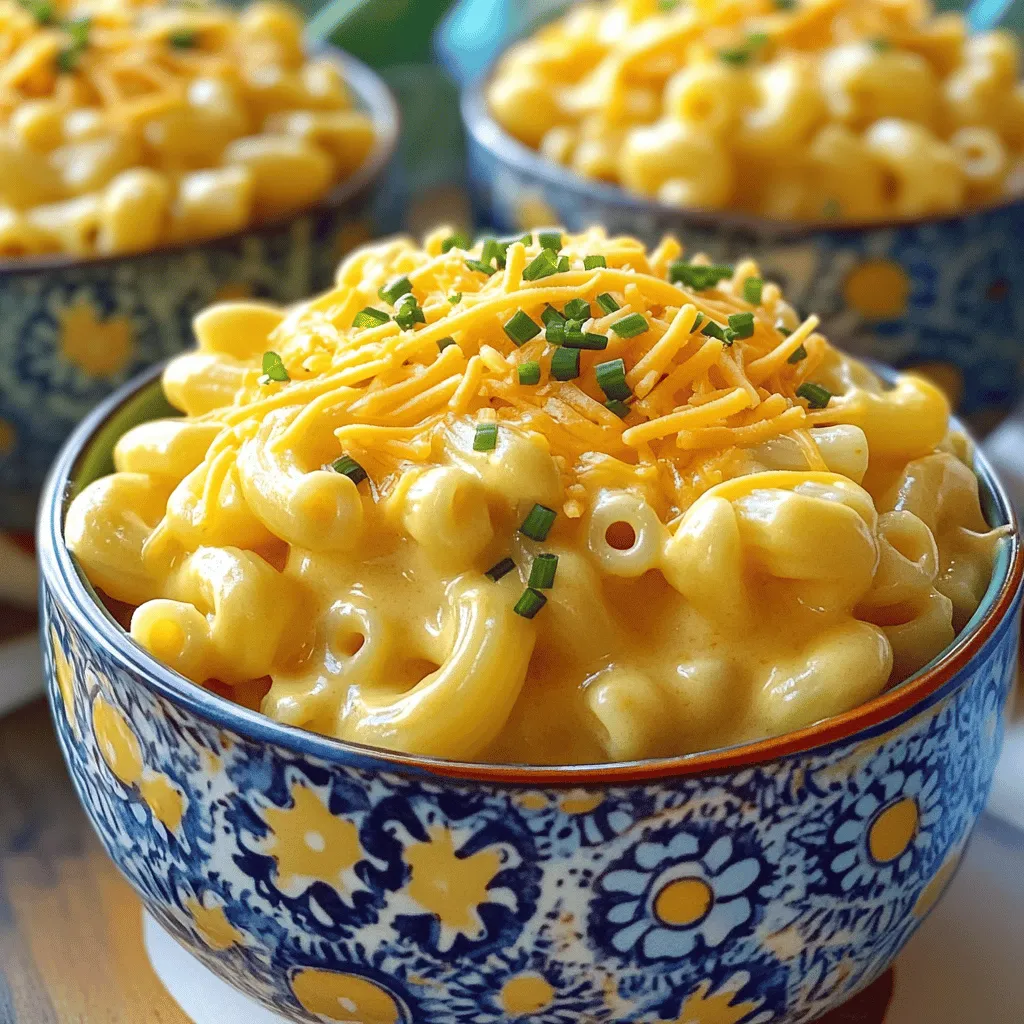
Instant Pot Mac and Cheese Simple and Creamy Meal
Ready to make the creamiest Instant Pot Mac and Cheese? This simple meal is a game-changer for busy nights. With just a few easy…