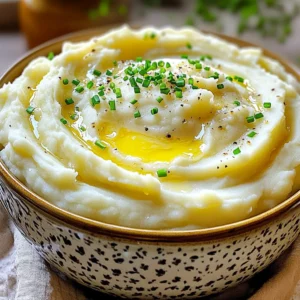
- Slow Cooker Garlic Butter Mashed Potatoes Delight
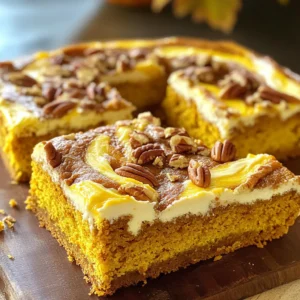
- Pumpkin Cream Cheese Coffee Cake Irresistible Treat
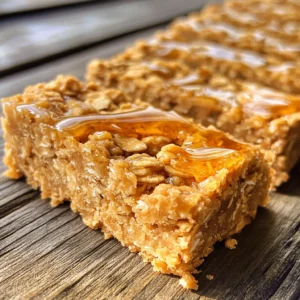
- Three Ingredient Peanut Butter Oat Bars Simple Recipe
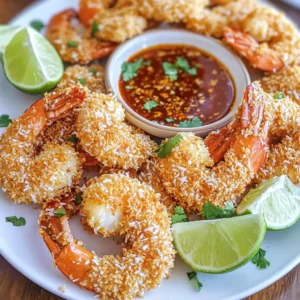
- Air Fryer Coconut Shrimp Sweet Chili Delight
- Baked Spaghetti Squash Garlic Parmesan Delight
- Overnight Caramel Sticky Buns Fresh and Tasty Treat
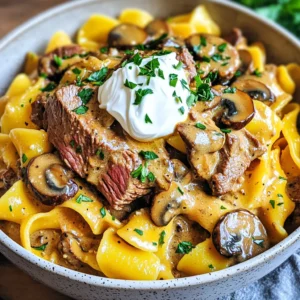
- One Pot Beef Stroganoff Noodles Quick and Easy Meal
- High-Protein Egg White Breakfast Wraps Easy and Tasty
- Brown Butter Maple Blondies Irresistible Treat Recipe
- Sheet Pan Lemon Herb Chicken Potatoes Recipe Delight
- Baked Feta Breakfast Eggs Delightful Morning Meal
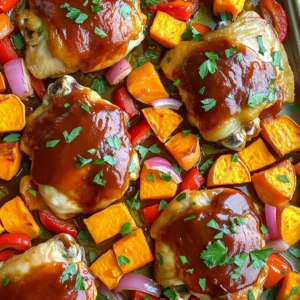
- Sheet-Pan BBQ Chicken & Sweet Potatoes Delight
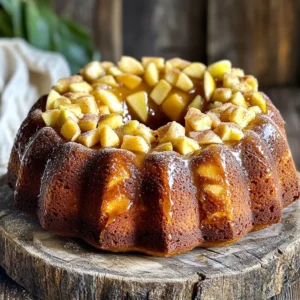
- Apple Cider Donut Bundt Cake Irresistible Flavor Delight
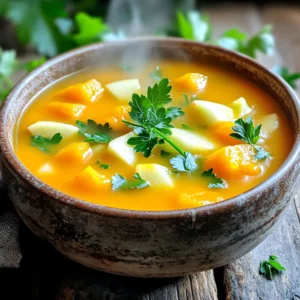
- Slow Cooker Butternut Squash Apple Soup Delight
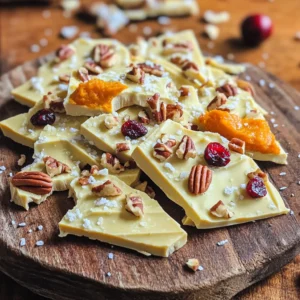
- Pumpkin Spice White Chocolate Bark Perfect Party Treat
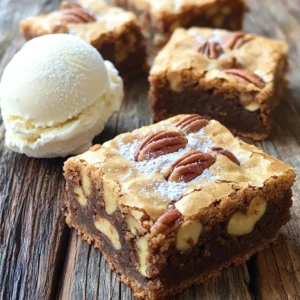
- Brown Butter Pecan Blondies Deliciously Indulgent Treat
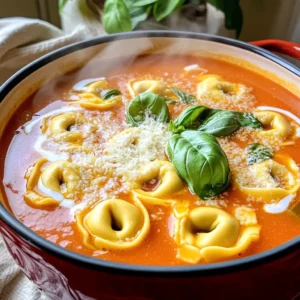
- Creamy Tomato Basil Tortellini Soup Easy and Flavorful
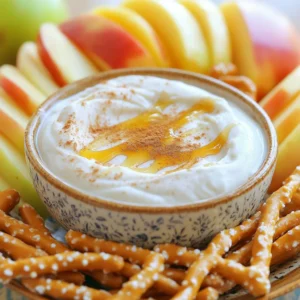
- Peanut Butter Yogurt Protein Dip Easy and Tasty Snack
- Classic Crockpot Beef Stew Comforting and Hearty Meal
- Minute Egg Roll in a Bowl Flavorful Easy Meal
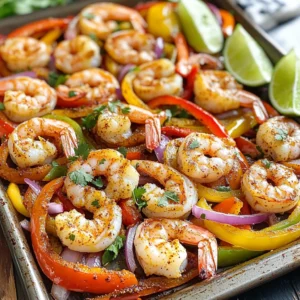
- Cajun Shrimp Fajita Sheet Pan Flavorful Dinner Delight
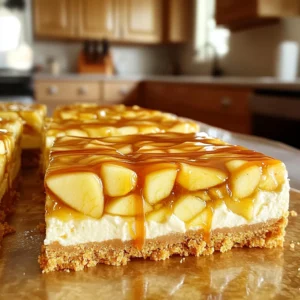
- Caramel Apple Cheesecake Bars Irresistible Treat Delight
- Slow Cooker BBQ Pulled Chicken Sandwiches Delight
- Air Fryer Garlic Parmesan Wings Crunchy and Flavorful
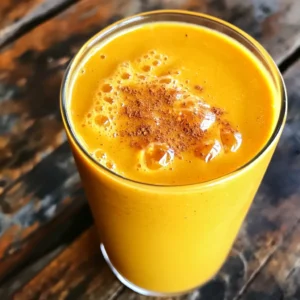
- Pumpkin Spice Protein Smoothie Tasty and Healthy Treat
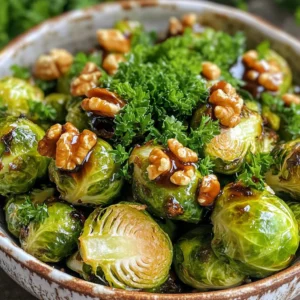
- Maple Glazed Brussels Sprouts Flavorful and Easy Recipe
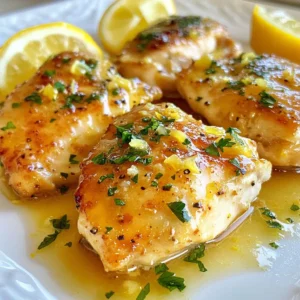
- Lemon Butter Chicken Breast Simple and Flavorful Meal
- Cinnamon Sugar Pumpkin Donut Holes Delightful Treat
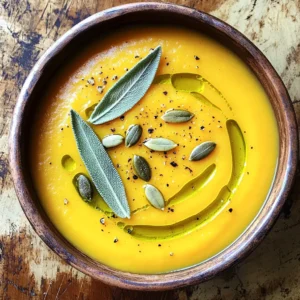
- Savory Butternut Squash Sage Soup Easy and Delicious
- No Bake Chocolate Chip Cookie Dough Cups Delight
- Sheet Pan Pesto Chicken & Tomatoes Easy Weeknight Meal
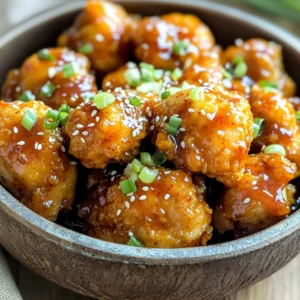
- Air Fryer Sweet Chili Chicken Bites Flavorful Snack
- Apple Butter Pull Apart Bread Delightfully Easy Recipe
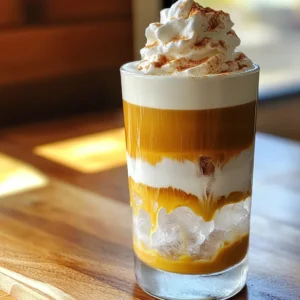
- Pumpkin Cream Cold Foam Latte Irresistible Flavor Guide
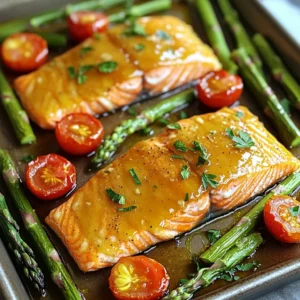
- Maple Glazed Salmon & Veggies Fresh and Flavorful Dish
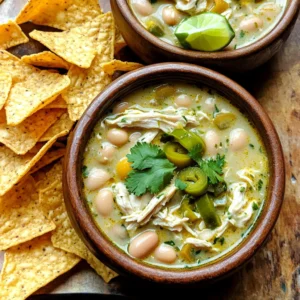
- Savory Slow Cooker White Chicken Chili Recipe
- Spiced Pear Upside Down Cake Irresistible Delight
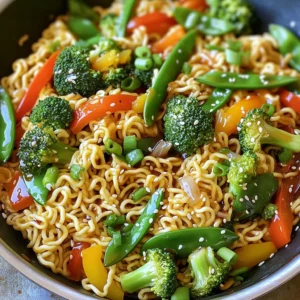
- Crispy Sesame Garlic Ramen Stir Fry Flavor Explosion
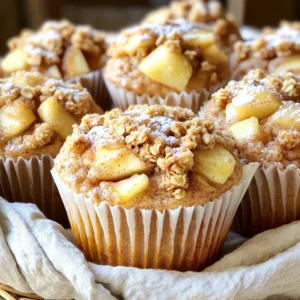
- Apple Cinnamon Crumble Muffins Irresistible Recipe
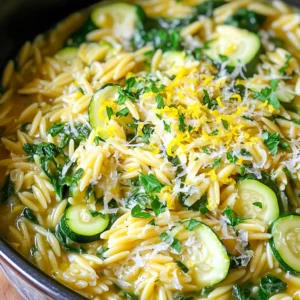
- One Pot Lemon Parmesan Orzo Fast and Flavorful Meal
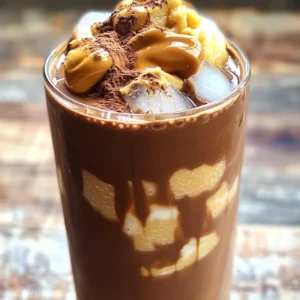
- Chocolate Peanut Butter Smoothie Healthy and Delicious
- Sweet and Sour Tofu Bowls Flavorful and Easy Recipe