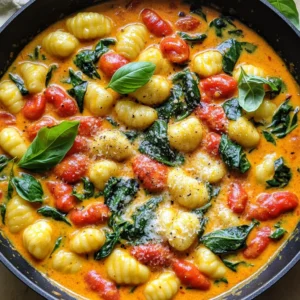
- Creamy Roasted Red Pepper Gnocchi Skillet Delight
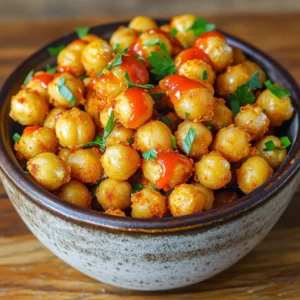
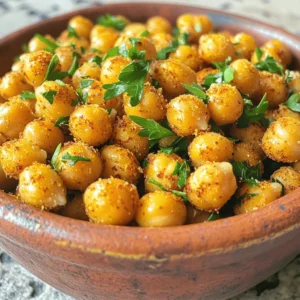
- Air Fryer Crispy Buffalo Chickpeas Easy Snack Recipe
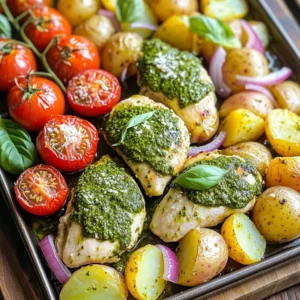
- Sheet-Pan Pesto Chicken and Potatoes Flavor Boost
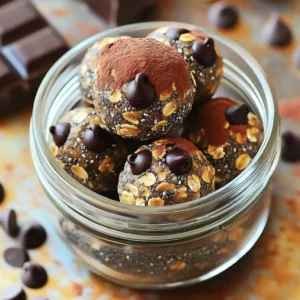
- No-Bake Mocha Espresso Energy Balls Perfectly Easy Treat
- Thai Curry Keto Chicken Soup Flavorful Low-Carb Dish
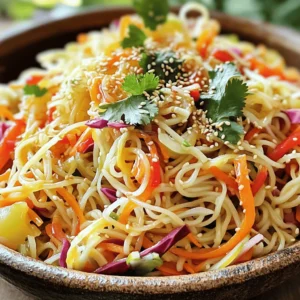
- Sesame Ginger Noodle Salad Fresh and Flavorful Recipe
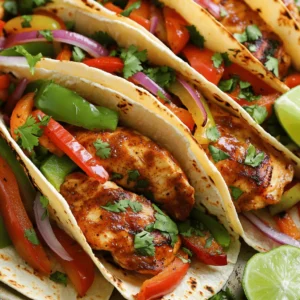
- Sheet Pan Chipotle Chicken Tacos Flavorful Meal Idea
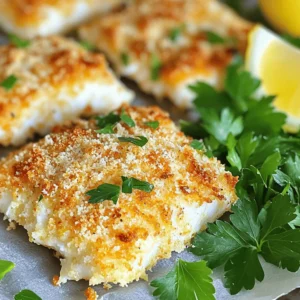
- Air Fryer Parmesan Tilapia Simple and Tasty Dinner
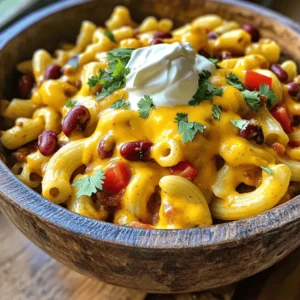
- Savory Slow Cooker Chili Mac Cheese Easy Comfort Meal
- Kung Pao Chicken Stir Fry Bold and Flavorful Delight
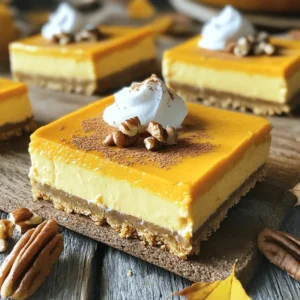
- No Bake Pumpkin Cheesecake Bars Easy and Delicious
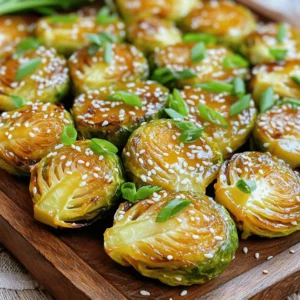
- Miso Butter Roasted Brussels Sprouts Flavorful Delight
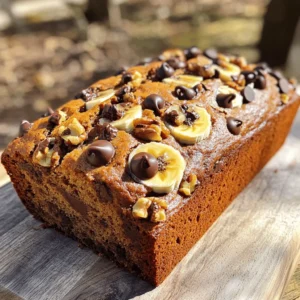
- Bakery Style Chocolate Chip Banana Bread Recipe
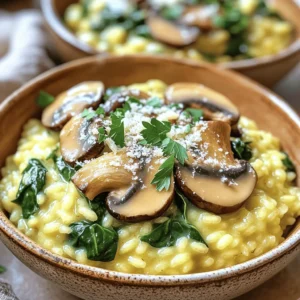
- One Pot Creamy Mushroom Spinach Risotto Delight
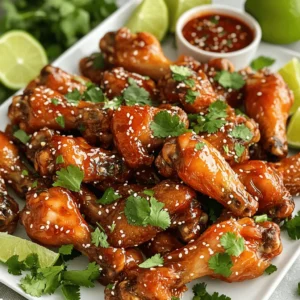
- Air Fryer Honey Sriracha Wings Crispy and Flavorful Dish
- Cinnamon Swirl Banana Bread Soft and Flavorful Delight
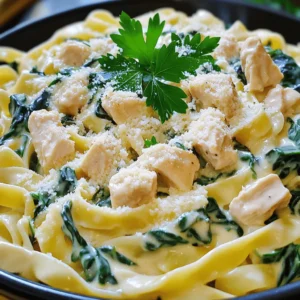
- One-Pot Chicken Alfredo Spinach Delicious Meal Idea
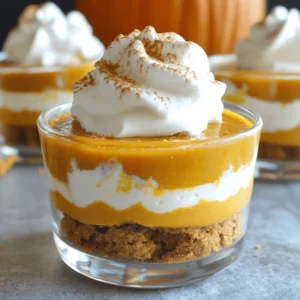
- No-Bake Pumpkin Cheesecake Cups Easy and Delicious Treat
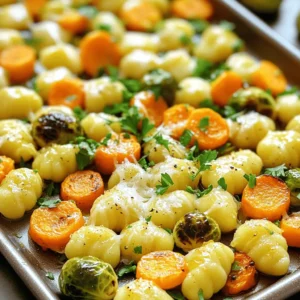
- Sheet Pan Gnocchi Fall Veggies Flavorful One-Pan Meal
- Air Fryer Smoky Crispy Chickpeas Easy and Tasty Snack
- Min Cottage Cheese Pizza Bowl Tasty and Satisfying Meal
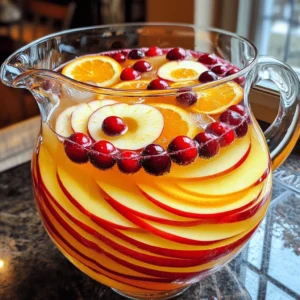
- Apple Cider Fruit Punch Refreshing and Fruity Drink
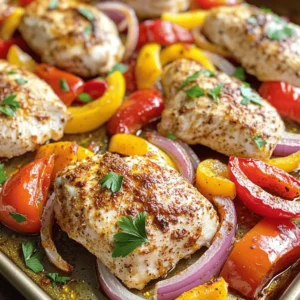
- Cajun Chicken and Peppers Sheet Pan Flavor Blast
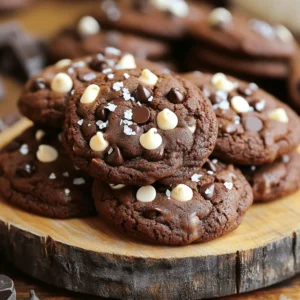
- Double Chocolate Espresso Cookies Rich and Decadent
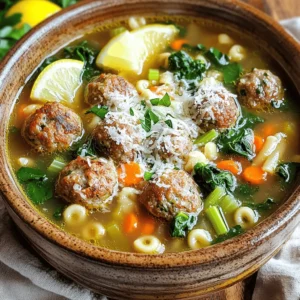
- Slow Cooker Italian Wedding Soup Simple and Tasty Dish
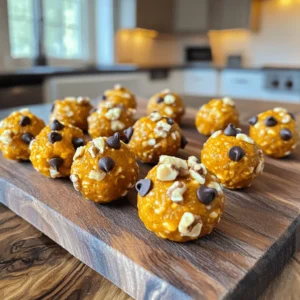
- Pumpkin Spice Energy Bites Delicious and Healthy Snack
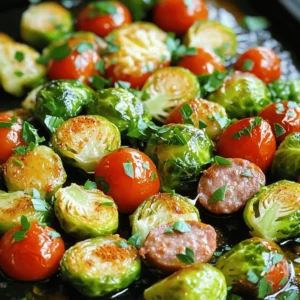
- Sausage and Brussels Sprouts Sheet Pan Delight
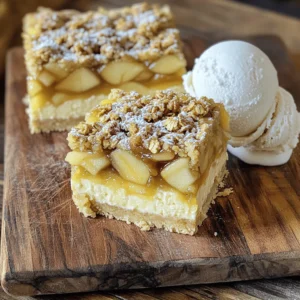
- Apple Pie Cheesecake Bars Delightful and Easy Treat
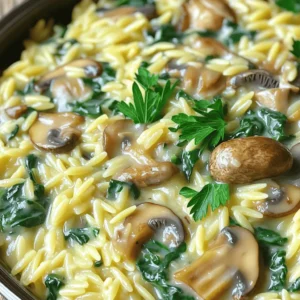
- Creamy Mushroom Spinach Orzo Quick and Simple Meal
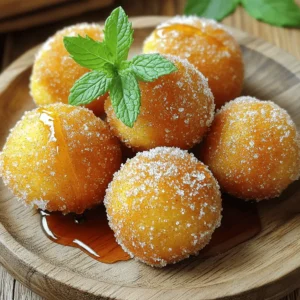
- Air Fryer Maple Donut Holes Tasty Treat to Enjoy
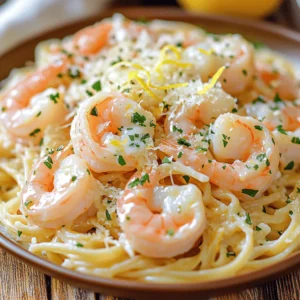
- Garlic Butter Shrimp Scampi Flavorful and Easy Recipe
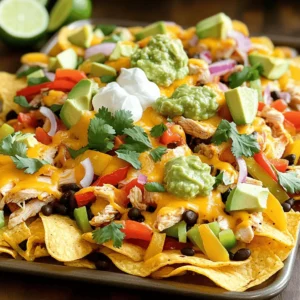
- Sheet Pan Chicken Fajita Nachos Easy Flavor Fiesta
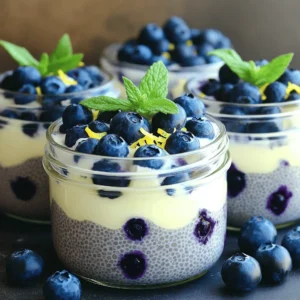
- Blueberry Lemon Chia Pudding Delightful and Healthy Treat
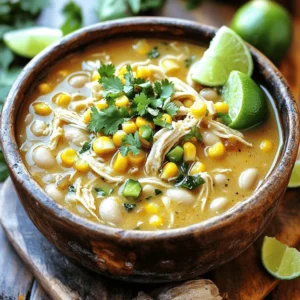
- Slow Cooker White Chicken Chili Flavorful Comfort Meal
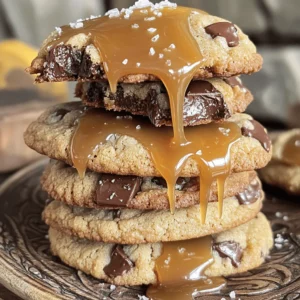
- Salted Caramel Chocolate Chunk Cookies Delightful Treat
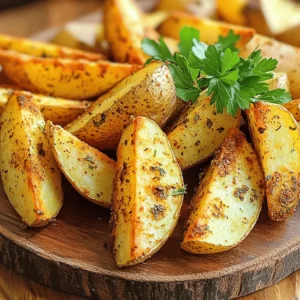
- Air Fryer Potato Wedges Crispy and Flavorful Snack
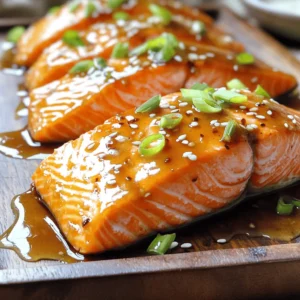
- Honey Garlic Glazed Salmon Flavorful and Simple Recipe
- Sweet & Sour Chicken Better Than Takeout Delight
- No-Bake Oreo Cheesecake Cups Simple and Delicious Treat
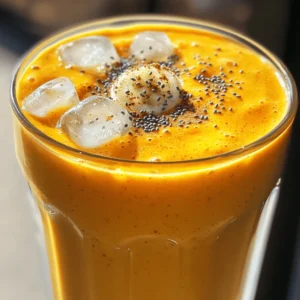
- Pumpkin Spice Protein Smoothie Easy and Nutritious Drink
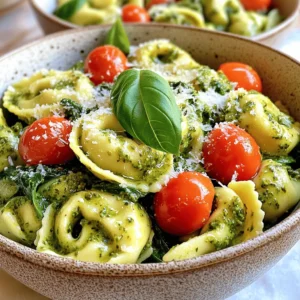
- Creamy Pesto Tortellini Irresistible Dinner Delight
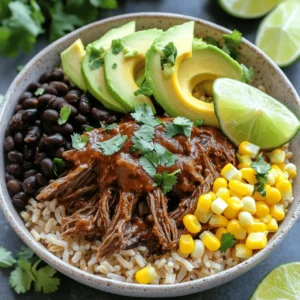
- Chipotle Barbacoa Beef Bowls Flavorful and Easy Meal