by Category

Top 10 Recipes
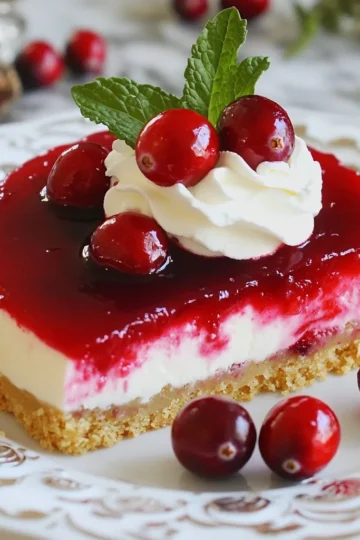
- Easy Cranberry Cheesecake Simple and Delicious Dessert
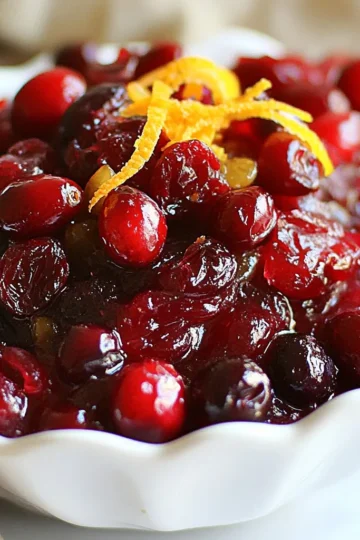
- Easy Cranberry Chutney Simple and Flavorful Recipe
- Slow Cooker Chicken Stew Easy and Tasty Recipe
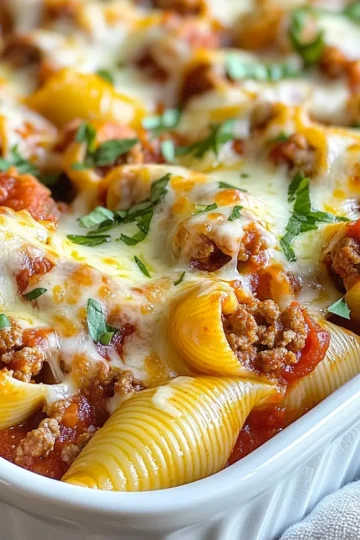
- Meaty Stuffed Shells Flavorful Dinner Delight
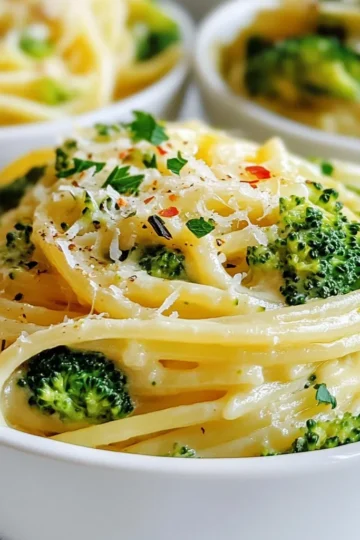
- One-Pot Creamy Broccoli Pasta Easy and Tasty Meal
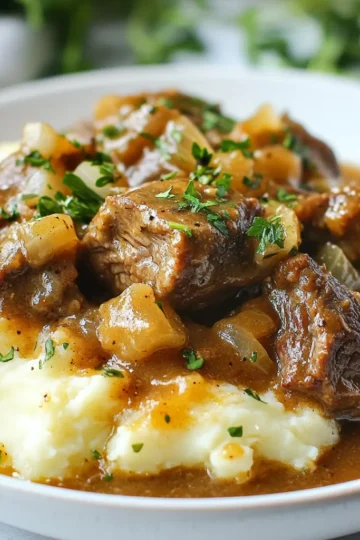
- Crock Pot Beef Tips and Gravy Hearty Dinner Delight
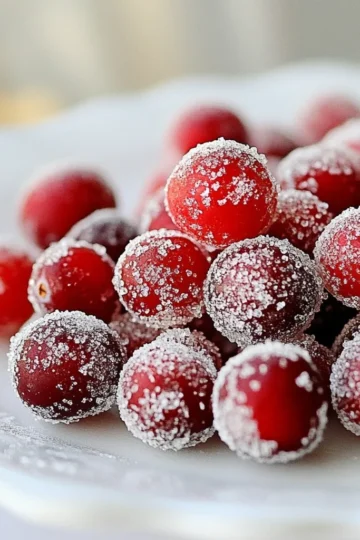
- Sugared Cranberries Delightful Holiday Recipe Guide
- Slow Cooker Sweet Tangy Orange Chicken Delight
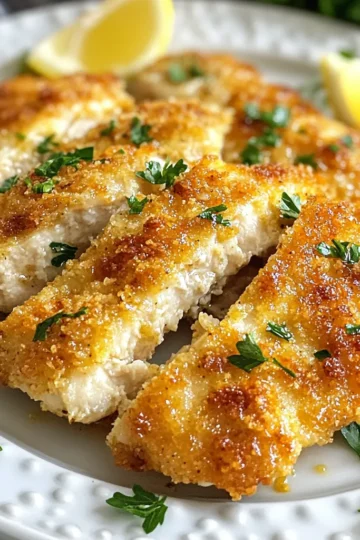
- Air Fryer Parmesan Crusted Chicken Crunchy Delight
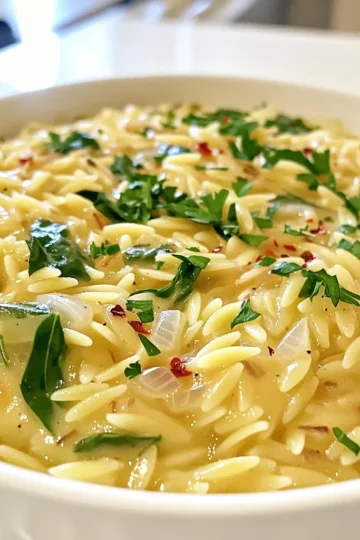
- Creamy Garlic Orzo Dinner Flavorful and Rich Meal


our favorite
Dessert Recipes
A little dessert is a cornerstone of a healthy diet.
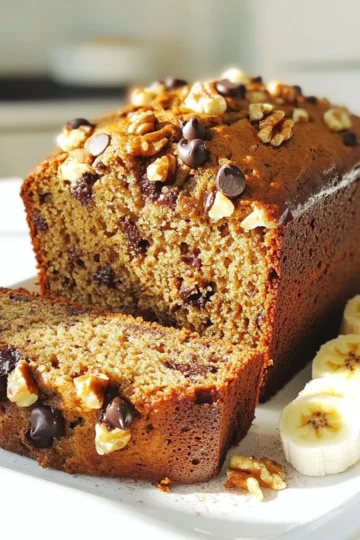
- Healthy Banana Bread Tasty and Nutritious Recipe
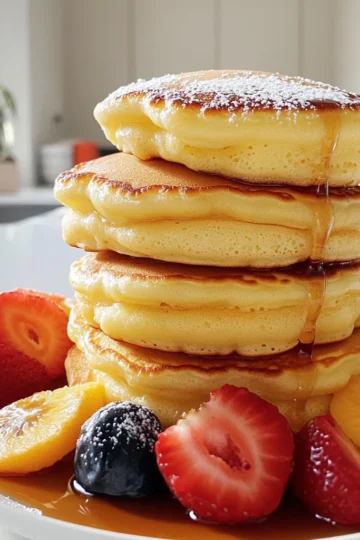
- Japanese Soufflé Pancakes Fluffy and Delicious Treat
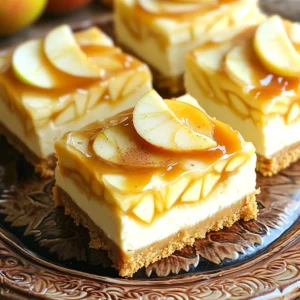
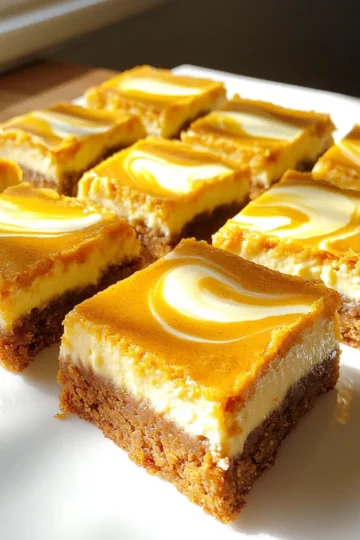
- Pumpkin Cheesecake Cookie Bars Irresistible Fall Treat
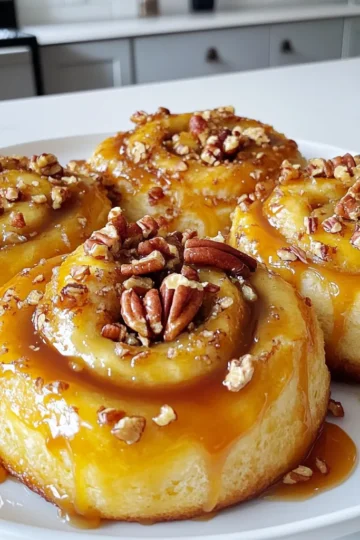
- Caramel Pecan Sticky Buns Delightful and Easy Recipe
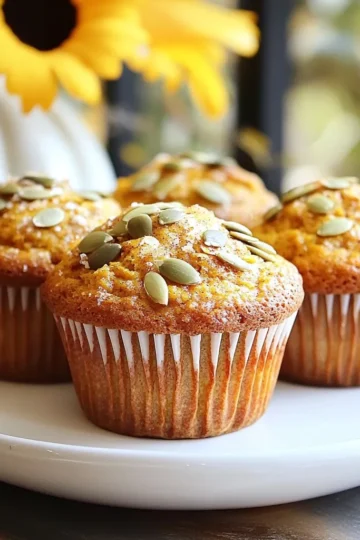
- Bakery-Style Pumpkin Spice Muffins Simple and Tasty
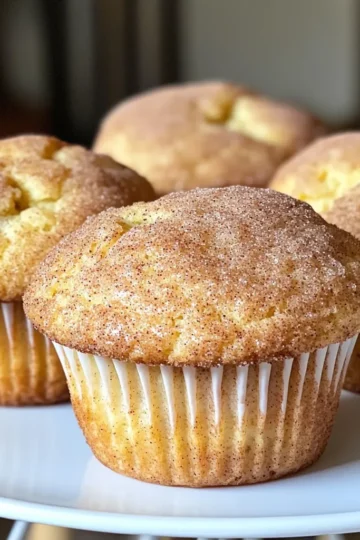
- Bakery Style Snickerdoodle Muffins Delightful Treat
Latest Recipes
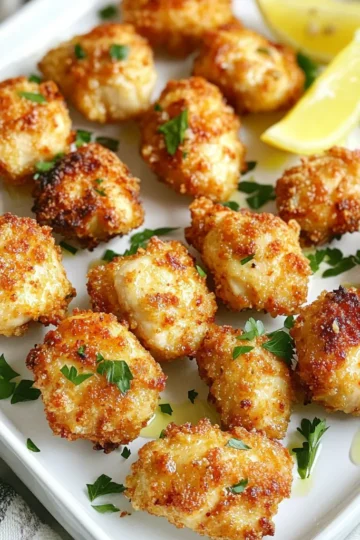
- Air Fryer Lemon Chicken Bites Tasty and Simple Meal
- Whipped Hot Chocolate Delightful and Creamy Treat
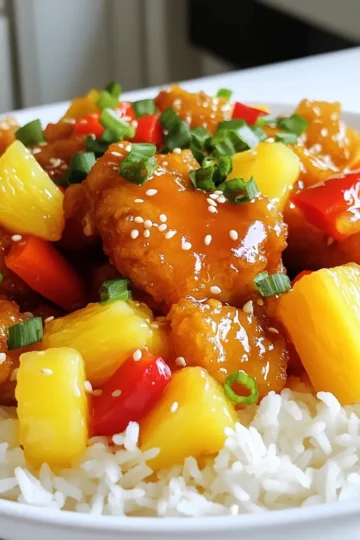
- Savory Sweet and Sour Chicken Easy Family Dinner
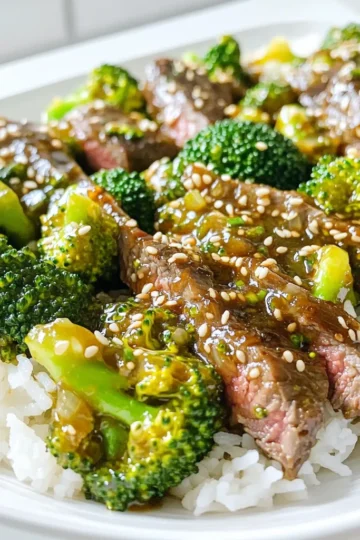
- Easy Beef and Broccoli Quick Dinner Delight
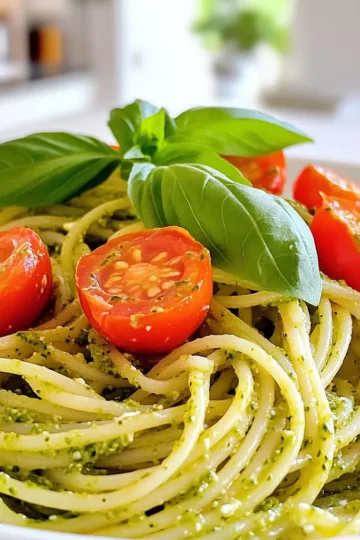
- Minute Ricotta Pesto Pasta Quick and Simple Recipe
- Cashew Chicken Stir Fry Flavorful and Quick Meal
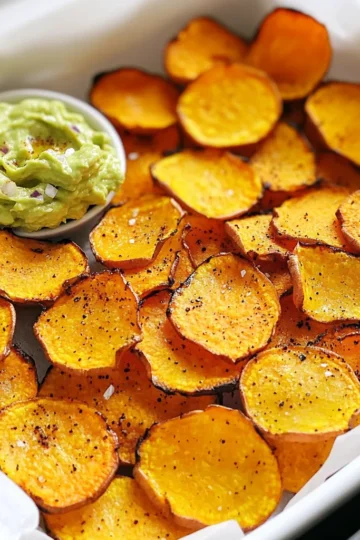
- Air Fryer Sweet Potato Chips Crunchy and Flavorful Snack
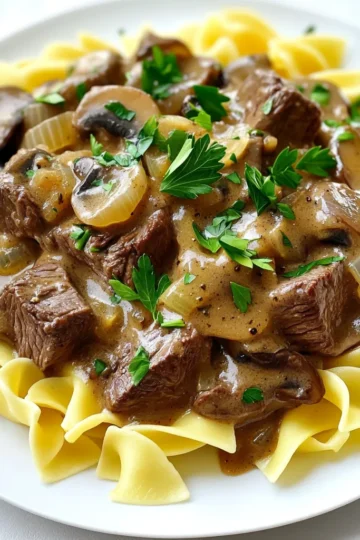
- Irresistible Slow Cooker Beef Stroganoff Recipe
- Sheet Pan BBQ Chicken Flatbreads Easy and Tasty Meal
- Maple Cinnamon Latte Cozy and Warm Beverage Delight
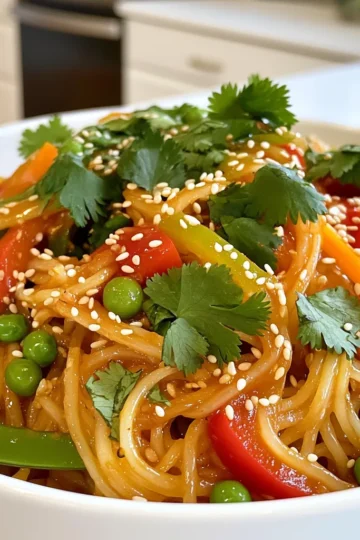
- Sweet & Spicy Gochujang Noodles Flavorful Delight
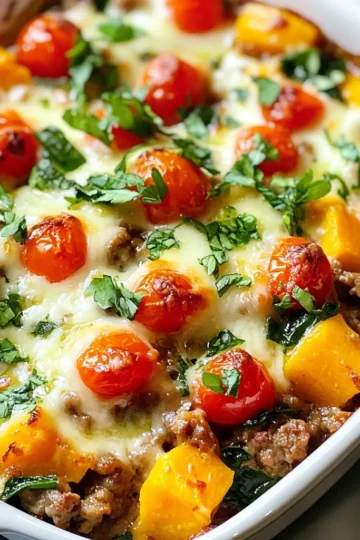
- Ground Turkey Sweet Potato Casserole Flavor Boost